Windows 安装 Podman Desktop
- podman 简介
- 概述和范围
- Roadmap 路线图
- Rootless 无根
- podman 安装说明
- Podman for Windows
- 前置条件
- 安装 podman
- 自动 WSL 安装
- 机器初始化过程
- 启动 machine
- Rootful & Rootless
- 安装 podman desktop
- podman 命令介绍
- podman -h
- podman machine -h
- 参考文档
podman 简介
Podman:用于管理 OCI 容器和 Pod 的工具
Podman: A tool for managing OCI containers and pods
Podman(POD MANager) 是一个用于管理容器和映像、挂载到这些容器中的卷以及由容器组组成的 pod 的工具。Podman 在 Linux 上运行容器,但也可以使用 Podman 管理的虚拟机在 Mac 和 Windows 系统上使用。 Podman 基于 libpod,libpod 是一个用于容器生命周期管理的库,也包含在此存储库中。libpod 库提供了用于管理 containers(容器)、pods、 container images(容器镜像)和 volumes(卷)的 API。
概述和范围
在高层次上,Podman 和 libpod 的范围如下:
- 支持多种容器镜像格式,包括
OCI和Docker镜像。 - 全面管理这些映像,包括从各种来源拉取(包括信任和验证)、创建(通过
Containerfile或Dockerfile构建或从容器提交)以及推送到注册表和其他存储后端。 - 容器生命周期的全面管理,包括创建(从映像和松散的根文件系统)、运行、检查点和恢复(通过
CRIU)以及删除。 - 使用
Netavark全面管理容器网络。 - 支持
Pod,即共享资源并一起管理的容器组。 - 支持在没有
root或其他提升权限的情况下运行容器和Pod。 - 容器和
Pod的资源隔离。 - 支持
Docker兼容的CLI接口,该接口既可以在本地运行容器,也可以在远程系统上运行容器。 - 无管理器守护进程,以提高安全性并降低空闲时的资源利用率。
- 支持
REST API,提供与Docker兼容的接口和公开高级Podman功能的改进接口。 - 支持通过
podman machine运行的虚拟机在Windows和Mac上运行。
Roadmap 路线图
- 功能齐全的
GUI前端,用于podman machine - 进一步改进和
podman generate kubepodman play kube - 对
Pod的改进,包括添加Pod级别的资源限制
Rootless 无根
Podman 可以作为普通用户轻松运行,不需要 setuid 二进制文件。 在没有 root 的情况下运行时,Podman 容器使用用户命名空间将容器中的 root 设置为运行 Podman 的用户。 Rootless Podman 运行锁定的容器,没有运行容器的用户没有的权限。 其中一些限制可以解除(例如,通过),但无根容器永远不会拥有比启动它们的用户更多的权限。 如果您以用户身份运行 Podman 并从主机挂载,您仍然无法更改它,因为您的用户没有这样做的权限。--privileged/etc/passwd
几乎所有正常的 Podman 功能都可用,尽管存在一些 缺点。 任何最近的 Podman 版本都应该能够在没有任何额外配置的情况下运行无根,尽管您的操作系统可能需要安装 指南 中详述的一些额外配置。
在使用无根 Podman 之前,管理员需要进行一些配置,此处 记录了必要的设置。
- 缺点,https://github.com/containers/podman/blob/main/rootless.md
- 指南,https://podman.io/getting-started/installation
- 此处,https://github.com/containers/podman/blob/main/docs/tutorials/rootless_tutorial.md
podman 安装说明
Podman for Windows
虽然“容器是Linux”,但 Podman 也可以在 Mac 和 Windows 上运行。 它提供本机 CLI 并嵌入要启动的来宾 Linux 系统 您的容器。此来宾被称为 Podman 机器,并且是 使用命令进行管理。在 Windows 上,每个 Podman 机器由虚拟化的 Windows 子系统支持 Linux (WSLv2) 分发。podman 命令可以直接从你的 Windows PowerShell(或CMD)提示符,它与在 WSL 环境中运行的 podman 服务。或者,您 如果您更喜欢 Linux,可以直接从 WSL 实例访问 Podman 提示和 Linux 工具。除了命令行访问之外,Podman 同时侦听 Docker API 客户端,支持直接使用 基于 Docker 的工具和从您的语言进行编程访问 选择。podman machine
前置条件
由于 Podman 使用 WSL,因此您需要最新版本的 Windows 10 或 Windows 11 在 x64 上,WSL 需要内部版本 18362 或更高版本,arm64 系统需要内部版本 19041 或更高。在内部,WSL 使用 虚拟化,因此您的系统必须支持并具有硬件 已启用虚拟化。如果在 VM 上运行 Windows,则必须具有支持嵌套虚拟化的 VM。
还建议安装现代的 “Windows终端”, 它提供了优于标准 PowerShell 的用户体验,并且 CMD 提示,以及 WSL 提示,如果需要的话。
你可以通过搜索 Windows 应用商店或运行 以下命令:winget
winget install Microsoft.WindowsTerminal
安装 podman
下载地址,https://github.com/containers/podman/releases
安装 Windows Podman 客户端首先要下载 Podman Windows installer(安装程序)。Windows 安装程序是随每个 Podman 版本构建的,可以从 Github 官方发布页面下载。请确保下载本指南中讨论的功能的 4.5.1 或更高版本。
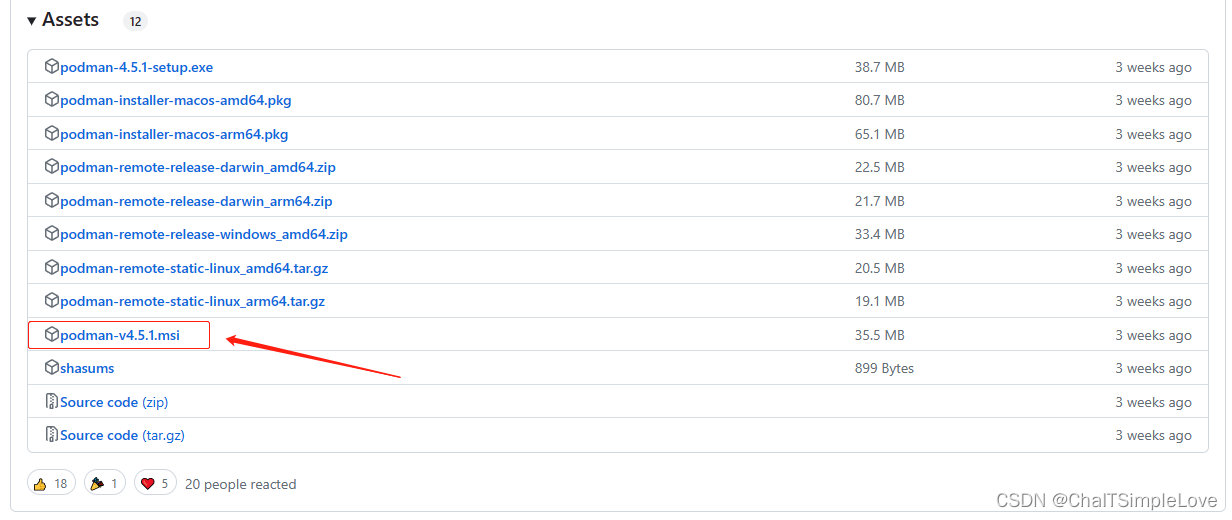
下载后,只需运行该文件,然后重新启动一个新的终端。在这一点之后,podman.exe 将出现在您的 PATH 上,您将能够运行该命令来创建您的第一台计算机。
podman machine init
自动 WSL 安装
如果您的系统上尚未安装 WSL,则第一个 machine init 命令将提示一个对话框以开始自动安装。如果接受,此过程将安装必要的 Windows 组件,重新启动系统,并在登录后在 终端窗口 中重新启动计算机创建过程。请确保等待一两分钟以重新启动,因为 Windows 在执行启动项目之前会有延迟。或者,您可以拒绝自动安装并手动安装 WSL。但是,这将需要额外的下载和设置时间。
机器初始化过程
安装 WSL 后,init 命令将安装一个最小化的 Fedora,并对其进行自定义以运行 podman。
Downloading VM image: fedora-podman-amd64-v37.0.38.tar.xz: done
Extracting compressed file
Importing operating system into WSL (this may take a few minutes on a new WSL install)...
正在导入,这可能需要几分钟时间。
操作成功完成。
Configuring system...
Generating public/private ed25519 key pair.
Your identification has been saved in podman-machine-default
Your public key has been saved in podman-machine-default.pub
The key fingerprint is:
SHA256:eq+hsYHASu6jvSZZncjqQpi6K+a2KCAlgmQQmwr1pCg root@master-jeff
The key's randomart image is:
|+.. .            |
| B +             |
|E . .            |
|B..              |
|+*oo .  S        |
|Bo+.o. .         |
|*=  . + o        |
|@=.    * o       |
|#X=.  o ...      |
+----[SHA256]-----+
Machine init complete
To start your machine run:

        podman machine start
启动 machine
machine 初始化过程完成后,可以根据需要启动和停止:
PS C:\Users\Jeffery.Chai> podman machine start
Starting machine "podman-machine-default"

This machine is currently configured in rootless mode. If your containers
require root permissions (e.g. ports < 1024), or if you run into compatibility
issues with non-podman clients, you can switch using the following command:

        podman machine set --rootful

API forwarding listening on: npipe:./pipe/docker_engine

Docker API clients default to this address. You do not need to set DOCKER_HOST.
Machine "podman-machine-default" started successfully
此计算机当前配置为无根(rootless)模式。如果您的容器需要 root 权限(例如端口 < 1024),或者如果遇到兼容性问题
对于非 podman 客户端的问题,可以使用以下命令进行切换:podman machine set --rootful
Rootful & Rootless
在嵌入式 WSL Linux 发行版上,podman 可以在根用户(rootful)或非特权用户(rootless)下运行。为了在 Linux 上与 Podman 保持行为一致性,无根是默认设置。
注意:有根(rootful)容器和无根(rootless)容器是不同的,并且彼此隔离。针对其中一个的 Podman 命令(例如,Podman-ps)不会代表另一个的结果/状态。
虽然大多数容器在无根(rootless)设置中运行良好,但您可能会发现容器仅在具有根权限的情况下运行。如果是这种情况,您可以通过停止机器并使用 set 命令将其切换到 rootful:
podman machine stop
podman machine set --rootful
要恢复无根(rootless)执行,请将 rootful 设置为 false:
Podman machine stop
Podman machine set --rootful=false
安装 podman desktop
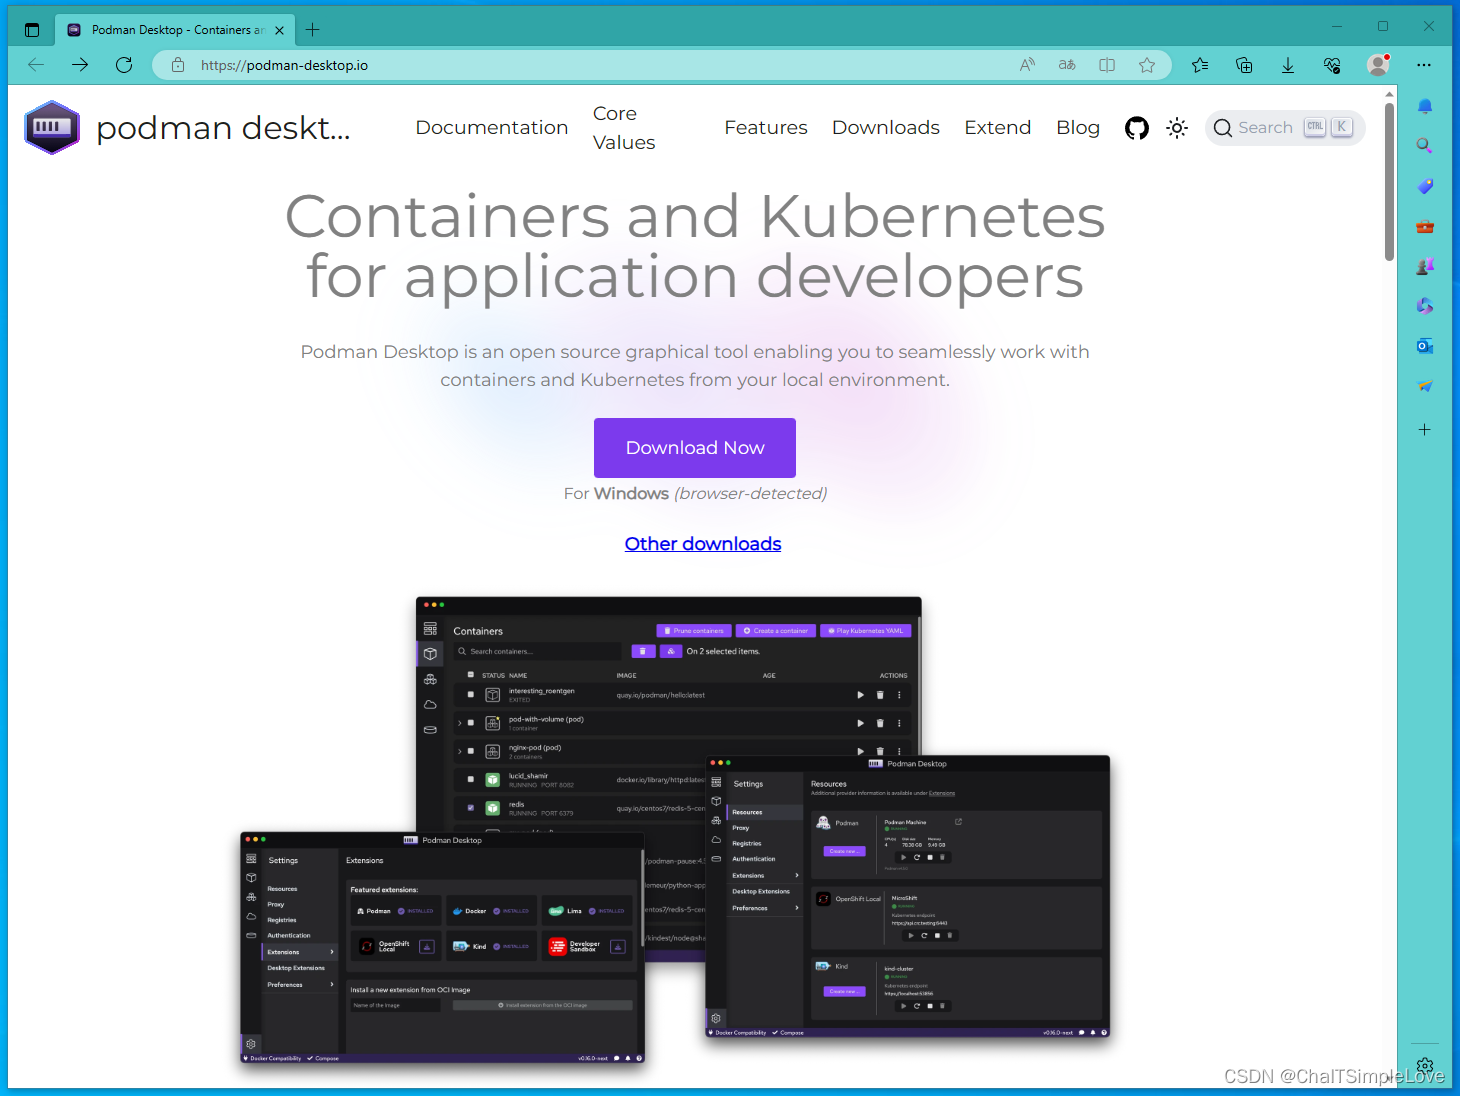
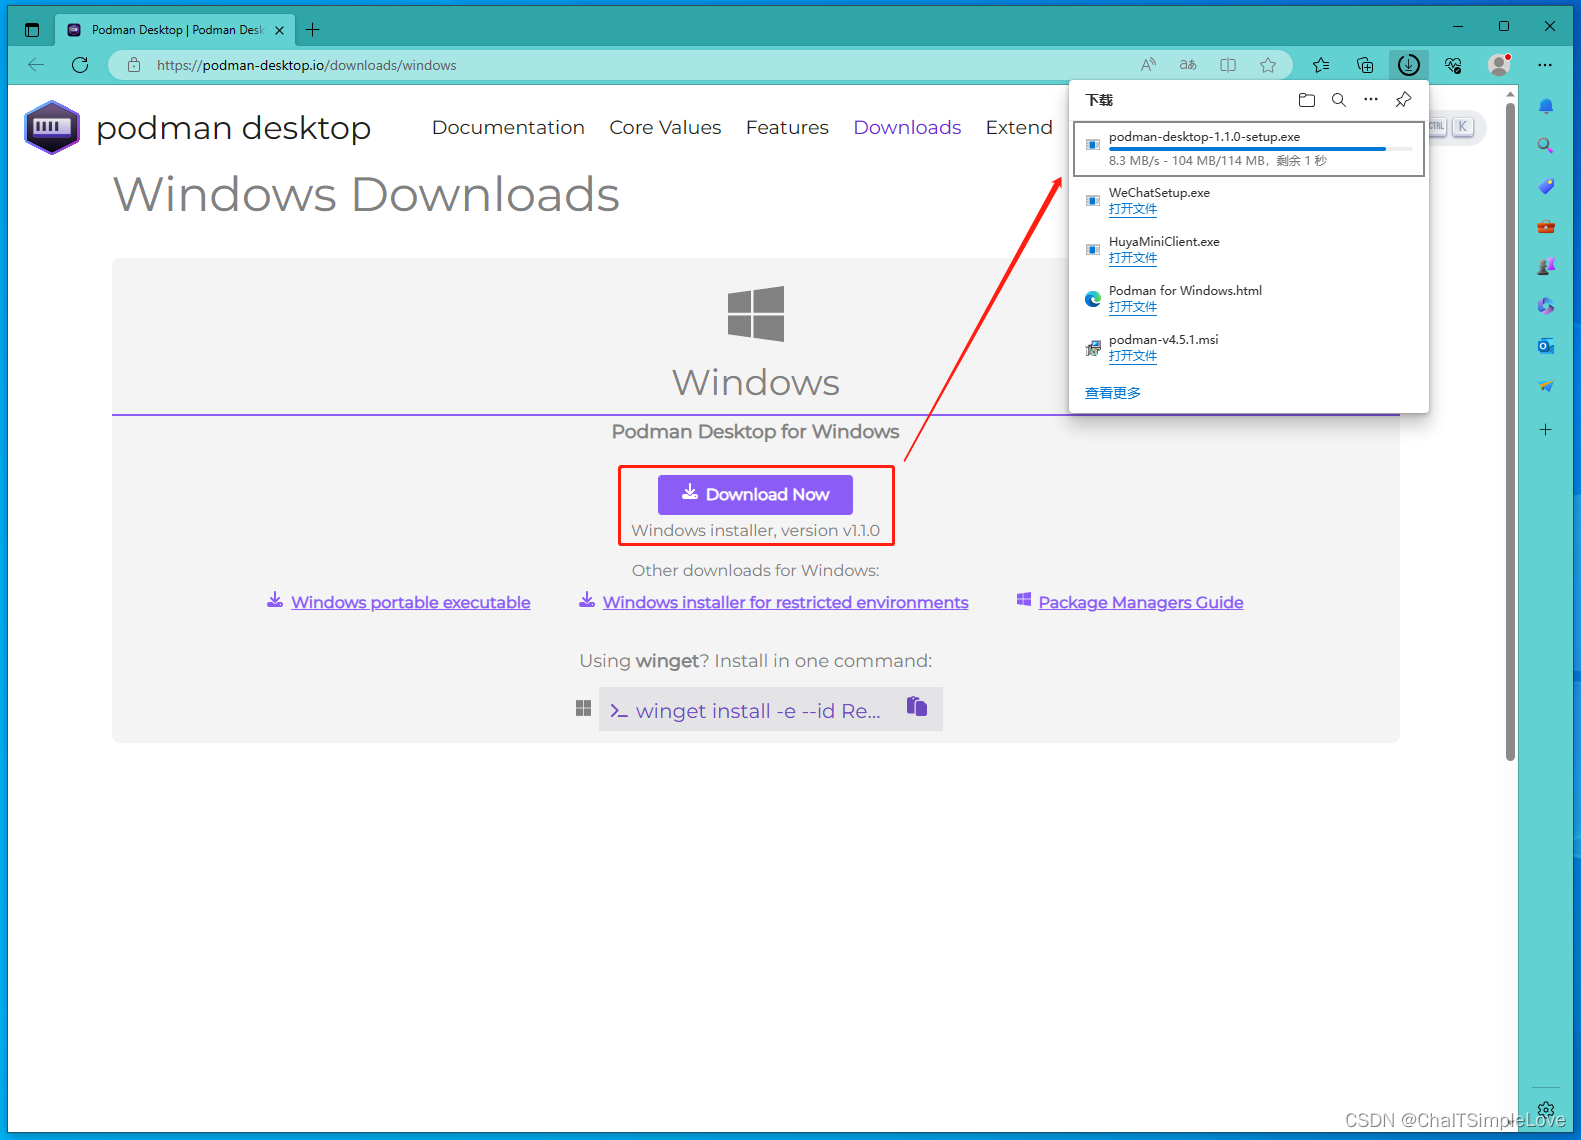
- 访问官网的
desktop下载地址:https://podman-desktop.io/downloads/Windows
2. 使用 Windows 安装程序静默安装 Podman Desktop,https://podman-desktop.io/docs/installation/windows-install/installing-podman-desktop-silently-with-the-windows-installer
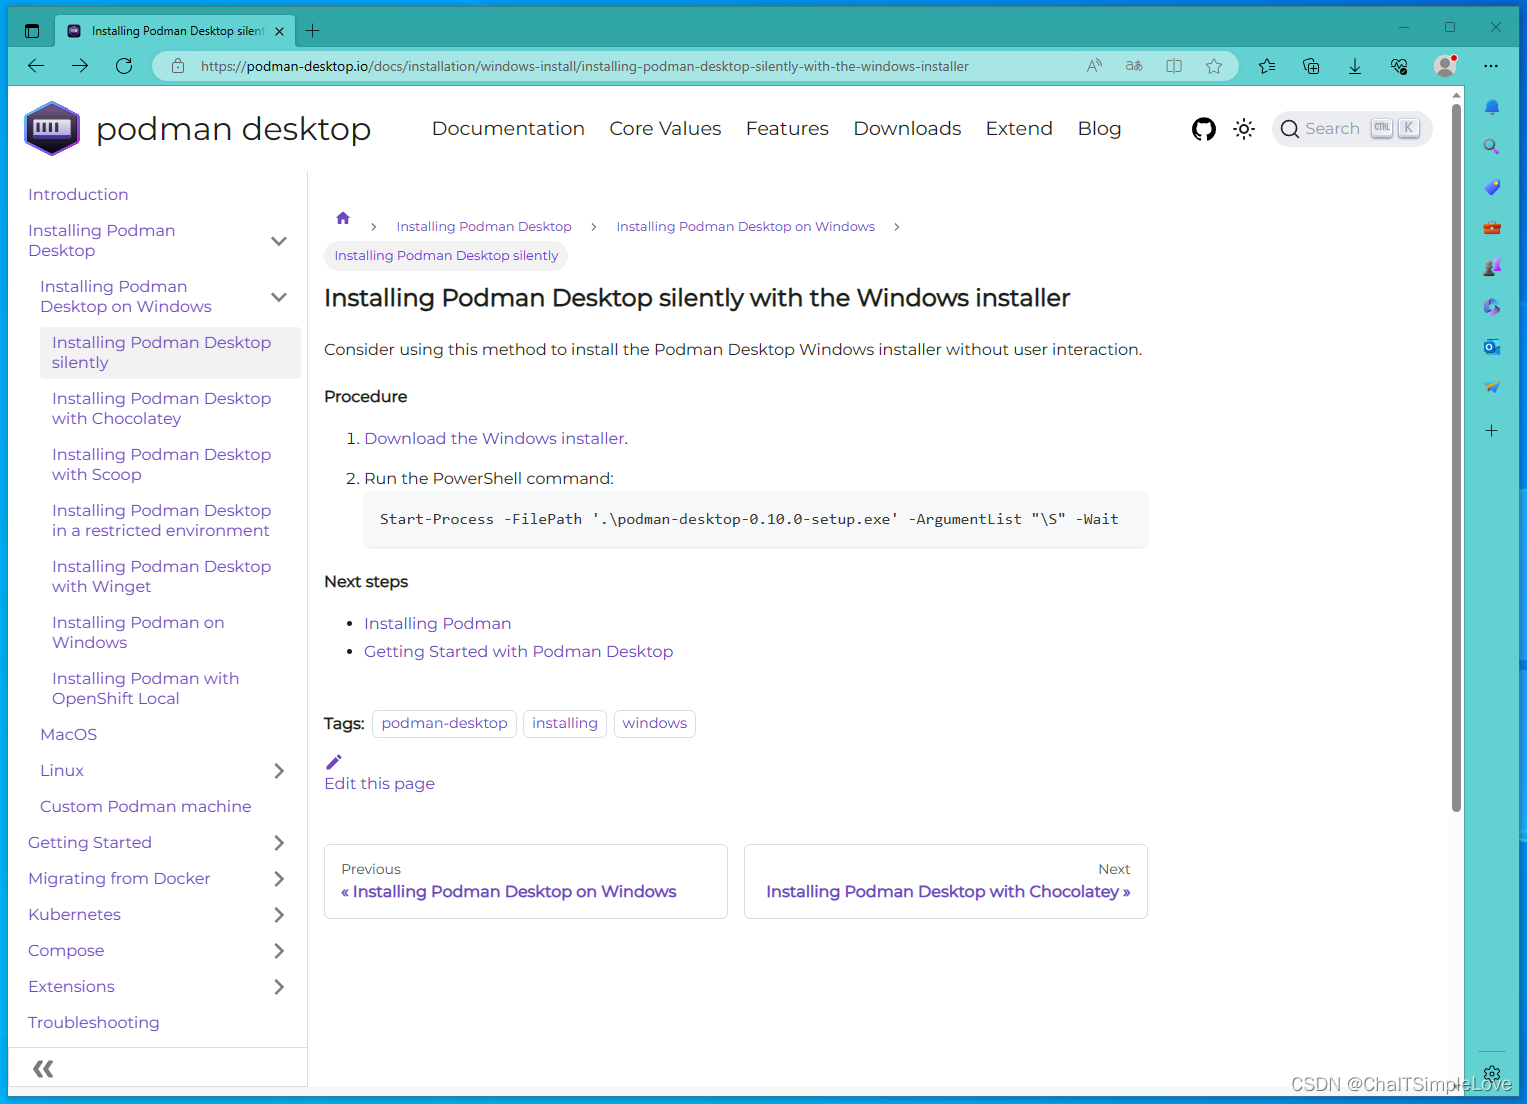
考虑使用此方法在没有用户交互的情况下安装 Podman Desktop Windows 安装程序。
执行步骤:
- 下载
Windows安装程序。 - 运行
PowerShell命令:
Start-Process -FilePath '.\podman-desktop-0.10.0-setup.exe' -ArgumentList "\S" -Wait
此处我是用 winget 命令,在命令行中执行 podman desktop 安装:
winget install -e --id RedHat.Podman-Desktop

PS C:\Users\Jeffery.Chai> winget install -e --id RedHat.Podman-Desktop
已找到 Podman Desktop [RedHat.Podman-Desktop] 版本 1.1.0
此应用程序由其所有者授权给你。
Microsoft 对第三方程序包概不负责,也不向第三方程序包授予任何许可证。
正在下载 https://github.com/containers/podman-desktop/releases/download/v1.1.0/podman-desktop-1.1.0-setup.exe
  ██████████████████████████████   113 MB /  113 MB
已成功验证安装程序哈希
正在启动程序包安装...
已成功安装
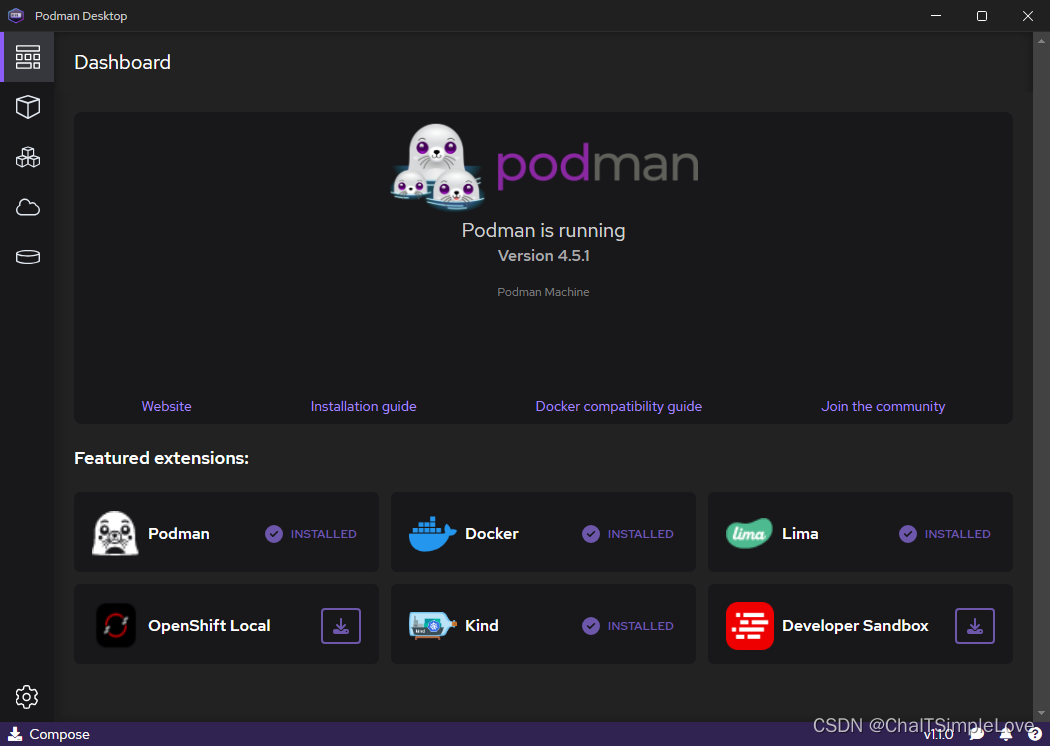
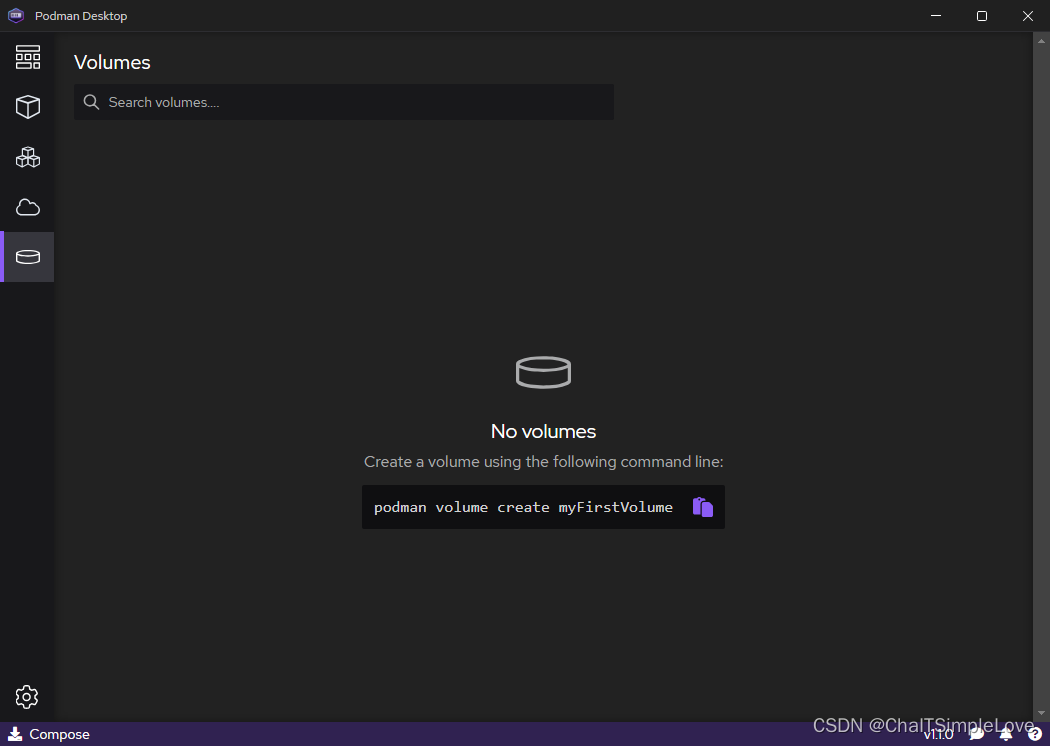
此时桌面已经出现 Podman Desktop 图标,点击运行界面展示如下:
- podman desktop dashboard
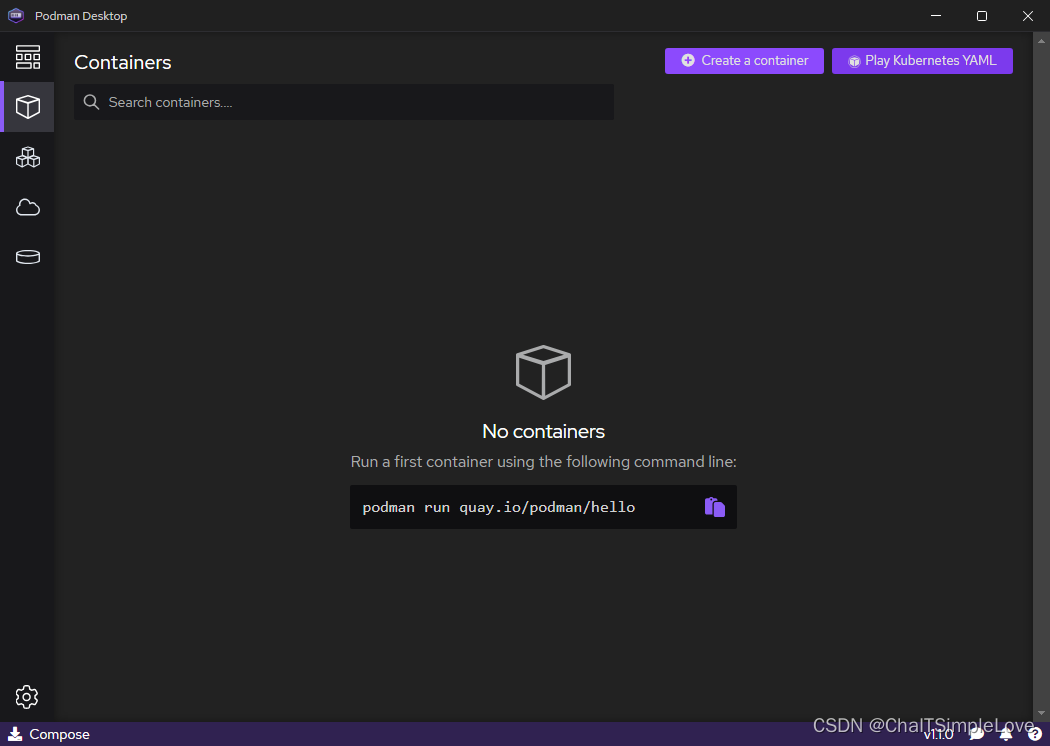
- podman desktop containers
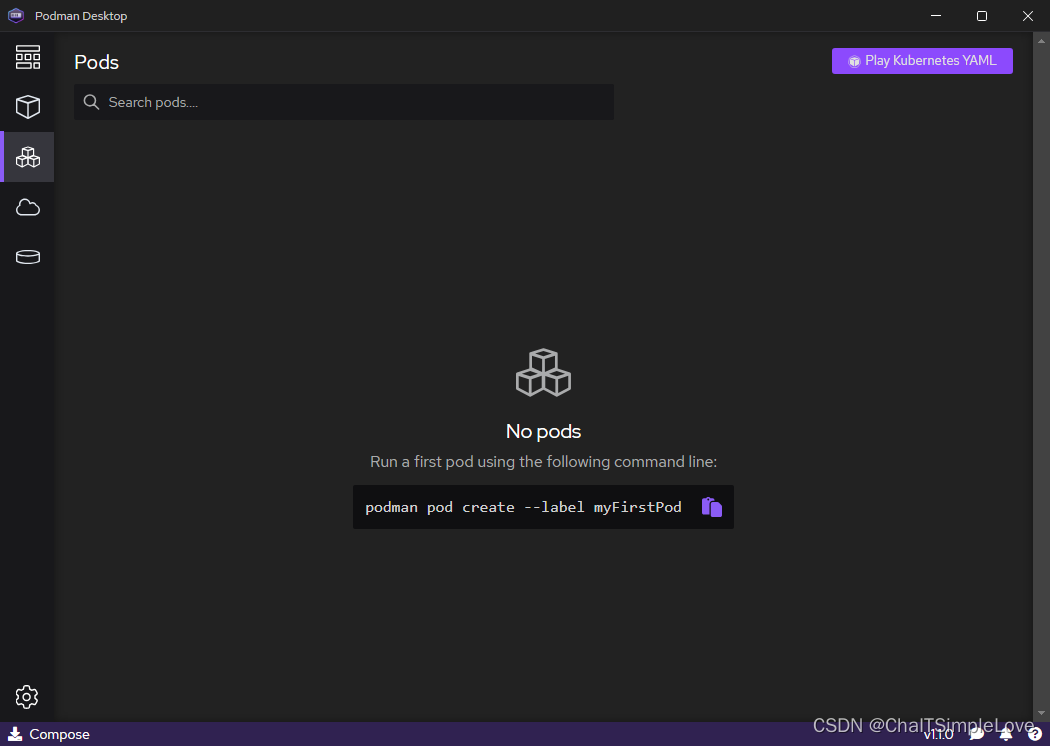
- podman desktop pods
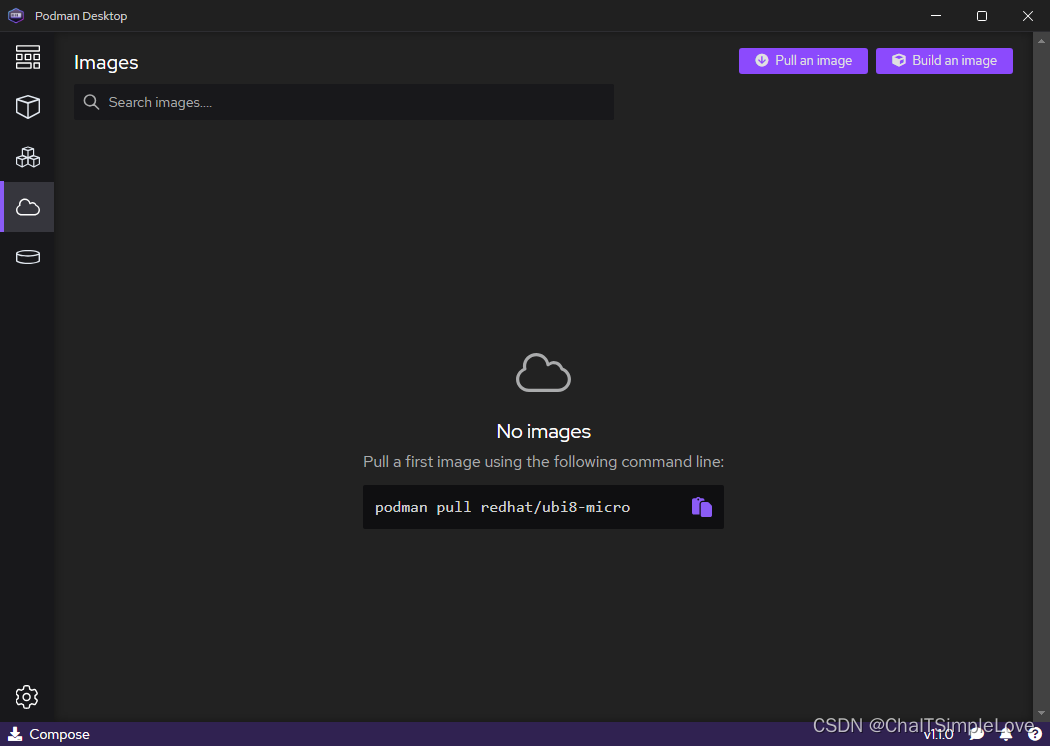
- podman desktop images
- podman desktop volumes
podman 命令介绍
基本上每个命令的使用都可以使用 podman [options] [command] -h 套路查看更多信息。
podman -h
PS C:\Users\Jeffery.Chai> podman -h
Manage pods, containers and images

Usage:
  podman.exe [options] [command]

Available Commands:
  attach      Attach to a running container
  build       Build an image using instructions from Containerfiles
  commit      Create new image based on the changed container
  container   Manage containers
  cp          Copy files/folders between a container and the local filesystem
  create      Create but do not start a container
  diff        Display the changes to the object's file system
  events      Show podman system events
  exec        Run a process in a running container
  export      Export container's filesystem contents as a tar archive
  generate    Generate structured data based on containers, pods or volumes
  healthcheck Manage health checks on containers
  help        Help about any command
  history     Show history of a specified image
  image       Manage images
  images      List images in local storage
  import      Import a tarball to create a filesystem image
  info        Display podman system information
  init        Initialize one or more containers
  inspect     Display the configuration of object denoted by ID
  kill        Kill one or more running containers with a specific signal
  kube        Play containers, pods or volumes from a structured file
  load        Load image(s) from a tar archive
  login       Login to a container registry
  logout      Logout of a container registry
  logs        Fetch the logs of one or more containers
  machine     Manage a virtual machine
  manifest    Manipulate manifest lists and image indexes
  network     Manage networks
  pause       Pause all the processes in one or more containers
  pod         Manage pods
  port        List port mappings or a specific mapping for the container
  ps          List containers
  pull        Pull an image from a registry
  push        Push an image to a specified destination
  rename      Rename an existing container
  restart     Restart one or more containers
  rm          Remove one or more containers
  rmi         Removes one or more images from local storage
  run         Run a command in a new container
  save        Save image(s) to an archive
  search      Search registry for image
  secret      Manage secrets
  start       Start one or more containers
  stats       Display a live stream of container resource usage statistics
  stop        Stop one or more containers
  system      Manage podman
  tag         Add an additional name to a local image
  top         Display the running processes of a container
  unpause     Unpause the processes in one or more containers
  untag       Remove a name from a local image
  update      update an existing container
  version     Display the Podman version information
  volume      Manage volumes
  wait        Block on one or more containers

Options:
  -c, --connection string         Connection to use for remote Podman service (default "podman-machine-default")
      --help                      Help for podman
      --identity string           path to SSH identity file, (CONTAINER_SSHKEY) (default "C:\\Users\\Jeffery.Chai\\.ssh\\podman-machine-default")
      --log-level string          Log messages above specified level (trace, debug, info, warn, warning, error, fatal, panic) (default "warn")
      --noout                     do not output to stdout
      --ssh string                define the ssh mode (default "golang")
      --storage-opt stringArray   Used to pass an option to the storage driver
      --url string                URL to access Podman service (CONTAINER_HOST) (default "ssh://user@127.0.0.1:61683/run/user/1000/podman/podman.sock")
  -v, --version                   version for podman.exe
podman machine -h
PS C:\Users\Jeffery.Chai> podman machine -h
Manage a virtual machine

Description:
  Manage a virtual machine. Virtual machines are used to run Podman.

Usage:
  podman.exe machine [command]

Available Commands:
  info        Display machine host info
  init        Initialize a virtual machine
  inspect     Inspect an existing machine
  list        List machines
  os          Manage a Podman virtual machine's OS
  rm          Remove an existing machine
  set         Sets a virtual machine setting
  ssh         SSH into an existing machine
  start       Start an existing machine
  stop        Stop an existing machine
更多详细信息,请自行安装尝试,赶快动手实践哟!
参考文档
- https://github.com/containers/podman
- https://podman-desktop.io/docs/intro
- Podman for Windows.html