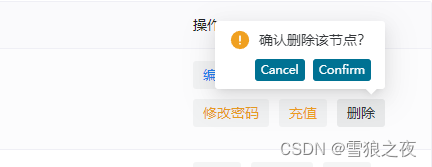
先看效果
然后我先贴代码, 你们看懂的先运行下,
文章后面我教你怎么 添加这种有template,有slot插槽的组件
h(
	NPopconfirm,
	{
		positiveButtonProps: {
			size: 'tiny',
			color: '#007293',
			bordered: true,
		},
		negativeButtonProps: {
			size: 'tiny',
			color: '#007293',
			bordered: true,
		},
		onPositiveClick: (e: any) => {
			alert(1)
		}
	},
	{
		trigger: () => {
			return h(
				NButton,
				{
					class:"c_yellow mr_10 mb_10",
					strong: true,
					tertiary: true,
					size: 'small',
				},
				{ default: () => '删除' }
			)
		},
		default: () => {
			return '确认删除该节点?'
		}
	}
),
正文
以提示窗组件为例,官方地址为==》Naive UI
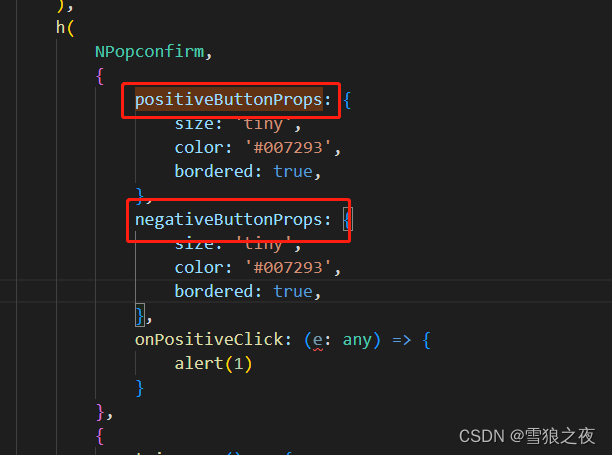
这个部分 就是下图左边部分驼峰写法
然后你vscode 键盘ctrl+鼠标左键 点击他
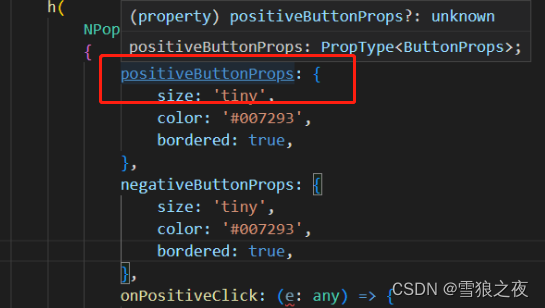
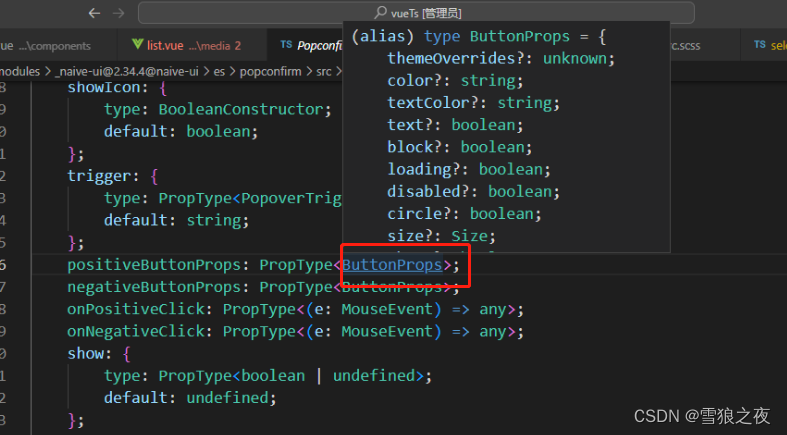
然后同样的方法查看ButtonProps,你就知道里面的size,color这些要怎么写
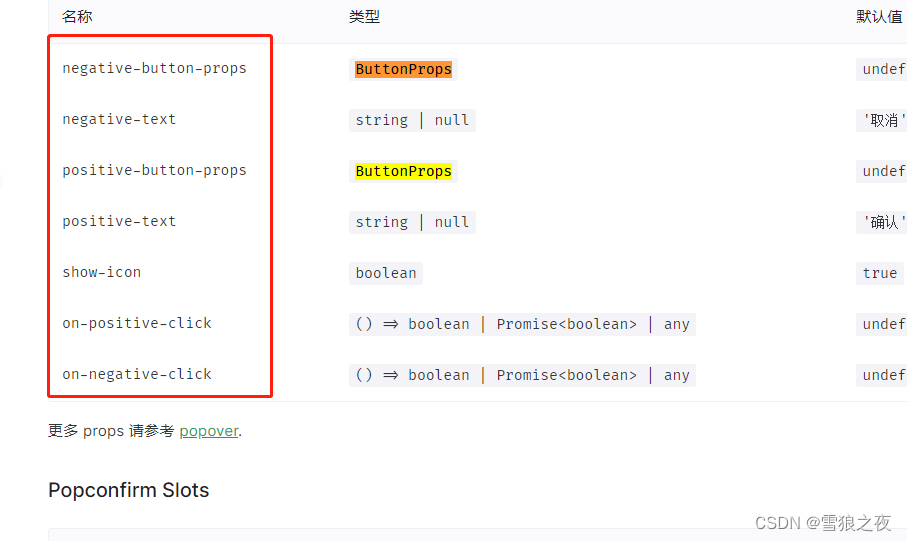
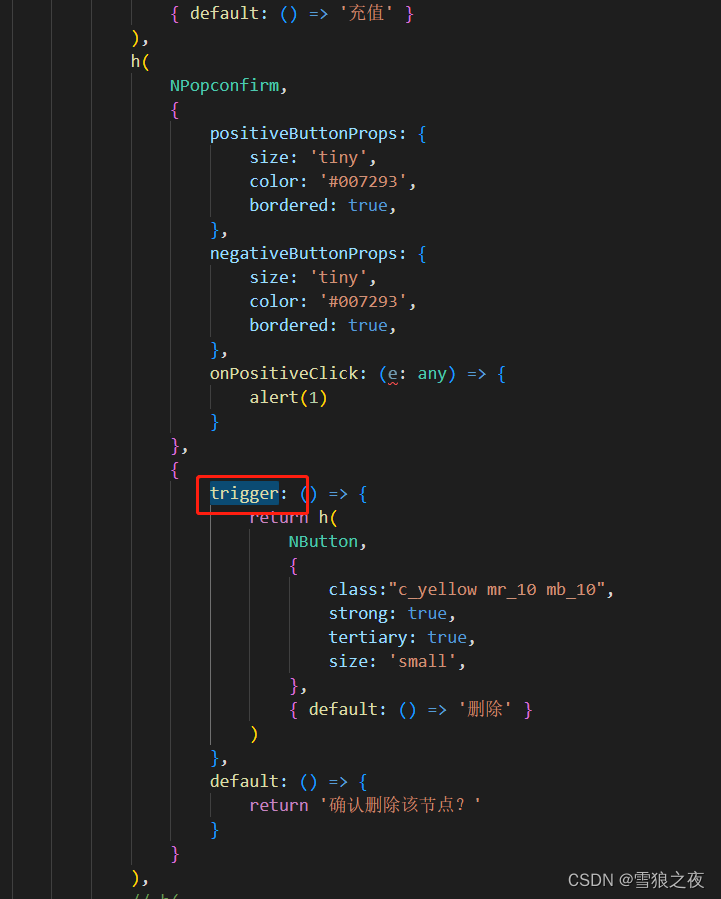
 然后就是下面这部分哪里查
点这个
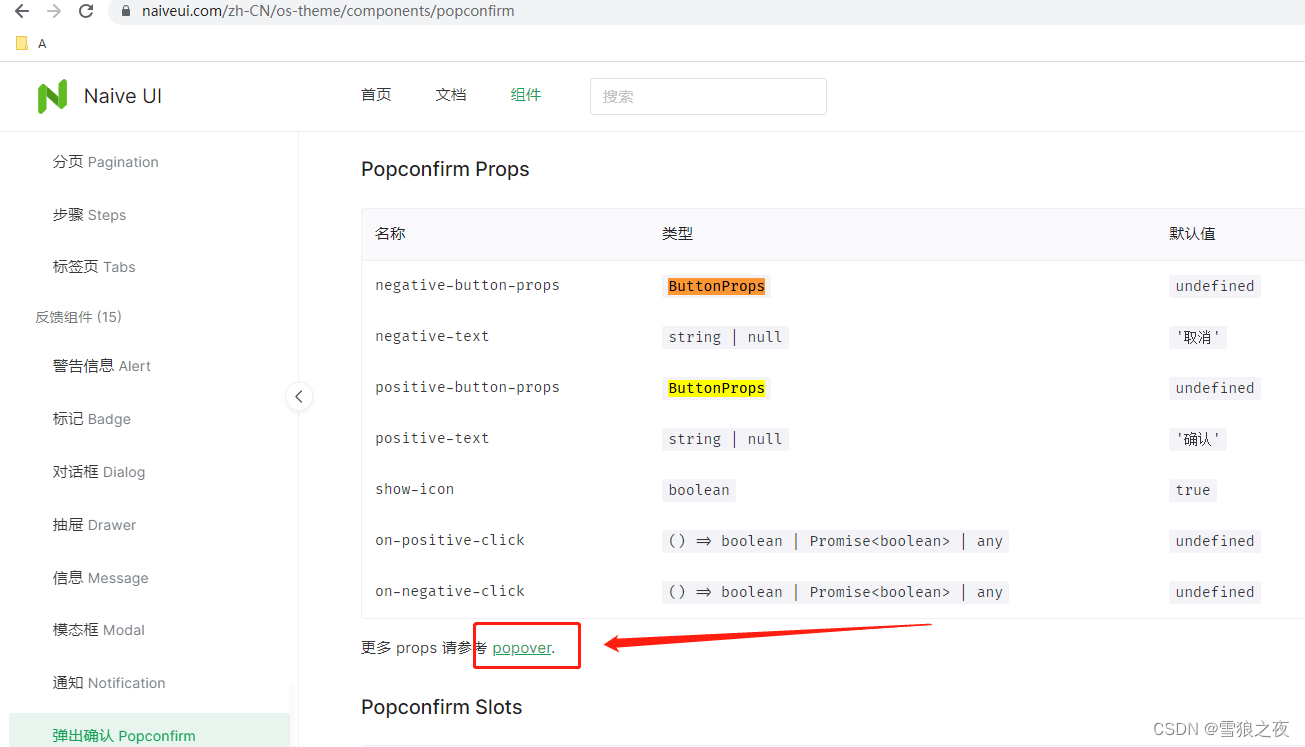
会跳到下面的页面===》Naive UI
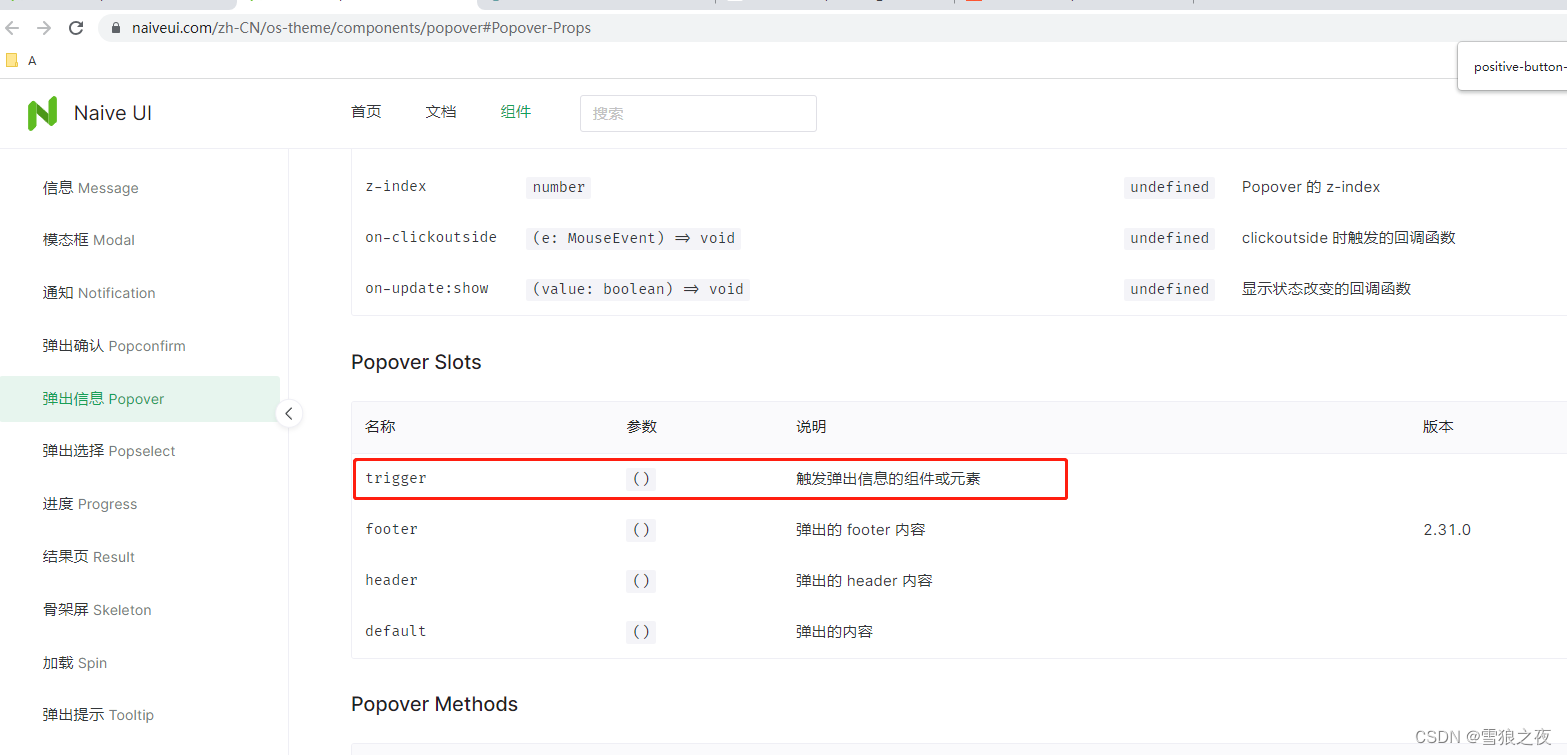
因为h(a,b,c) a是组件,b是属性,c是包含啥,所以如图,这里下面就是c的可以填啥,trigger就相当于 你的 h("div",[h(),h()]) 这个案例里面的 [h(),h()],然后其实你就知道怎么搞了
| trigger | () | 触发弹出信息的组件或元素 | |
| footer | () | 弹出的 footer 内容 | 2.31.0 |
| header | () | 弹出的 header 内容 | |
| default | () | 弹出的内容 |




![[电离层建模学习笔记]开源程序M_GIM学习记录](https://img-blog.csdnimg.cn/a5dbf218614f43938b6ff855254bc6ed.png)

