一、使用Profile文件进行多环境配置
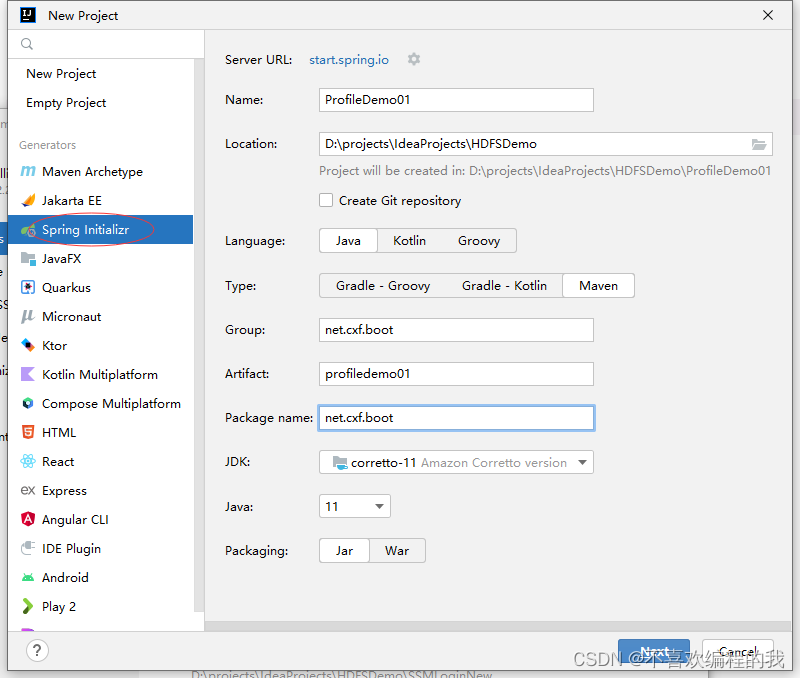
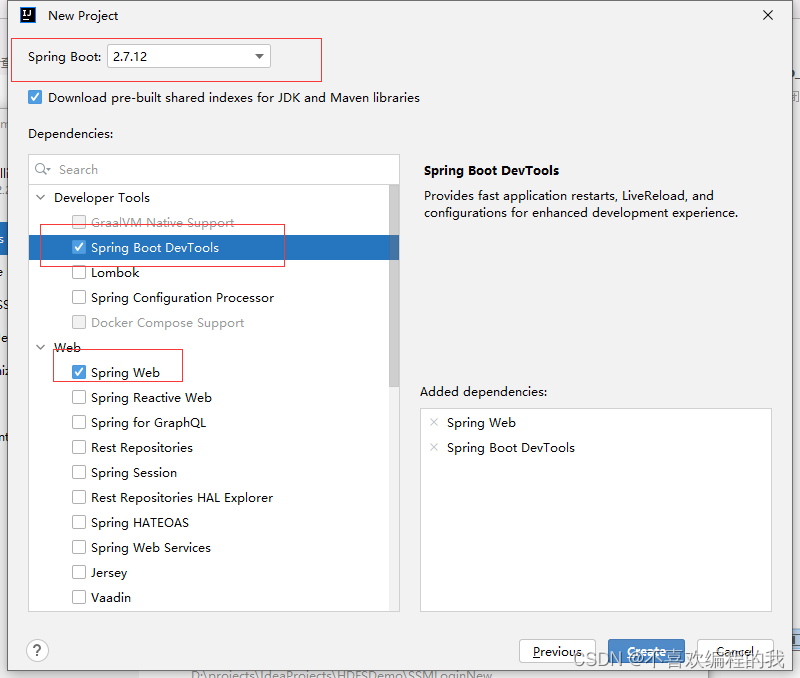
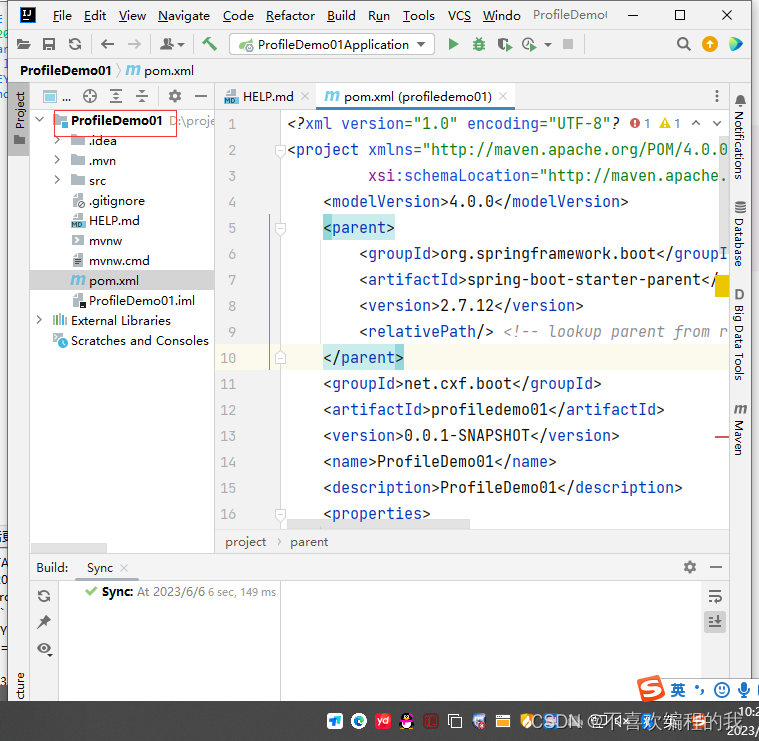
(一)创建Spring Boot项目
(二)创建多环境配置文件
1、全局配置文件改名
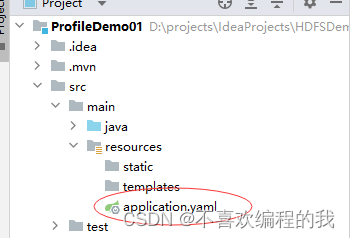
2、模拟开发环境
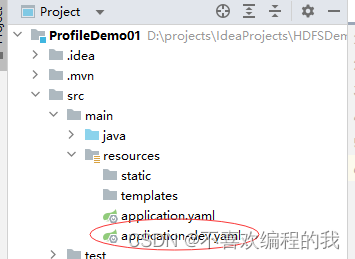
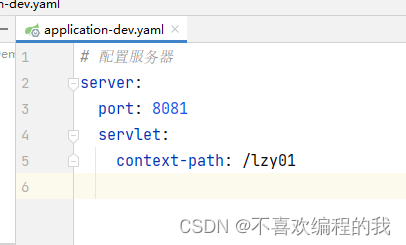
在resources里创建配置文件 - application-dev.yaml
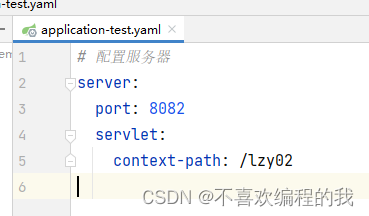
3、模拟测试环境
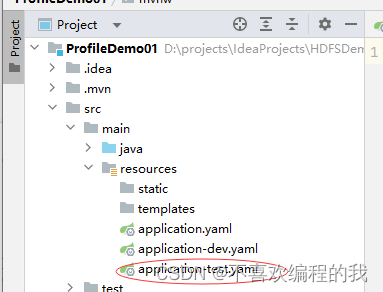
在resources里创建配置文件 - application-test.yaml
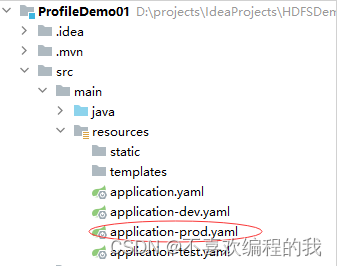
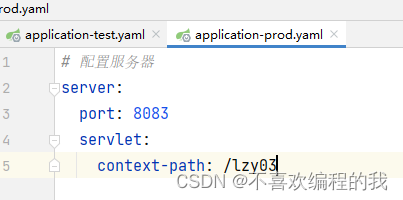
4、模拟生产环境
在resources里创建配置文件 - application-prod.yaml
(三)创建控制器
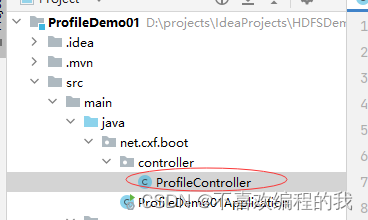
在net.cxf.boot包里创建controller子包,在子包里创建ProfileController类
package net.cxf.boot.controller;
import org.springframework.web.bind.annotation.GetMapping;
import org.springframework.web.bind.annotation.RestController;
/**
 * 功能:概况控制器
 * 作者:cxf
 * 日期:2023年06月06日
 */
@RestController
public class ProfileController {
    @GetMapping("/welcome")
    public String welcome() {
        return "<h1 style='color: red; text-align: center'>欢迎访问Spring Boot世界~</h1>";
    }
}
(四)采用默认环境
默认采用配置文件application.yaml,启动服务器,访问http://localhost:8080/welcome

(五)指定使用环境
方式1、使用配置文件全局指定使用环境
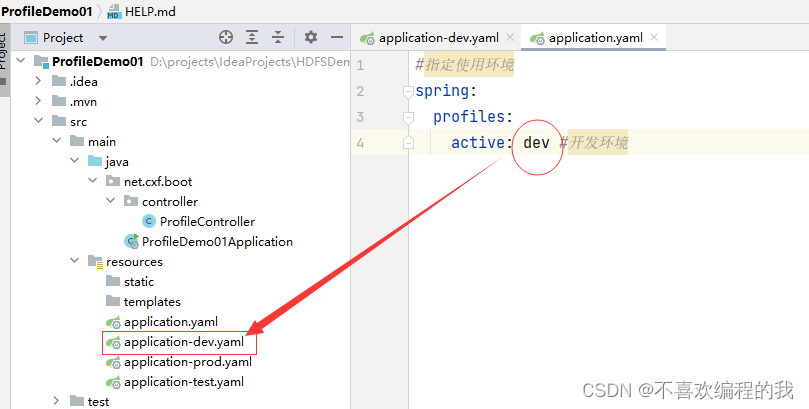
(1) 在全局配置文件里指定当前使用环境 - 开发环境
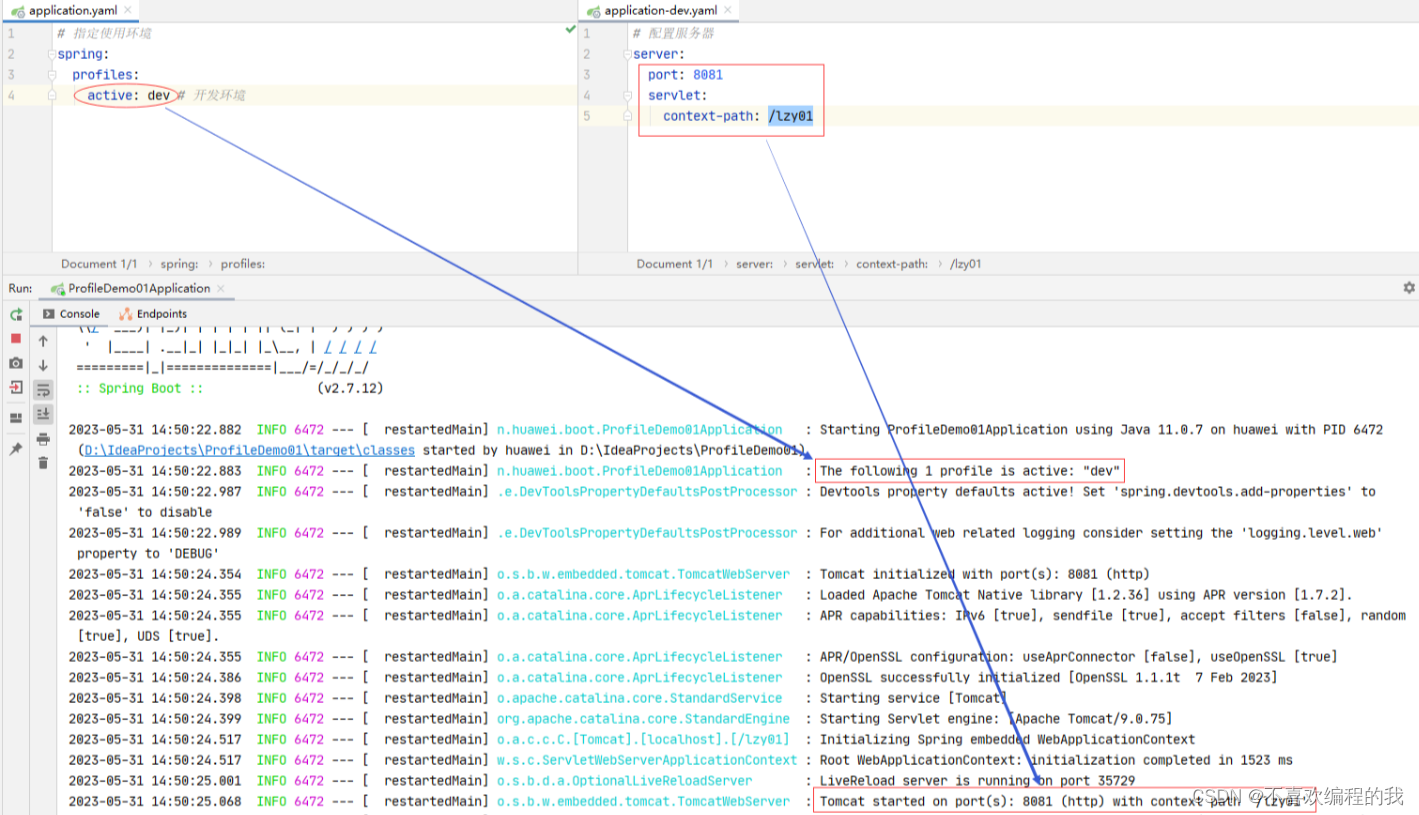
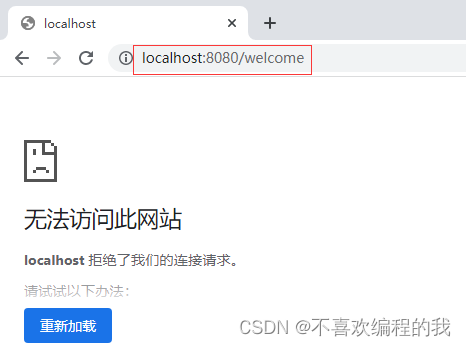
首先,访问http://localhost:8080/welcome,报错,无法访问
访问http://localhost:8081/lzy01/welcome(采用了开发环境设置的端口号与虚拟路径)

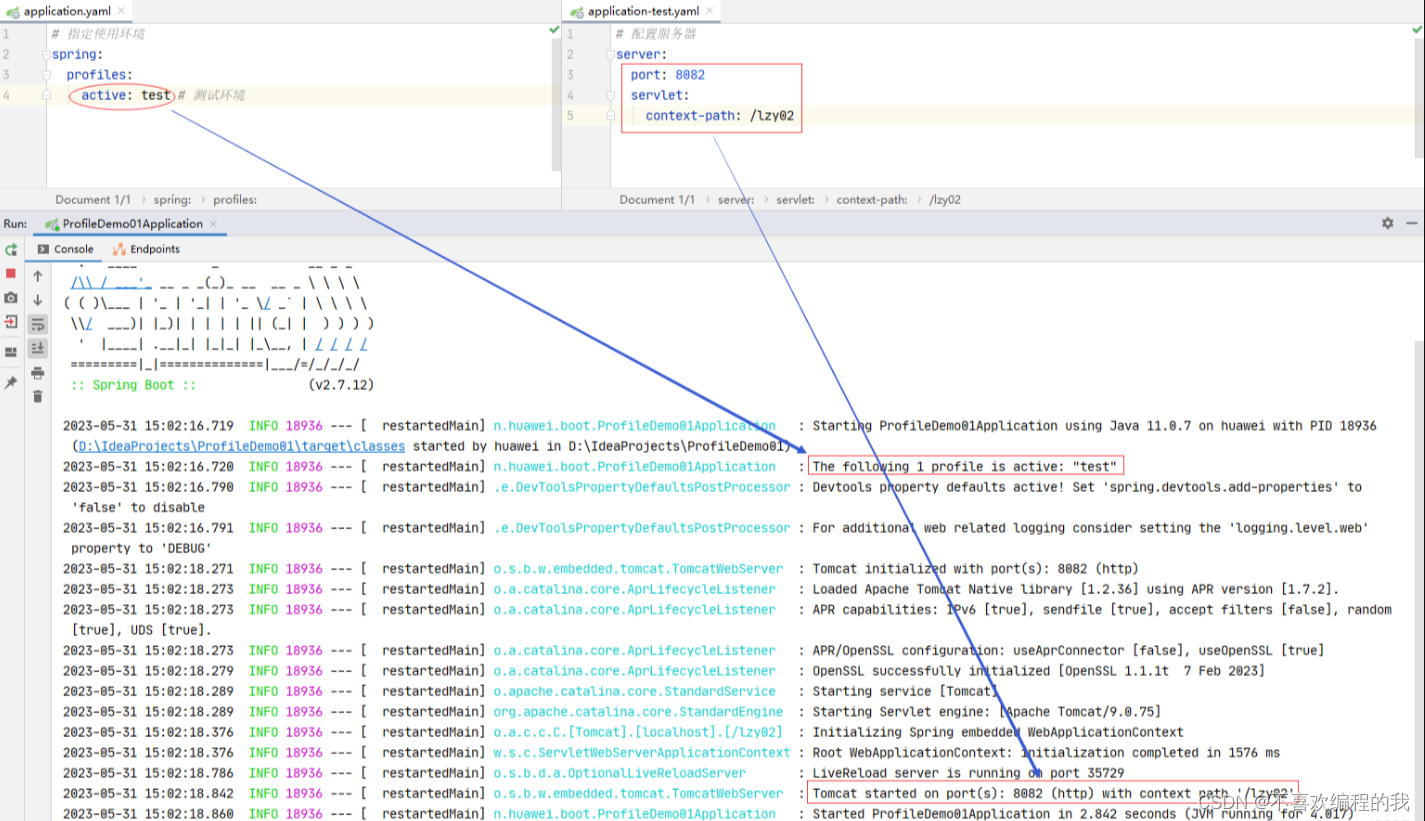
(2) 在全局配置文件里指定当前使用环境 - 测试环境
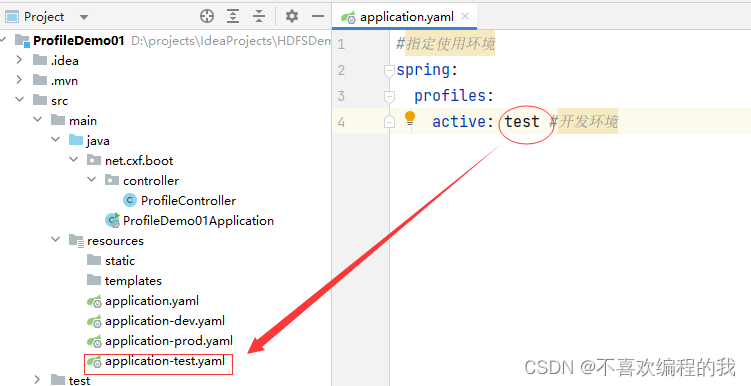
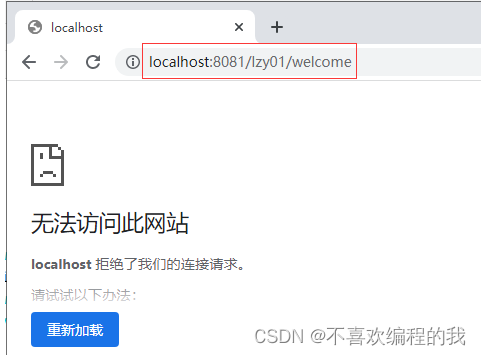
访问http://localhost:8081/lzy01/welcome,报错,无法访问
访问http://localhost:8082/lzy02/welcome

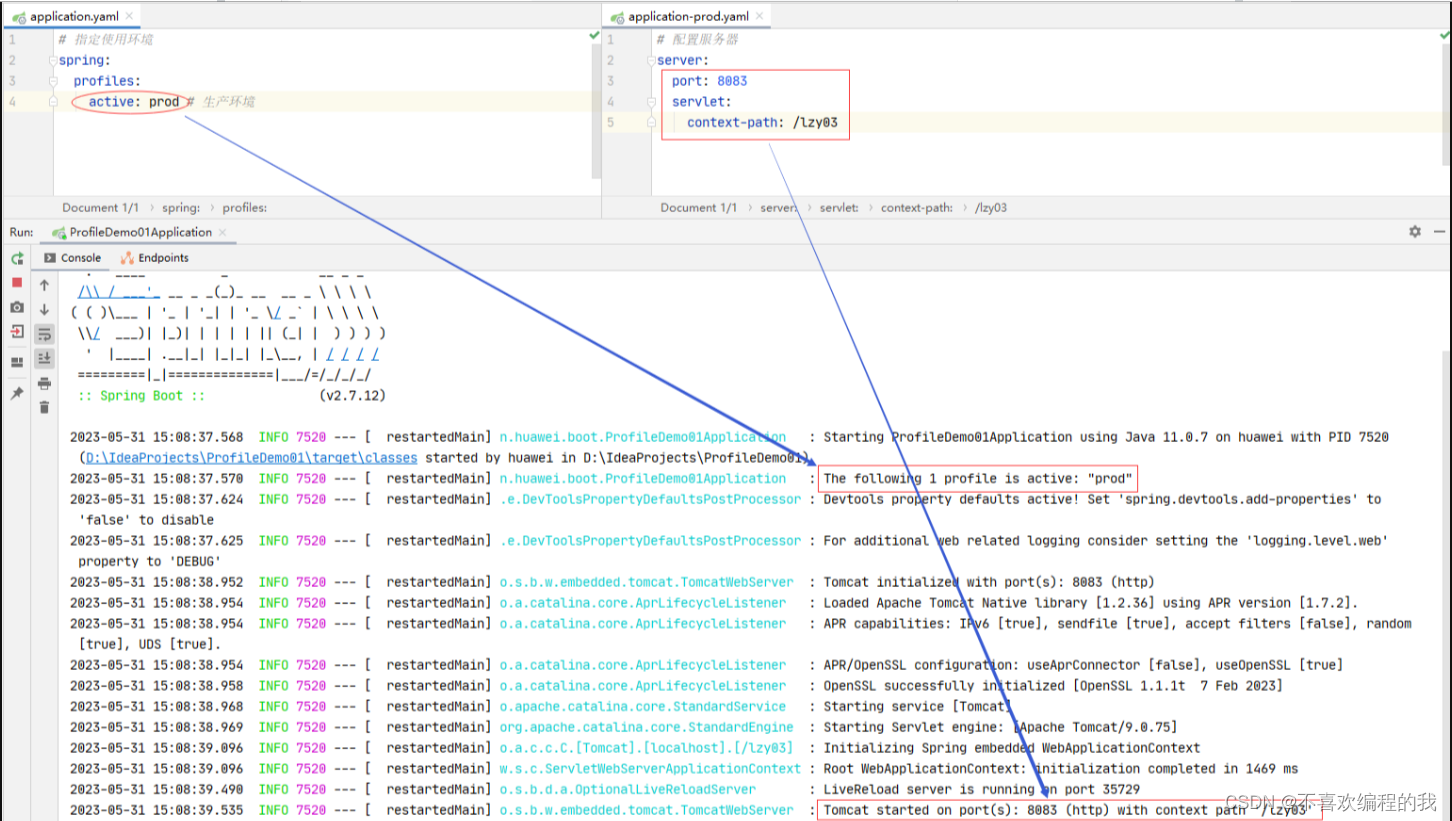
(3) 在全局配置文件里指定当前使用环境 - 生产环境
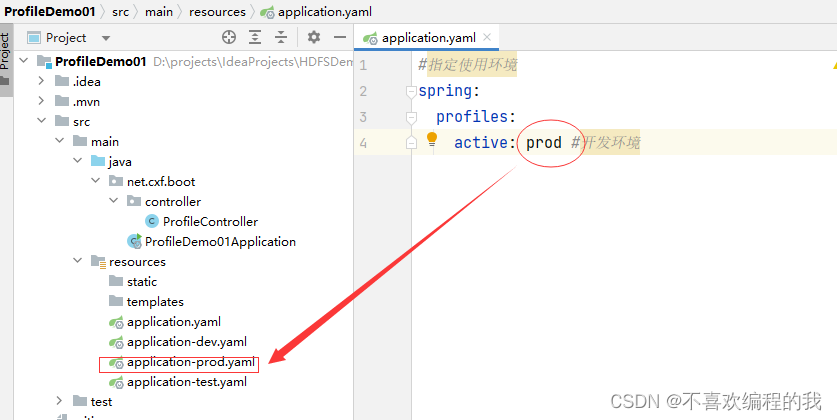
访问http://localhost:8082/lzy02/welcome
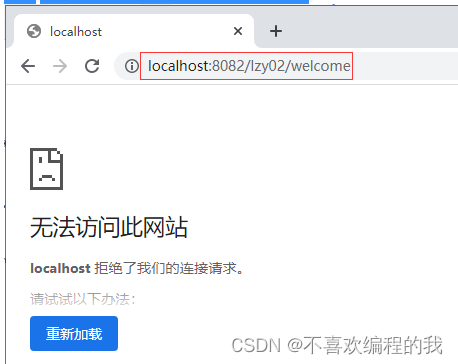
访问http://localhost:8083/lzy03/welcome

方式2、通过命令行方式指定使用环境
(1)使用IDEA将Maven项目打成jar包
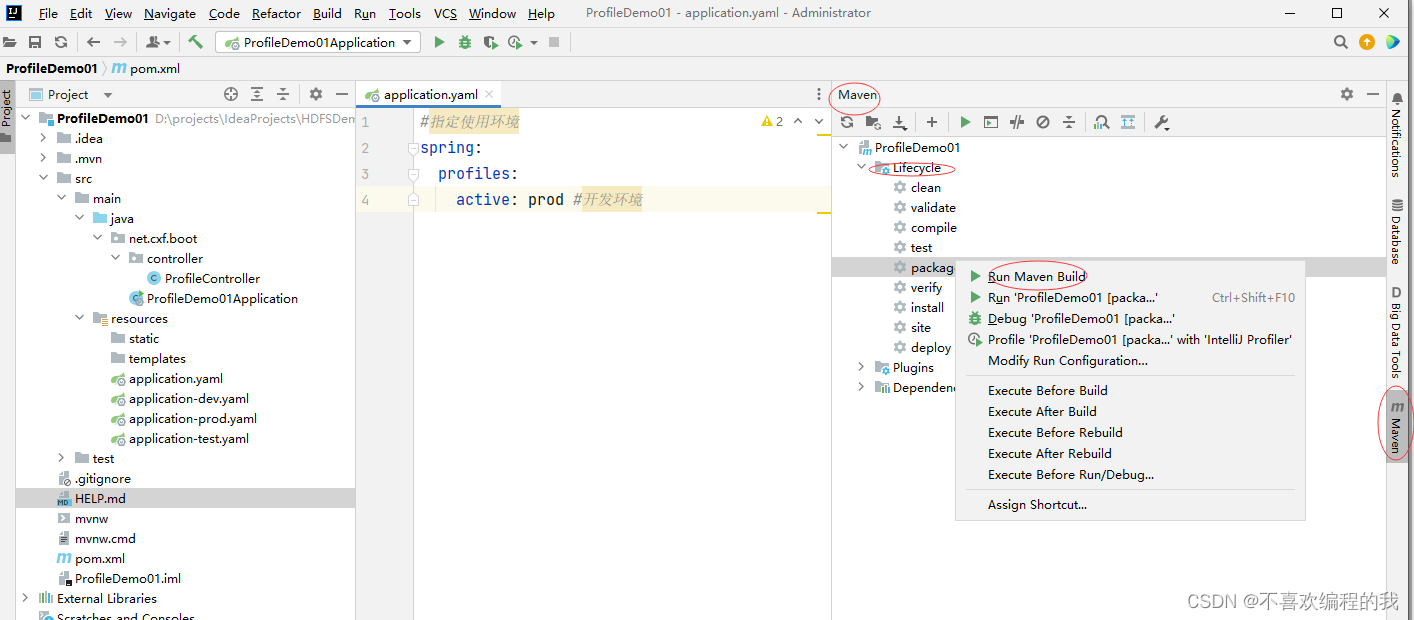

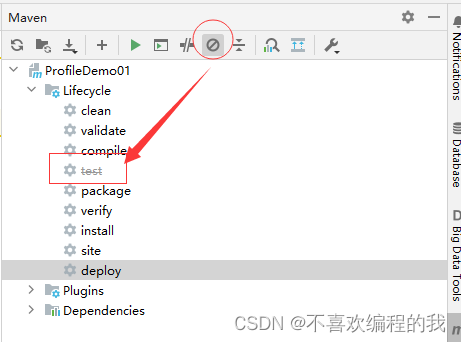
再次运行package命令,构建成功,生成了项目jar包 - profiledemo01-0.0.1-SNAPSHOT.jar
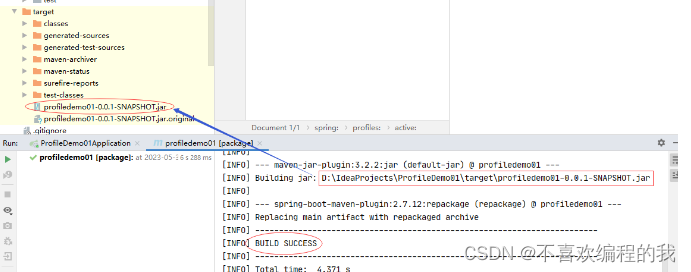
(2)在终端执行jar包,选择使用环境 - 开发环境
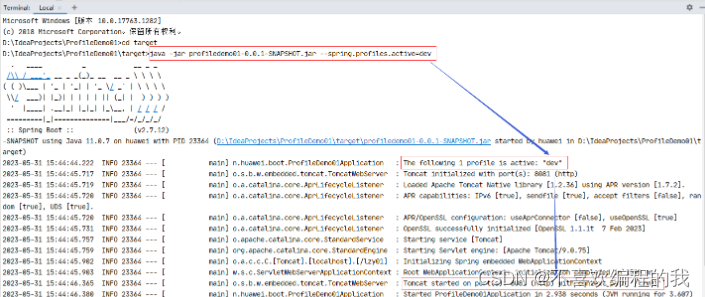
访问http://localhost:8081/lzy01/welcome

按Ctrl + C组合键,停止项目的运行
(3)在终端执行jar包,选择使用环境 - 测试环境
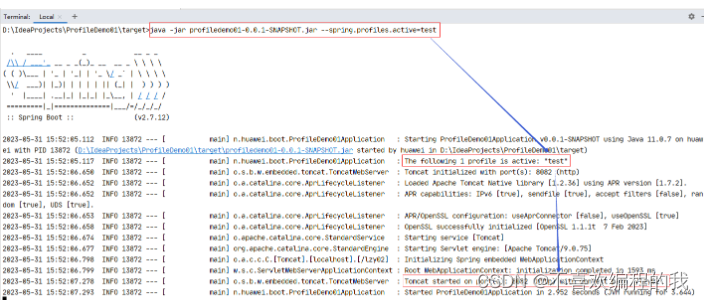
访问http://localhost:8082/lzy02/welcome

按Ctrl + C组合键,停止项目的运行
(4)在终端执行jar包,选择使用环境 - 生产环境
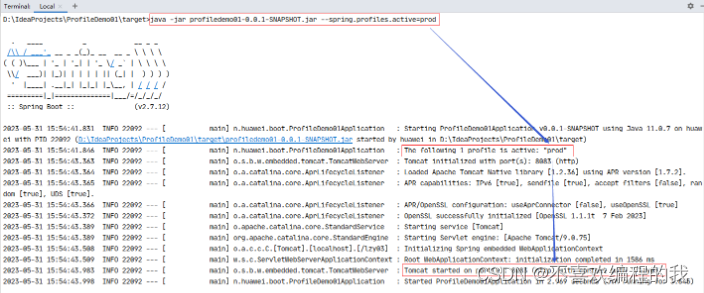
访问http://localhost:8083/lzy03/welcome

按Ctrl + C组合键,停止项目的运行
二、使用@Profile注解进行多环境配置
(一)创建Spring Boot项目
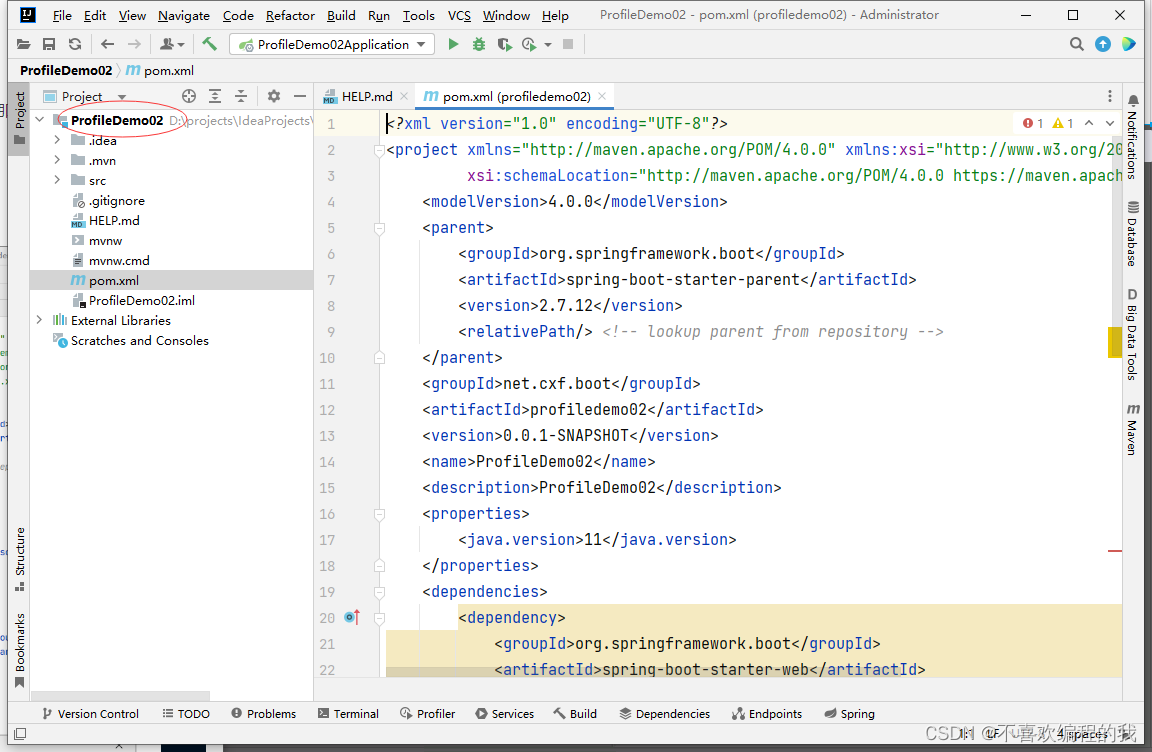
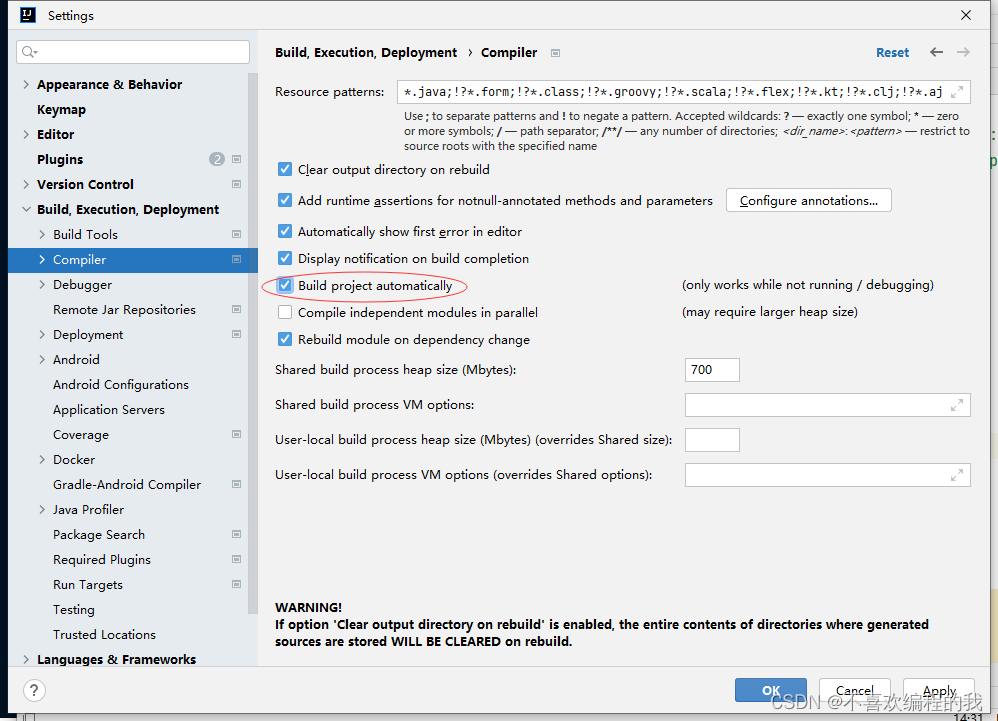
(二)创建数据库配置接口
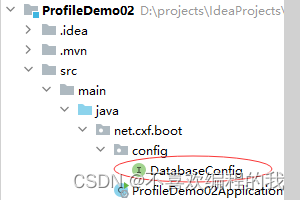
在net.cxf.boot里创建config子包,在子包里创建DatabaseConfig接口
package net.cxf.boot.config;

/**
 * 功能:数据库配置接口
 * 作者:cxf
 * 日期:2023年06月06日
 */
public interface DatabaseConfig {
    void connect();
}
(三)创建三个数据库配置实现类
1、创建MySQL数据库配置实现类
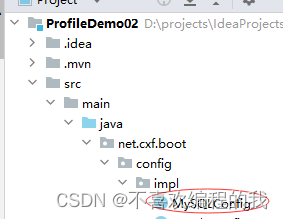
在net.cxf.boot.config包里创建impl子包,在子包里创建MySQLConfig类
package net.cxf.boot.config.impl;
import net.cxf.boot.config.DatabaseConfig;
import org.springframework.context.annotation.Configuration;
import org.springframework.context.annotation.Profile;
/**
 * 功能:MySQL数据库配置类
 * 作者:cxf
 * 日期:2023年06月06日
 */

@Configuration // 标识为配置类
@Profile("mysql") // 指定使用环境名称
public class MySQLConfig implements DatabaseConfig {
    @Override
    public void connect() {
        System.out.println("项目使用MySQL数据库环境~");
    }
}
2、创建Oracle数据库配置实现类
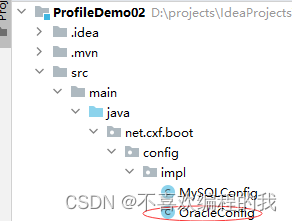
在net.cxf.boot.config.impl包里创建OracleConfig类
package net.cxf.boot.config.impl;
import net.cxf.boot.config.DatabaseConfig;
import org.springframework.context.annotation.Configuration;
import org.springframework.context.annotation.Profile;
/**
 * 功能:Oracle数据库配置类
 * 作者:cxf
 * 日期:2023年06月06日
 */
@Configuration // 标识为配置类
@Profile("oracle") // 指定使用环境名称
public class OracleConfig implements DatabaseConfig {
    @Override
    public void connect() {
        System.out.println("项目使用Oracle数据库环境~");
    }
}
3、创建Sybase数据库配置实现类
在net.cxf.boot.config.impl包里创建SybaseConfig类
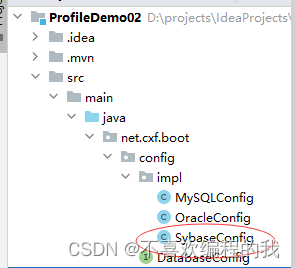
package net.cxf.boot.config.impl;
import net.cxf.boot.config.DatabaseConfig;
import org.springframework.context.annotation.Configuration;
import org.springframework.context.annotation.Profile;
/**
 * 功能:Sybase数据库配置类
 * 作者:cxf
 * 日期:2023年06月06日
 */
@Configuration // 标识为配置类
@Profile("sybase") // 指定使用环境名称
public class SybaseConfig implements DatabaseConfig {
    @Override
    public void connect() {
        System.out.println("项目使用Sybase数据库环境~");
    }
}
(四)在全局配置文件里设置使用环境
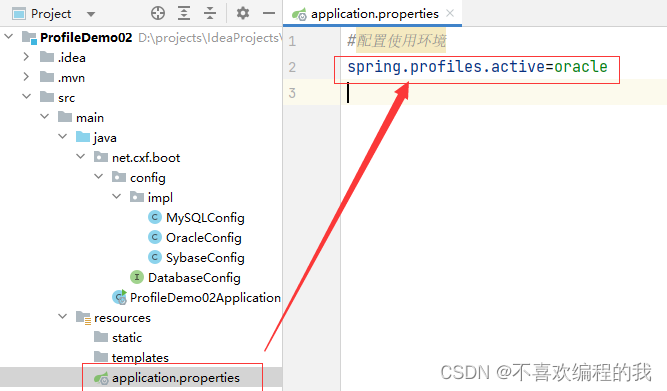
(五)编写测试方法
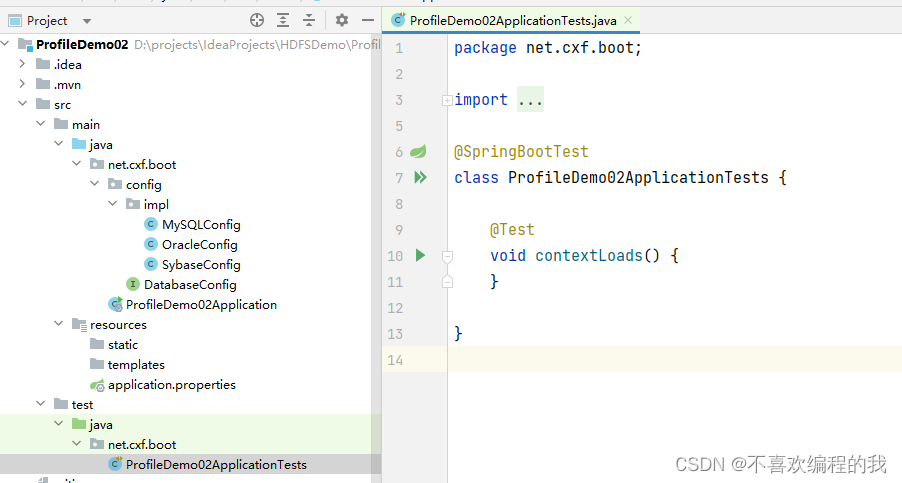
package net.cxf.boot;

import net.cxf.boot.config.DatabaseConfig;
import org.junit.jupiter.api.Test;
import org.springframework.beans.factory.annotation.Autowired;
import org.springframework.boot.test.context.SpringBootTest;

@SpringBootTest
class ProfileDemo02ApplicationTests {

    @Autowired // 注入数据库配置实体
    private DatabaseConfig databaseConfig;

    @Test
    void contextLoads() {
        // 调用数据库配置实体的方法
        databaseConfig.connect();
    }
}
(六)运行测试方法
运行contextLoads()测试方法,查看结果

三、随机值设置以及参数间引用
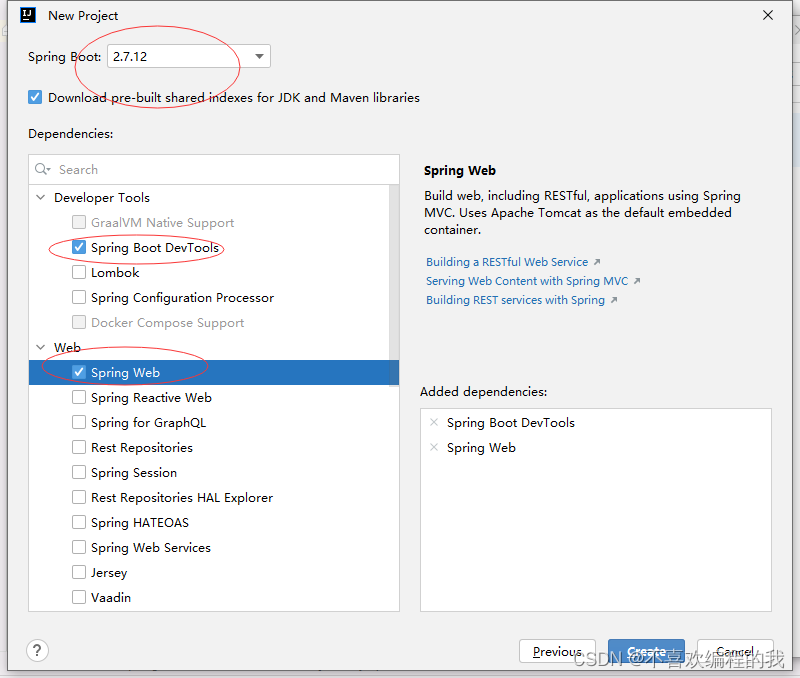
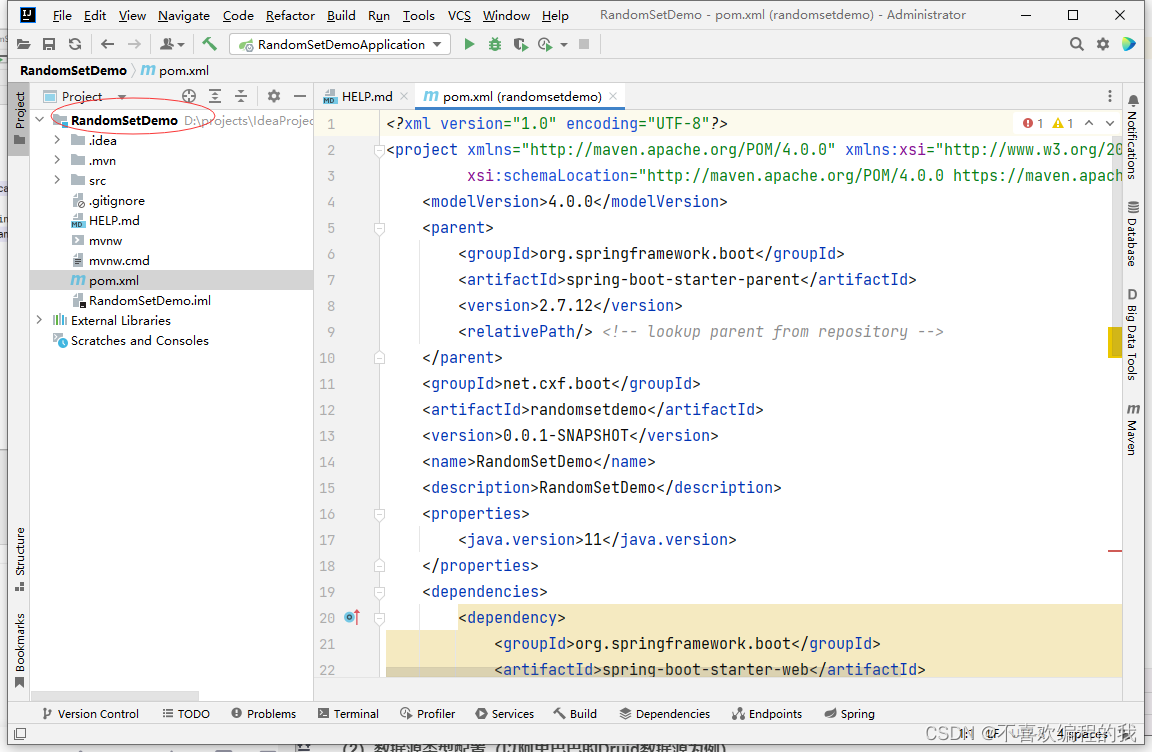
(一)创建Spring Boot项目
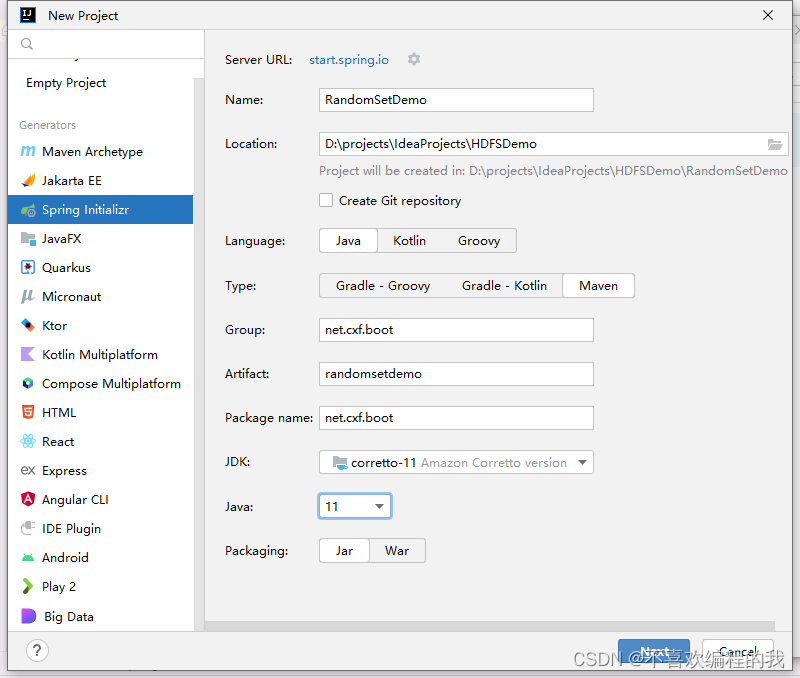
(二)在全局配置文件里配置随机值
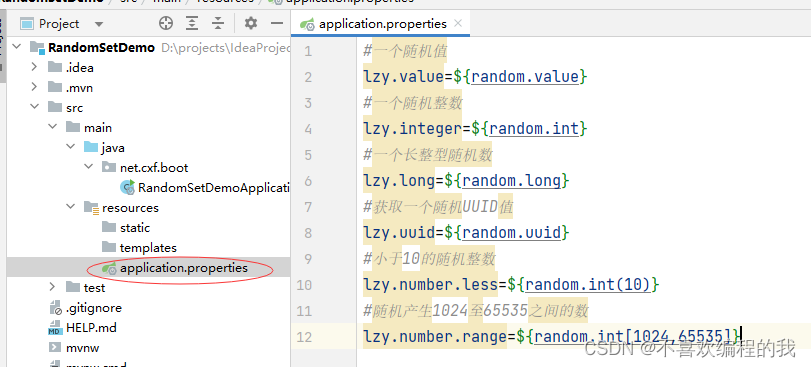
(三)测试配置的随机数
1、测试随机数lzy.number
package net.cxf.boot;
import org.junit.jupiter.api.Test;
import org.springframework.beans.factory.annotation.Value;
import org.springframework.boot.test.context.SpringBootTest;

@SpringBootTest
class RandomSetDemoApplicationTests {
    // 注入配置文件里的随机值
    @Value("${lzy.value}")
    private String value;

    @Test
    public void testRandomValue() {
        // 输出配置文件里的随机值
        System.out.println("随机值:" + value);
    }
}

2、测试随机整数lzy.integer
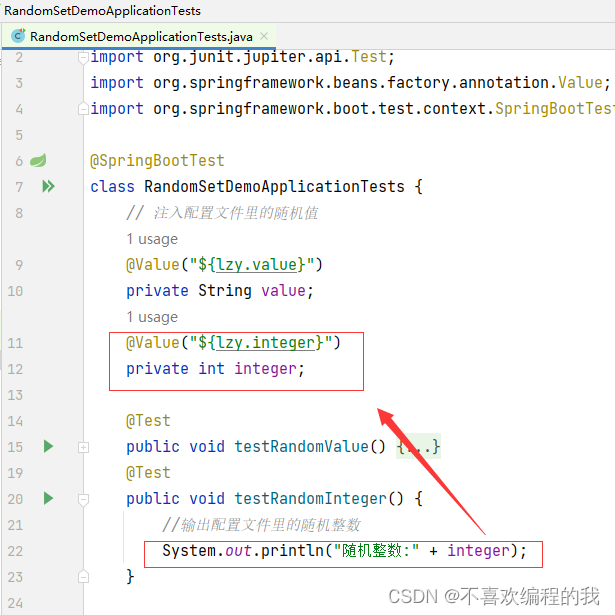
package net.cxf.boot;
import org.junit.jupiter.api.Test;
import org.springframework.beans.factory.annotation.Value;
import org.springframework.boot.test.context.SpringBootTest;

@SpringBootTest
class RandomSetDemoApplicationTests {
    // 注入配置文件里的随机值
    @Value("${lzy.value}")
    private String value;
    @Value("${lzy.integer}")
    private int integer;

    @Test
    public void testRandomValue() {
        // 输出配置文件里的随机值
        System.out.println("随机值:" + value);
    }
    @Test
    public void testRandomInteger() {
        //输出配置文件里的随机整数
        System.out.println("随机整数:" + integer);
    }

}


