Nginx服务基础、访问控制、虚拟主机
- 一、Nginx介绍
- 二、Linux系统Nginx安装
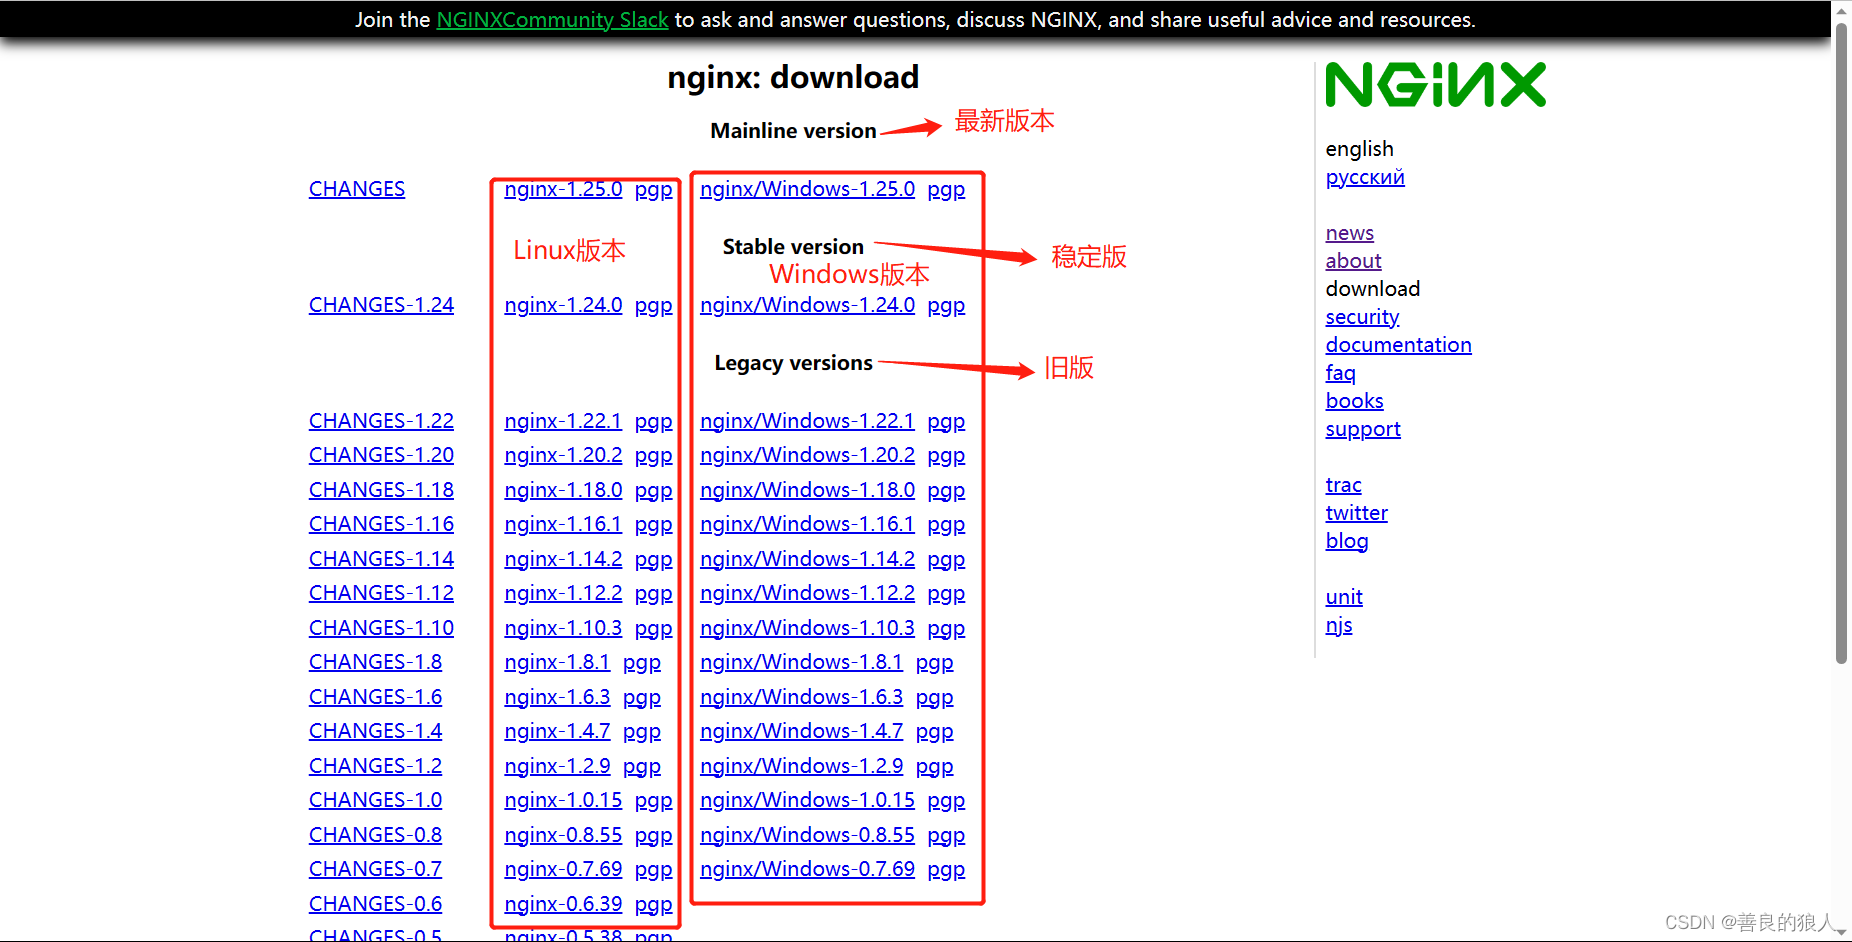
- 1、官网下载Nginx压缩包
- 2、编译安装Nginx
- 1.配置环境
- 2.安装依赖包
- 3.创建运行用户、组
- 4.编译安装
- 5.检查、启动、重启、停止 nginx 服务
- 6.添加Nginx系统服务
- 三、Nginx配置文件
- 1、全局配置
- 2、I/O 事件配置
- 3、HTTP配置
- 4、访问状态控制
- 四、Nginx访问控制
- 1、基于授权的访问控制步骤
- 1.概述
- 2.步骤
- 2、基于客户端的访问控制
- 1.概述
- 2.步骤
- 五、虚拟主机
- 1、基于域名的 Nginx 虚拟主机
- 2、基于端口的 Nginx 虚拟主机
- 3、基于IP的Nginx虚拟主机
一、Nginx介绍
- Nginx是一个高性能的HTTP和反向代理web服务器,同时也提供了IMAP/POP3/SMTP服务。Nginx是由伊戈尔·塞索耶夫为俄罗斯访问量第二的Rambler.ru站点开发的,第一个公开版本发布于2004年10月4日。其将源代码以类BSD许可证的形式发布,因它的稳定性、丰富的功能集、简单的配置文件和低系统资源的消耗闻名。
- Nginx是一款轻量级的web服务器/反向代理服务器及电子邮件(IMAP/POP3)代理服务器,在BSD-like协议下发行。其特点是占有内存少,并发能力强,事实上nginx的并发能力在同类型的网页服务器中表现较好,中国大陆使用nginx网站用户有:百度、京东、新浪、网易、腾讯、淘宝等。
- Nginx是高性能的HTTP和反向代理的web服务器,处理高并发能力是十分强大的,能经受高负载的考验,有报告表明能支持高达30000-50000个并发连接数。
- Nginx支持热部署,启动简单,可以做到7*24小时不间断运行。几个月不需要重新启动。
二、Linux系统Nginx安装
1、官网下载Nginx压缩包
2、编译安装Nginx
1.配置环境
- 关闭防火墙、selinux
systemctl stop firewalld
systemctl disable firewalld
setenforce 0
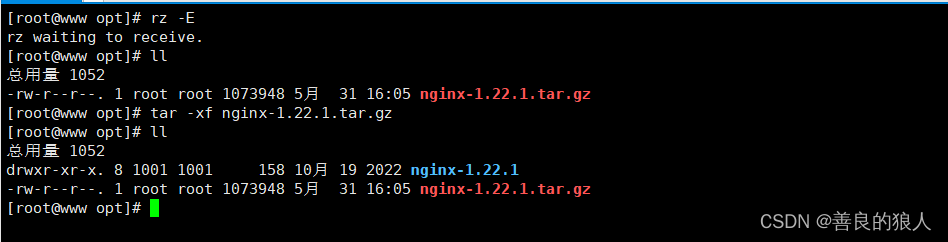
- 将nginx压缩包拖进去并解压
2.安装依赖包
yum -y install pcre-devel zlib-devel gcc gcc-c++ make
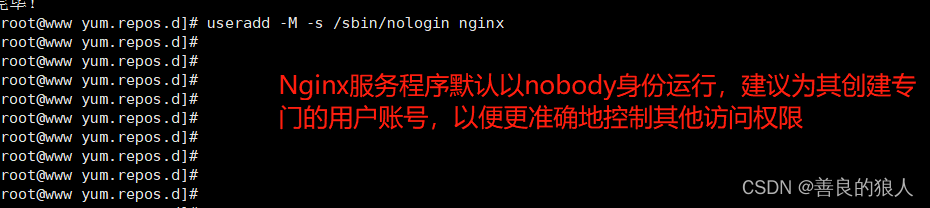
3.创建运行用户、组
useradd -M -s /sbin/nologin nginx
4.编译安装
cd /opt/nginx-1.12.2/
./configure \
--prefix=/usr/local/nginx \       #指定nginx安装路径
--user=nginx \                    #指定用户名
--group=nginx \                   #指定组名
--with-http_stub_status_module    #启用 httpd_stub_status_module 模块以支持状态统计

make -j 4 && make install

ln -s /usr/local/nginx/sbin/nginx /usr/local/sbin/
#优化路径,让系统识别nginx的操作命令
5.检查、启动、重启、停止 nginx 服务
nginx -t      #检查配置文件是否正确

##启动
nginx

##停止
cat /usr/local/nginx/logs/nginx.pid    #先查看nginx的PID号
kill -3 <PID号>
kill -s QUIT <PID号>
killall -3 nginx
killall -s QUIT nginx

##重载
kill -1 <PID号>
kill -s HUP <PID号>
killall -1 nginx
killall -s HUP nginx

##日志分隔,重新打开日志文件
kill -USR1 <PID号>

##平滑升级
kill -USR2 <PID号>
6.添加Nginx系统服务
方法一:
vim /etc/init.d/nginx
#!/bin/bash
#chkconfig: - 99 20    					   	    #chkcofig - “-” 表示不启用开机启动管理 (同时 若不加“#”, chkconfig add nginx 会加载不到配置)
#description: Nginx Service Control Script      #启动信息
COM="/usr/local/nginx/sbin/nginx"				#命令程序文件位置(nginx)
PID="/usr/local/nginx/logs/nginx.pid"			#pid文件
case "$1" in   									#$1指的是nginx的stop和start
start)
   $COM
   ;;
stop)
   kill -s QUIT $(cat $PID)
   ;;
restart)
   $0 stop    				#用$0执行stop
   $0 start   				#用$0调用start
   ;;
reload)
   kill -s HUP $(cat $PID)
   ;;
*)
       echo "Usage: $0 {start|stop|restart|reload}"
       exit 1
esac
exit 0

chmod +x /etc/init.d/nginx
chkconfig --add nginx   		#添加为系统服务
service nginx start		 	 	#开启服务
#可在/etc/rc.d/init.d目录下查看到nginx服务
方法二:
vim /usr/lib/systemd/system/nginx.service

[Unit]
Description=nginx		 	#描述
After=network.target		#描述服务类别
[Service]
Type=forking									#后台运行类型
PIDFile =/usr/local/nginx/logs/nginx.pid		#PID文件位置
ExecStart=/usr/local/nginx/sbin/nginx			#启动服务
ExecReload=/bin/kill -s HUP $MAINPID			#根据PID重载配置
ExecStop=/bin/kill -s QUIT $MAINPID				#根据PID终止进程
PrivateTmp=true						#开启
[Install]
WantedBy=multi-user.target			#启动级别

chmod 754 /lib/systemd/system/nginx.service		#设置754权限是一种安全优化
systemctl start nginx.service
systemctl enable nginx.service
三、Nginx配置文件
在 Nginx 服务器的主配置文件 /usr/local/nginx/conf/nginx.conf 中,包括全局配置、I/O 事件配置和 HTTP 配置这三大块内容,配置语句的格式为 “关键字 值 ;”(末尾以分号表示结束),以“#”开始的部分表示注释
cp /usr/local/nginx/conf/nginx.conf /usr/local/nginx/conf/nginx.conf.bak
#重中之重,先备份
1、全局配置
- 由各种配置语句组成,不使用特定的界定标记。全局配置部分包括 Nginx 服务的运行用户、工作进程数、错误日志、PID存放位置等基本设置
#user  nobody;                              #运行用户
worker_processes  1;						#工作进程数量
#error_log  logs/error.log;					#错误日志存放位置
#error_log  logs/error.log  notice;
#error_log  logs/error.log  info;
#pid        logs/nginx.pid;                 #PID文件的位置
2、I/O 事件配置
- 使用 "events { } " 界定标记,用来指定 Nginx 进程的 I/O 相应模型,每个进程的连接数等设置(默认为1024)
events {
    worker_connections  1024;
}
- linux 系统对文件打开的数量有最大的限制,通常设置为1024,这个数值很容易会达到,从而造成系统程序或者系统的瓶颈;所以需要修改文件打开最大数
root@c7-3 /usr/local/nginx/conf]#ulimit -a               #查看当前进程可以打开的最大文件数
pending signals                 (-i) 14984
max locked memory       (kbytes, -l) 64
max memory size         (kbytes, -m) unlimited
open files                      (-n) 1024
pipe size            (512 bytes, -p) 8
POSIX message queues     (bytes, -q) 819200
real-time priority              (-r) 0
......
[root@c7-3 /usr/local/nginx/conf]#ulimit -n              #查看当前进程可以打开文件的最大数量
1024
[root@c7-3 /usr/local/nginx/conf]#cat /proc/sys/fs/file-max      #查看当前系统的最大文件数
378925

#通过命令ulimit -n 65535可以进行更改
[root@nginx /usr/local/nginx/conf]#ulimit -n 65535
[root@nginx /usr/local/nginx/conf]#ulimit -n
65535
3、HTTP配置
- 使用 "http { } "界定标记,包括访问日志、HTTP 端口、网页目录、默认字符集、连接保持,以及虚拟Web主机、PHP解析等一系列设置,其中大部分配置语句都包含在子界定标记 "server { } " 内
http {
    include       mime.types;          			 	    #文件扩展名与文件类型映射表
    default_type  application/octet-stream;				#默认文件类型

														#日志格式设置
    #log_format  main  '$remote_addr - $remote_user [$time_local] "$request" '
    #                  '$status $body_bytes_sent "$http_referer" '
    #                  '"$http_user_agent" "$http_x_forwarded_for"';

    #access_log  logs/access.log  main;					#访问日志位置

    sendfile        on;									#支持文件发送(下载)
    #tcp_nopush     on;    								#此选项允许或禁止使用socket的TCP_CORK的选项( 发送数据包前先缓存数据),此选项仅在使用sendfile的时候使用

    #keepalive_timeout  0;								#连接保持超时时间,单位为秒
    keepalive_timeout  65;

    #gzip  on;											#压缩模块,on 表示开启

    server {											#web服务相关配置
        listen       80;								#默认监听的端口
        server_name  localhost;							#站点域名   需改为www.dsj.com


        #charset koi8-r;								#字符集支持(修改为中文UTF-8)

        #access_log  logs/host.access.log  main;		#此web服务的主访问日志

        location / {									#根目录配置
            root   html;								#网站根目录的位置(/usr/local/nginx/html)
            index  index.html index.htm;				#默认首页(索引页)
        }

        #error_page  404              /404.html;

        # redirect server error pages to the static page /50x.html
        #
        error_page   500 502 503 504  /50x.html;		#内部错误的反馈页面
        location = /50x.html {							#错误页面配置
            root   html;
        }
- 配置本地映射
[root@nginx /usr/local/nginx/conf]#vim /etc/hosts
127.0.0.1   localhost localhost.localdomain localhost4 localhost4.localdomain4
::1         localhost localhost.localdomain localhost6 localhost6.localdomain6
192.168.3.101 www.dsj.com                      #这里格式必不能错,不然无法访问
或
echo "192.168.3.101 www.dsj.com" >> /etc/hosts

[root@nginx /usr/local/nginx/conf]#curl www.dsj.com    #curl可以测试一台服务器是否可以到达一个网站
<!DOCTYPE html>
<html>
<head>
<title>Welcome to nginx!</title>
<style>
    body {
        width: 35em;
        margin: 0 auto;
        font-family: Tahoma, Verdana, Arial, sans-serif;
    }
</style>
</head>
<body>
<h1>Welcome to nginx!</h1>
<p>If you see this page, the nginx web server is successfully installed and
working. Further configuration is required.</p>

<p>For online documentation and support please refer to
<a href="http://nginx.org/">nginx.org</a>.<br/>
Commercial support is available at
<a href="http://nginx.com/">nginx.com</a>.</p>

<p><em>Thank you for using nginx.</em></p>
</body>
</html>
[root@nginx /usr/local/nginx/conf]#cd /usr/local/nginx/html/
[root@nginx /usr/local/nginx/html]#ls
50x.html  index.html
[root@nginx /usr/local/nginx/html]#mkdir test
[root@nginx /usr/local/nginx/html]#cd test/
[root@nginx /usr/local/nginx/html/test]#vim index.html

hello world!
[root@nginx /usr/local/nginx/html]#systemctl stop nginx.service
[root@nginx /usr/local/nginx/html]#systemctl start nginx.service
4、访问状态控制
- Nginx内置了 HTTP_STUB_STATUS 状态统计模块,用来反馈当前得 Web 访问情况,配置编译参数时可添加
–with-http_stup_status_dodule 来启用此模块支持。 - 可使用命令 /usr/local/nginx/sbin/nginx -V 来查看已安装的 Nginx 是否包含 HTTP_STUB_STATUS 模块。
- 要使用 Nginx 的状本统计功能,除了启用内建模块以外,还需要修改 nginx.conf 配置文件,指定访问位置并添加stub_status 配置代码。
[root@nginx /]#nginx -V
nginx version: nginx/1.12.2                 #版本
built by gcc 4.8.5 20150623 (Red Hat 4.8.5-44) (GCC)
											#环境配置
configure arguments: --prefix=/usr/local/nginx --user=nginx --group=nginx --with-  http_stub_status_module
- 修改 nginx.conf 配置文件,指定访问位置并添加 stub_status 配置代码
vim /usr/local/nginx/conf/nginx.conf
......
 35     server {
 36         listen       80;
 37         server_name  www.gkd.com;
 38
 39         #charset UTF-8;
 40
 41         #access_log  logs/host.access.log  main;
 42
 43         location / {
 44             root   html;
 45             index  index.html index.htm;
 46         }

#在46行下添加如下代码

    location /status {      #访问位置为/status
      stub_status on;       #打开状态统计功能
      access_log off;       #关闭此位置的日志记录
    }

#改完以后检查语句是否正确
nginx -t
- 改完以后重启 nginx 服务,在浏览器中访问服务器 /status 网站位置,可以看到当前得状态统计信息
”Active connections“表示当前的活动连接数
”server accepts handled requests“表示已经处理的连接信息,三个数字依次表示:
已处理的连接数、成功的TCP握手次数、己处理的请求数
四、Nginx访问控制
1、基于授权的访问控制步骤
1.概述
-
Nginx 与 Apache 一样,可以实现基于用户授权的访问控制,当客户端想要访问相应的网站或目录时,要求用户输入用户名和密码才能正常访问。
-
Apache 网页认证实现可总结为以下几个步骤:
① 生成用户密码认证文件
② 修改主配置文件相对应目录,添加认证配置项
③ 重启服务,访问测试
2.步骤
- 使用 htpasswd 生成用户认证文件,如果没有该命令,可使用 yum 安装 http-tools 软件包
[root@nginx /opt]#yum install -y httpd-tools.x86_64

#在/usr/local/nginx/目录下生成passwd.db文件,用户名为 test
[root@nginx /opt]#htpasswd -c /usr/local/nginx/passwd.db test
New password:                                 #输入二次密码
Re-type new password:
Adding password for user test				  #生成用户和密码的密文
[root@nginx /opt]#cat /usr/local/nginx/passwd.db
test:$apr1$sR3CEQF2$xv4yaAuGkOqm5D.BMJmYR.
- 修改密码文件的权限为400,将所有者改为 nignx ,设置 nginx 的运行用户有读取的权限
[root@nginx /opt]#chown nginx /usr/local/nginx/passwd.db
[root@nginx /opt]#chmod 400 /usr/local/nginx/passwd.db
[root@nginx /opt]#cd /usr/local/nginx/
[root@nginx /usr/local/nginx]#ll
总用量 8
......
-r-------- 1 nginx root   43 10月  08 0.28 passwd.db
- 修改主配置文件 nginx.conf ,添加相应认证配置项
[root@nginx /usr/local/nginx]#vim /usr/local/nginx/conf/nginx.conf
......
 #在43行下面添加配置选项
 43         location / {
 44         auth_basic "secret";             #在主页配置项中添加认证
 45         auth_basic_user_file /usr/local/nginx/passwd.db;
 46             root   html;
 47             index  index.html index.htm;
 48         }


[root@nginx /usr/local/nginx]#nginx -t     #检查语法有没有错误
nginx: the configuration file /usr/local/nginx/conf/nginx.conf syntax is ok
nginx: configuration file /usr/local/nginx/conf/nginx.conf test is successful
[root@nginx /usr/local/nginx]#systemctl stop nginx.service
[root@nginx /usr/local/nginx]#systemctl start nginx.service
重启服务以后,用浏览器访问网址,检验控制效果
2、基于客户端的访问控制
1.概述
- 基于客户端的访问控制是通过客户端 IP 地址,决定是否允许对页面访问。
- 规则如下:
① deny IP/IP段:拒绝某个 IP 或 IP 段的客户端访问
② allow IP/IP段:允许某个 IP 或 IP 段的客户端访问
③ 规则从上往下执行,如匹配则停止,不再往下匹配
2.步骤
[root@nginx /usr/local/nginx]#vim /usr/local/nginx/conf/nginx.conf
server {
…
location / {
auth_basic “secret”;
auth_basic_user_file /usr/local/nginx/passwd.db;
root html;
index index.html index.htm;
deny 192.168.8.133; #这里添加规则,不允许133的IP访问
allow all; #允许其它IP客户端访问,类似于黑白名单
}
[root@nginx /usr/local/nginx]#nginx -t #检查语法
nginx: the configuration file /usr/local/nginx/conf/nginx.conf syntax is ok
nginx: configuration file /usr/local/nginx/conf/nginx.conf test is successful
[root@nginx /usr/local/nginx]#systemctl stop nginx.service
[root@nginx /usr/local/nginx]#systemctl start nginx.service
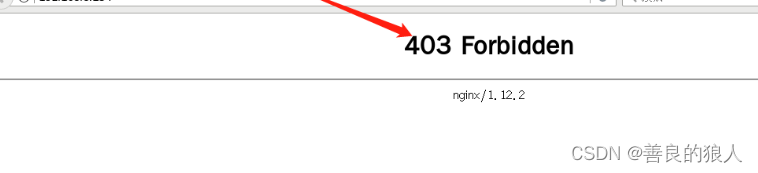
- 重启服务之后,用192.168.8.133这个用户访问就会被拒绝,其他的IP正常访问,如下图
五、虚拟主机
1、基于域名的 Nginx 虚拟主机
- 为虚拟主机提供域名解析
echo "192.168.8.135 www.accp.com www.benet.com" >> /etc/hosts
- 为虚拟主机准备网页文档
[root@localhost ~]#mkdir -p /var/www/html/accp
[root@localhost ~]#mkdir -p /var/www/html/benet
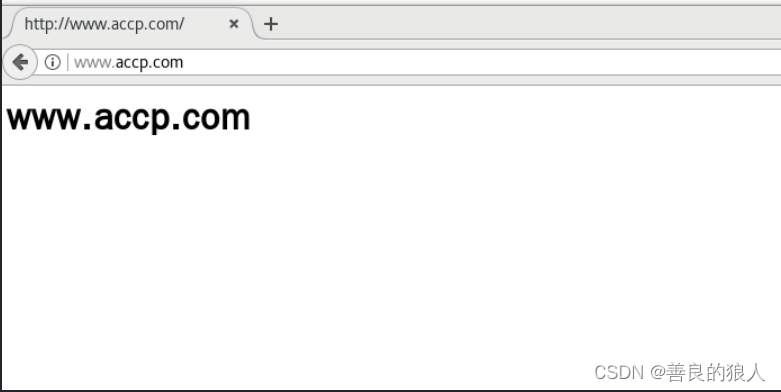
[root@localhost ~]#echo "<h1> www.accp.com</h1>" >/var/www/html/accp/index.html
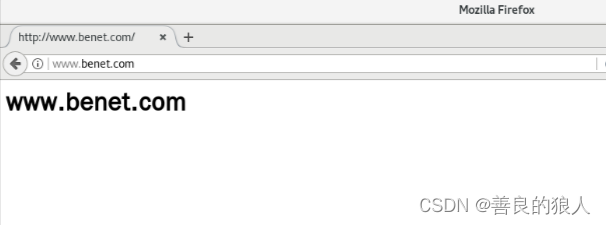
[root@localhost ~]#echo "<h1> www.benet.com</h1>" >/var/www/html/benet/index.html
[root@localhost ~]#cat /var/www/html/accp/index.html
<h1> www.accp.com</h1>
[root@localhost ~]#cat /var/www/html/benet/index.html
<h1> www.benet.com</h1>
- 修改 Nginx 的配置文件
    server {
        listen       80;
        server_name  www.accp.com;
        charset utf-8;
        access_log  logs/accp.access.log;
        location / {
            root   /var/www/html/accp;
            index  index.html index.htm;
        }
        error_page   500 502 503 504  /50x.html;
        location = /50x.html {
            root   html;
        }
}

    server {
        listen       80;
        server_name  www.benet.com;
        charset utf-8;
        access_log  logs/benet.access.log;
        location / {
            root   /var/www/html/benet;
            index  index.html index.htm;
        }
        error_page   500 502 503 504  /50x.html;
        location = /50x.html {
            root   html;
        }
}
[root@localhost ~]#nginx -t                   		 	  #检查语法错误
nginx: the configuration file /usr/local/nginx/conf/nginx.conf syntax is ok
nginx: configuration file /usr/local/nginx/conf/nginx.conf test is successful
[root@localhost ~]#systemctl restart nginx.service  	  #重启服务
2、基于端口的 Nginx 虚拟主机
- 修改 Nginx 的配置文件
server {
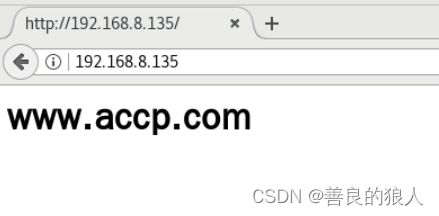
listen 192.168.8.135:80;
server_name www.accp.com;
charset utf-8;
access_log logs/accp.access.log;
location / {
root /var/www/html/accp;
index index.html index.htm;
}
error_page 500 502 503 504 /50x.html;
location = /50x.html {
root html;
}
}
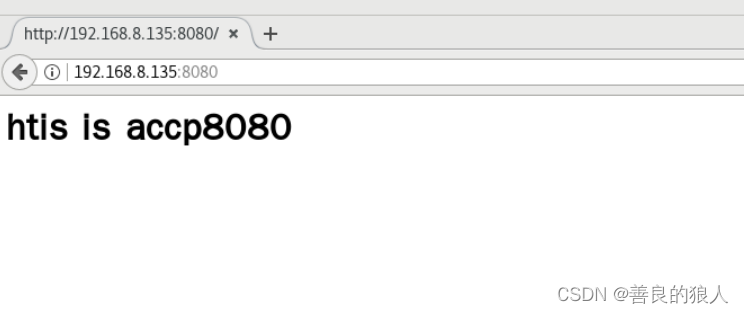
server {
listen 192.168.8.135:8080;
server_name www.accp.com;
charset utf-8;
access_log logs/accp8080.access.log;
location / {
root /var/www/html/accp8080;
index index.html index.htm;
}
error_page 500 502 503 504 /50x.html;
location = /50x.html {
root html;
}
}
-
检测、重启服务
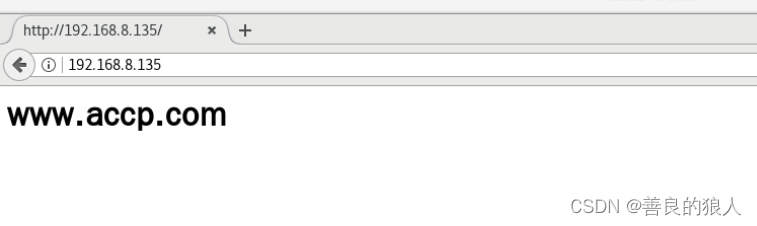
-
浏览器验证
-
查看日志
[root@localhost /var/www/html/accp8080]#cd /usr/local/nginx/
[root@localhost /usr/local/nginx]#ls
client_body_temp  conf  fastcgi_temp  html  logs  proxy_temp  sbin  scgi_temp  uwsgi_temp
[root@localhost /usr/local/nginx]#cd logs/
[root@localhost /usr/local/nginx/logs]#ls
access.log  accp8080.access.log  accp.access.log  benet.access.log  error.log  nginx.pid
3、基于IP的Nginx虚拟主机
- 添加192.168.8.188 的映射
[root@localhost /usr/local/nginx/conf]#vim /etc/hosts

127.0.0.1   localhost localhost.localdomain localhost4 localhost4.localdomain4
::1         localhost localhost.localdomain localhost6 localhost6.localdomain6
192.168.8.135 www.accp.com
192.168.8.188 www.benet.com
- 创建网站根目录,创建192.168.8.188的网站首页文件
[root@localhost /usr/local/nginx/logs]#cd /var/www/html/
[root@localhost /var/www/html]#mkdir benet188
[root@localhost /var/www/html]#ls
accp accp8080 benet benet188
[root@localhost /var/www/html]#cd benet188/
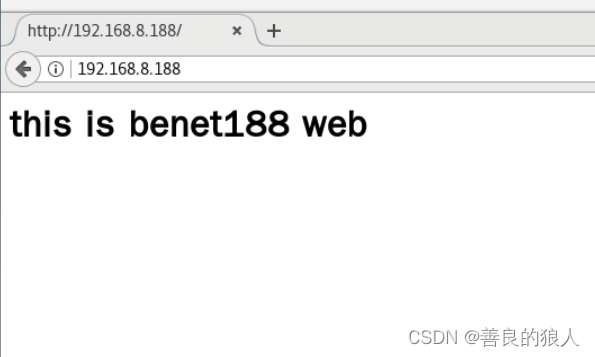
[root@localhost /var/www/html/benet188]#vim index.html
<h1> this is benet188 web </h1>
- 创建临时虚拟网卡
[root@localhost /usr/local/nginx/conf]#ifconfig ens33:0 192.168.8.188 netmask 255.255.255.0
[root@localhost /usr/local/nginx/conf]#ifconfig
......
ens33:0: flags=4163<UP,BROADCAST,RUNNING,MULTICAST>  mtu 1500
        inet 192.168.8.188  netmask 255.255.255.0  broadcast 192.168.8.255
        ether 00:0c:29:57:05:a8  txqueuelen 1000  (Ethernet)
- 修改 Nginx 的配置文件
[root@localhost /var/www/html/benet188]#cd /usr/local/nginx/conf/
[root@localhost /usr/local/nginx/conf]#vim nginx.conf
    server {
        listen       192.168.8.135:80;
        server_name  www.accp.com;
        charset utf-8;
        access_log  logs/accp.access.log;
        location / {
            root   /var/www/html/accp;
            index  index.html index.htm;
        }
        error_page   500 502 503 504  /50x.html;
        location = /50x.html {
            root   html;
        }
}

    server {
        listen       192.168.8.188:80;
        server_name  www.benet.com;
        charset utf-8;
        access_log  logs/benet188.access.log;
        location / {
            root   /var/www/html/benet188;
            index  index.html index.htm;
        }
        error_page   500 502 503 504  /50x.html;
        location = /50x.html {
            root   html;
        }
}
- 检测、重启服务
[root@localhost /usr/local/nginx/conf]#nginx -t
nginx: the configuration file /usr/local/nginx/conf/nginx.conf syntax is ok
nginx: configuration file /usr/local/nginx/conf/nginx.conf test is successful
[root@localhost /usr/local/nginx/conf]#systemctl restart nginx.service
- 浏览器验证