1、前期的数据准备
1》创建一个学生表
create table student(id char(30),name char(30),age int,phone char(100),address char(100));2》插入数据
insert into student values("1001","zhanghuan","21","1111","guiyang");

insert into student values("1002","weitiao","24","1112","baiyun");

insert into student values("1003","tanqian","18","1113","panzhou");

insert into student values("1004","hexiong","17","1114","neimeng");
查询显示:
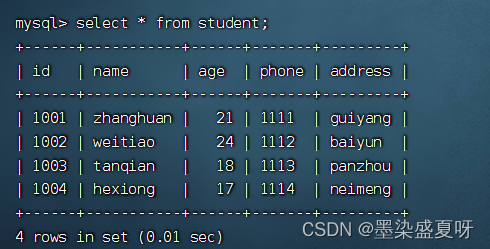
3》使用ETL工具Sqoop,将MySQL数据库db03中的student表的数据导入到大数据平台的Hive中。
sqoop import -connect jdbc:mysql://hadoop:3306/db03 -username sqoop03 -password 123456 -table student -hive-import -hive-table myhive.student1 -m 1
2、columns的用法
1》将mysql中student表中的id,name,age字段写入hive表中:
sqoop import -connect jdbc:mysql://hadoop:3306/db03 -username sqoop03 -password 123456 -table student -hive-import -hive-table myhive.student2 -m 1 -columns 'name,id,age'

3. where的用法
1》将mysql中的student表中的学习名字以z或者h开头的学生信息导入到hive表中
sqoop import -connect jdbc:mysql://hadoop:3306/db03 -username sqoop03 -password 123456 --target-dir student -hive-import -hive-table myhive.student3 -m 1 -query "select * from student where name like 'z%'||name like 'h%' and \$CONDITIONS"

4、query的用法
1》 将mysql中的student表中的年龄大于21且地址为baiyun的学生信息导入到hive表中
sqoop import -connect jdbc:mysql://hadoop:3306/db03 -username sqoop03 -password 123456 --target-dir student -query "select * from student where age>21 &&address= 'baiyun' and \$CONDITIONS" -hive-import -hive-table myhive.student4 -m 1

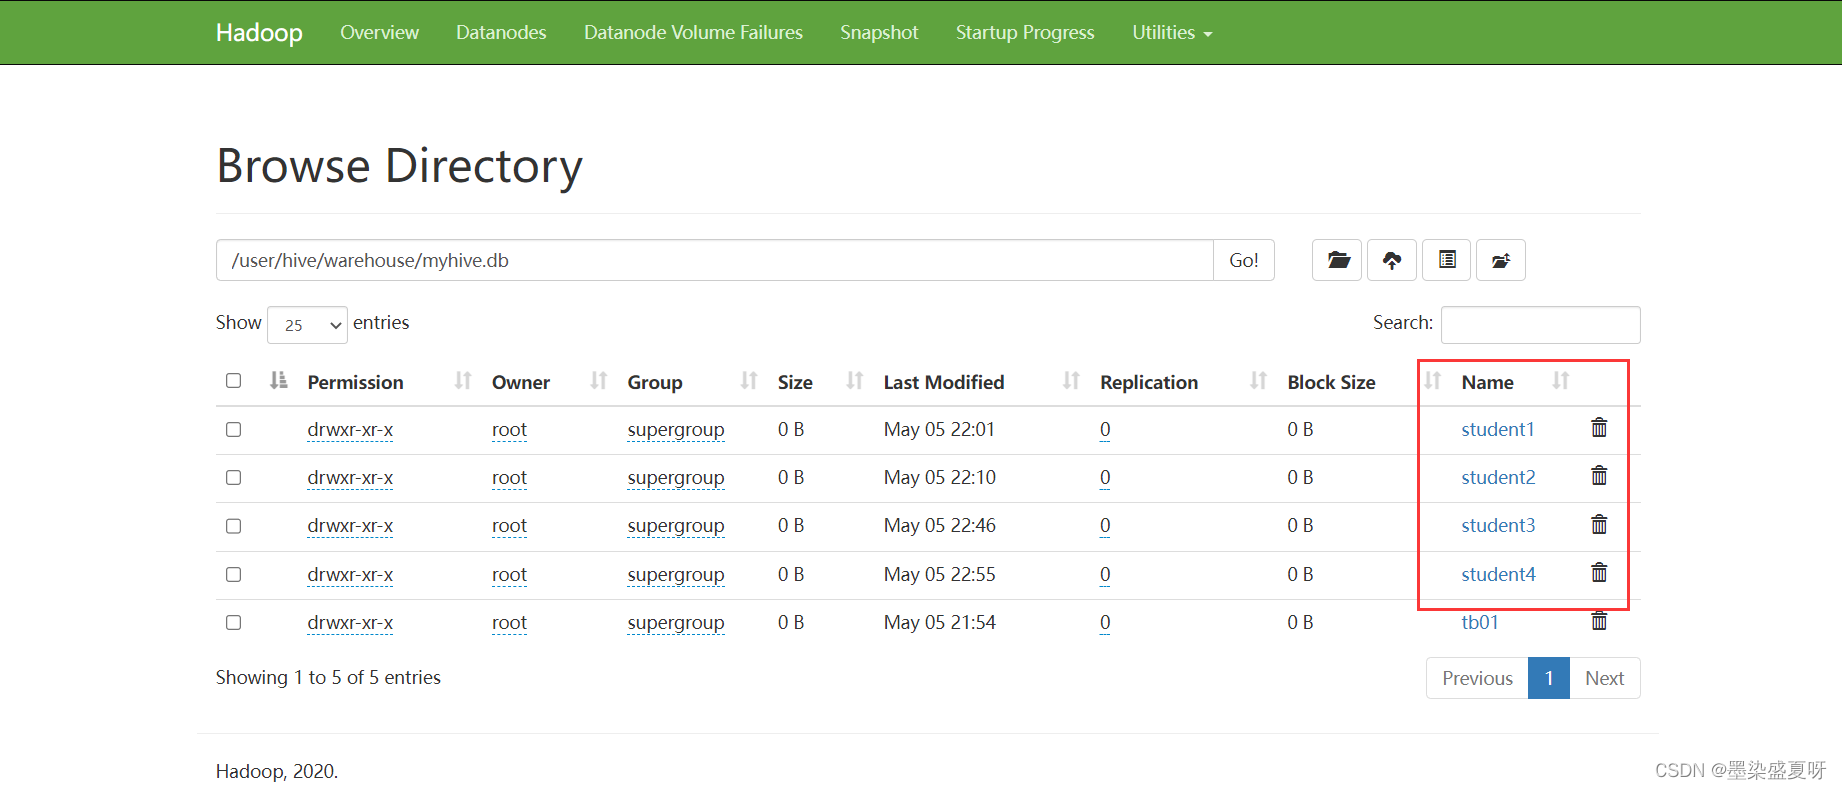
5、 可以http://192.168.10.130:9870下看见从mysql导入的表
