文章目录
- 1、简介
- 1.1 flask
- 1.2 vue
- 2、开发
- 2.1 新建flask项目
- 2.2 安装flask库
- 2.3 新建flask的主脚本
- 2.4 新建Vue项目
- 2.5 安装vue项目依赖项
- 2.6 新增组件Ping.vue
- 2.7 Ping.vue增加HTTP请求
- 2.8 美化vue前端页面
- 2.9 新增组件Books.vue
- 2.10 flask增加路由Books
- 2.11 Books.vue增加HTTP请求
- 2.12 flask修改路由Books
- 2.13 Books.vue增加添加接口
- 2.14 新增组件Alert.vue
- 2.15 修改组件Alert.vue
- 2.16 变量绑定Alert组件
- 2.17 flask端Book对象添加唯一id
- 2.18 Books.vue增加更新操作
- 结语
1、简介
1.1 flask
Flask是一个简单但功能强大的Python微Web框架,非常适合构建RESTful API。像Sinatra(Ruby)和Express(Node)一样,它是最小和灵活的,所以你可以从小处着手,然后根据需要构建更复杂的应用程序。
安装如下:
pip install flask

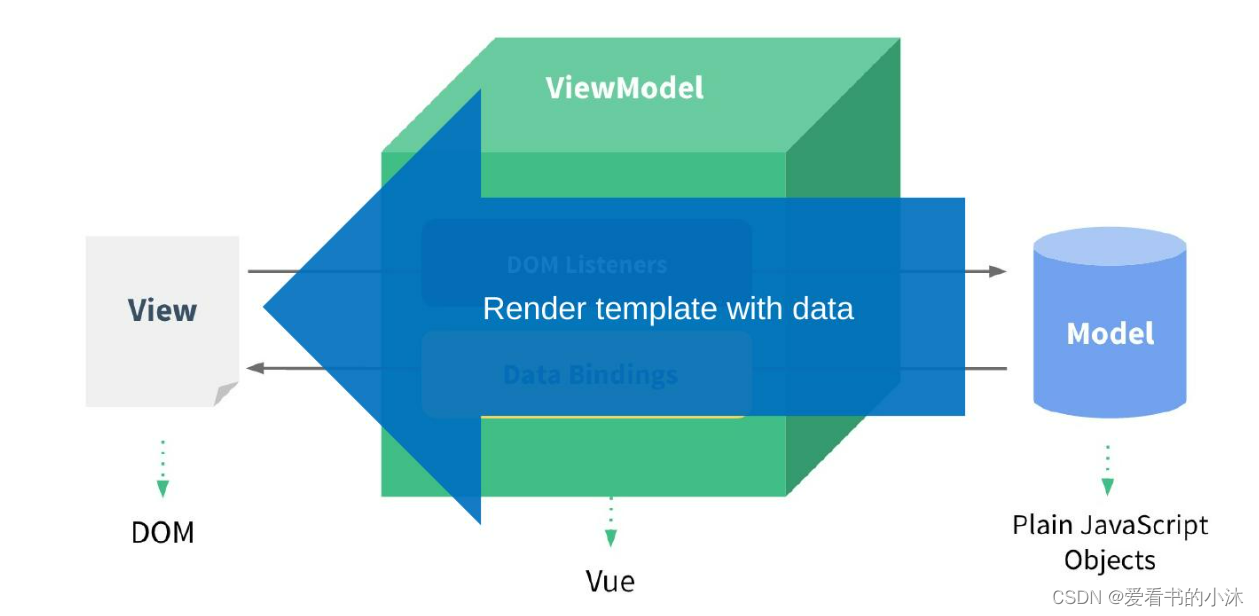
1.2 vue
Vue 是一个用于构建用户界面的开源 JavaScript 框架。它采用了React和Angular的一些最佳实践。也就是说,与 React 和 Angular 相比,它更平易近人,因此初学者可以快速启动和运行。它也同样强大,因此它提供了创建现代前端应用程序所需的所有功能。
安装如下:
npm create vue@3.6.1
2、开发
2.1 新建flask项目
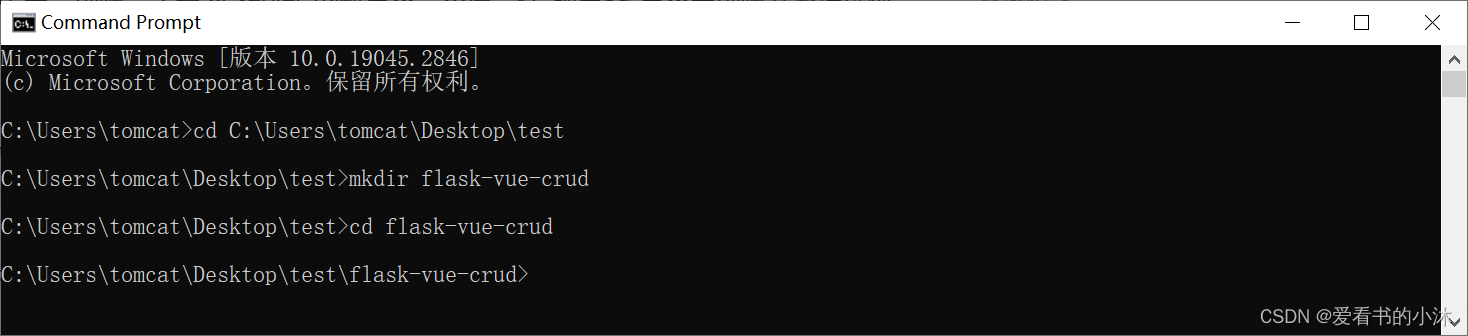
首先创建一个新的项目目录:
mkdir flask-vue-crud
cd flask-vue-crud
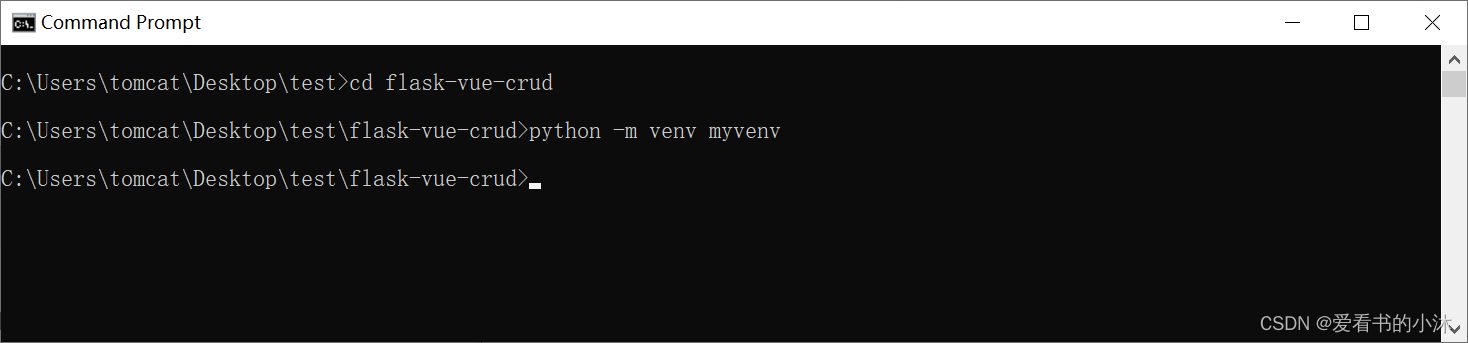
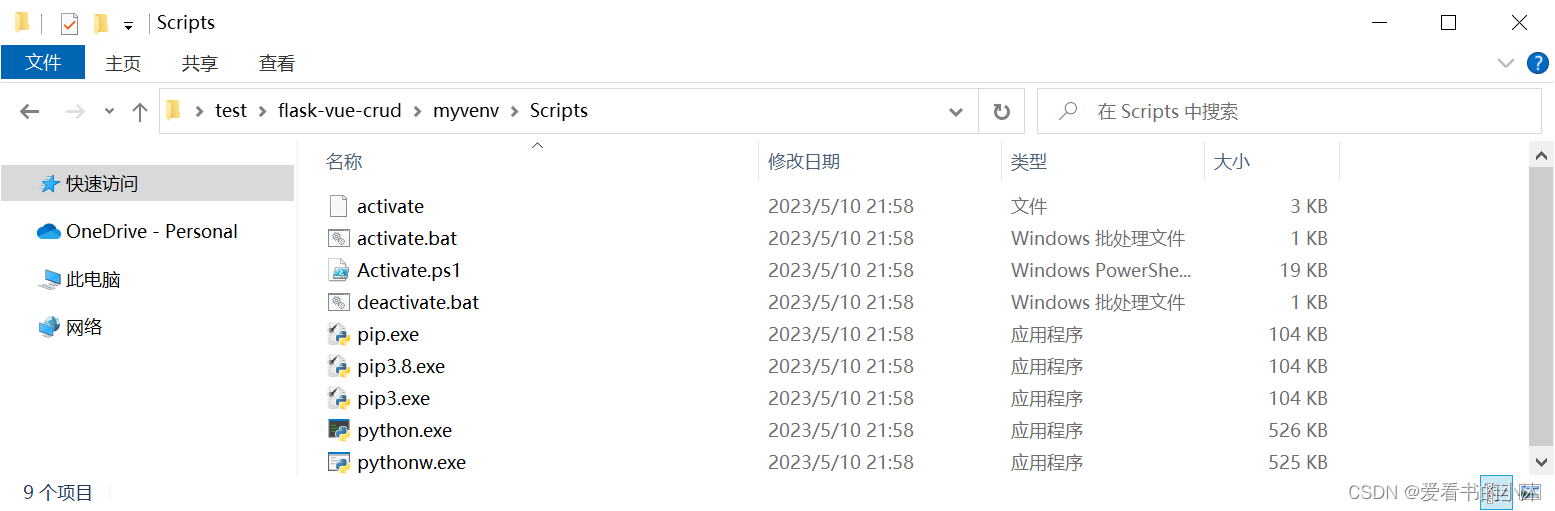
创建并激活虚拟环境:
python -m venv myvenv
.\myvenv\Scripts\activate

2.2 安装flask库
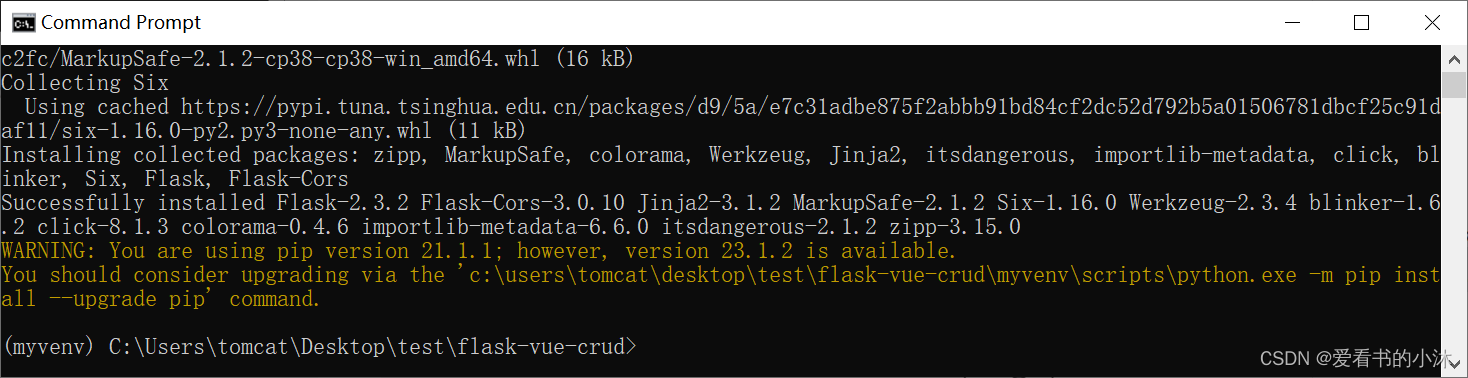
将 Flask 与 Flask-CORS 扩展一起安装:
pip install Flask Flask-Cors
2.3 新建flask的主脚本
app.py:
# -*- coding:utf-8 -*-

from flask import Flask, jsonify, make_response
from flask_cors import CORS

class Config(object):
    DEBUG=True
    JSON_AS_ASCII=False

# instantiate the app
app = Flask(__name__)
# app.config.from_object(__name__)
app.config.from_object(Config)
# app.config["JSON_AS_ASCII"] = False
# app.config['DEBUG'] = True
# app.config['JSONIFY_MIMETYPE'] = "application/json;charset=utf-8"

# enable CORS
CORS(app, resources={r'/*': {'origins': '*'}})

@app.route('/', methods=['GET'])
def index():
    response = make_response(jsonify('爱看书的小沐!'))
    response.headers['Content-Type'] = 'application/json;charset=utf-8'
    return response
    # return jsonify('爱看书的小沐!')

# sanity check route
@app.route('/ping', methods=['GET'])
def ping_pong():
    return jsonify("xiaomu's pong!")

if __name__ == '__main__':
    app.run(port=5001)
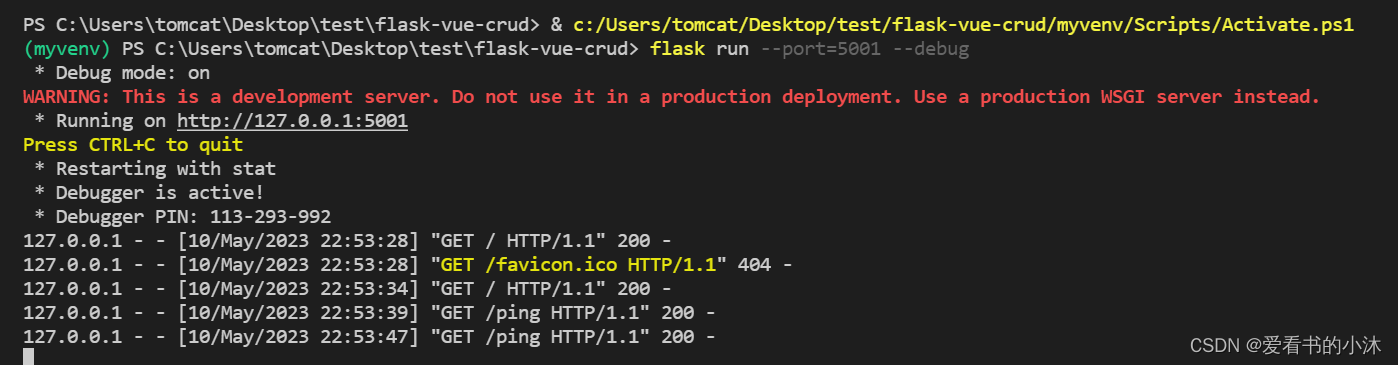
运行上面这个脚本:
flask run --port=5001 --debug

2.4 新建Vue项目
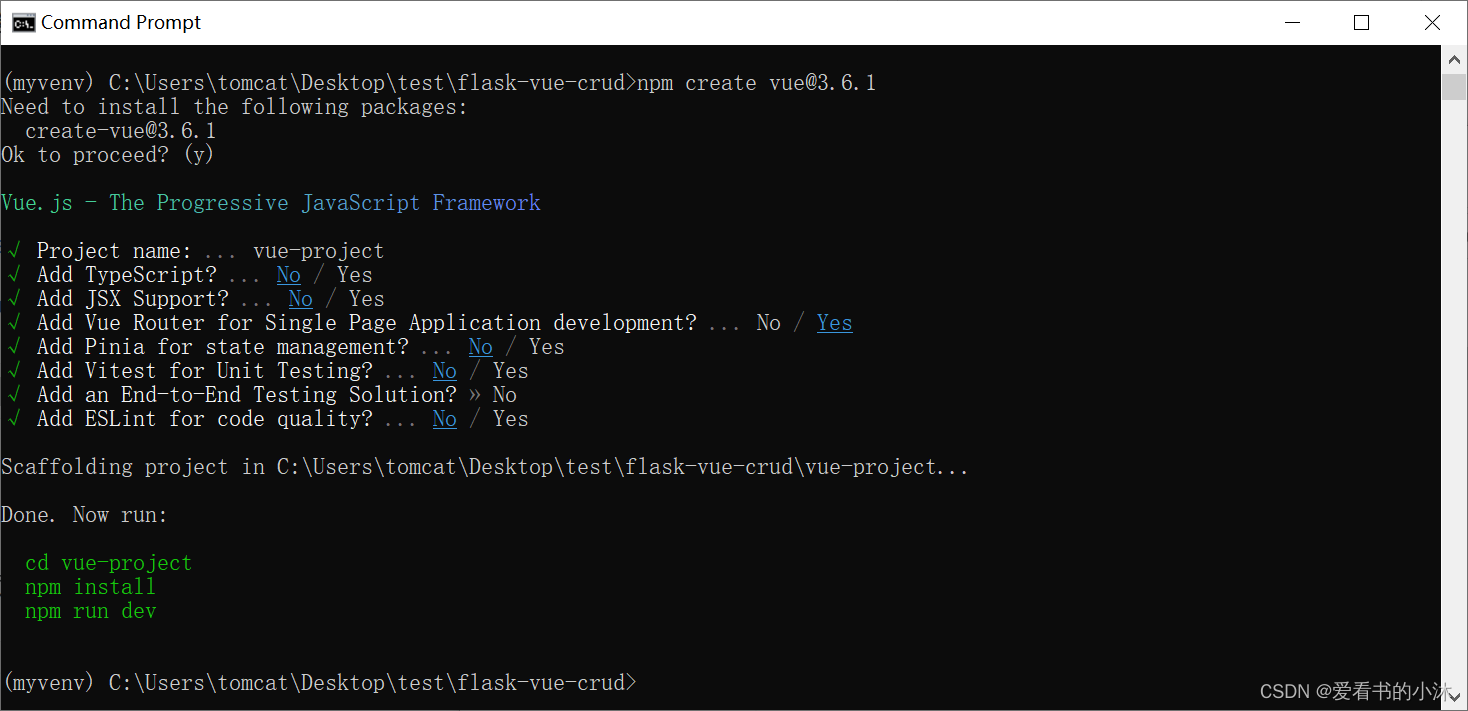
使用强大的create-vue工具,它使用Vite来生成一个定制的项目样板。
在 “flask-vue-crud” 中,运行以下命令来初始化一个新的 Vue 项目:
npm create vue@3.6.1
快速浏览生成的项目结构。这可能看起来很多,但我们只会处理“src”文件夹中的文件和文件夹以及index.html文件。

main.js	:app 入口点,它加载并初始化 Vue 以及根组件
App.vue:根组件,这是呈现所有其他组件的起点
"components"	:UI 组件的存储位置
router/index.js	:定义 URL 并将其映射到组件的位置
"views":	绑定到路由器的 UI 组件的存储位置
"assets":静态资产(如图像和字体)的存储位置
查看 client/src/components/HelloWorld.vue 文件。这是一个单个文件组件,分为三个不同的部分:
模板:用于特定于组件的 HTML
脚本:组件逻辑通过JavaScript实现
样式:用于 CSS 样式
其中index.html 文件是我们 Vue 应用程序的起点:
<!DOCTYPE html>
<html lang="en">
  <head>
    <meta charset="UTF-8">
    <link rel="icon" href="/favicon.ico">
    <meta name="viewport" content="width=device-width, initial-scale=1.0">
    <title>Vite App</title>
  </head>
  <body>
    <div id="app"></div>
    <script type="module" src="/src/main.js"></script>
  </body>
</html>
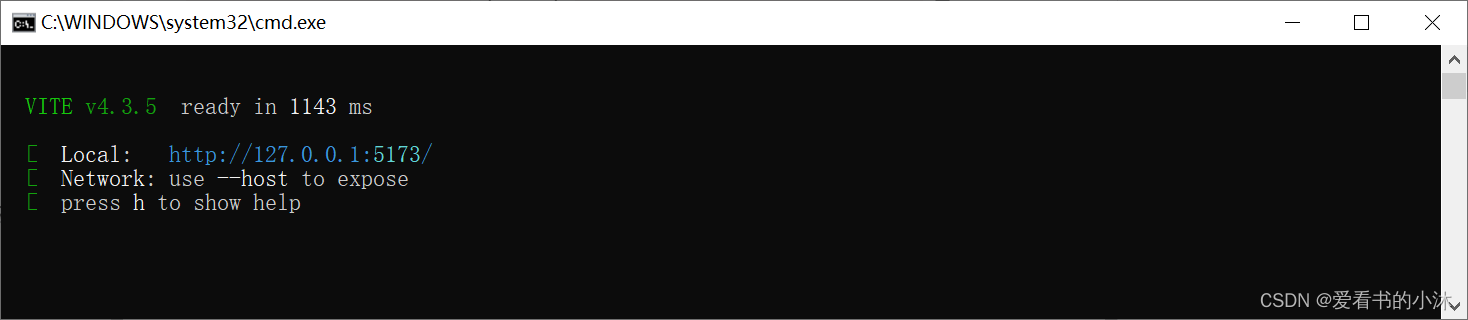
2.5 安装vue项目依赖项
$ cd vue-project
$ npm install
$ npm run dev
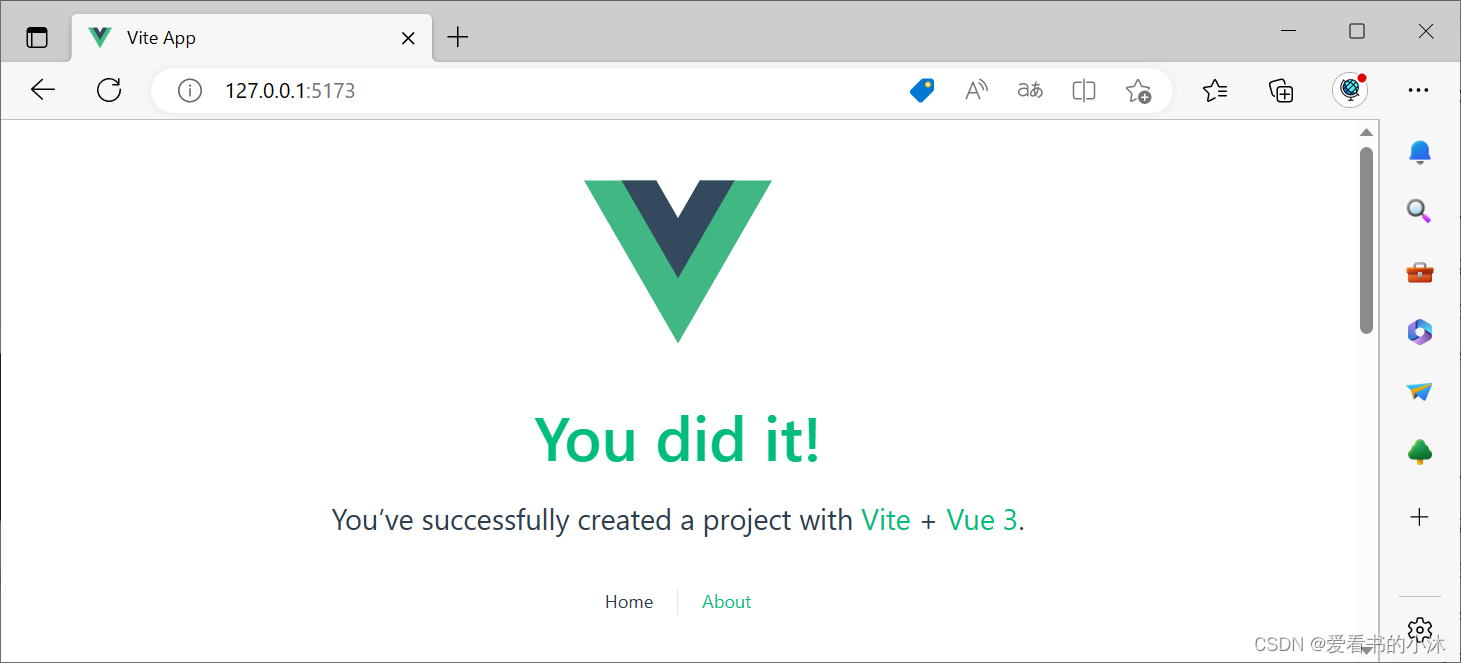
浏览器访问如下:
2.6 新增组件Ping.vue
为了简化操作,请删除“vue-project/src/views”和“vue-project/src/components/icons”文件夹以及vue-project/src/components/TheWelcome.vue和vue-project/src/components/WelcomeItem.vue组件。然后,将一个名为 Ping.vue 的新组件添加到名为 Ping.vue 的“vue-project/src/components”文件夹中:
<template>
  <div>
    <p>{{ msg }}</p>
  </div>
</template>

<script>
export default {
  name: 'Ping',
  data() {
    return {
      msg: 'Hello!',
    };
  },
};
</script>
更新客户端/src/router/index.js将“/ping”映射到组件,如下所示:
import { createRouter, createWebHistory } from 'vue-router'
import Ping from '../components/Ping.vue'

const router = createRouter({
  history: createWebHistory(import.meta.env.BASE_URL),
  routes: [
    {
      path: '/ping',
      name: 'ping',
      component: Ping
    },
  ]
})

export default router
最后,在 vue-project/src/App.vue 中,删除导航以及样式:
<template>
  <RouterView />
</template>

<script setup>
import { RouterView } from 'vue-router'
</script>
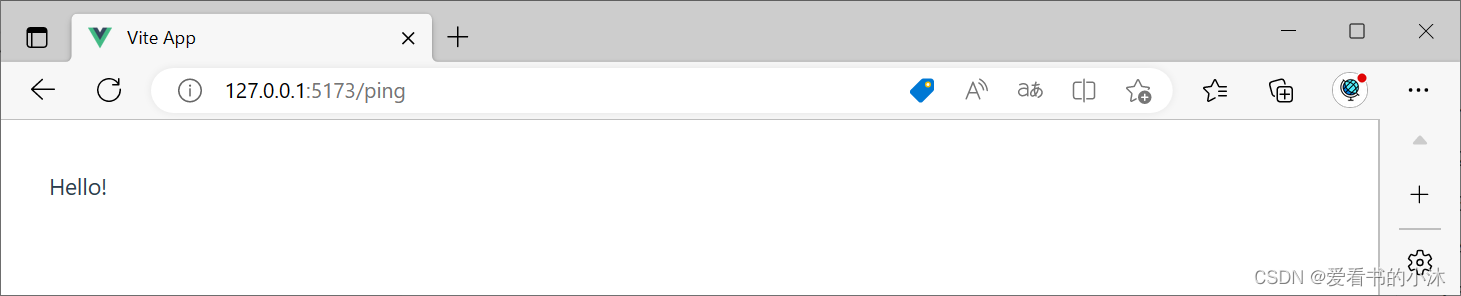
在浏览器访问: http://localhost:5173/ping
2.7 Ping.vue增加HTTP请求
要将客户端 Vue 应用程序与后端 Flask 应用程序连接起来,我们可以使用 Axios 库发送 HTTP 请求。
npm install axios@1.3.6 --save
在 Ping.vue 中更新组件的部分,如下所示:
<template>
  <div>
    <p>{{ msg }}</p>
  </div>
</template>

<script>
import axios from 'axios';

export default {
  name: 'Ping',
  data() {
    return {
      msg: '',
    };
  },
  methods: {
    getMessage() {
      const path = 'http://localhost:5001/ping';
      axios.get(path)
        .then((res) => {
          this.msg = res.data;
        })
        .catch((error) => {

          console.error(error);
        });
    },
  },
  created() {
    this.getMessage();
  },
};
</script>
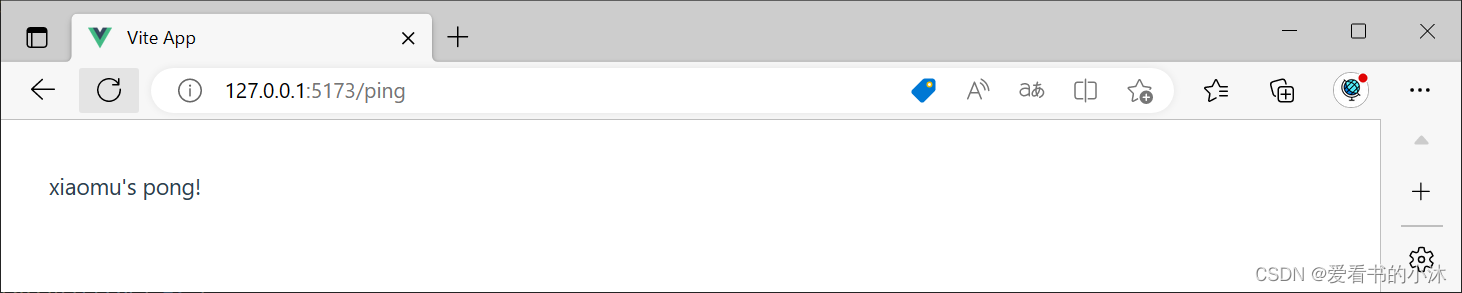
随着 Vue 应用程序在不同的终端窗口中运行,您现在应该在浏览器中看到。
2.8 美化vue前端页面
接下来,让我们将 Bootstrap(一个流行的 CSS 框架)添加到应用程序中,以便我们可以快速添加一些样式。
npm install bootstrap@5.2.3 --save
将引导程序样式导入客户端/src/main.js:
import { createApp } from 'vue'
import App from './App.vue'
import router from './router'
import 'bootstrap/dist/css/bootstrap.css' //add by tomcat

import './assets/main.css'

const app = createApp(App)
app.use(router)
app.mount('#app')
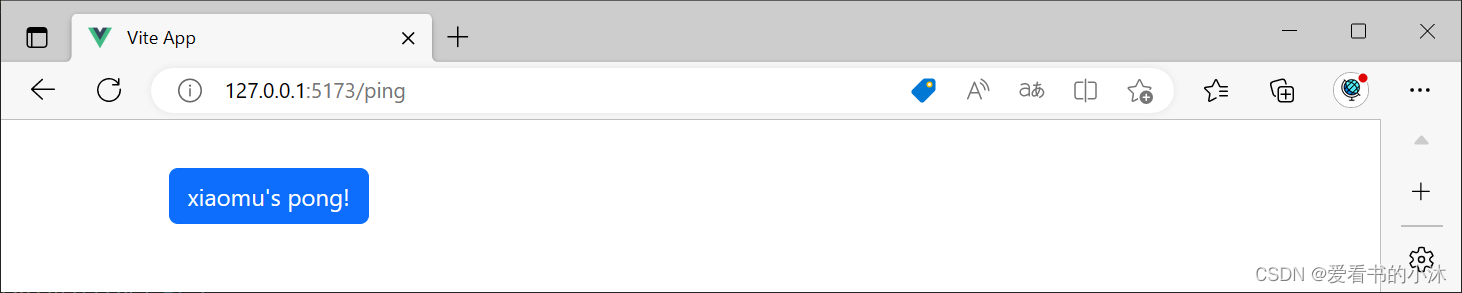
更新vue-project\src\components\Ping.vue的template部分:
<template>
  <div class="container">
    <button type="button" class="btn btn-primary">{{ msg }}</button>
  </div>
</template>
运行开发服务器:
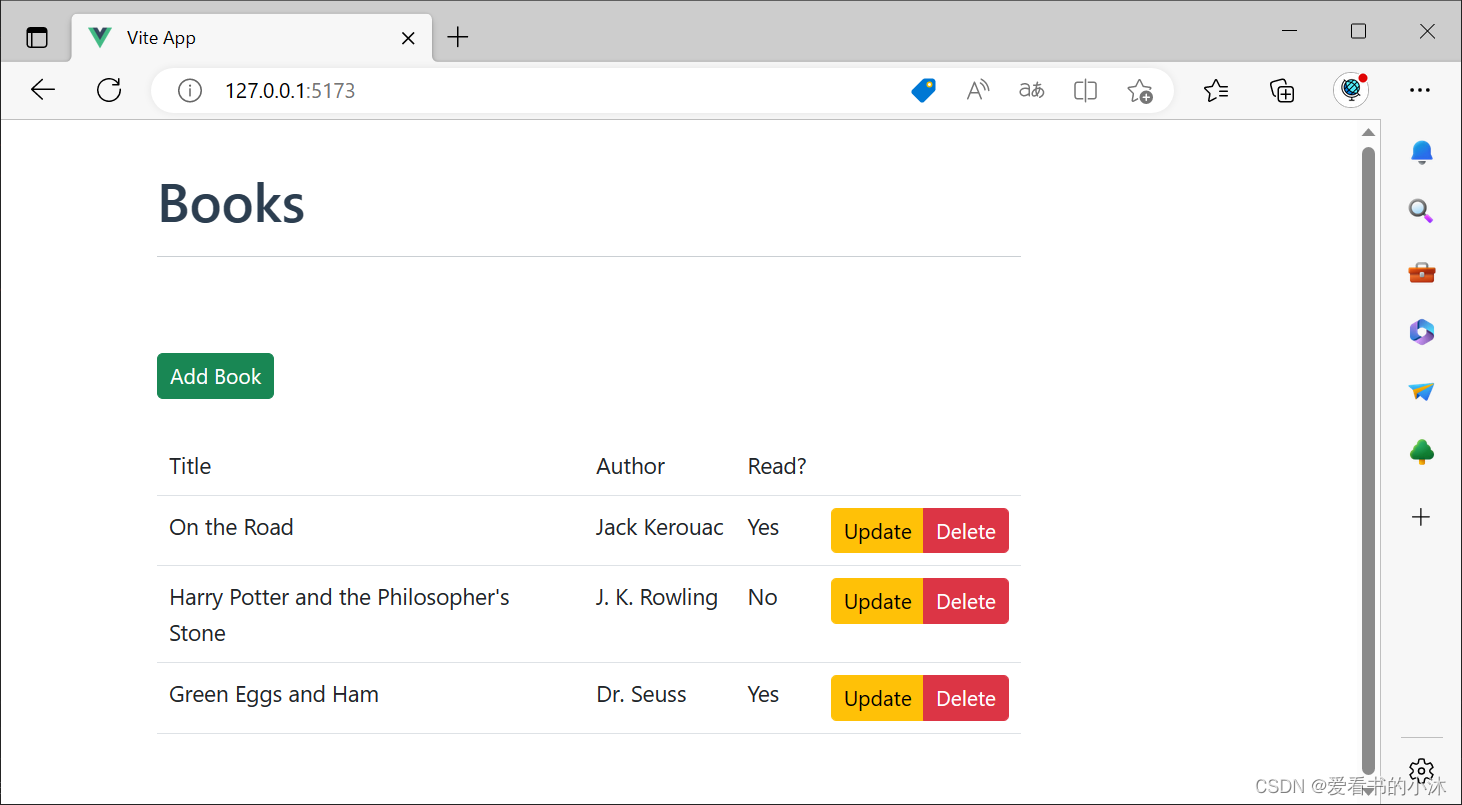
2.9 新增组件Books.vue
<template>
  <div class="container">
    <div class="row">
      <div class="col-sm-10">
        <h1>Books</h1>
        <hr><br><br>
        <button type="button" class="btn btn-success btn-sm">Add Book</button>
        <br><br>
        <table class="table table-hover">
          <thead>
            <tr>
              <th scope="col">Title</th>
              <th scope="col">Author</th>
              <th scope="col">Read?</th>
              <th></th>
            </tr>
          </thead>
          <tbody>
            <tr>
              <td>foo</td>
              <td>bar</td>
              <td>foobar</td>
              <td>
                <div class="btn-group" role="group">
                  <button type="button" class="btn btn-warning btn-sm">Update</button>
                  <button type="button" class="btn btn-danger btn-sm">Delete</button>
                </div>
              </td>
            </tr>
          </tbody>
        </table>
      </div>
    </div>
  </div>
</template>
修改路由文件:vue-project\src\router\index.js
import { createRouter, createWebHistory } from 'vue-router'
import Books from '../components/Books.vue'
import Ping from '../components/Ping.vue'

const router = createRouter({
  history: createWebHistory(import.meta.env.BASE_URL),
  routes: [
    {
      path: '/',
      name: 'Books',
      component: Books,
    },
    {
      path: '/ping',
      name: 'ping',
      component: Ping
    },
  ]
})

export default router
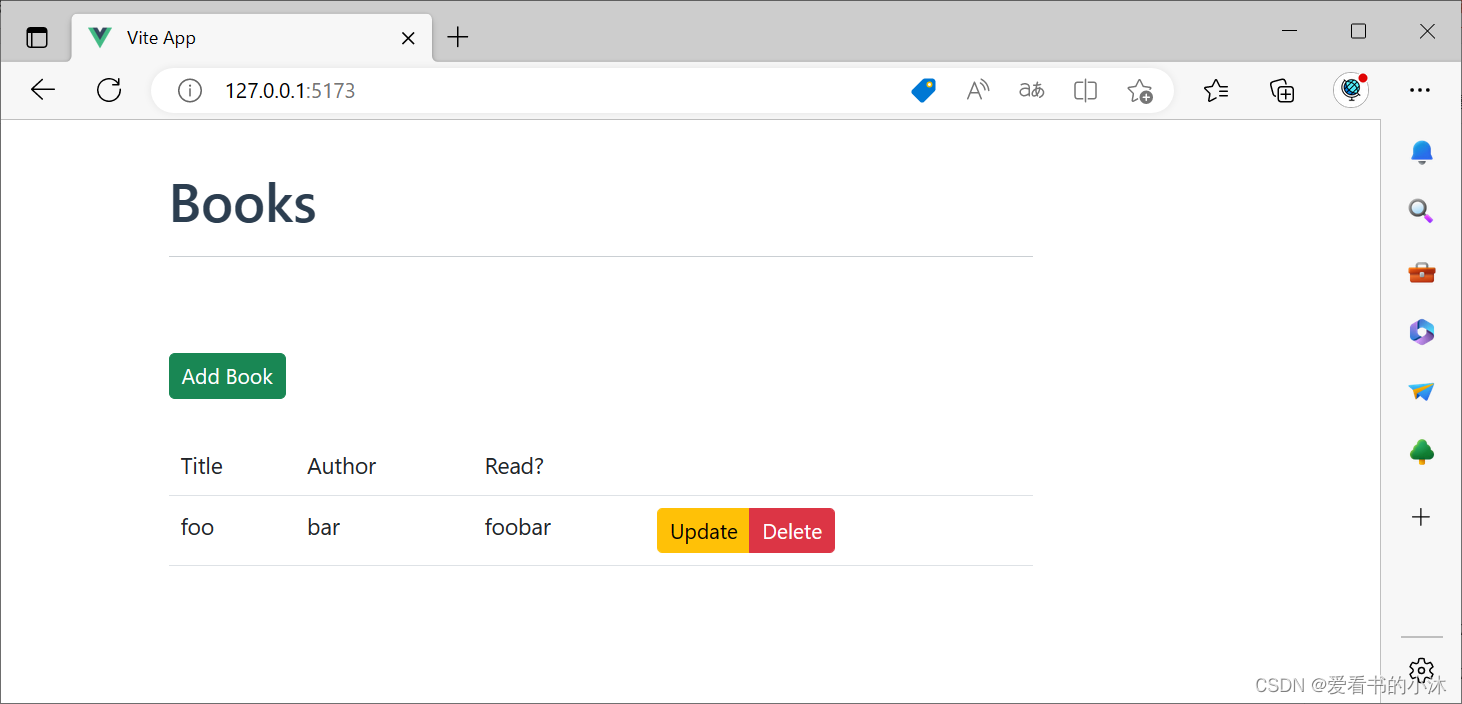
浏览器访问:http://localhost:5173
2.10 flask增加路由Books
app.py:
BOOKS = [
    {
        'title': 'On the Road',
        'author': 'Jack Kerouac',
        'read': True
    },
    {
        'title': 'Harry Potter and the Philosopher\'s Stone',
        'author': 'J. K. Rowling',
        'read': False
    },
    {
        'title': 'Green Eggs and Ham',
        'author': 'Dr. Seuss',
        'read': True
    }
]

@app.route('/books', methods=['GET'])
def all_books():
    return jsonify({
        'status': 'success',
        'books': BOOKS
    })
浏览器访问如下:

2.11 Books.vue增加HTTP请求
<template>
  <div class="container">
    <div class="row">
      <div class="col-sm-10">
        <h1>Books</h1>
        <hr><br><br>
        <button type="button" class="btn btn-success btn-sm">Add Book</button>
        <br><br>
        <table class="table table-hover">
          <thead>
            <tr>
              <th scope="col">Title</th>
              <th scope="col">Author</th>
              <th scope="col">Read?</th>
              <th></th>
            </tr>
          </thead>
          <tbody>
            <tr v-for="(book, index) in books" :key="index">
              <td>{{ book.title }}</td>
              <td>{{ book.author }}</td>
              <td>
                <span v-if="book.read">Yes</span>
                <span v-else>No</span>
              </td>
              <td>
                <div class="btn-group" role="group">
                  <button type="button" class="btn btn-warning btn-sm">Update</button>
                  <button type="button" class="btn btn-danger btn-sm">Delete</button>
                </div>
              </td>
            </tr>
          </tbody>
        </table>
      </div>
    </div>
  </div>
</template>

<script>
import axios from 'axios';

export default {
  data() {
    return {
      books: [],
    };
  },
  methods: {
    getBooks() {
      const path = 'http://localhost:5001/books';
      axios.get(path)
        .then((res) => {
          this.books = res.data.books;
        })
        .catch((error) => {
          console.error(error);
        });
    },
  },
  created() {
    this.getBooks();
  },
};
</script>
浏览器访问如下:
2.12 flask修改路由Books
from flask import Flask, jsonify, request

@app.route('/books', methods=['GET', 'POST'])
def all_books():
    response_object = {'status': 'success'}
    if request.method == 'POST':
        post_data = request.get_json()
        BOOKS.append({
            'title': post_data.get('title'),
            'author': post_data.get('author'),
            'read': post_data.get('read')
        })
        response_object['message'] = 'Book added!'
    else:
        response_object['books'] = BOOKS
    return jsonify(response_object)
运行 Flask 服务器后,您可以在新的终端选项卡中测试 POST 路由:
curl -X POST http://localhost:5001/books -d "{\"title\": \"1024\", \"author\": \"Xiao Mu\", \"read\": \"true\"}" -H "Content-Type: application/json"
命令行输入curl指令如下:

flask的web服务端的信息输出如下:

vue前端页面的最下面增加了一行记录如下:

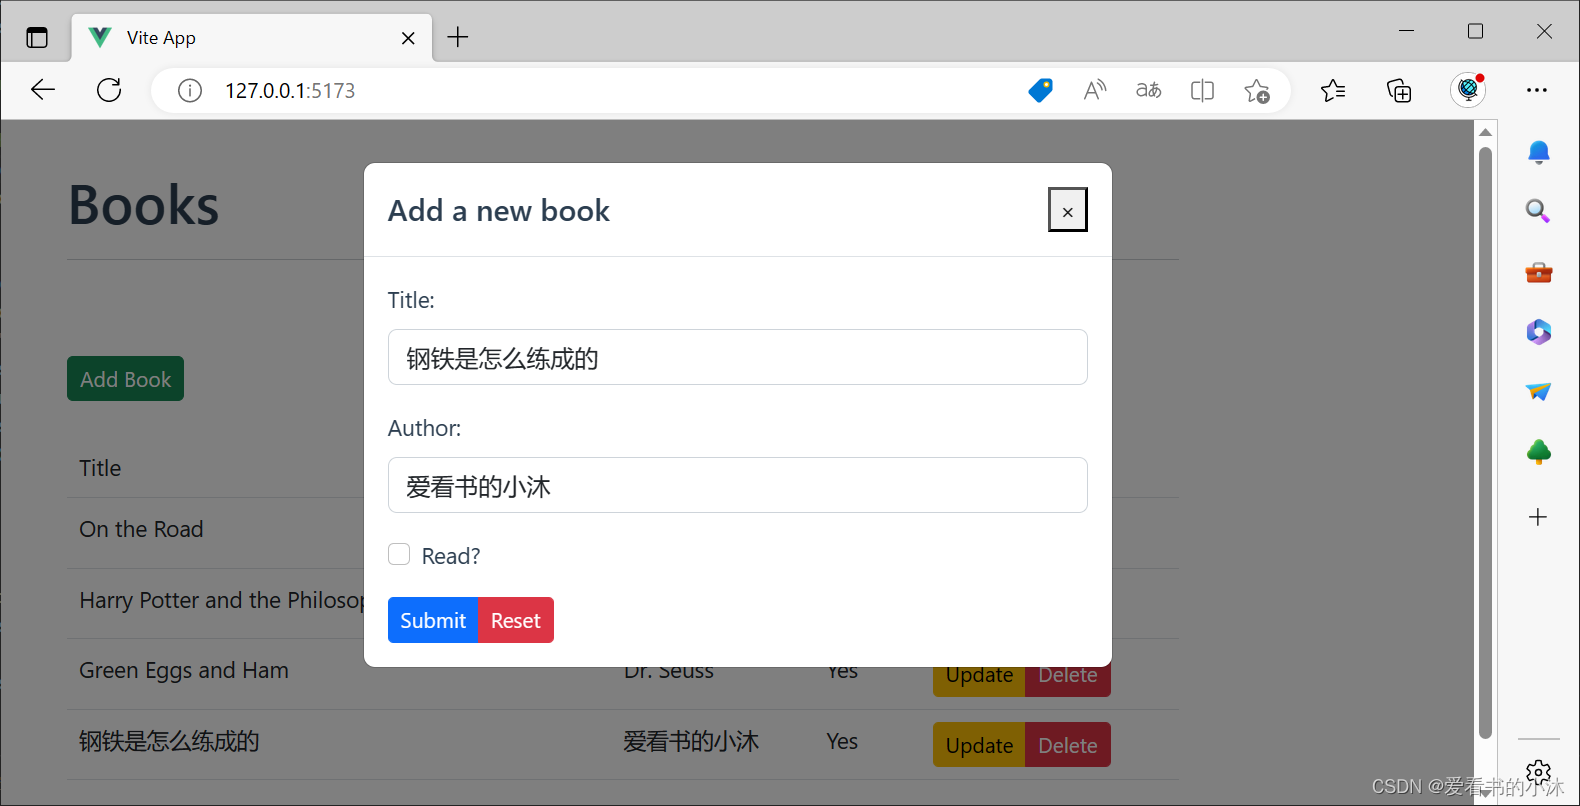
2.13 Books.vue增加添加接口
<template>
<div class="container">
<div class="row">
<div class="col-sm-10">
<h1>Books</h1>
<hr><br><br>
<button
type="button"
class="btn btn-success btn-sm"
@click="toggleAddBookModal">
Add Book
</button>
<br><br>
<table class="table table-hover">
<thead>
<tr>
<th scope="col">Title</th>
<th scope="col">Author</th>
<th scope="col">Read?</th>
<th></th>
</tr>
</thead>
<tbody>
<tr v-for="(book, index) in books" :key="index">
<td>{{ book.title }}</td>
<td>{{ book.author }}</td>
<td>
<span v-if="book.read">Yes</span>
<span v-else>No</span>
</td>
<td>
<div class="btn-group" role="group">
<button type="button" class="btn btn-warning btn-sm">Update</button>
<button type="button" class="btn btn-danger btn-sm">Delete</button>
</div>
</td>
</tr>
</tbody>
</table>
</div>
</div>
<!-- add new book modal -->
<div
ref="addBookModal"
class="modal fade"
:class="{ show: activeAddBookModal, 'd-block': activeAddBookModal }"
tabindex="-1"
role="dialog">
<div class="modal-dialog" role="document">
<div class="modal-content">
<div class="modal-header">
<h5 class="modal-title">Add a new book</h5>
<button
type="button"
class="close"
data-dismiss="modal"
aria-label="Close"
@click="toggleAddBookModal">
<span aria-hidden="true">×</span>
</button>
</div>
<div class="modal-body">
<form>
<div class="mb-3">
<label for="addBookTitle" class="form-label">Title:</label>
<input
type="text"
class="form-control"
id="addBookTitle"
v-model="addBookForm.title"
placeholder="Enter title">
</div>
<div class="mb-3">
<label for="addBookAuthor" class="form-label">Author:</label>
<input
type="text"
class="form-control"
id="addBookAuthor"
v-model="addBookForm.author"
placeholder="Enter author">
</div>
<div class="mb-3 form-check">
<input
type="checkbox"
class="form-check-input"
id="addBookRead"
v-model="addBookForm.read">
<label class="form-check-label" for="addBookRead">Read?</label>
</div>
<div class="btn-group" role="group">
<button
type="button"
class="btn btn-primary btn-sm"
@click="handleAddSubmit">
Submit
</button>
<button
type="button"
class="btn btn-danger btn-sm"
@click="handleAddReset">
Reset
</button>
</div>
</form>
</div>
</div>
</div>
</div>
<div v-if="activeAddBookModal" class="modal-backdrop fade show"></div>
</div>
</template>
<script>
import axios from 'axios';
export default {
data() {
return {
activeAddBookModal: false,
addBookForm: {
title: '',
author: '',
read: [],
},
books: [],
};
},
methods: {
addBook(payload) {
const path = 'http://localhost:5001/books';
axios.post(path, payload)
.then(() => {
this.getBooks();
})
.catch((error) => {
console.log(error);
this.getBooks();
});
},
getBooks() {
const path = 'http://localhost:5001/books';
axios.get(path)
.then((res) => {
this.books = res.data.books;
})
.catch((error) => {
console.error(error);
});
},
handleAddReset() {
this.initForm();
},
handleAddSubmit() {
this.toggleAddBookModal();
let read = false;
if (this.addBookForm.read[0]) {
read = true;
}
const payload = {
title: this.addBookForm.title,
author: this.addBookForm.author,
read, // property shorthand
};
this.addBook(payload);
this.initForm();
},
initForm() {
this.addBookForm.title = '';
this.addBookForm.author = '';
this.addBookForm.read = [];
},
toggleAddBookModal() {
const body = document.querySelector('body');
this.activeAddBookModal = !this.activeAddBookModal;
if (this.activeAddBookModal) {
body.classList.add('modal-open');
} else {
body.classList.remove('modal-open');
}
},
},
created() {
this.getBooks();
},
};
</script>
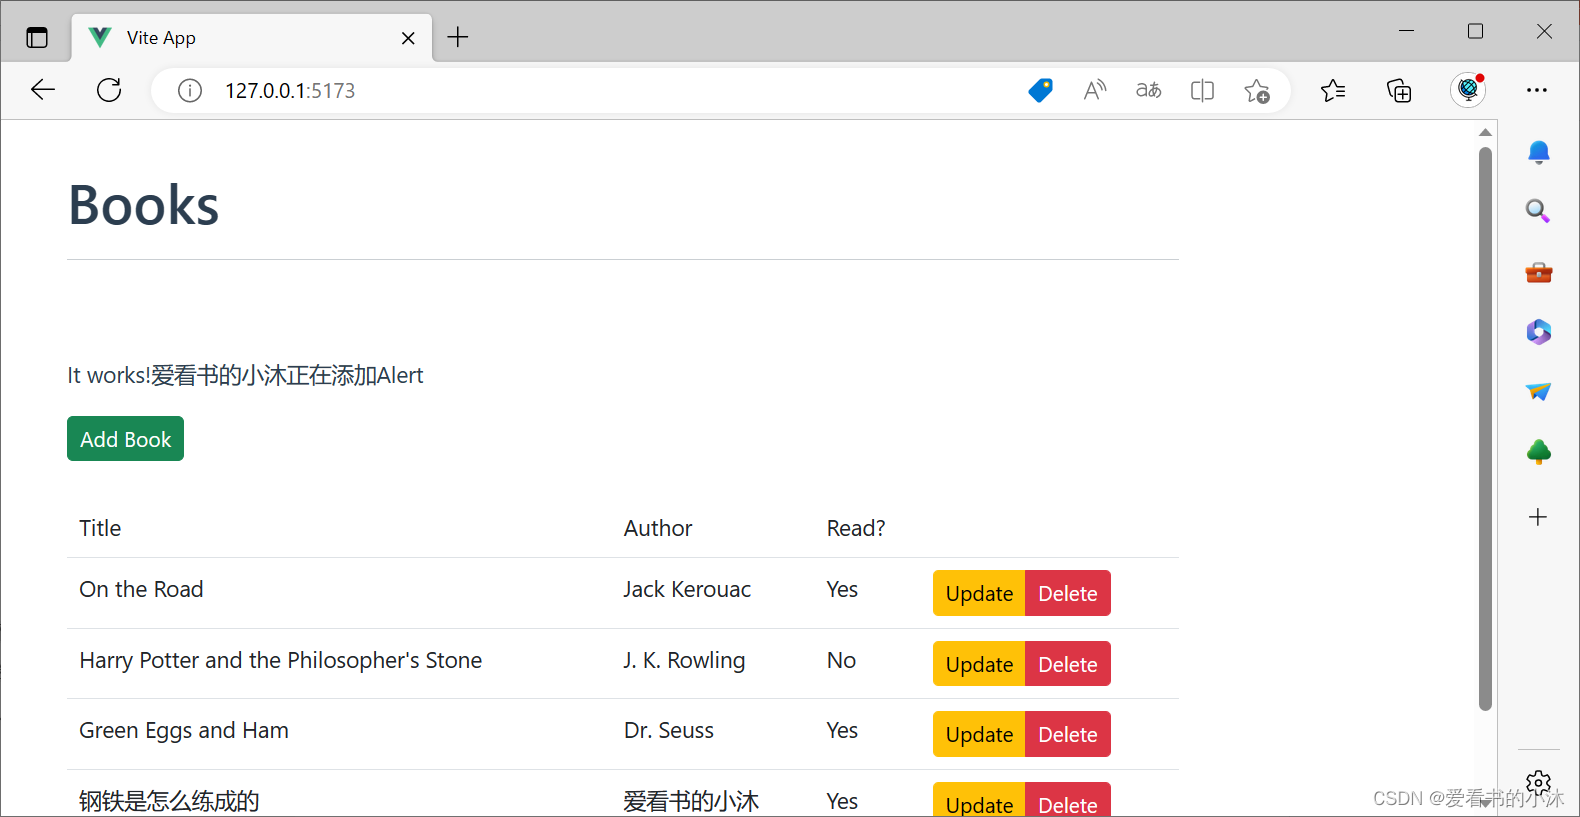
2.14 新增组件Alert.vue
让我们添加一个组件,以便在添加新书籍后向最终用户显示消息。我们将为此创建一个新组件Alert.vue,因为您可能会在许多组件中使用该功能。
将一个名为 Alert.vue 的新文件添加到 “vue-project/src/components”:
<template>
  <p>It works!爱看书的小沐正在添加Alert</p>
</template>
然后,将其添加到Books.vue中:
<script>
import axios from 'axios';
import Alert from './Alert.vue';

export default {
  data() {
    return {
      activeAddBookModal: false,
      addBookForm: {
        title: '',
        author: '',
        read: [],
      },
      books: [],
    };
  },
  components: {
    alert: Alert,
  },

  ...

};
</script>
在Books.vue的template部分也添加Alert的使用:
<template>
  <div class="container">
    <div class="row">
      <div class="col-sm-10">
        <h1>Books</h1>
        <hr><br><br>
        <alert></alert>
        <button
          type="button"
          class="btn btn-success btn-sm"
          @click="toggleAddBookModal">
          Add Book
        </button>
        <br><br>

        ...

      </div>
    </div>

    ...

  </div>
</template>
前端预览如下:
2.15 修改组件Alert.vue
<template>
  <div>
    <div class="alert alert-success" role="alert">{{ message }}</div>
    <br/>
  </div>
</template>

<script>
export default {
  props: ['message'],
};
</script>
同时修改Books.vue的template部分中的alert代码:
<alert message="hi, 爱看书的小沐"></alert>

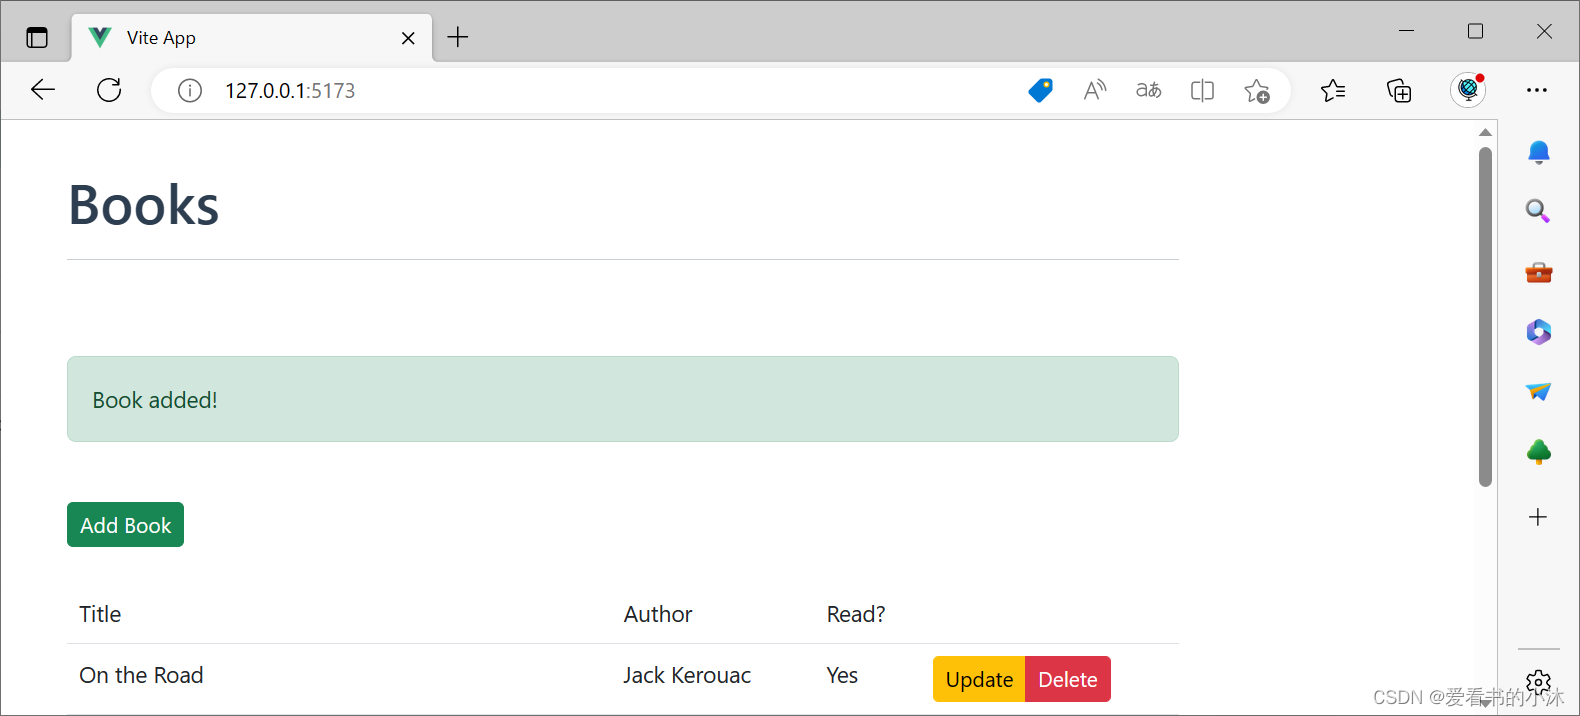
2.16 变量绑定Alert组件
Books.vue 中使用绑定表达式。修改Books.vue的template部分中的alert代码:
<alert :message="message"></alert>
修改Books.vue的script的data()函数:
data() {
  return {
    activeAddBookModal: false,
    addBookForm: {
      title: '',
      author: '',
      read: [],
    },
    books: [],
    message: '',
  };
},
修改Books.vue的script的addBook()函数:
addBook(payload) {
  const path = 'http://localhost:5001/books';
  axios.post(path, payload)
    .then(() => {
      this.getBooks();
      this.message = 'Book added!';
    })
    .catch((error) => {
      console.log(error);
      this.getBooks();
    });
},
仅在 true 时显示警报:v-ifshowMessage:
<alert :message=message v-if="showMessage"></alert>
data() {
  return {
    activeAddBookModal: false,
    addBookForm: {
      title: '',
      author: '',
      read: [],
    },
    books: [],
    message: '',
    showMessage: false,
  };
},
addBook(payload) {
  const path = 'http://localhost:5001/books';
  axios.post(path, payload)
    .then(() => {
      this.getBooks();
      this.message = 'Book added!';
      this.showMessage = true;
    })
    .catch((error) => {
      console.log(error);
      this.getBooks();
    });
},
2.17 flask端Book对象添加唯一id
import uuid

BOOKS = [
    {
        'id': uuid.uuid4().hex,
        'title': 'On the Road',
        'author': 'Jack Kerouac',
        'read': True
    },
]

@app.route('/books', methods=['GET', 'POST'])
def all_books():
    response_object = {'status': 'success'}
    if request.method == 'POST':
        post_data = request.get_json()
        BOOKS.append({
            'id': uuid.uuid4().hex,
            'title': post_data.get('title'),
            'author': post_data.get('author'),
            'read': post_data.get('read')
        })
        response_object['message'] = 'Book added!'
    else:
        response_object['books'] = BOOKS
    return jsonify(response_object)

@app.route('/books/<book_id>', methods=['PUT'])
def single_book(book_id):
    response_object = {'status': 'success'}
    if request.method == 'PUT':
        post_data = request.get_json()
        remove_book(book_id)
        BOOKS.append({
            'id': uuid.uuid4().hex,
            'title': post_data.get('title'),
            'author': post_data.get('author'),
            'read': post_data.get('read')
        })
        response_object['message'] = 'Book updated!'
    return jsonify(response_object)

def remove_book(book_id):
    for book in BOOKS:
        if book['id'] == book_id:
            BOOKS.remove(book)
            return True
    return False
2.18 Books.vue增加更新操作
template部分增加:
<!-- edit book modal -->
<div
ref="editBookModal"
class="modal fade"
:class="{ show: activeEditBookModal, 'd-block': activeEditBookModal }"
tabindex="-1"
role="dialog">
<div class="modal-dialog" role="document">
<div class="modal-content">
<div class="modal-header">
<h5 class="modal-title">Update</h5>
<button
type="button"
class="close"
data-dismiss="modal"
aria-label="Close"
@click="toggleEditBookModal">
<span aria-hidden="true">×</span>
</button>
</div>
<div class="modal-body">
<form>
<div class="mb-3">
<label for="editBookTitle" class="form-label">Title:</label>
<input
type="text"
class="form-control"
id="editBookTitle"
v-model="editBookForm.title"
placeholder="Enter title">
</div>
<div class="mb-3">
<label for="editBookAuthor" class="form-label">Author:</label>
<input
type="text"
class="form-control"
id="editBookAuthor"
v-model="editBookForm.author"
placeholder="Enter author">
</div>
<div class="mb-3 form-check">
<input
type="checkbox"
class="form-check-input"
id="editBookRead"
v-model="editBookForm.read">
<label class="form-check-label" for="editBookRead">Read?</label>
</div>
<div class="btn-group" role="group">
<button
type="button"
class="btn btn-primary btn-sm"
@click="handleEditSubmit">
Submit
</button>
<button
type="button"
class="btn btn-danger btn-sm"
@click="handleEditCancel">
Cancel
</button>
</div>
</form>
</div>
</div>
</div>
</div>
<div v-if="activeEditBookModal" class="modal-backdrop fade show"></div>
script部分增加:
activeEditBookModal: false,
editBookForm: {
  id: '',
  title: '',
  author: '',
  read: [],
},
template部分的主界面修改:
<button
  type="button"
  class="btn btn-warning btn-sm"
  @click="toggleEditBookModal(book)">
  Update
</button>
script部分增加函数:
toggleEditBookModal(book) {
  if (book) {
    this.editBookForm = book;
  }
  const body = document.querySelector('body');
  this.activeEditBookModal = !this.activeEditBookModal;
  if (this.activeEditBookModal) {
    body.classList.add('modal-open');
  } else{
    body.classList.remove('modal-open');
  }
},

handleEditSubmit() {
  this.toggleEditBookModal(null);
  let read = false;
  if (this.editBookForm.read) read = true;
  const payload = {
    title: this.editBookForm.title,
    author: this.editBookForm.author,
    read,
  };
  this.updateBook(payload, this.editBookForm.id);
},

updateBook(payload, bookID) {
  const path = `http://localhost:5001/books/${bookID}`;
  axios.put(path, payload)
    .then(() => {
      this.getBooks();
      this.message = 'Book updated!';
      this.showMessage = true;
    })
    .catch((error) => {
      console.error(error);
      this.getBooks();
    });
},

handleEditCancel() {
  this.toggleEditBookModal(null);
  this.initForm();
  this.getBooks(); // why?
},
修改函数initForm():
initForm() {
  this.addBookForm.title = '';
  this.addBookForm.author = '';
  this.addBookForm.read = [];
  this.editBookForm.id = '';
  this.editBookForm.title = '';
  this.editBookForm.author = '';
  this.editBookForm.read = [];
},
浏览器预览如下:
结语
如果您觉得该方法或代码有一点点用处,可以给作者点个赞,或打赏杯咖啡;╮( ̄▽ ̄)╭
如果您感觉方法或代码不咋地//(ㄒoㄒ)//,就在评论处留言,作者继续改进;o_O???
如果您需要相关功能的代码定制化开发,可以留言私信作者;(✿◡‿◡)
感谢各位大佬童鞋们的支持!( ´ ▽´ )ノ ( ´ ▽´)っ!!!


![【LeetCode】数据结构题解(8)[链表中的入口节点]](https://img-blog.csdnimg.cn/5f7e86acd20140ad88a2198c710a54ab.png#pic_center)