- 6:显示用户信息
- 7:退出登录
- 总结博客管理系统
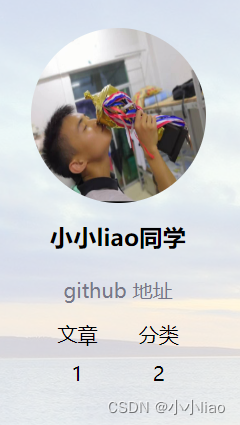
6:显示用户信息
这部分;希望是根据用户来显示;如果是博客列表页则显示登录用户的信息;如果是博客详情页则显示作者的信息。
1:前后端交互接口约定
GET /login
响应
HTTP/1.1 200 OK
{
userId :1,
username:‘zhangsan’,
password:‘123’
}
拿到后端响应的数据对着构造就好了
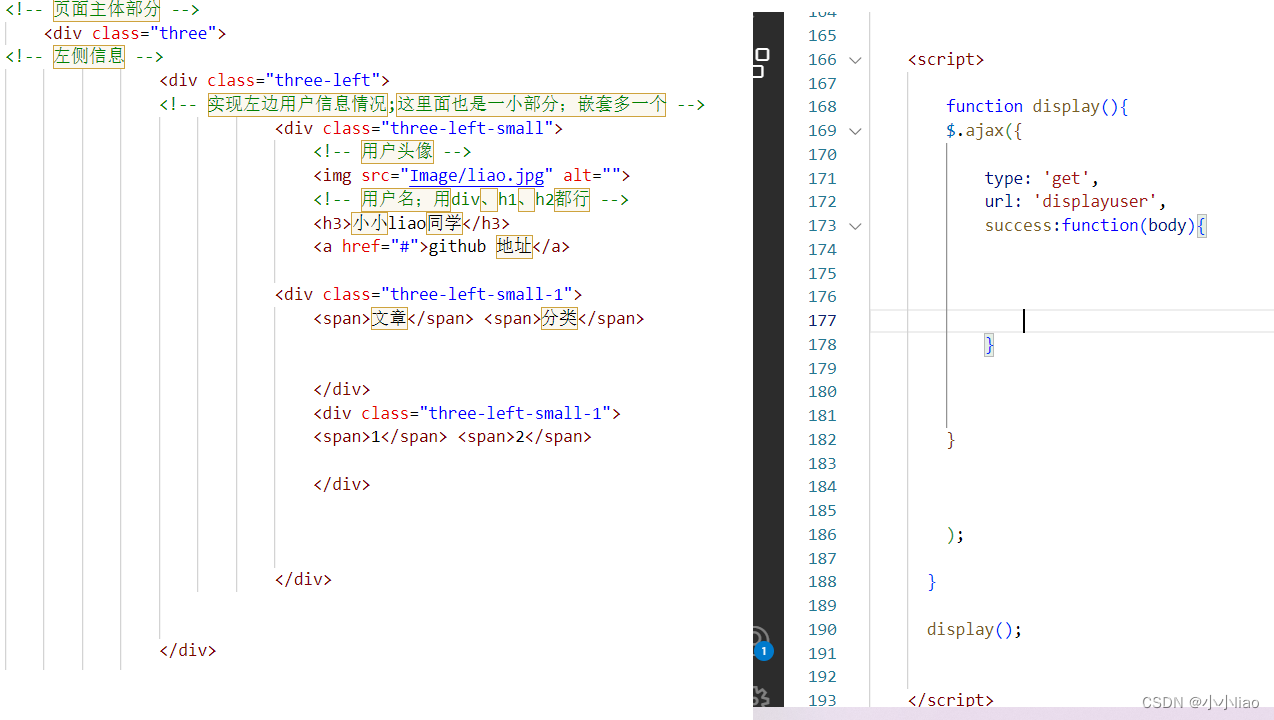
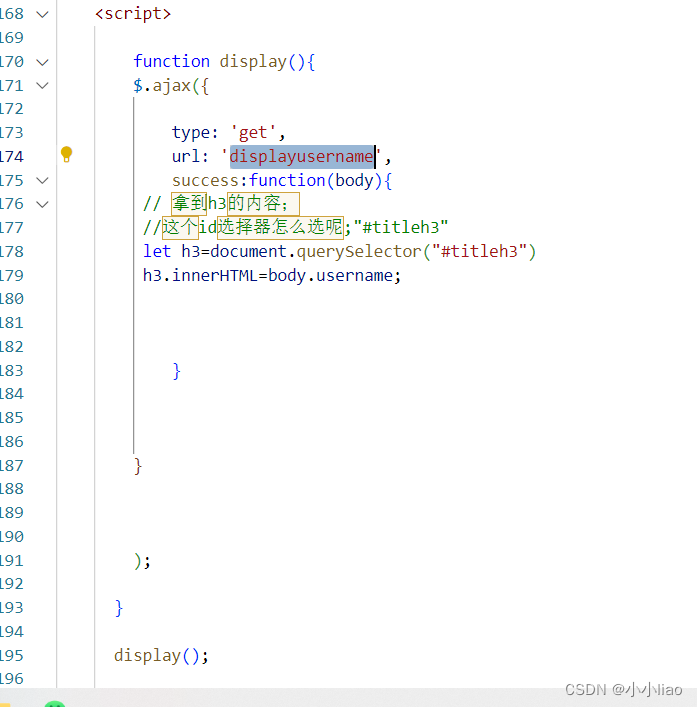
后端代码:就是刚才的判断是否登录;登录了返回这个对象
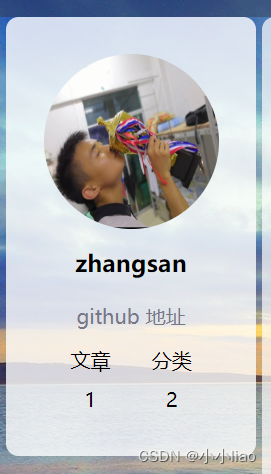
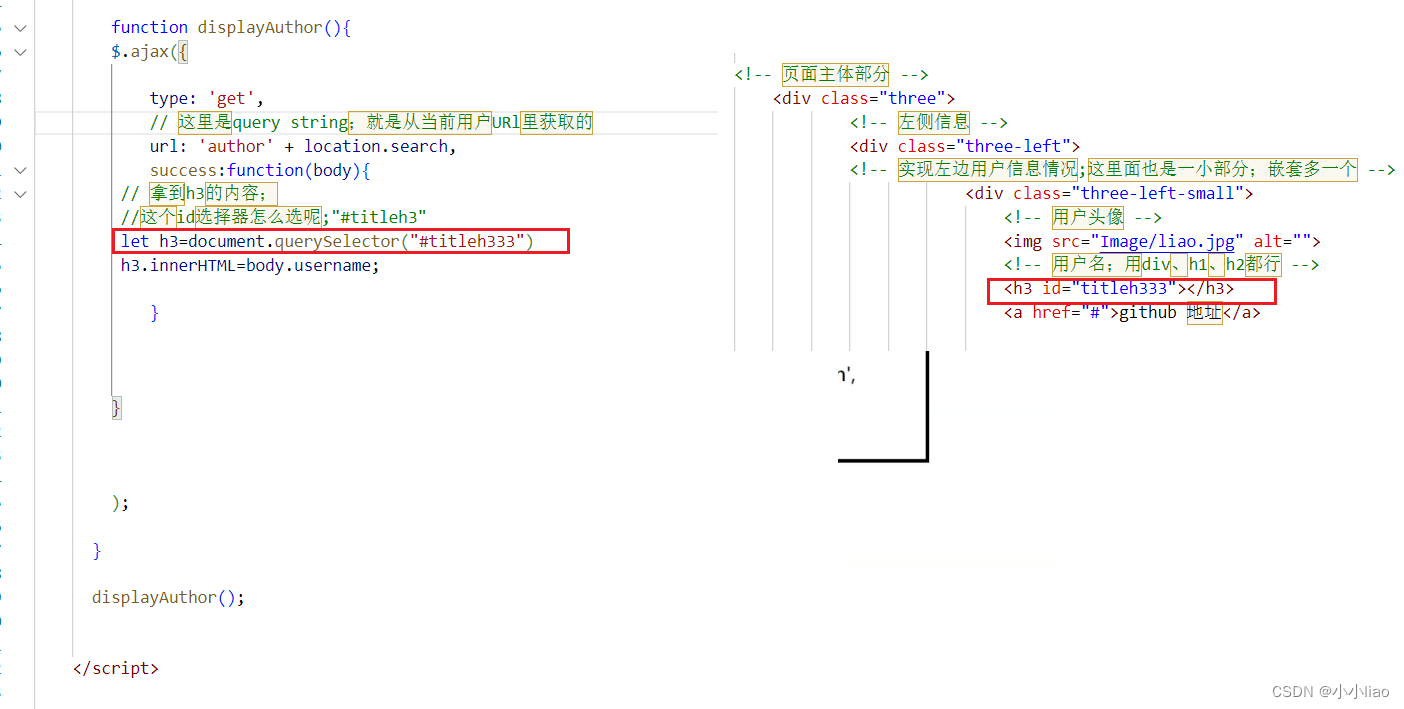
博客详情页;这里的用户名就应该换成作者名;我们应该把当前的博客id发送过去才能知道这篇文章关联的是哪个用户。数据库可以根据博客id查找用户;返回这个对象;然后我们把用户名取出来添加到这个h3标题里
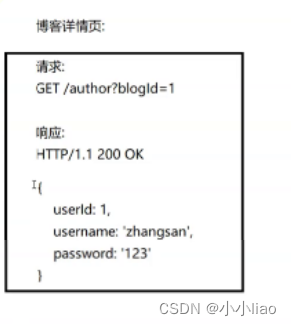
前端:
package api;

import com.fasterxml.jackson.databind.ObjectMapper;
import model.Blog;
import model.BlogDao;
import model.User;
import model.UserDao;

import javax.servlet.ServletException;
import javax.servlet.annotation.WebServlet;
import javax.servlet.http.HttpServlet;
import javax.servlet.http.HttpServletRequest;
import javax.servlet.http.HttpServletResponse;
import java.io.IOException;

@WebServlet("/author")
public class BLog_AuthorServlet extends HttpServlet {
    private ObjectMapper objectMapper = new ObjectMapper();
    @Override
    protected void doGet(HttpServletRequest req, HttpServletResponse resp) throws ServletException, IOException {
        String blogId = req.getParameter("blogId");
        if (blogId == null) {
            resp.setContentType("text/html; charset=utf8");
            resp.getWriter().write("参数非法, 缺少 blogId");
            return;
        }
        // 根据 blogId 查询 Blog 对象
        BlogDao blogDao = new BlogDao();
        Blog blog = blogDao.selectById(Integer.parseInt(blogId));
        if (blog == null) {
            // 博客不存在.
            resp.setContentType("text/html; charset=utf8");
            resp.getWriter().write("没有找到指定博客: blogId = " + blogId);
            return;
        }
        // 根据 blog 中的 userId 找到对应的用户信息
        UserDao userDao = new UserDao();
        User author = userDao.selectById(blog.getUserId());
        System.out.println("查到了吗"+author.getUsername());
        String respJson = objectMapper.writeValueAsString(author);
        resp.setContentType("application/json; charset=utf8");
        resp.getWriter().write(respJson);
        System.out.println("请求发送了吗");
    }
}
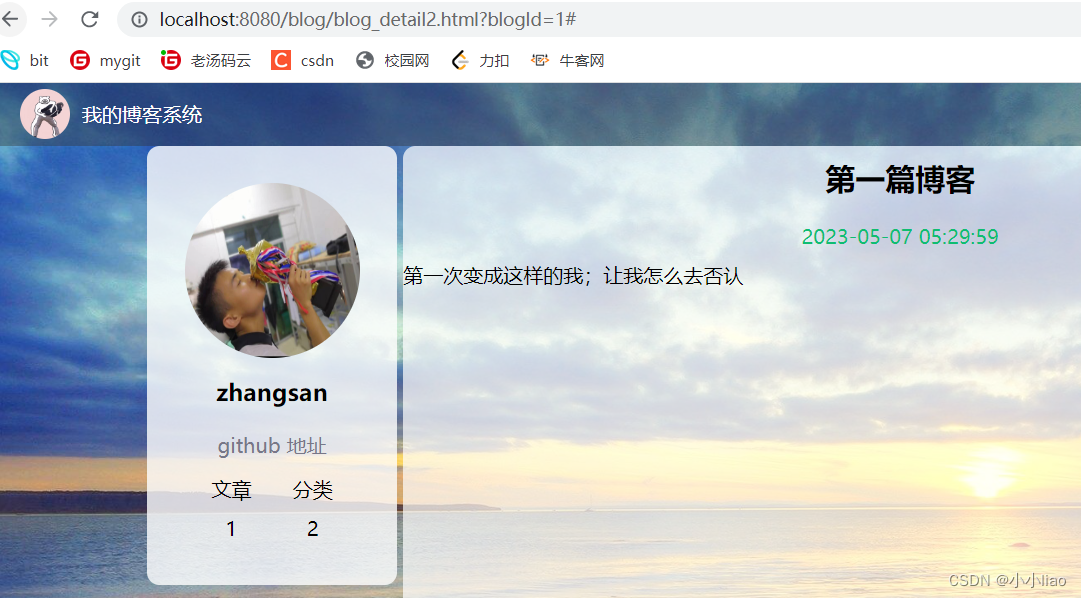
这里就注意一下;因为刚开始是添加三篇文章;它的userId是1、2、3.但是只有两个用户;所以第三篇文章当前是查询不到的。
7:退出登录
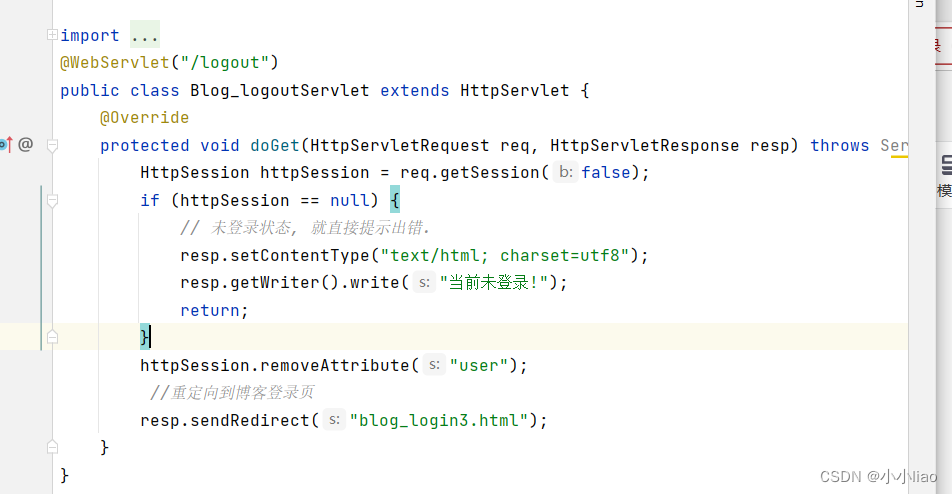
这个功能就得回到博客列表页的右上角;退出登录;跳转到登录页面。还有你的把HttpSession干掉或者把user干掉。这样才不会说用户退出登录后跳转到登录页;它不登录也能直接通过输入URL访问博客列表、博客详情页、博客编辑页。HttpSession还不容易干掉;只有获取/创建会话的getSession方法;没有删除会话的方法;user比较容易删除;使用removeeAtteibute。(因为我们在后端代码两个判定都存在才是登录状态;所以删除一个就能解决问题)

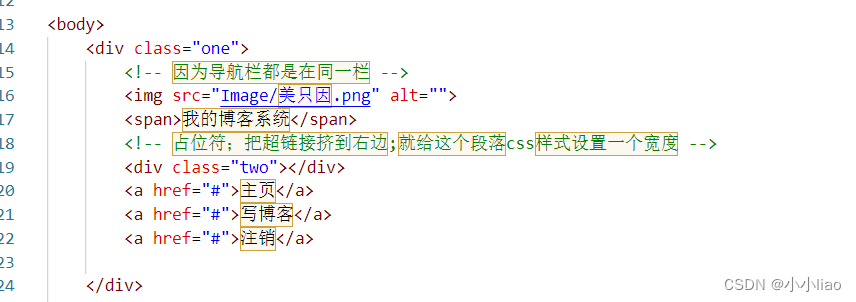
在这个注销的a标签超链接上实现就好了;跳转一个路径;我们可以利用这个路径发送一个GET请求
a标签也是和form一样;可以触发跳转页面的。可以搭配302使用。
GET logout
HTTP/1.1 302
Location:blog_login3.html

8:发布博客
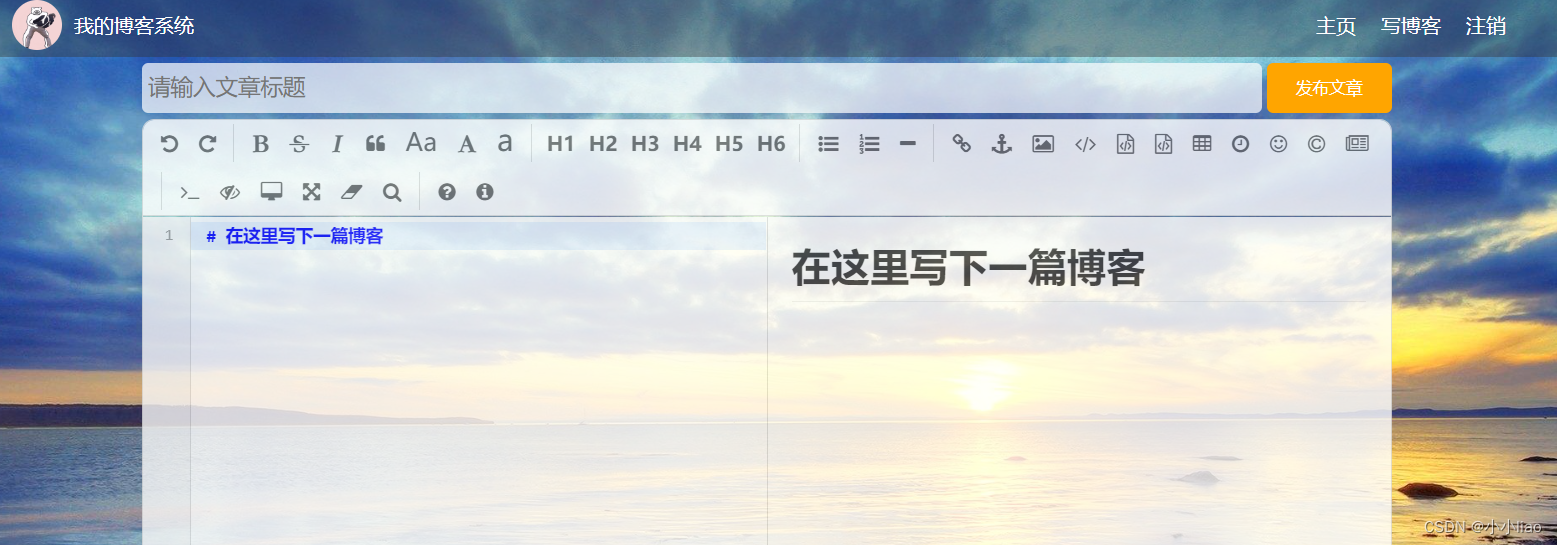
现在到操作最后一个页面:把强制登录的逻辑粘贴过去先;列表页的写博客a标签跳转到博客编辑页;

发布博客这个按钮:就是添加数据到数据库的操作;
1:约定前后端交互接口
POST /blog
title=这是标题&conten=这是正文。搞个form标签就能把这两个数据传过去(使用ajax也可以;但是form表单可以更简单一点。)
一篇博客我们设置有5部分;blogId(自增主键;数据库自己生成);title content就是我们要传的两部分;userId 作者信息;可以从会话拿到;就看提交的是谁。postTime 当前时刻。
响应:
HTTP/1.1 302
Location:blog_list1.html
2:后端代码
package api;

import model.Blog;
import model.BlogDao;
import model.User;

import javax.servlet.ServletException;
import javax.servlet.annotation.WebServlet;
import javax.servlet.http.HttpServlet;
import javax.servlet.http.HttpServletRequest;
import javax.servlet.http.HttpServletResponse;
import javax.servlet.http.HttpSession;
import java.sql.Timestamp;
import java.io.IOException;

@WebServlet("/writerblog")
public class Blog_writerServlet extends HttpServlet {
    @Override
    protected void doPost(HttpServletRequest req, HttpServletResponse resp) throws ServletException, IOException {
       //先获取到这些东西;然后初始化到一个blog对象;然后再存入数据库。
        // 因为我们要BlogDao的add方法;里面逻辑可以把一个对象里面东西存数据库里
        Blog blog=new Blog();
        HttpSession httpSession = req.getSession(false);
        if (httpSession == null) {
            resp.setContentType("text/html; charset=utf8");
            resp.getWriter().write("当前未登录, 无法发布博客!");
            return;
        }
        User user = (User) httpSession.getAttribute("user");
        if (user == null) {
            resp.setContentType("text/html; charset=utf8");
            resp.getWriter().write("当前未登录, 无法发布博客!");
            return;
        }
        // 确保登录之后, 就可以把作者给拿到了.
//     获取博客标题、正文 ;这个名字和form表单的name属性对应
        req.setCharacterEncoding("utf8");
        String title=req.getParameter("title");
        String content=req.getParameter("content");
        if (title == null || "".equals(title) || content == null || "".equals(content)) {
            resp.setContentType("text/html; charset=utf8");
            resp.getWriter().write("当前提交数据有误! 标题或者正文为空!");
            return;
        }

        //现在就构造这个blog对象
        blog.setTitle(title);
        blog.setContent(content);
        blog.setUserId(user.getUserId());
        // 发布时间, 在 java 中生成 / 数据库中生成 都行
        blog.setPostTime(new Timestamp(System.currentTimeMillis()));
        // 插入数据库
        BlogDao blogDao = new BlogDao();
        blogDao.add(blog);

        // 跳转到博客列表页
        resp.sendRedirect("blog_list.html");

    }
}
3:前端代码
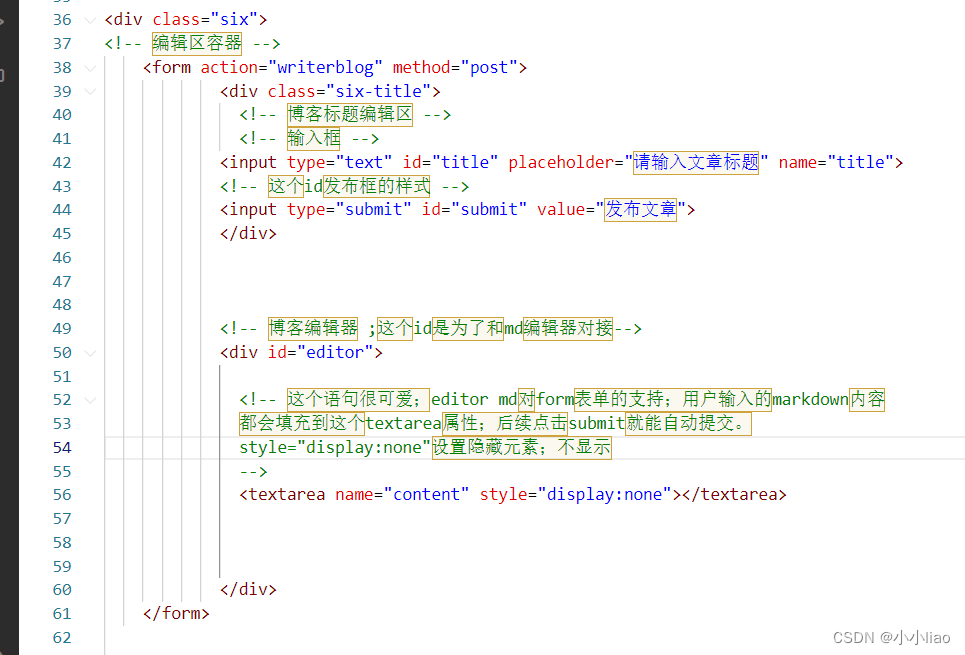


查看结果框怎么这么小去了;前端出问题就开开发者工具;代码能对应到显示。编辑器设置的高度是相对父元素的百分比。现在插入个from表单;是父元素变了。现在编辑框的100%是以from为基准了。给form表单也设置一个相对父元素100%就好了。

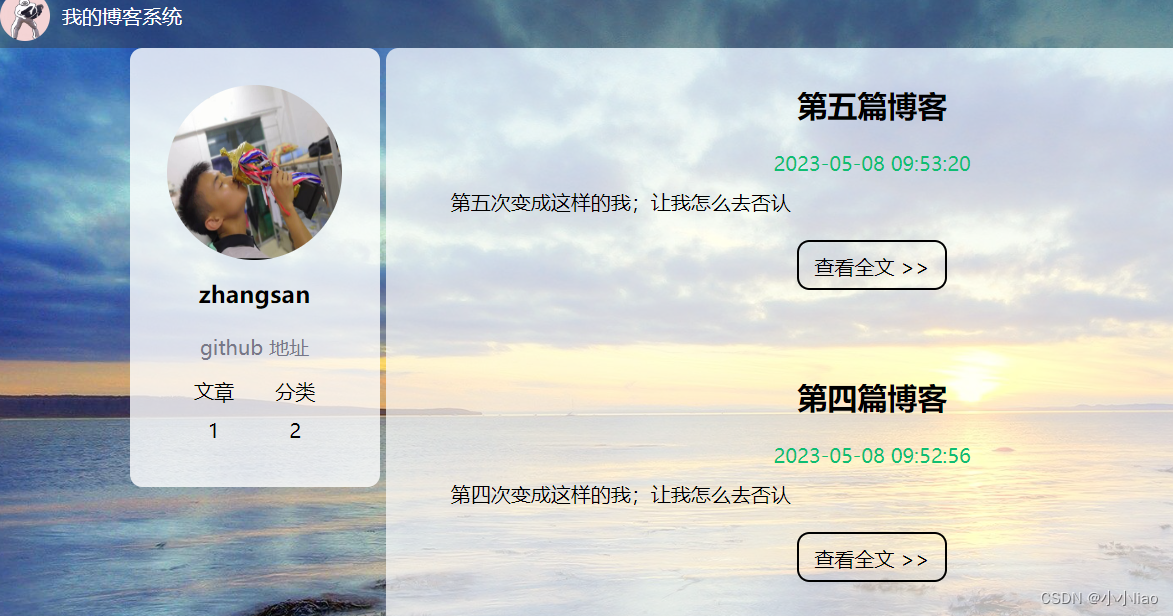
这些页面按标签按钮都修改成对应跳转的页面:将a标签的内容路径换成要跳转的页面即可
编辑页的这三个按钮:

还有登录页的这两个按钮:点击后让它们出现返回这个登录页;因为没有登录

注意:如果@WebServlet(“writerblog”)的斜杠没有写;整个tomcat启动都会异常;wbapp下的其它资源都是无法被访问到的。

总结博客管理系统
可扩展功能:
1:保存草稿功能;有时候博客写一半可能遇到别的事情要处理;没写完又不想发布;就迫切的需要一个保存草稿的功能。
2:这个小图标可以修改的美观一些;网上找一个favour文件;放tomcat目录里。但是目前无伤大雅。

3:上传头像
4:注册功能
5:博客评论
6:分类功能
7:修改博客
编写过程:
1:前端先所有的效果实现;通过固定的代码展现效果。
2:数据库操作的封装;这个是和前端页面中想要什么样的功能是相关联的。比如查看全文;我们就需要一个能根据博客id查询这篇文章的数据库操作;我们把这个操作封装;让我们以调用这个方法就能实现改功能。
3:建库建表;属性是和文章、用户的属性相关联。创建实体类;作为存数据和发送数据的载体。实体类和数据库的表是完全想关联对应的。
4:编写前后端交互接口;比如前端的输入URL或者点击查看全文这样的操作;我们要发送请求;做出响应。最后把这些动态的响应结果(每个用户的响应结果可能不一样)替换掉之前写死的页面内容。
部署云服务器上:修改代码中的数据库密码要和云服务器的一样;打war包;pom.mxl配置文件修改打war包形式;将sql文件的数据库操作再去云服务器的数据库执行一遍。复制war包粘贴到tomcat的webapps目录下。部署云服务器具体操作查看前面部署表白墙程序。
用户名:zhangsan 密码:123




![[230516] TPO71 | 2022年托福阅读真题第4/36篇 | Electrical Energy from the Ocean | 11:50](https://img-blog.csdnimg.cn/8cc0024f47ef42298d15d15e81a37178.png)


