Window 10 环境下用 OpenVINO 2022.3部署yolov5_7.0
1 下载并解压 OpenVINO Runtime
OpenVINO™ Runtime 2022.3 以压缩包 (OpenVINO Archives) 的形式提供。
下载地址: storage.openvinotoolkit.org
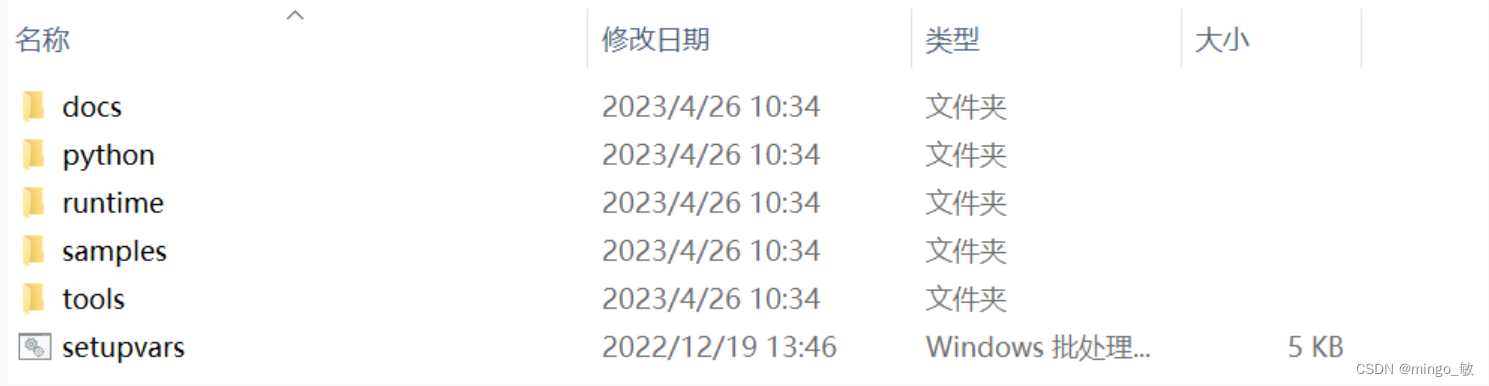
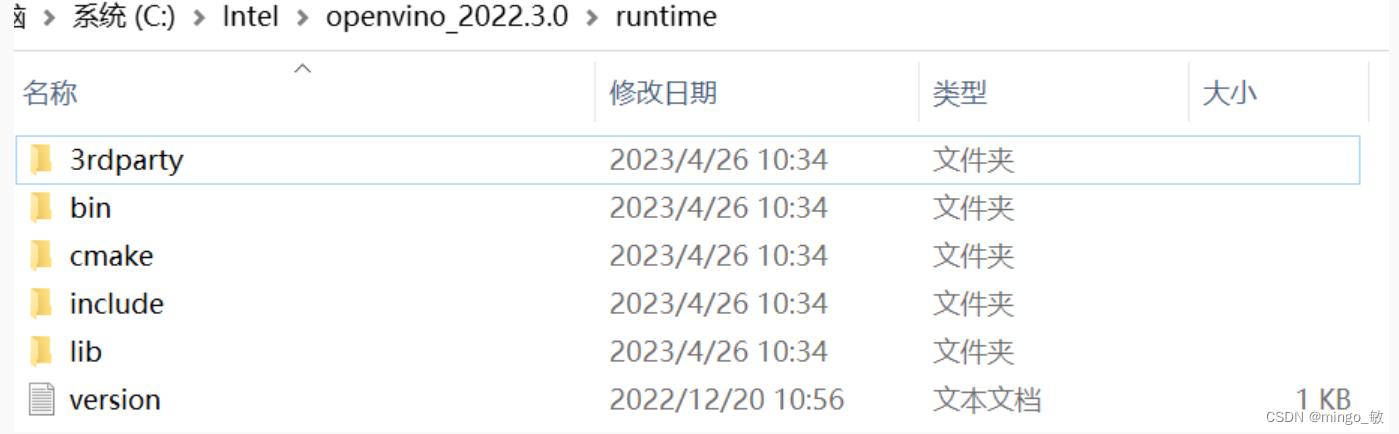
下载后解压到 C:\Intel\openvino_2022.3.0
配置环境:
C:\Intel\openvino_2022.3.0\setupvars.bat
其中 OpenVINO C++ 推理程序所必需的文件在runtime目录下:
- 头文件:include 文件夹
- lib 文件:lib 文件夹
- 可执行文件 (*.exe) 所需的动态链接库文件:bin 文件夹
- OpenVINO runtime 第三方依赖库文件:3rdparty 文件夹
2 下载并编译 OpenCV
下载地址:_opencv
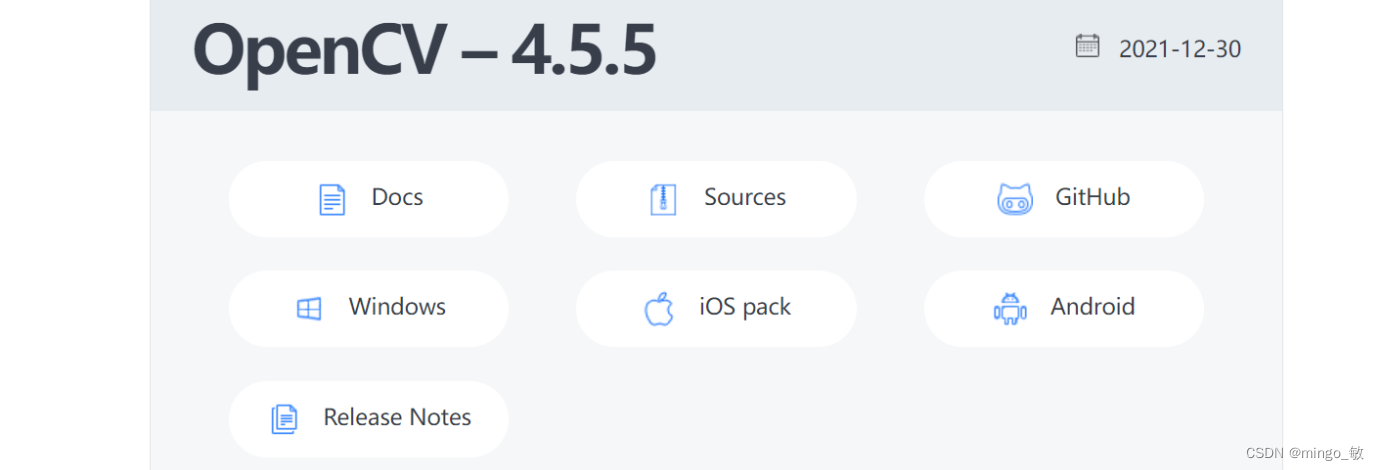
2-1 下载预编译OpenCV
直接下载 windows 编译版本,下载后解压到 E:\opencv455目录下即可
2-2 编译与OpenVINO对应的OpenCV
下载 Sources源码到本地, 解压到E:\opencv-4.5.5
mkdir "mybuild" && cd "mybuild"
cmake 编译项设置
test选项 不选

python 选项 不选

OPENCV_GENERATE_SETUPVARS 不选

WITH_OPENMP 选中

WITH_IPP 选中

BUILD_opencv_world 选中

OPENCV_EXTRA_MODULES_PATH 设置 E:/opencv_contrib-4.5.5/modules

cmake编译可以参考
Windows10+Cmake+VS2019编译opencv(超级详细)_vs编译opencv_乐安世家的博客-CSDN博客
win10+vs2017+opencv4.5.0+opencv_contrib-4.5.0+cuda源码编译详细教程_vs2017 源码编译opencv_Bubble_water的博客-CSDN博客
opencv4.2.0 源码编译,win7+VS2015,DNN模块支持cuda加速_蜡笔小心点的博客-CSDN博客
3 在 Visual Studio 中配置项目属性
Release:
属性 --> VC++ 目录 --> 包含目录
C:\Intel\openvino_2022.3.0\runtime\include
E:\opencv455\build\include
属性 --> VC++ 目录 --> 库目录
C:\Intel\openvino_2022.3.0\runtime\lib\intel64\Release
E:\opencv455\build\x64\vc15\lib
属性 --> 链接器 --> 输入 --> 附加依赖项
openvino.lib
opencv_world455.lib
动态链接库 配置
将 C:\Intel\openvino_2022.3.0\runtime\bin\intel64\Release目录下的
openvino.dll
openvino_intel_cpu_plugin.dll
openvino_ir_frontend.dll
plugins.xml
将 C:\Intel\openvino_2022.3.0\runtime\3rdparty\tbb\bin目录下的
tbb.dll
将 E:\opencv455\mybuild\x64\vc15\bin 目录下的
opencv_world455.dll
移动到 可执行文件目录 或者将三个路径加入系统目录。
Debug:
属性 --> VC++ 目录 --> 包含目录
C:\Intel\openvino_2022.3.0\runtime\include
E:\opencv455\build\include
属性 --> VC++ 目录 --> 库目录
C:\Intel\openvino_2022.3.0\runtime\lib\intel64\Debug
E:\opencv455\build\x64\vc15\lib
属性 --> 链接器 --> 输入 --> 附加依赖项
openvinod.lib
opencv_world455d.lib
动态链接库 配置
将 C:\Intel\openvino_2022.3.0\runtime\bin\intel64\Debug目录下的
openvinod.dll
openvino_intel_cpu_plugind.dll
openvino_ir_frontendd.dll
plugins.xml
将 C:\Intel\openvino_2022.3.0\runtime\3rdparty\tbb\bin目录下的
tbb.dll
将 E:\opencv455\mybuild\x64\vc15\bin 目录下的
opencv_world455d.dll
移动到 可执行文件目录 或者将三个路径加入系统目录。
4 导出onnx模型
下载yolov5代码 ultralytics/yolov5
python export.py --weights yolov5s.pt --include torchscript onnx openvino
导出模型为 yolov5s_openvino_model

5 代码
yolov5_openvino.cpp
// yolov5_openvino.cpp : 此文件包含 "main" 函数。程序执行将在此处开始并结束。
//

// Copyright (C) 2018-2022 Intel Corporation
// SPDX-License-Identifier: Apache-2.0
//

#pragma warning(disable:4996)

#include <opencv2/dnn.hpp>
#include <openvino/openvino.hpp>
#include <opencv2/opencv.hpp>


using namespace std;


const float SCORE_THRESHOLD = 0.2;
const float NMS_THRESHOLD = 0.4;
const float CONFIDENCE_THRESHOLD = 0.4;


struct Detection
{
    int class_id;
    float confidence;
    cv::Rect box;
};


struct ResizeImage
{
    cv::Mat img;
    int dw;
    int dh;
};


ResizeImage resize_and_pad(cv::Mat& img, cv::Size new_shape) {
    float width = img.cols;
    float height = img.rows;
    float r = float(new_shape.width / max(width, height));
    int new_unpadW = int(round(width * r));
    int new_unpadH = int(round(height * r));
    ResizeImage resizedImg;
    cv::resize(img, resizedImg.img, cv::Size(new_unpadW, new_unpadH), 0, 0, cv::INTER_AREA);

    resizedImg.dw = new_shape.width - new_unpadW;
    resizedImg.dh = new_shape.height - new_unpadH;
    cv::Scalar color = cv::Scalar(100, 100, 100);
    cv::copyMakeBorder(resizedImg.img, resizedImg.img, 0, resizedImg.dh, 0, resizedImg.dw, cv::BORDER_CONSTANT, color);

    return resizedImg;
}


int main() {

    // Step 1. Initialize OpenVINO Runtime core
    ov::Core core;
    // Step 2. Read a model
    std::shared_ptr<ov::Model> model = core.read_model("E:\\python_code\\yolov5\\weights\\openvino\\yolov5s_openvino_model\\yolov5s.xml");


    // Step 3. Read input image
    cv::Mat img = cv::imread("E:\\cpp_code\\images\\zidane.jpg");
    // resize image
    ResizeImage res = resize_and_pad(img, cv::Size(640, 640));


    // Step 4. Inizialize Preprocessing for the model
    ov::preprocess::PrePostProcessor ppp = ov::preprocess::PrePostProcessor(model);
    // Specify input image format
    ppp.input().tensor().set_element_type(ov::element::u8).set_layout("NHWC").set_color_format(ov::preprocess::ColorFormat::BGR);
    // Specify preprocess pipeline to input image without resizing
    ppp.input().preprocess().convert_element_type(ov::element::f32).convert_color(ov::preprocess::ColorFormat::RGB).scale({ 255., 255., 255. });
    //  Specify model's input layout
    ppp.input().model().set_layout("NCHW");
    // Specify output results format
    ppp.output().tensor().set_element_type(ov::element::f32);
    // Embed above steps in the graph
    model = ppp.build();
    ov::CompiledModel compiled_model = core.compile_model(model, "CPU");


    // Step 5. Create tensor from image
    float *input_data = (float *)res.img.data;
    ov::Tensor input_tensor = ov::Tensor(compiled_model.input().get_element_type(), compiled_model.input().get_shape(), input_data);


    // Step 6. Create an infer request for model inference
    ov::InferRequest infer_request = compiled_model.create_infer_request();
    infer_request.set_input_tensor(input_tensor);
    infer_request.infer();


    //Step 7. Retrieve inference results
    const ov::Tensor &output_tensor = infer_request.get_output_tensor();
    ov::Shape output_shape = output_tensor.get_shape();
    float *detections = output_tensor.data<float>();


    // Step 8. Postprocessing including NMS
    std::vector<cv::Rect> boxes;
    vector<int> class_ids;
    vector<float> confidences;

    for (int i = 0; i < output_shape[1]; i++) {
        float *detection = &detections[i * output_shape[2]];

        float confidence = detection[4];
        if (confidence >= CONFIDENCE_THRESHOLD) {
            float *classes_scores = &detection[5];
            cv::Mat scores(1, output_shape[2] - 5, CV_32FC1, classes_scores);
            cv::Point class_id;
            double max_class_score;
            cv::minMaxLoc(scores, 0, &max_class_score, 0, &class_id);

            if (max_class_score > SCORE_THRESHOLD) {

                confidences.push_back(confidence);

                class_ids.push_back(class_id.x);

                float x = detection[0];
                float y = detection[1];
                float w = detection[2];
                float h = detection[3];

                float xmin = x - (w / 2);
                float ymin = y - (h / 2);

                boxes.push_back(cv::Rect(xmin, ymin, w, h));
            }
        }
    }
    std::vector<int> nms_result;
    cv::dnn::NMSBoxes(boxes, confidences, SCORE_THRESHOLD, NMS_THRESHOLD, nms_result);
    std::vector<Detection> output;
    for (int i = 0; i < nms_result.size(); i++)
    {
        Detection result;
        int idx = nms_result[i];
        result.class_id = class_ids[idx];
        result.confidence = confidences[idx];
        result.box = boxes[idx];
        output.push_back(result);
    }


    // Step 9. Print results and save Figure with detections
    for (int i = 0; i < output.size(); i++)
    {
        auto detection = output[i];
        auto box = detection.box;
        auto classId = detection.class_id;
        auto confidence = detection.confidence;
        float rx = (float)img.cols / (float)(res.img.cols - res.dw);
        float ry = (float)img.rows / (float)(res.img.rows - res.dh);
        box.x = rx * box.x;
        box.y = ry * box.y;
        box.width = rx * box.width;
        box.height = ry * box.height;
        cout << "Bbox" << i + 1 << ": Class: " << classId << " "
            << "Confidence: " << confidence << " Scaled coords: [ "
            << "x: " << (float)box.x << ", "
            << "y: " << (float)box.y << ", "
            << "w: " << (float)box.width << ", "
            << "h: " << (float)box.height << " ]" << endl;
        float xmax = box.x + box.width;
        float ymax = box.y + box.height;
        cv::rectangle(img, cv::Point(box.x, box.y), cv::Point(xmax, ymax), cv::Scalar(0, 255, 0), 3);
        cv::rectangle(img, cv::Point(box.x, box.y - 20), cv::Point(xmax, box.y), cv::Scalar(0, 255, 0), cv::FILLED);
        cv::putText(img, std::to_string(classId), cv::Point(box.x, box.y - 5), cv::FONT_HERSHEY_SIMPLEX, 0.5, cv::Scalar(0, 0, 0));
    }
    cv::imwrite("detection.png", img);

    return 0;
}
常见问题
1 error C4996: ‘ov::Node::evaluate_upper’: This method is deprecated and will be removed soon. Please use evaluate_upper with ov::Tensor instead
解决方法: 代码中加入 #pragma warning(disable:4996) 即可
2 DNN: CUDA backend requires CUDA Toolkit. Please resolve dependency or disable OPENCV_DNN_CUDA=OFF"
解决方法:https://github.com/opencv/opencv/issues/18528
参考资料:
1 Installing Intel® Distribution of OpenVINO™ Toolkit — OpenVINO™ documentation
2 How to use OpenCV with OpenVINO - OpenCV
3 BuildOpenCV4OpenVINO · opencv/opencv Wiki · GitHub
4 TFLite, ONNX, CoreML, TensorRT Export - Ultralytics YOLOv8 Docs
5 基于OpenVINO™ 2022.1实现YOLOv5推理程序 | 开发者实战
6 使用OpenVINO™ 预处理API进一步提升YOLOv5推理性能 | 开发者实战