从设计到产品
最近上的一些课的笔记,从 0 开始设计项目的角度去看产品。
设计系统
设计系统(design system) 不是 系统设计(system design),前者更偏向于 UI/UX 设计部分,后者更偏向于实现部分。
个人觉得,前端开发与 UI/UX 设计之间的差别很大程度上取决于公司的规模,不过不管怎么说,在团队中没有 UI/UX 设计师的情况下,前端开发就不得不硬着头皮上了……如果本身就具有相关经验还好,如果没有的话,可以参考一下比较主流的系统设计进行实现:
-
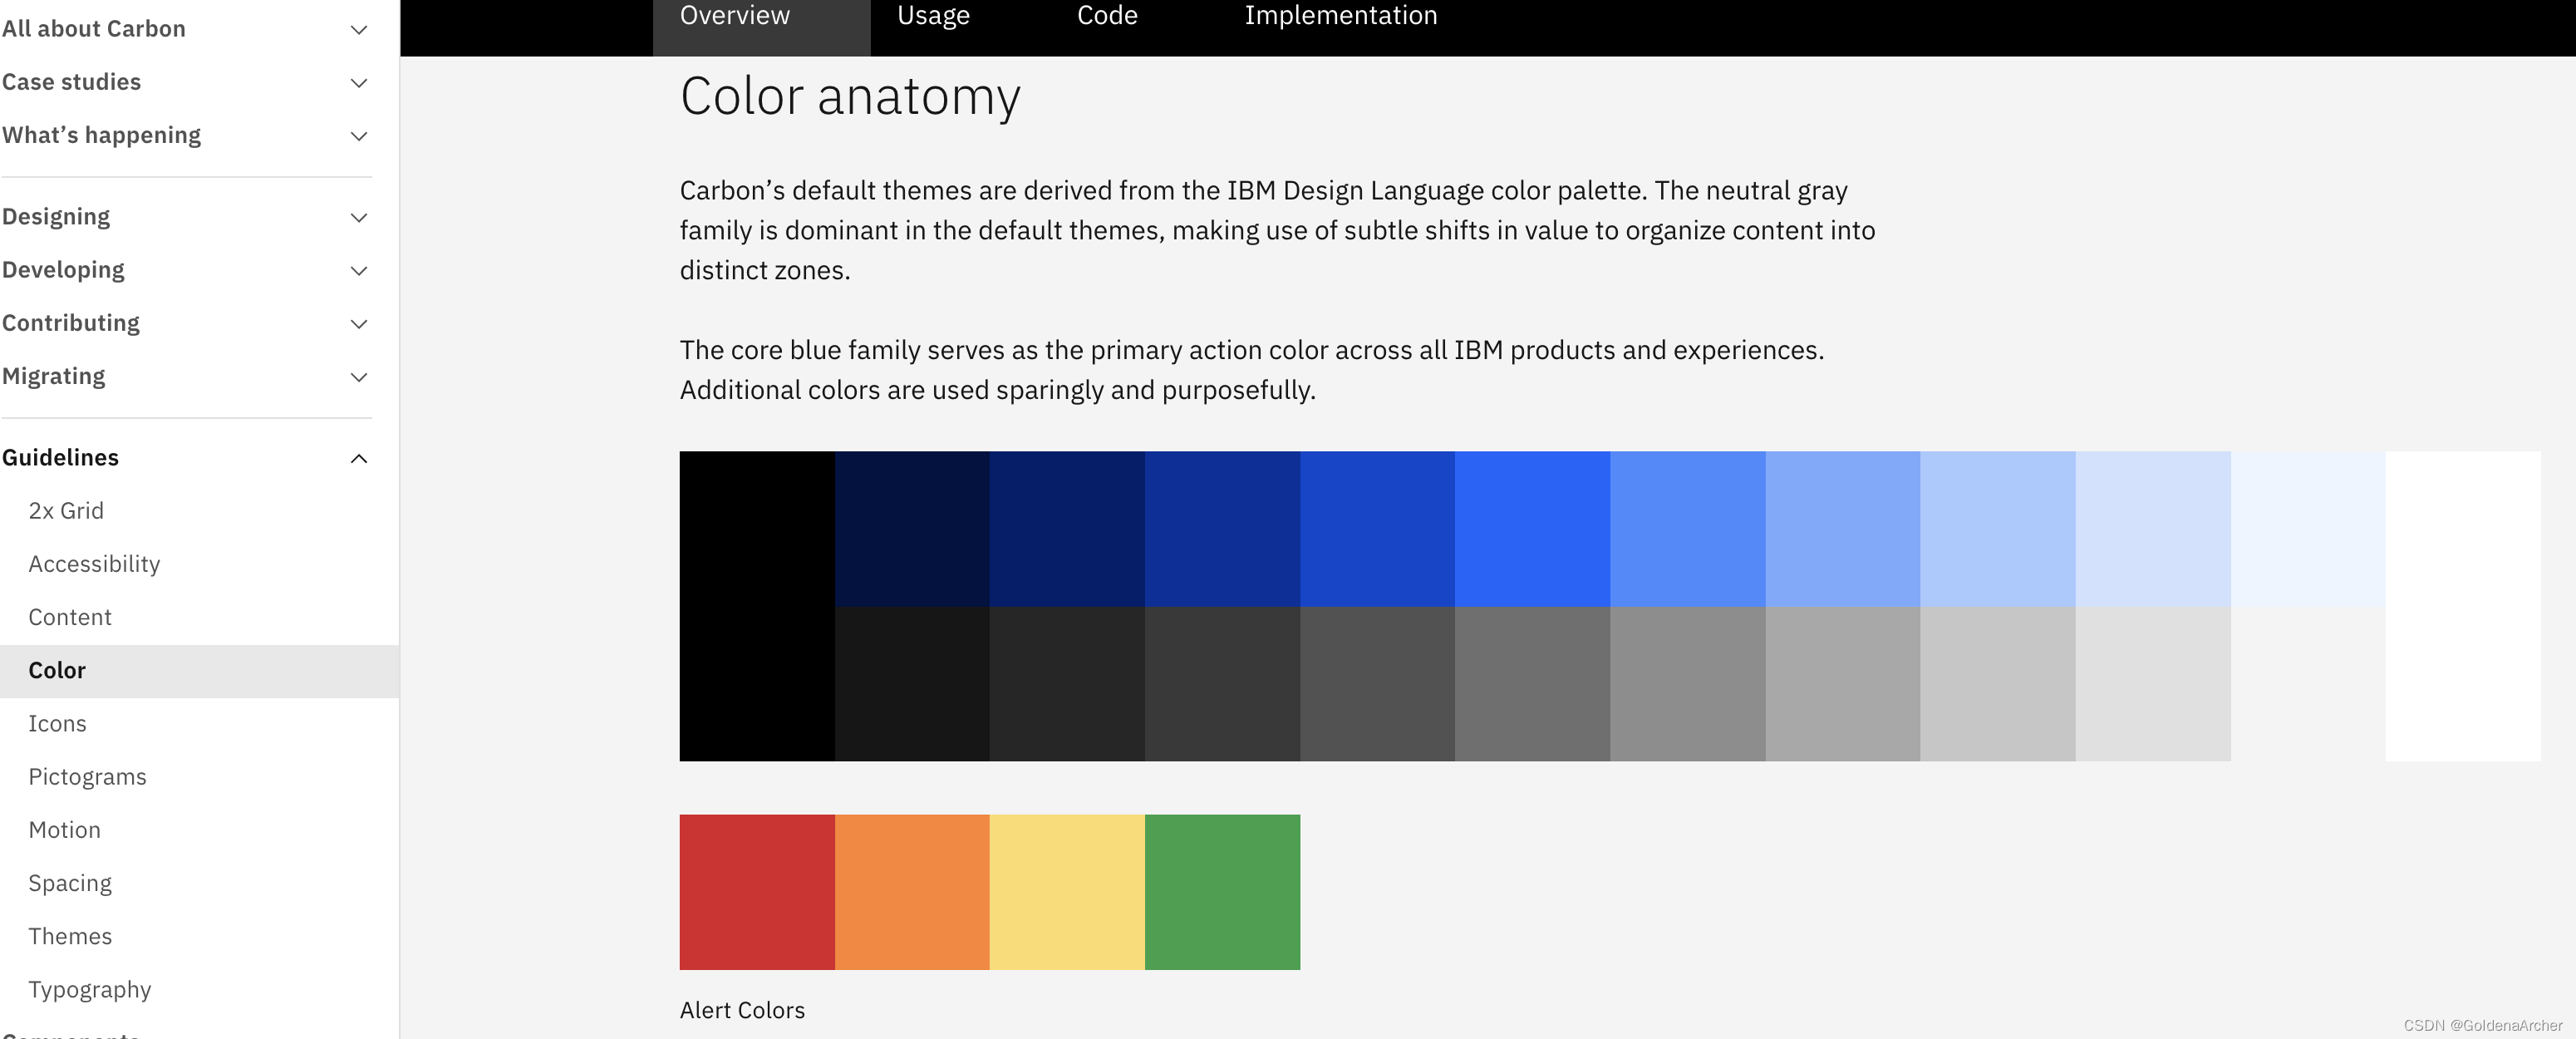
IBM Carbon Design System
-
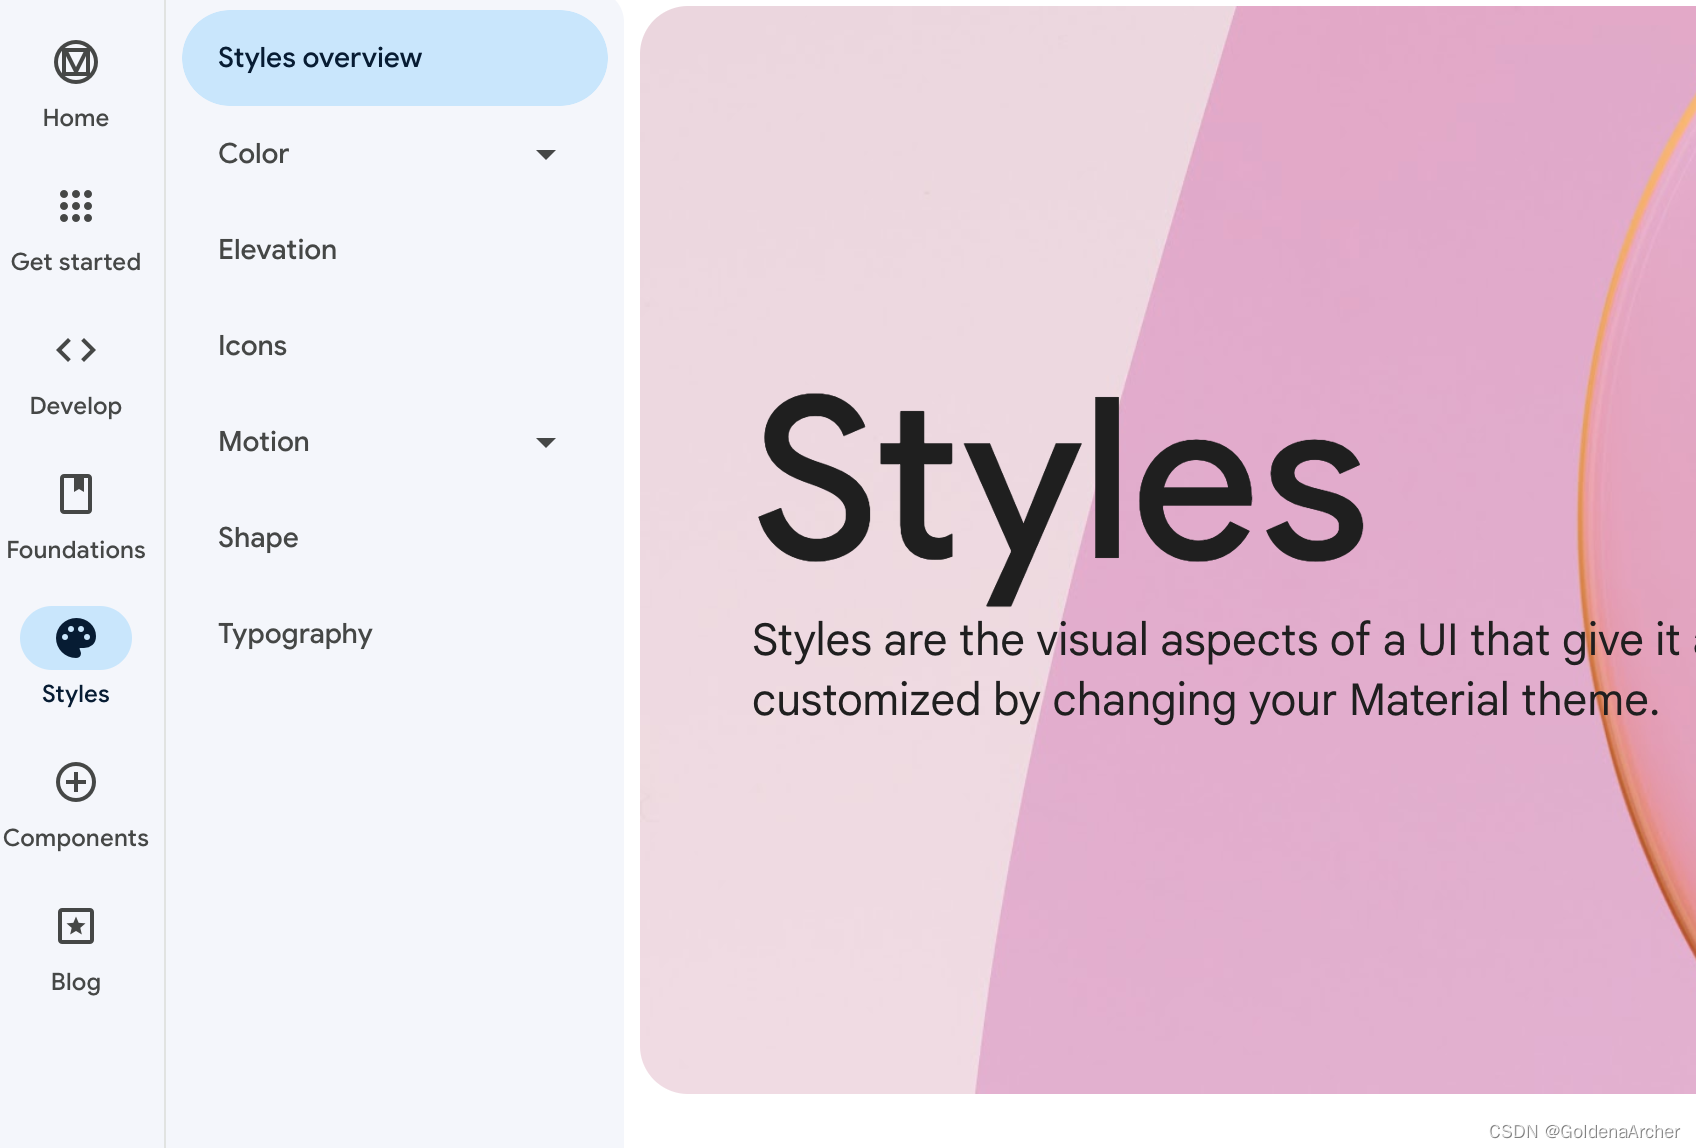
Material Design
-
Apple Design
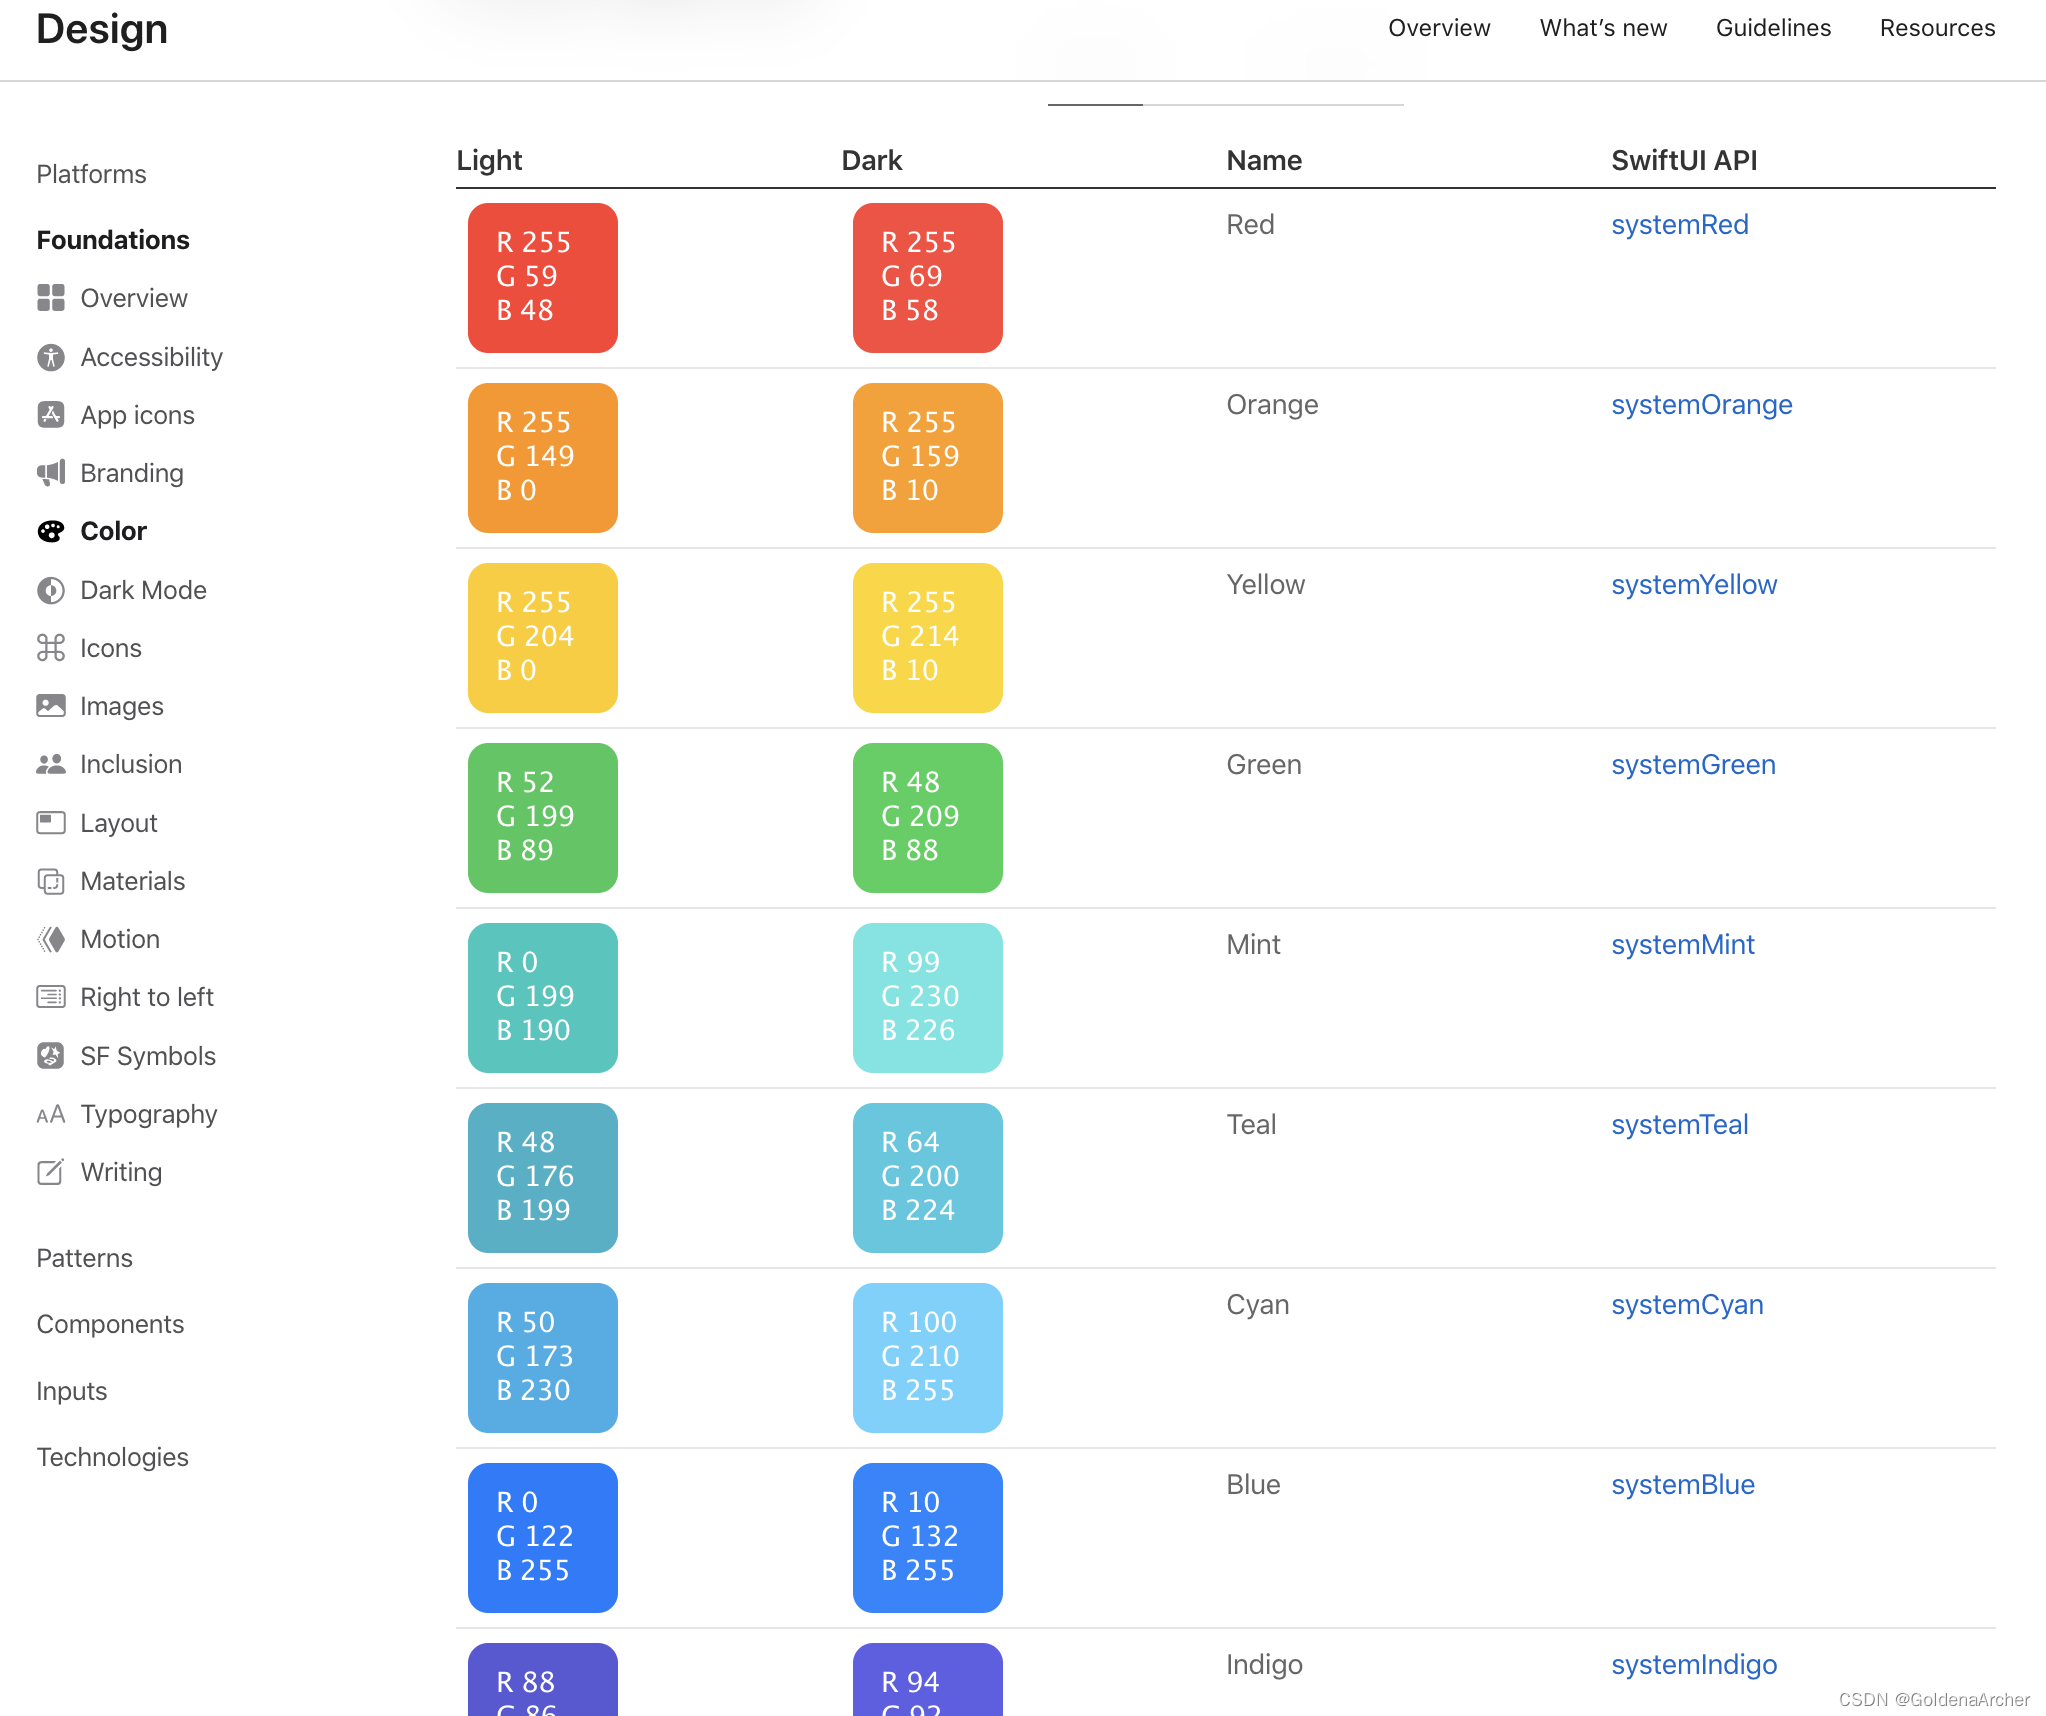
-
Fluent Design System
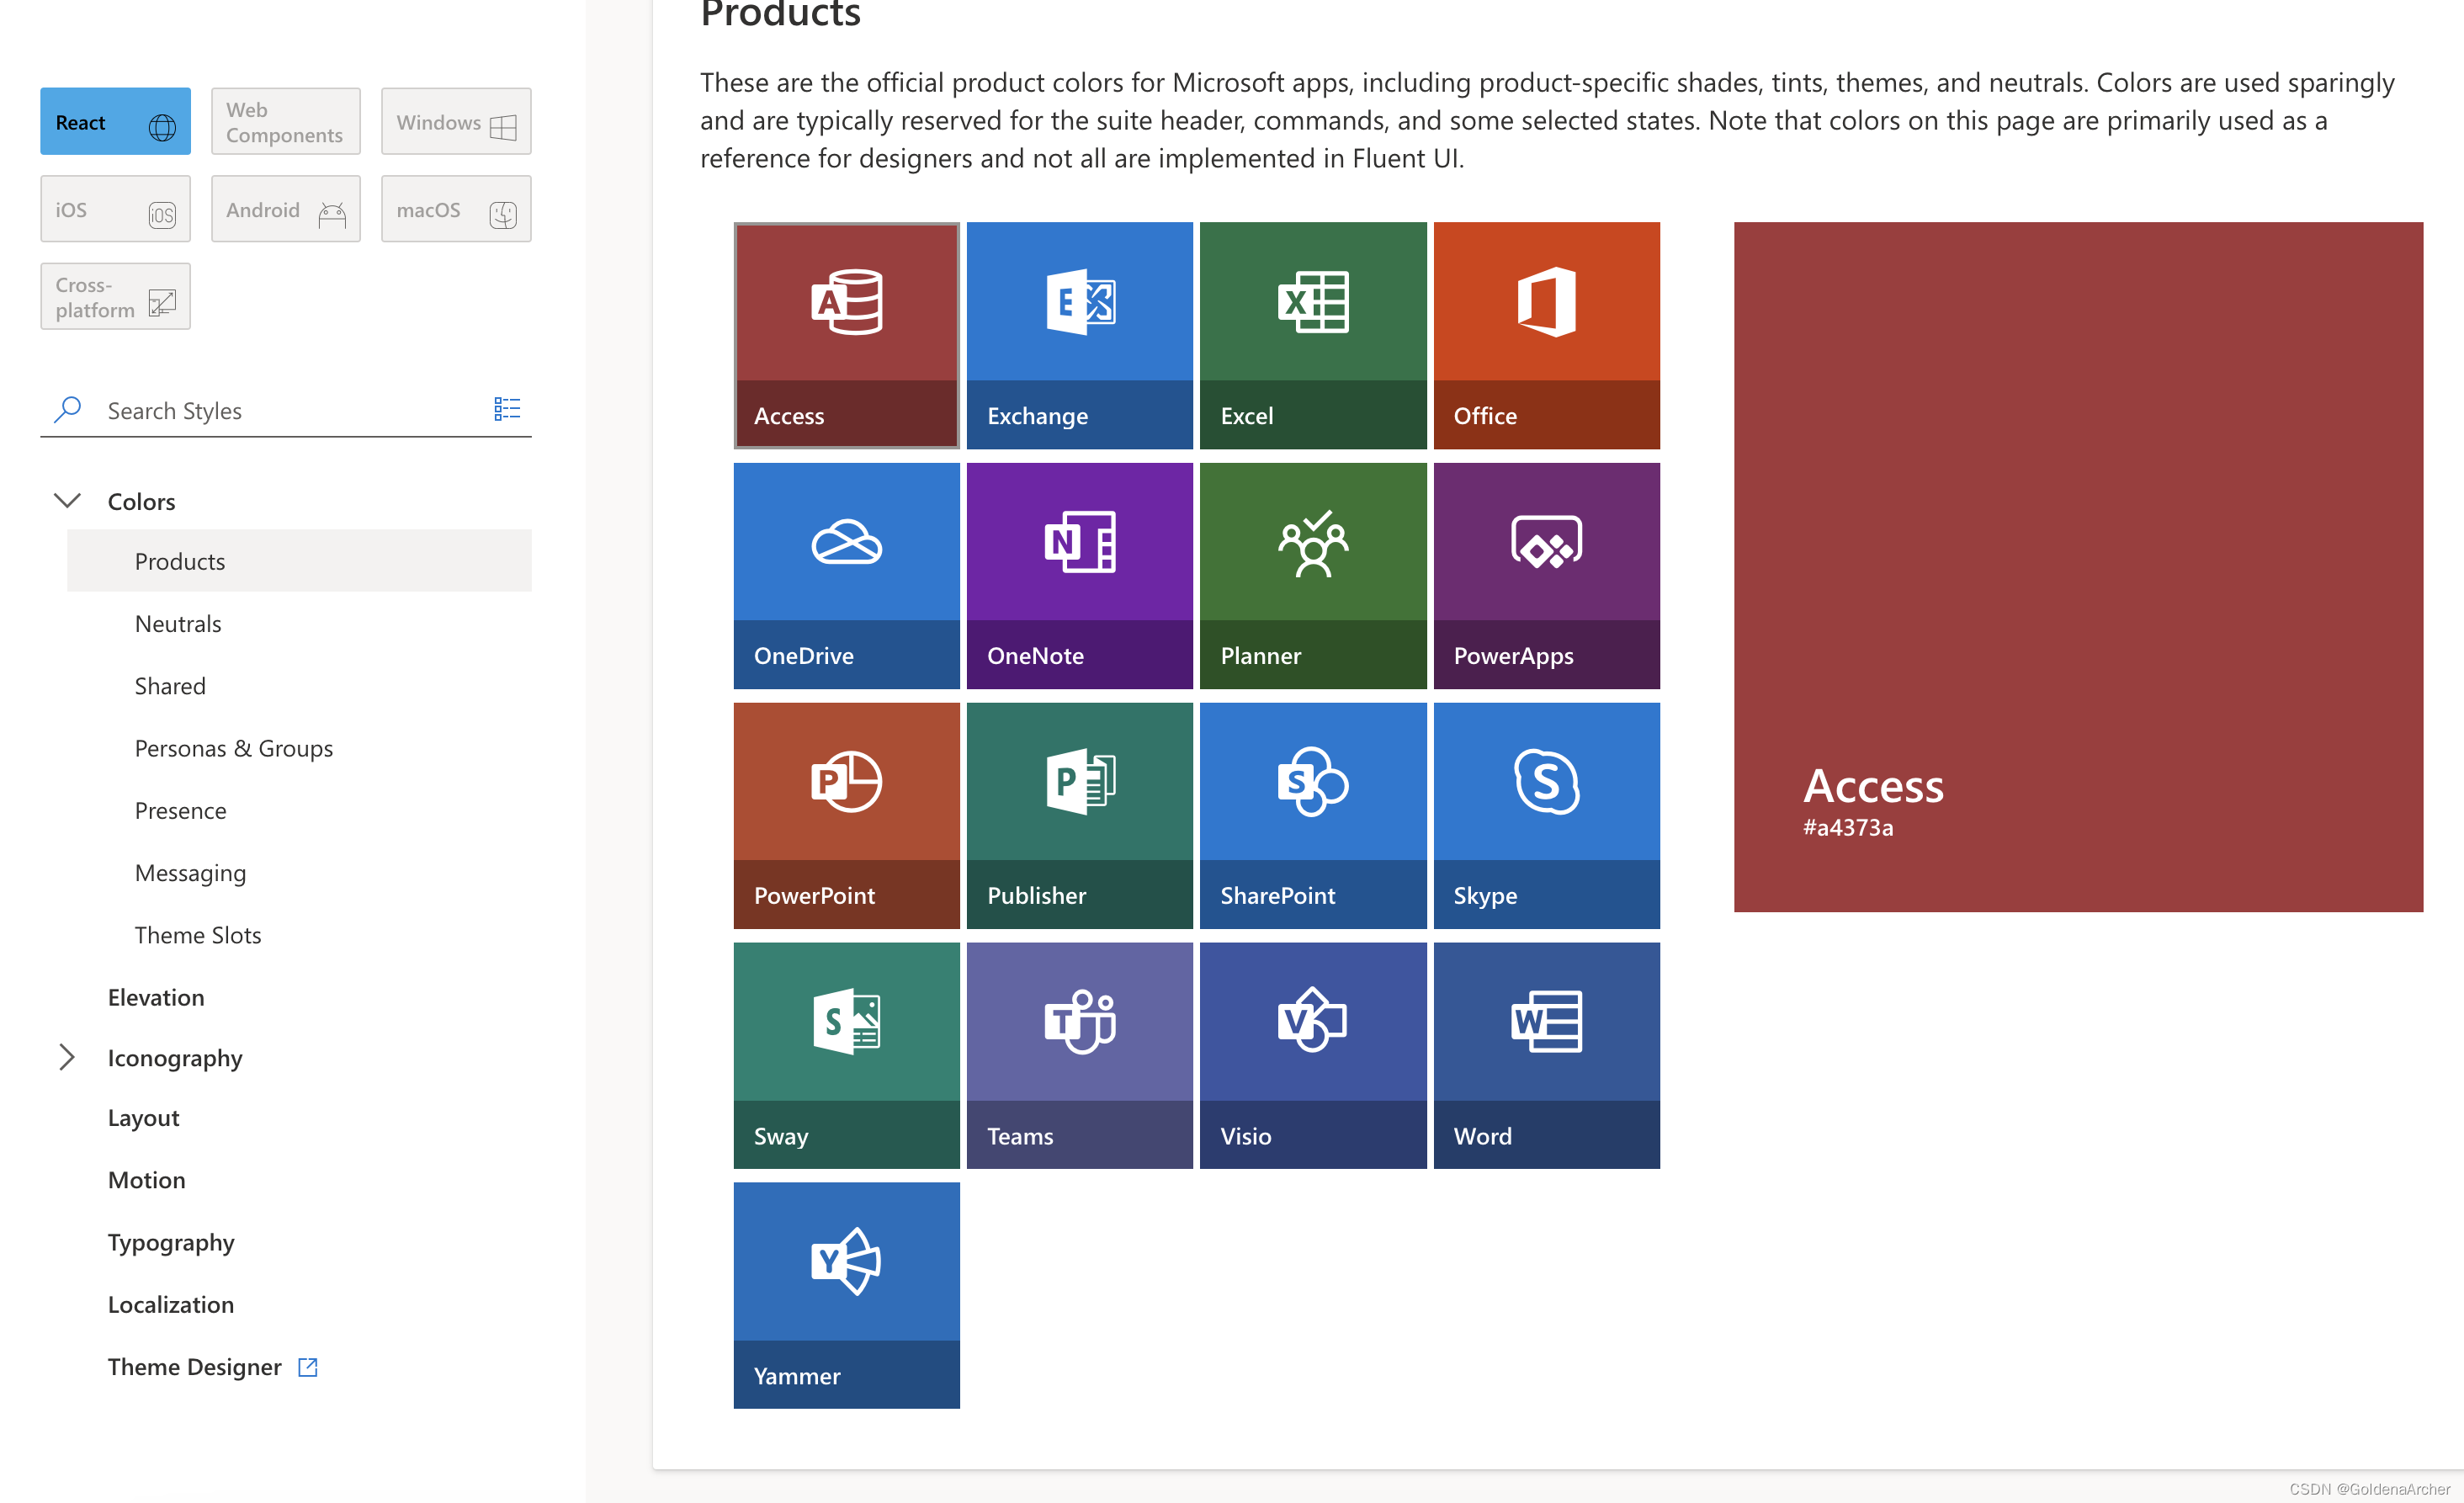
-
Atlassian Design System
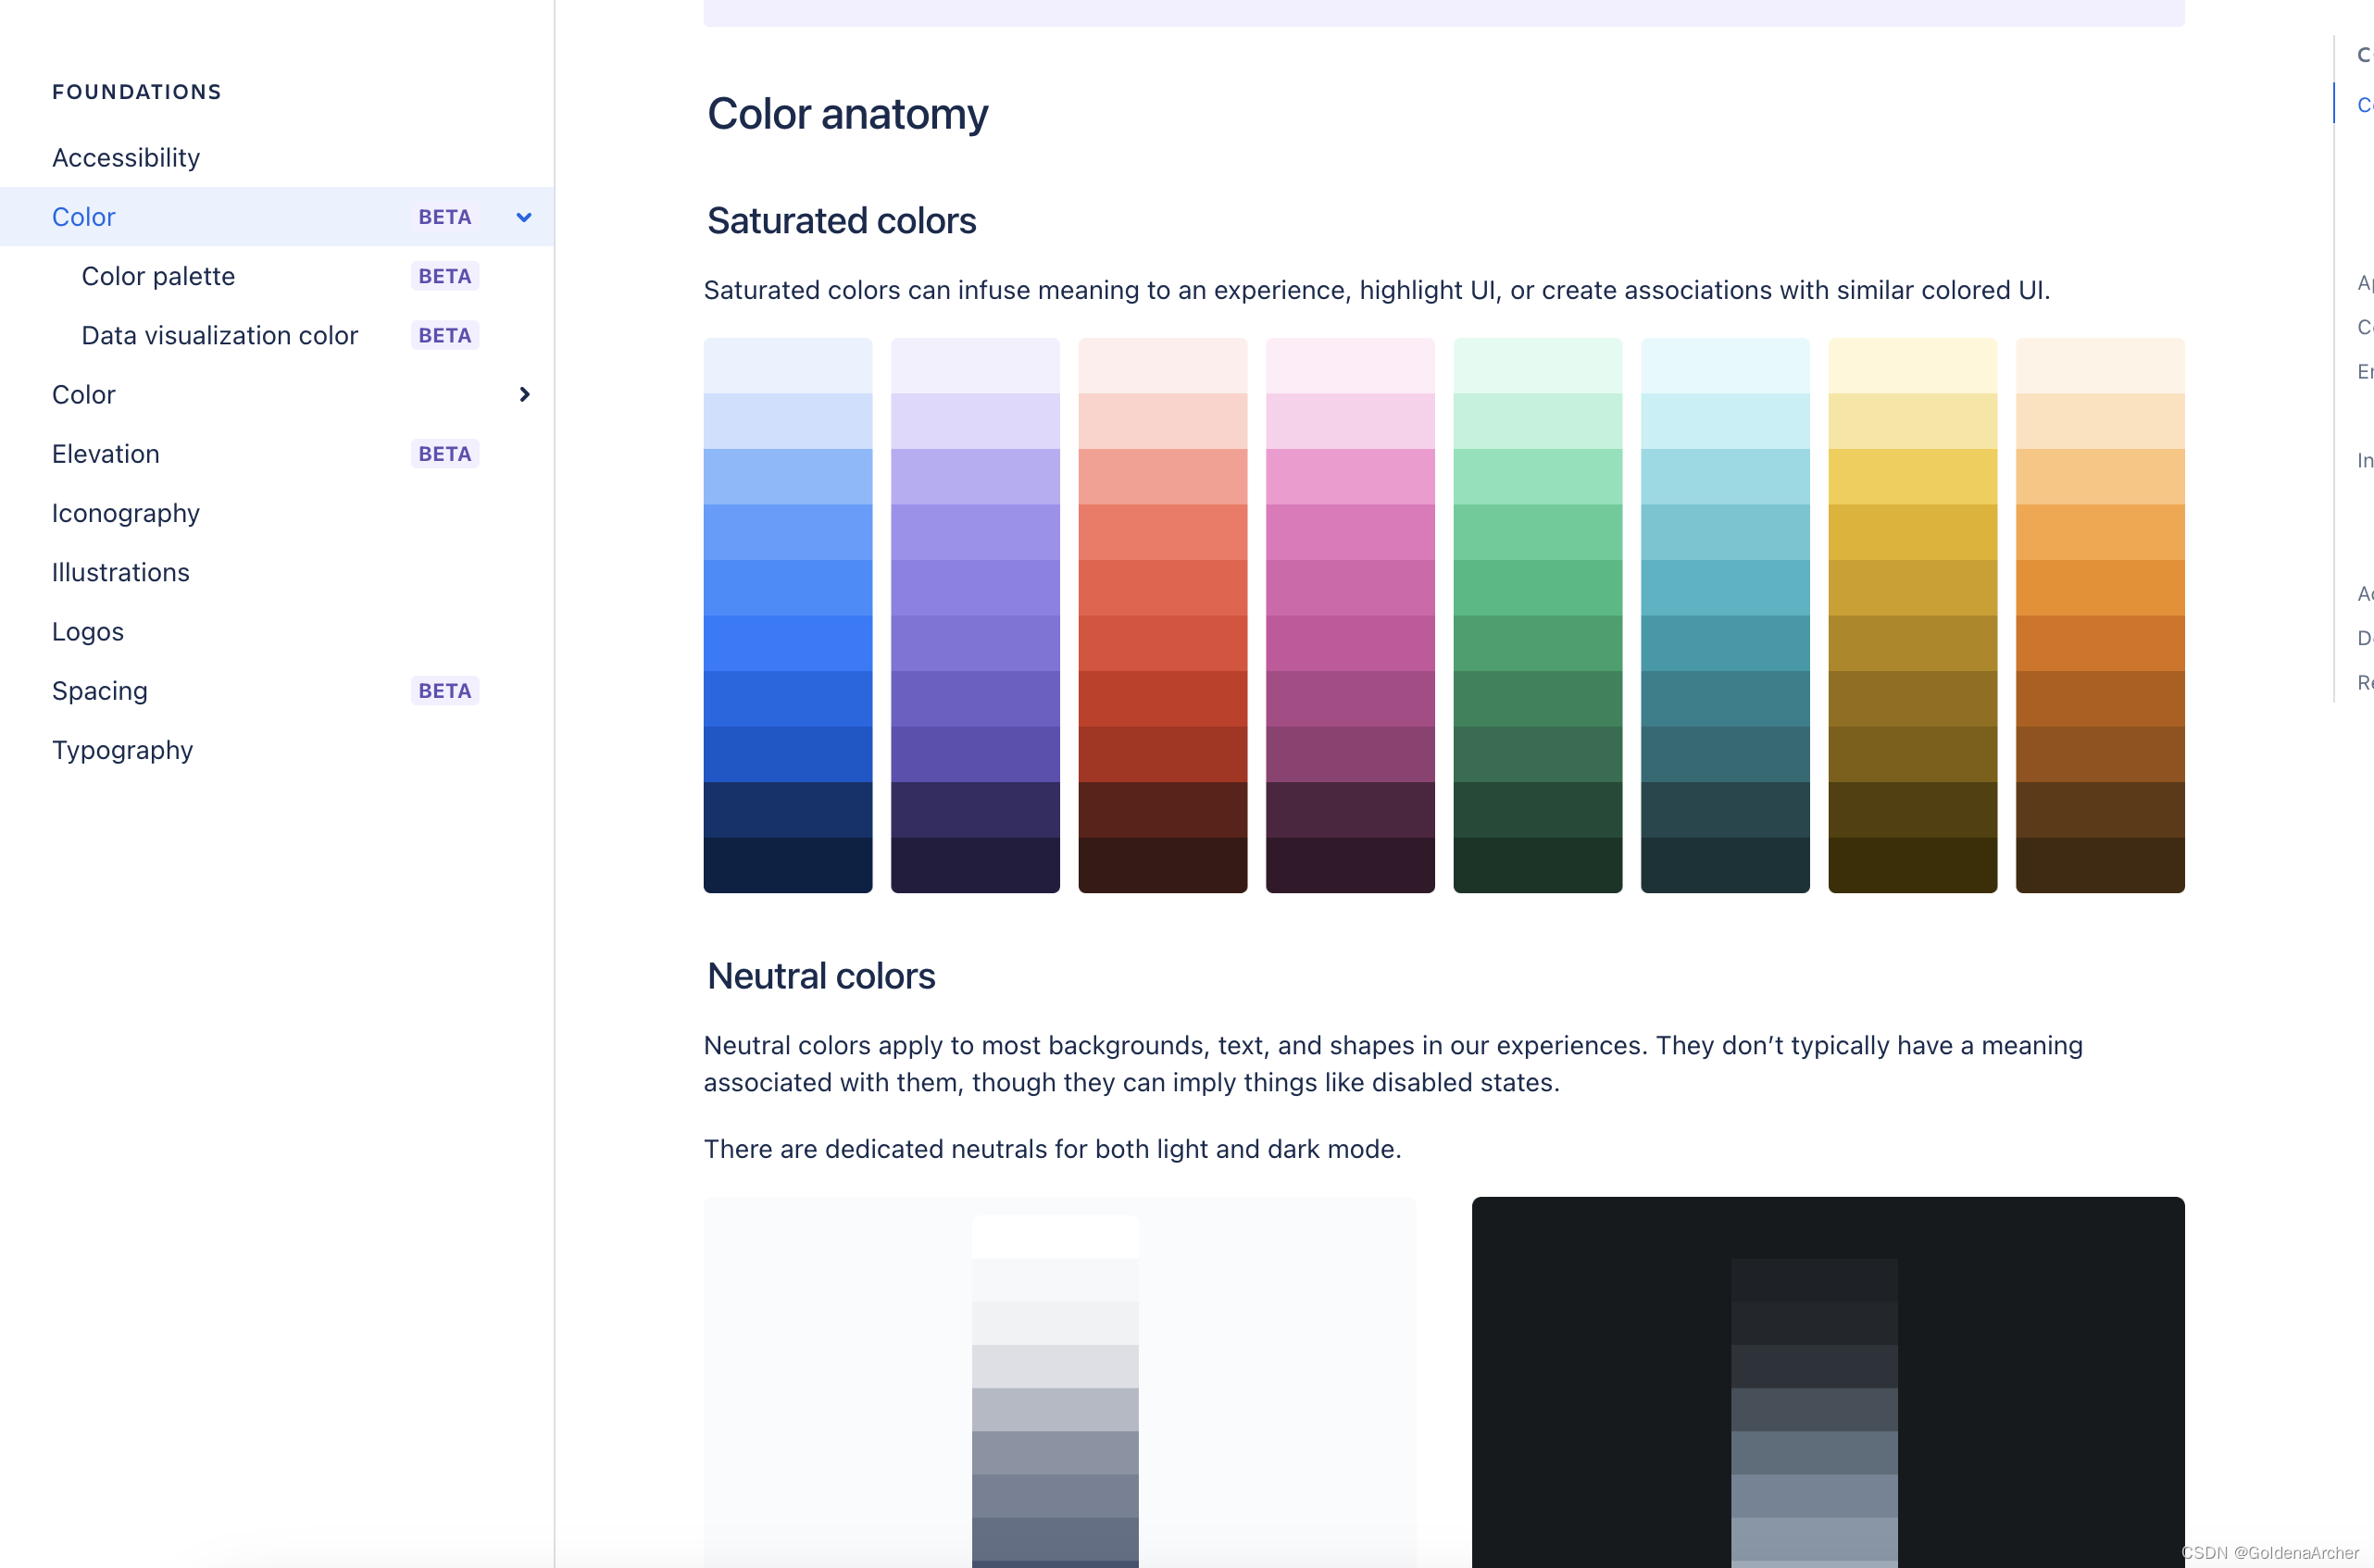
-
Uber Design System
-
Shopify Design System
其实从一些文档上大概滚过一遍后就会发现,设计系统是一个很复杂的东西,最简单的包含了颜色定义(color theme & contrast)、间距(padding & margin),图标(icon)、字体(Typography)和可访问性(accessibility)。除此之外更加复杂的自然还有组件化、动画等设计。
有一个完善的设计系统体系,并拿出对应的设计(Figma,PSD,Xd 等),是产品落地的第一步。最完善的情况是有独立的 Ui 和 UX 队伍,那么作为前端开发我们只需要拿到完整且完善的设计图,设计并提取共用的 CSS(包括 spacing、color 甚至是 animation 等),实现页面需求。
在没有 UX 的情况下,我们需要与 stakeholders 和 UI 队伍进行讨论,尤其是一些 UI 上看起来很酷炫,实现上非常有难度的功能。
在没有 UI/UX 的情况下,那么作为前端工程师的我们可能只能硬着头皮上了……
下面的项目以该 figma 文件为基准:https://www.figma.com/file/EX8VxcTtAatzI2PBLb361g/designsystems.engineering?node-id=99-0
系统化 CSS
注释的工具为:VS Code CSS Comments
在有了完善的设计系统的情况下,可以考虑将 CSS 提取出去做成一个项目,然后让 View layer 去导入即可。
这里的结构参考了一本书:Atomic Design,GitHub 上可以免费阅读。
因为这是一个独立的 CSS 项目,为了方便管理变量会使用 CSS 预处理,SCSS,其项目结构如下:
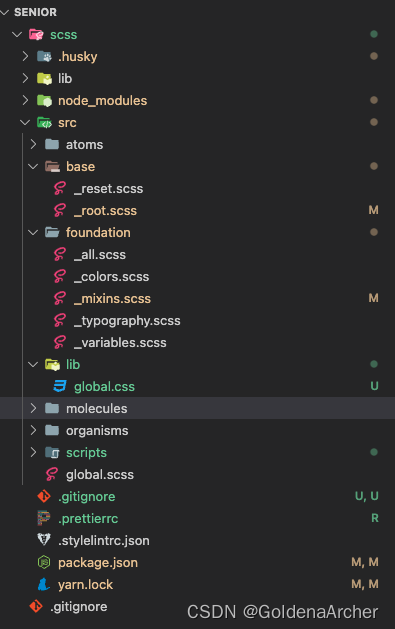
SCSS 的实现应当根据设计系统进行,以 color.scss 为例:
/*=============================================
=            Foundation - colors              =
=============================================*/

/**
 * This file defines the actual colors that will be used for styling. They will default to the palette
 * we defined in the _variable.scss file. This is our default palette, and devs can override this
 * with their own variables.
 */

/*=============================================
=            Global text colors               =
=============================================*/
$body-text-color: var(--dse-body-text-color, $dark) !default;
$body-bg-color: var(--dse-body-bg-color, $white) !default;

/*=============================================
=                 Buttons                     =
=============================================*/
$btn-primary-color: var(--dse-btn-primary-color, $white) !default;
$btn-primary-bg: var(--dse-btn-primary-bg, $green) !default;
$btn-primary-bg-hover: var(--dse-btn-primary-bg-hover, $green-light) !default;

/*=============================================
=                 Forms                       =
=============================================*/
$form-border-color: var(--dse-form-border-color, $white-dark) !default;
$form-bg-color: var(--dse-form-bg-color, $white) !default;
$form-bg-option-selected: var(--dse-form-bg-option-selected, $green) !default;
$form-color-option-selected: var(
  --dse-form-color-option-selected,
  $white
) !default;
$form-bg-color-hover: var(--dse-form-bg-color-hover, $white-dark) !default;
$form-color: var(--dse-form-color, $dark) !default;
$form-bg: var(--dse-form-bg, $white) !default;
$form-error-color: var(--dse-form-error-color, $red) !default;
$form-error-border: var(--dse-form-error-border, $red) !default;
$form-border-focus-color: var(--dse-form-border-focus-color, $green) !default;

/*=============================================
=                   App Bar                   =
=============================================*/

/*=====  End of App Bar  ======*/
package.json 中的内容如下:
{
  "name": "@proj/scss",
  "version": "1.0.0",
  "main": "index.js",
  "license": "MIT",
  "dependencies": {
    "normalize-scss": "^7.0.1"
  },
  "devDependencies": {
    "husky": "^8.0.0",
    "node-sass": "^8.0.0",
    "prettier": "^2.8.7",
    "stylelint": "^15.5.0",
    "stylelint-config-prettier": "^9.0.5",
    "stylelint-config-sass-guidelines": "^10.0.0",
    "stylelint-prettier": "^3.0.0"
  },
  "scripts": {
    "lint": "stylelint './**/*.scss'",
    "lint:fix": "yarn lint --fix",
    "prepare": "husky install",
    "build": "node src/scripts/build.js"
  }
}
运行 yarn build 会将所有的 SCSS 打包为 CSS 进行导出,脚本 build.js 的内容如下:
const fs = require('fs');
const path = require('path');
const sass = require('node-sass');

const compile = (input, output) => {
  const res = sass.renderSync({
    data: fs.readFileSync(path.resolve(input)).toString(),
    outputStyle: 'expanded',
    outFile: 'global.css',
    includePaths: [path.resolve('src')],
  });

  fs.writeFileSync(path.resolve(output), res.css.toString());
};

const getComponents = () => {
  let allComponents = [];

  const types = ['atoms', 'molecules', 'organisms'];

  types.forEach((type) => {
    const allFiles = fs.readdirSync(`src/${type}`).map((file) => ({
      input: `src/${type}/${file}`,
      output: `lib/${file.slice(0, -4) + 'css'}`,
    }));

    allComponents = [...allComponents, ...allFiles];
  });

  return allComponents;
};

try {
  fs.mkdirSync(path.resolve('lib'));
} catch (e) {}

compile('src/global.scss', 'src/lib/global.css');

getComponents().forEach((component) => {
  compile(component.input, component.output);
});
这部分主要是将 SCSS 打包成全局使用的 global.css,以及对应模块的 css。
配置 monorepo
既然已经将 CSS 打包出去了,那么就需要在另外一个项目中引用。
使用原生 node 管理器,如 npm,yarn,进行 monorepo 的管理笔记在这:使用 node 管理器管理 monorepo,这里为了方便会尝试使用 Lerna。
下面的命令分别会下载 lerna,初始化 lerna,以及删除所有的 node_modules,随后重新下载 dependencies,这部分的 hoist 在之前的笔记也有。
➜  senior git:(main) ✗ yarn add -D lerna
➜  senior git:(main) ✗ yarn lerna init
➜  senior git:(main) ✗ rm -rf ./**/node_modules
➜  senior git:(main) ✗ yarn
修改配置文件:
-
package.json
workspace 的配置在之前的笔记中讲过
{
  "name": "senior",
  "devDependencies": {
    "lerna": "^6.6.1"
  },
  "private": "true",
  "workspaces": {
    "packages": ["packages/*"],
    "nohoist": ["**/normalize-scss"]
  },
  "scripts": {
    "build": "yarn lerna run build"
  }
}
没有 hoist normalize-scss 的原因跟使用相关,官方文档建议说使用
@import "[path to]/normalize-scss/sass/normalize";的语法,所以我这里使用的路径是:node_modules/normalize-scss/sass/normalize/import-now,如果 hoist 的话无法直接找到 node-sass。如果之后的项目可能会使用 node-sass,那么可以修改一下相对路径,并且去除nohoist的选项。"yarn lerna run build"是最近文档上的运行方式,如果是旧版应该使用的是"yarn lerna run-build",当然具体还是要查看文档实现。 -
lerna.json
这里就加了
npmClient和stream,其他均为默认配置{ "$schema": "node_modules/lerna/schemas/lerna-schema.json", "useWorkspaces": true, "version": "0.0.0", "npmClient": "yarn", "stream": true }
添加 React 组件
这个 React 相当于对应一个 UI 库,实现的部分基本等同于 SCSS 中所实现的组件,供实际实现 business logic 的 React 去使用,大概构造如下:
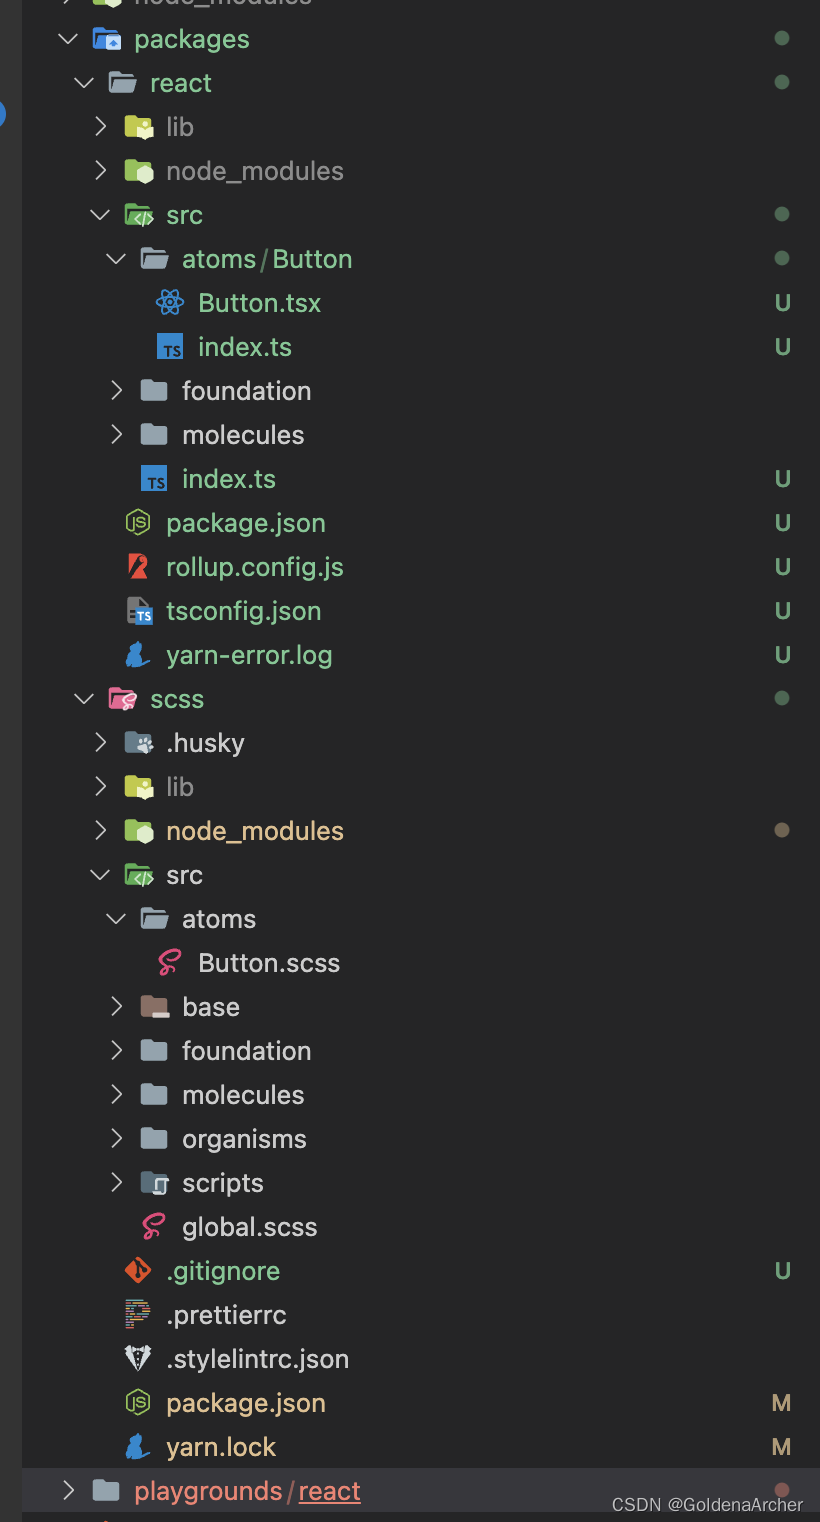
这里的样式全部都在 SCSS 中实现,react 中只负责定义组件的展现,如:
import React, { FC } from 'react';

interface ColorProps {
  hexCode: string;
  width: string;
  height: string;
}

const Color: FC<ColorProps> = ({ hexCode, width, height }) => {
  return <div style={{ backgroundColor: hexCode, width, height }}></div>;
};

export default Color;
这种实现相对适合 UI 逻辑较为复杂一些的页面,比如说需要基于 react-table 之上实现一个 wrapper,然后这个封装的组件可能被多于一个项目使用。playgrounds 中是使用封装好组件的 business logic 所在的地方。
补充一下 rollup 的配置,这个配置还是有些问题的,不过要使用 rollup 的时候再研究吧:
import TS from 'rollup-plugin-typescript2';
import path from 'path';

export default {
  input: ['src/index.ts', 'src/atoms/Color/index.ts'],
  output: {
    dir: 'lib',
    format: 'esm',
    sourcemap: true,
  },
  plugins: [TS()],
  external: ['react'],
};
这里是简单的引入了 Button 的组件
import React from 'react';
import { createRoot } from 'react-dom/client';
import { Color } from '@proj/react/lib';
import '@proj/scss/lib/Button.css';

const container = document.getElementById('root') as HTMLElement;
const root = createRoot(container);

root.render(<Color hexCode="#000" width="1rem" height="1rem"></Color>);
效果如下:

这样的话重写样式其实也会方便很多。
设置开发环境
目前是所有的 build 脚本全都写好了,但是开发环境没写——react 部分使用 parcel 和 rollup 偷懒了,所以这里就通过 lerna 去把开发环境补全。
这里偷个懒,scss 的项目因为是使用自己的脚本 build 的,很难使用现有封装好的工具去监测文件的修改,所以使用 nodemon 去实现 --watch 功能。
-
scss
"scripts": { "dev": "nodemon --watch src --exec yarn build -e scss" } -
react provider
"dev": "yarn build --watch" -
react consumer
"dev": "parcel src/index.html -p 3000"
随后可以在有 lerna.json 的根目录下运行 yarn dev,运行结果大致如下:
yarn run v1.22.19
$ yarn lerna run dev
$ /__________/node_modules/.bin/lerna run dev
lerna notice cli v6.6.1

 >  Lerna (powered by Nx)   Running target dev for 2 projects:

    - @proj/react
    - @proj/scss

 ——————————————————————————————————————————————————————————————————————————————

> @proj/react:dev


> @proj/scss:dev

@proj/react: $ yarn build --watch
@proj/scss: $ nodemon --watch src --exec yarn build -e scss
@proj/react: $ rollup -c --watch
@proj/scss: [nodemon] 2.0.22
@proj/scss: [nodemon] to restart at any time, enter `rs`
@proj/scss: [nodemon] watching path(s): src/**/*
@proj/scss: [nodemon] watching extensions: scss
@proj/scss: [nodemon] starting `yarn build`
@proj/react: rollup v3.21.1
@proj/react: bundles src/index.ts, src/atoms/Button/index.ts → lib...
@proj/scss: $ node src/scripts/build.js
@proj/react: created lib in 1s
@proj/scss: [nodemon] clean exit - waiting for changes before restart
@proj/scss: [nodemon] restarting due to changes...
@proj/scss: [nodemon] starting `yarn build`
@proj/scss: $ node src/scripts/build.js
@proj/scss: [nodemon] clean exit - waiting for changes before restart
@proj/scss: [nodemon] restarting due to changes...
@proj/scss: [nodemon] starting `yarn build`
@proj/scss: $ node src/scripts/build.js
@proj/scss: [nodemon] clean exit - waiting for changes before restart
从我个人来说这是一个比较方便的实现,如果想要更完整和统一的配置,也可以 webpack5 的 module federation。
限定 CSS
现在又有一个问题了,那么就是 scss 中已经限定了样式的格式:
$spacing: (
  none: 0,
  xxxs: 0.25rem,
  // 4px
  xxs: 0.5rem,
  // 8px
  xs: 0.75rem,
  // 12px
  sm: 1rem,
  // 16px
  md: 1.5rem,
  // 24px
  lg: 2rem,
  // 32px
  xl: 3rem,
  // 48px
  xxl: 4.5rem,
  // 72px
  xxxl: 6rem,
  // 96px
) !default;

@each $size, $value in $spacing {
  .dse-width-#{$size} {
    width: $value;
  }

  .dse-height-#{$size} {
    height: $value;
  }
}
这一点也可以通过 TypeScript 实现,首先定义有效的距离变凉,这块依旧在 react provider 中实现:
-
spaces.ts
定义所有的尺寸
const spaces = { xxxs: 'xxxs', xxs: 'xxs', xs: 'xs', sm: 'sm', md: 'md', lg: 'lg', xl: 'xl', xxl: 'xxl', xxxl: 'xxxl', }; export default Object.freeze(spaces); -
index.ts
负责所有 export 的地方
import Color from './atoms/Color'; import Spacing from './foundation/spacing'; export { Color, Spacing }; -
color.tsx
设定允许接受值的范围:
import React, { FC } from 'react';
import Spacing from '../../foundation/spacing';

interface ColorProps {
  hexCode: string;
  width?: keyof typeof Spacing;
  height?: keyof typeof Spacing;
}

const Color: FC<ColorProps> = ({
  hexCode,
  width = Spacing.md,
  height = Spacing.md,
}) => {
  const className = `dse-width-${width} dse-height-${height}`;

  return (
    <div
      className={className}
      style={{ backgroundColor: hexCode, width, height }}
    ></div>
  );
};

export default Color;
通过 TS 的类型检查可以获取这里限定的值:

如果在 Consumer 这里乱使用值的话,TS 就会开启静态检查,从而提醒报错:


Consumer 部分代码:
import React from 'react';
import { createRoot } from 'react-dom/client';
import { Color } from '@proj/react/lib';

import '@proj/scss/lib/Utilities.css';

const container = document.getElementById('root') as HTMLElement;
const root = createRoot(container);

root.render(<Color hexCode="#000" width={'lg'} height={'sm'}></Color>);
⚠️:可以看到上面对尺寸的定义都是纯 TS,并不涉及到任何 react 的部分,因此可以单独提取出来做成 interface/definition,这样的话如果项目中使用 Vue、Angular 的话,也可以使用这些规范。
同样,如果有 UI 组件可能要同时兼容多个框架的需求,最好也将 scss 和 UI 实现分离(比如 react 和 react native,这两个 css 的实现就不太一样,很可能产生无法兼容的情况)。
单元测试
之前在笔记当中也有提过测试的部分,整合一下的话是两种:
- UI 测试主要可以用 react-testing-library
- 功能测试(mock)可以用 jest
storybook
这个也是 UI 库中比较重要的一个组成部分,之前也有在 React + TS + TDD 扫雷游戏学习心得 中试过水,这里就不多赘述了。
CI/CD
这个主要是 github actions 的东西……目前没怎么用过,打算之后找点资料看看。
reference
-
sh: husky: command not found
解决方案:
如果使用
nvm,在根目录下新建一个.huskyrc,放入以下内容:export NVM_DIR="$HOME/.nvm" [ -s "$NVM_DIR/nvm.sh" ] && \. "$NVM_DIR/nvm.sh" -
lerna Building All Projects
-
Atomic Design
