springboot整合juit
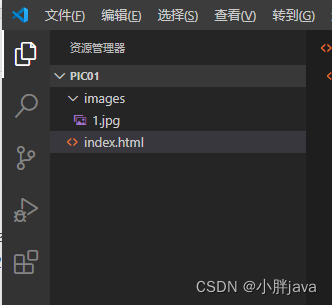
先看一眼包路径,发现main程序的路径和测试类的路径是一样的
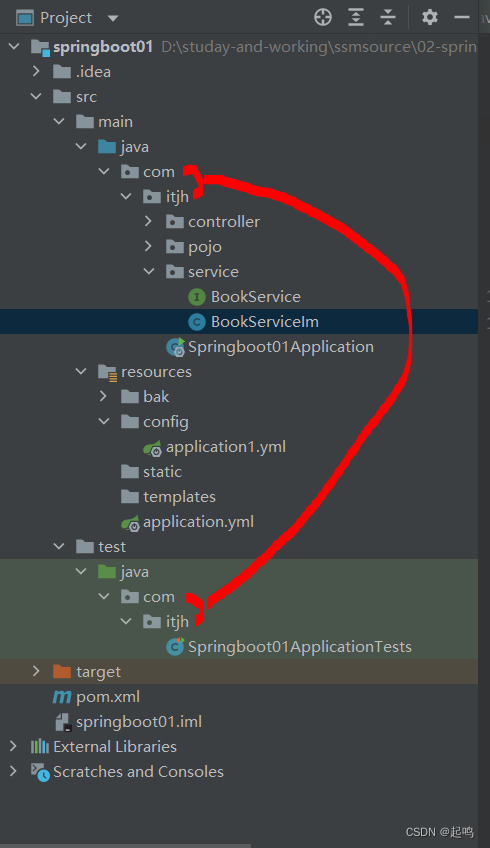
启用新注解:@SpringBootTest代替了之前sm整合juit时的
@RunWith(SpringJUnit4ClassRunner.class)
//spring配置类
@ContextConfiguration(classes = config.class)
新的如此:之前的配置类都是自己创建的,现在不用自己创建了,都是springboot自动创建,所以这里就可以进行注解的替换
package com.itjh;

import com.itjh.service.BookService;
import com.itjh.service.BookServiceIm;
import org.junit.jupiter.api.Test;
import org.springframework.beans.factory.annotation.Autowired;
import org.springframework.boot.test.context.SpringBootTest;

@SpringBootTest
class Springboot01ApplicationTests {

    @Autowired
    private BookService bookService;
    @Test
    public void a() {
        bookService.show();
    }
}
业务层:接口和实现了
package com.itjh.service;

public interface BookService {
    public void show();
}
package com.itjh.service;

import org.springframework.stereotype.Service;

@Service
public class BookServiceIm implements BookService{
    public void show(){
        System.out.println("BookServiceIm  执行了。。。。");
    }
}
当main程序的路径和测试类的路径是不一样时,就需要添加参数:表明main程序是哪一个
@SpringBootTest(classes = Springboot01Application.class)
class Springboot01ApplicationTests {

    @Autowired
    private BookService bookService;
springboot整合mybatis
创建工程的时候只需要勾选出mybatis.....``sql.....即可
将之前的spring配置类,加载接口,从properties文件中获得数据源,获得操作数据源的sqlsession简化了,只需要写出接口和数据源所需要的url,password等即可,对了,这里的sql语句是写在了注解上面
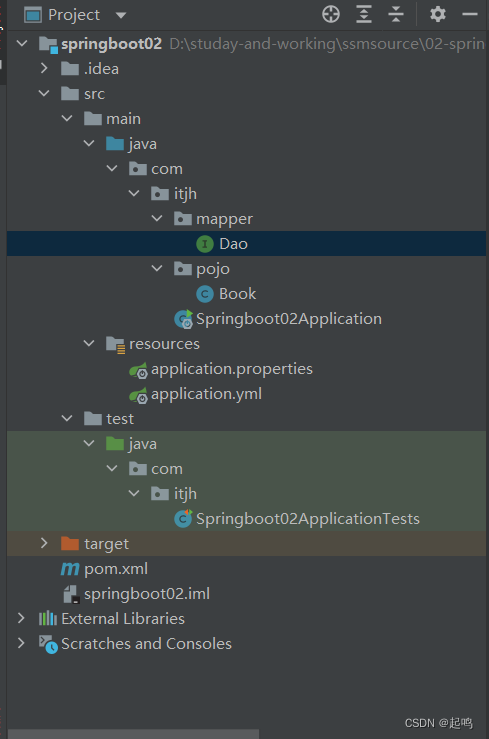
接口:接口上加注解@Mapper,表示代替之前sm整合时的加载mapper所在包的操作
package com.itjh.mapper;

import com.itjh.pojo.Book;
import org.apache.ibatis.annotations.Mapper;
import org.apache.ibatis.annotations.Select;

import java.util.List;

@Mapper
public interface Dao {
    @Select("select * from tbl_book where id = #{id}")
    public List<Book> selectOne(int id);
}
配置文件:其中写上数据源:
spring:
  datasource:
    username: root
    driver-class-name: com.mysql.cj.jdbc.Driver
    url: jdbc:mysql://localhost:3306/parent
    password: 123456
实体类:
package com.itjh.pojo;

public class Book {
    private String name;
    private Integer id;
    private String description;
    private String type;

    public String getName() {
        return name;
    }

    public void setName(String name) {
        this.name = name;
    }

    public Integer getId() {
        return id;
    }

    public void setId(Integer id) {
        this.id = id;
    }

    public String getDescription() {
        return description;
    }

    public void setDescription(String description) {
        this.description = description;
    }

    public String getType() {
        return type;
    }

    public void setType(String type) {
        this.type = type;
    }

    @Override
    public String toString() {
        return "Book{" +
                "name='" + name + '\'' +
                ", id=" + id +
                ", description='" + description + '\'' +
                ", type='" + type + '\'' +
                '}';
    }
}
测试类:不用动
package com.itjh;

import com.itjh.mapper.Dao;
import com.itjh.pojo.Book;
import org.junit.jupiter.api.Test;
import org.springframework.beans.factory.annotation.Autowired;
import org.springframework.boot.test.context.SpringBootTest;

import java.util.List;

@SpringBootTest
class Springboot02ApplicationTests {

    @Autowired
    private Dao dao;
    @Test
    void contextLoads() {
        List<Book> list=dao.selectOne(1);
        System.out.println(list);
    }

}
springboot整合ssm
首先代替了所有的配置文件,spring,springmvc,maybatis配置类都没了
当然,异常处理工具类,控制类,统一格式返回响应数据等还在
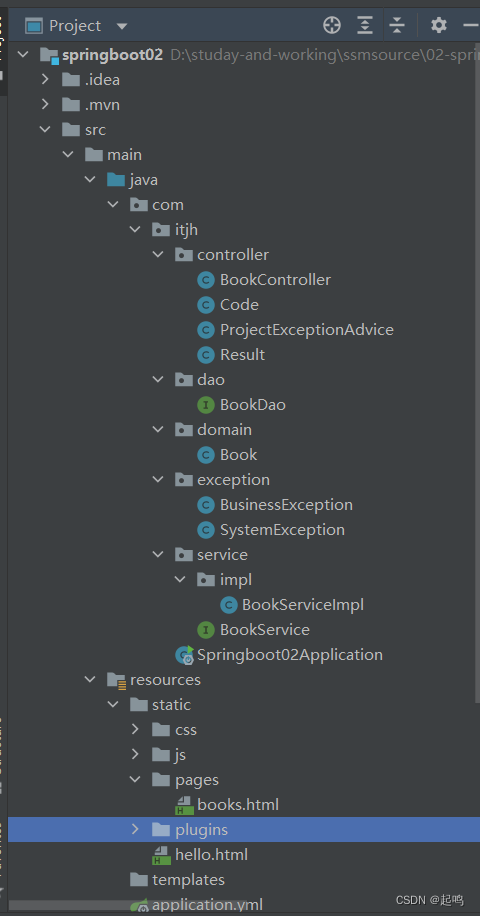
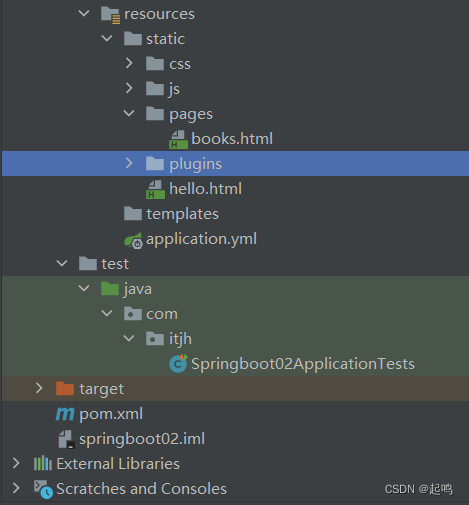
根据上面的整合mybatis知:只需接口(加注解@Mapper),调用接口的类,数据源(url等)放在.yml文件中
springmvc:只需控制类,返回统一格式的各种工具,异常处理工具
整体可以先搭建好springboot整合springmybatis,测试一下能否,查询到数据,这里就要用test先运行一下测试程序,成功取到数据
再整合前端页面和springmvc需要的控制包,再运行主程序,通过页面访问(不用加项目名称)

