一.前言
- 对于更多功能页面,使用RecycleView与TabLayout联动方式实现是比较常见的,先上效果图(请大佬们忽略gif的水印)

- 单独使用TabLayout和RecycleView都是比较容易的,这里就不做举例了;gif中的列表实际上是RecycleView嵌套了RecycleView,嵌套的RecycleView设置了间距(不是本文的重点,代码会在下方贴出来),实现item均分;
- 列表的实现借助了开源库:com.github.CymChad:BaseRecyclerViewAdapterHelper:3.0.4;
- 这里个人先讲解实现思路(会配上局部代码,不要在意代码实现),最后再贴出全部的代码;
二.联动效果的实现
- 联动效果的实现核心在于两个监听的设置。
- 其一:RecycleView需要设置setOnScrollChangeListener,实现滑动RecyclerView列表的时候,根据最上面一个Item的position来切换TabLayout的tab;
mBinding.recyclerView.setOnScrollChangeListener { _, _, _, _, _ ->
            mBinding.tabLayout.setScrollPosition(
                mManager!!.findFirstVisibleItemPosition(),
                0F,
                true
            )
        }
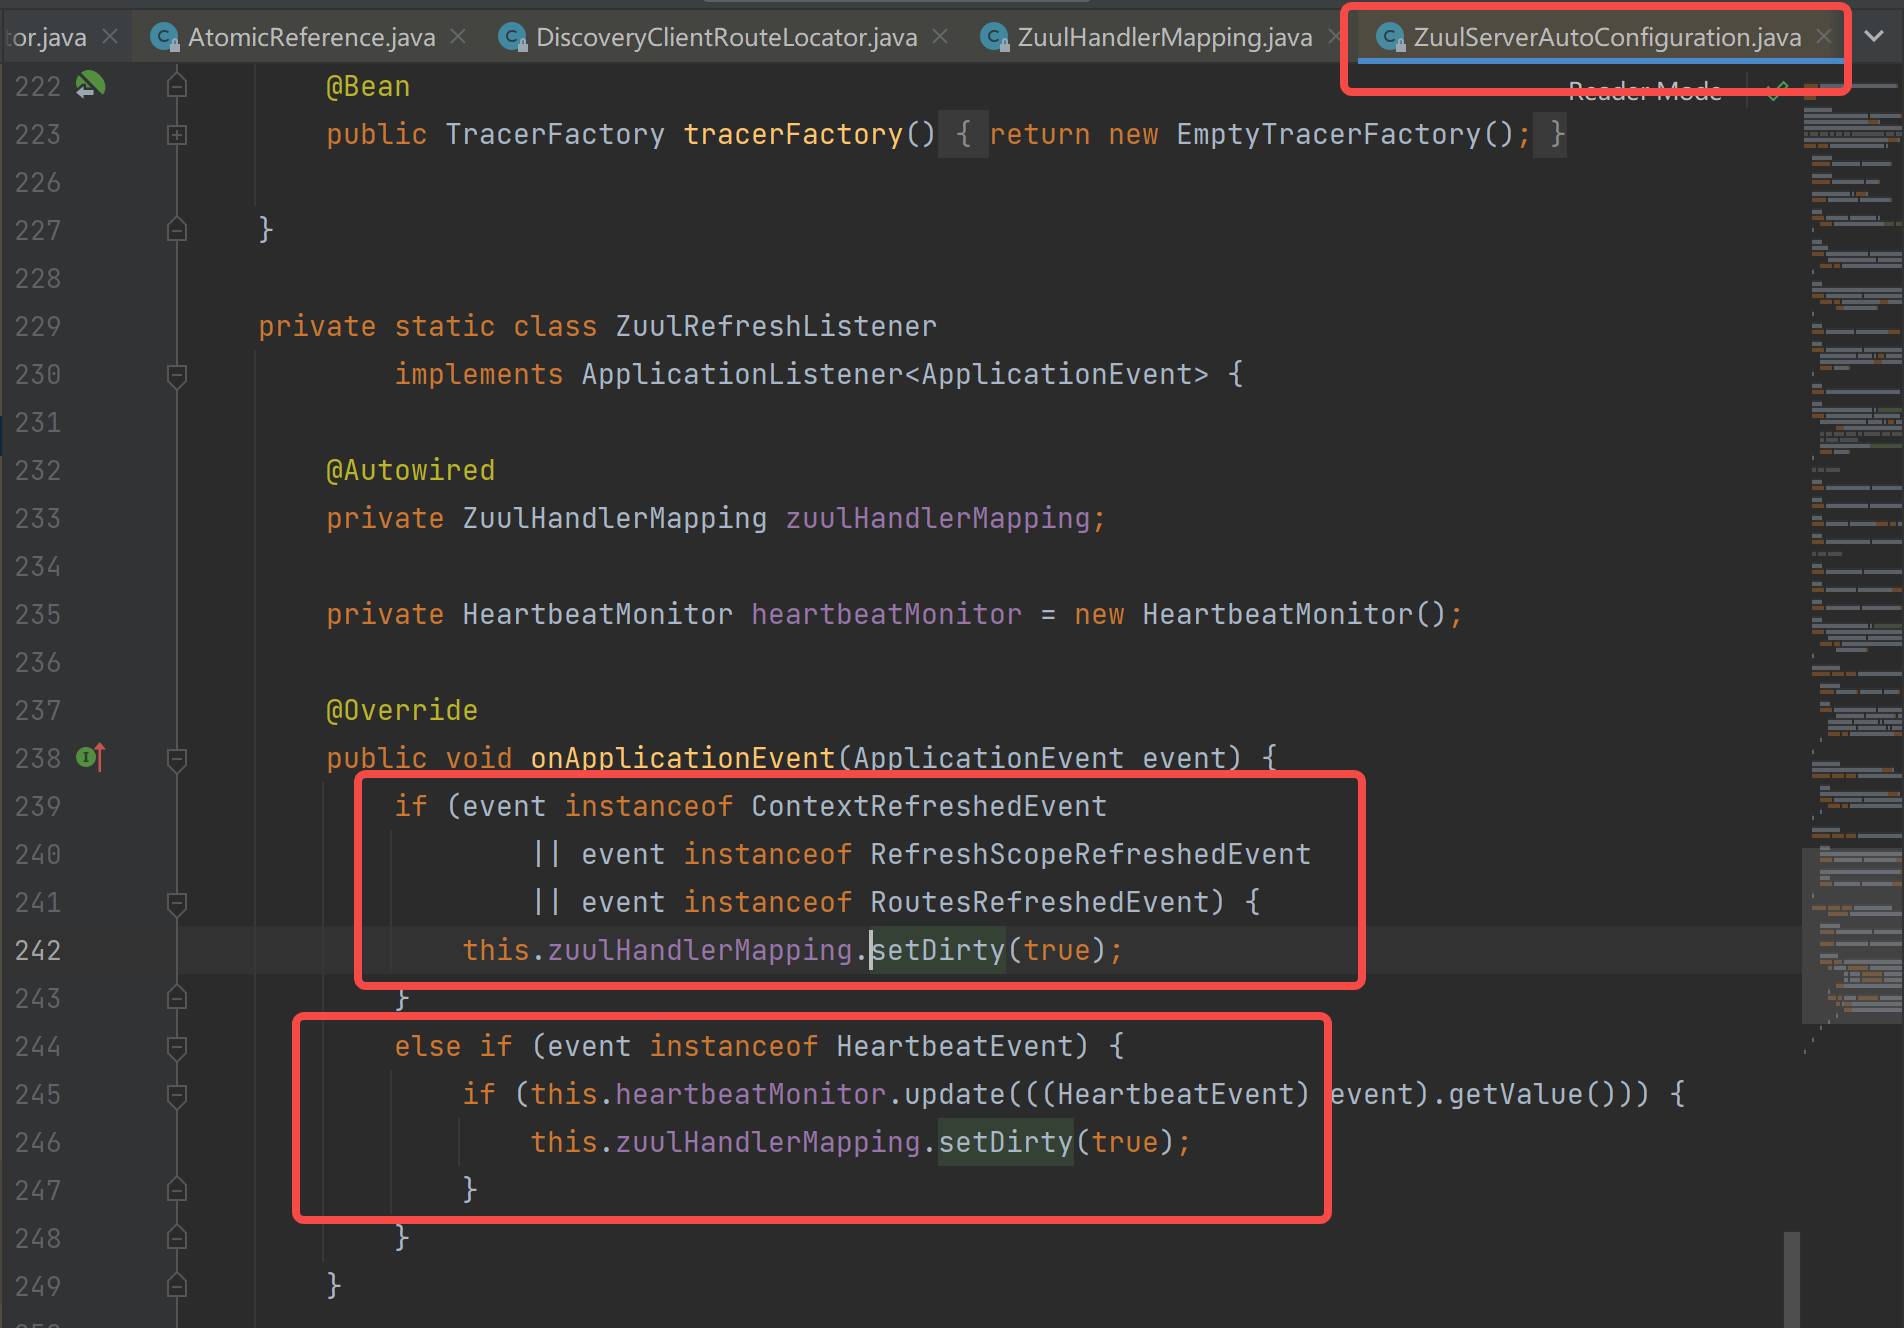
- 其二:TabLayout需要设置addOnTabSelectedListener,点击tab的时候,RecyclerView自动滑到该tab对应的item位置;
mBinding.tabLayout.addOnTabSelectedListener(object : TabLayout.OnTabSelectedListener {
            override fun onTabSelected(tab: TabLayout.Tab) {
mManager!!.scrollToPositionWithOffset(tab.position, 0)
            }

            override fun onTabUnselected(tab: TabLayout.Tab) {

            }
            override fun onTabReselected(tab: TabLayout.Tab) {
                mManager!!.scrollToPositionWithOffset(tab.position, 0)
            }
        })
三.细节补充
- 当滑动到RecycleView最后一个item的时候,需要让最后一个item能滑动到
TabLayout的下方位置,这里的处理方式是:- 将RecycleView定义两种不同类型的布局
override fun getItemViewType(position: Int): Int {
        return if (position == mAllFuncationInfos.size) {
            2
        } else {
            mViewTypeItem
        }
    }
- 同时RecycleView的item数量额外+1
 override fun getItemCount(): Int {
        return mAllFuncationInfos.size + 1
    }
- 在onCreateViewHolder方法中针对两种不同的item分别返回不同的布局
override fun onCreateViewHolder(parent: ViewGroup, viewType: Int): BaseViewHolder {
        return if (viewType == mViewTypeItem) {
            val view = LayoutInflater.from(parent.context).inflate(mLayoutResId, parent, false)
            view.post {
                parentHeight = mRecyclerView.height
                itemHeight = view.height
                if (itemTitleHeight == 0) {
                    val childNumber = (view as ViewGroup).childCount
                    if (childNumber > 0) {
                        itemTitleHeight = view.getChildAt(0).height
                    }
                }
            }
            ItemViewHolder(view)
        } else {
            //Footer是最后留白的位置,以便最后一个item能够出发tab的切换
            //需要考虑一个问题,若二级列表中有数据和没有数据 Footer的高度计算存在区别
            val view = View(parent.context)
            if (lastItemChildrenEmpty) {
                view.layoutParams =
                    ViewGroup.LayoutParams(
                        ViewGroup.LayoutParams.MATCH_PARENT,
                        parentHeight - itemTitleHeight
                    )
            } else {
                view.layoutParams =
                    ViewGroup.LayoutParams(
                        ViewGroup.LayoutParams.MATCH_PARENT,
                        parentHeight - itemHeight
                    )
            }
            ItemViewHolder(view)
        }
    }
-
到此,基本上关键的点都已经完成了,但是呢,还是会有细节。其一:对于TabLayout的addOnTabSelectedListener,如果TabLayout的tab是选中状态,当再次点击的时候,不会执行onTabSelected回调。老规矩,还是上图:

-
最开始TabLayout选中的tab是索引为0的tab,当列表滑动了,再次点击索引为0的tab,没有出现联动效果,因为这次执行的回调不是onTabSelected,而是onTabReselected,所以对应的处理方案应该很清楚了;
-
接着讲解其它细节,其二:列表的数据源问题,当传递给嵌套的RecycleView的列表数据为空时,且是最后一个item为空,那么底部留白的高度需要重新计算,在前面onCreateViewHolder方法代码已经贴出相关的代码了。
四.代码环节
- 相关的全部代码
//界面
@Route(path = RouterPathFragment.HomeFour.PAGER_HOME_FOUR)
class ModuleFragment04 :
    BaseSimpleFragment<ModuleFragment04FragmentHome04Binding>(ModuleFragment04FragmentHome04Binding::inflate) {
    private val mSpace = DensityU.dip2px(6F)
    private var mAllFuncationRvAdapter: AllFuncationRvAdapter? = null
    private var mManager: LinearLayoutManager? = null

    private var mAllFuncationInfos: MutableList<AllFunctionInfoRes>? = null
    override fun titBarView(view: View): View = mBinding.funcationTitleBar

    override fun perpareWork() {
        super.perpareWork()
        mBinding.funcationTitleBar.leftView.isVisible = false
    }

    override fun prepareListener() {
        super.prepareListener()
        //滑动RecyclerView list的时候,根据最上面一个Item的position来切换tab
//        mBinding.recyclerView.setOnScrollChangeListener { v, scrollX, scrollY, oldScrollX, oldScrollY ->
        mBinding.recyclerView.setOnScrollChangeListener { _, _, _, _, _ ->
            mBinding.tabLayout.setScrollPosition(
                mManager!!.findFirstVisibleItemPosition(),
                0F,
                true
            )
        }

        mBinding.tabLayout.setSelectedTabIndicatorColor(
            ContextCompat.getColor(
                requireContext(),
                R.color.color_000000
            )
        )
        mBinding.tabLayout.setTabTextColors(
            ContextCompat.getColor(requireContext(), R.color.color_ff585858),
            ContextCompat.getColor(requireContext(), R.color.color_000000)
        )
        mBinding.tabLayout.addOnTabSelectedListener(object : TabLayout.OnTabSelectedListener {
            override fun onTabSelected(tab: TabLayout.Tab) {
                //点击tab的时候,RecyclerView自动滑到该tab对应的item位置
                //当tab是选中状态,再次点击是不会回调该方法,将下方代码在onTabReselected回调中添加即可解决问题
                mManager!!.scrollToPositionWithOffset(tab.position, 0)
            }

            override fun onTabUnselected(tab: TabLayout.Tab) {

            }
            override fun onTabReselected(tab: TabLayout.Tab) {
                mManager!!.scrollToPositionWithOffset(tab.position, 0)
            }
        })

        mAllFuncationRvAdapter!!.setOpenFunctionActivityInterface(object :
            AllFuncationRvAdapter.OpenFunctionActivityInterface{
            override fun openFunctionActivity(childrenBean: AllFunctionInfoRes.ChildrenBean) {
                openActivityByFunction(childrenBean)
            }
        })
    }

    private fun openActivityByFunction(childrenBean: AllFunctionInfoRes.ChildrenBean) {
        val attributesBean: AttributesBean? = childrenBean.attributes

        if(attributesBean != null){
            if(attributesBean.appFunctionName == "CardLayout"){
                openActivityByARouter(RouterPathActivity.SimpleRv.PAGER_SIMPLE_RV);
            }
        }
    }

    private fun initAdapter() {
        mAllFuncationInfos = mutableListOf()

        val jsonListInfos = JsonU.json2List(
            jsonFileName = "treeListInfo.json",
            clazz = AllFunctionInfoRes::class.java
        )

        if (!jsonListInfos.isNullOrEmpty()) {
            mAllFuncationInfos!!.addAll(jsonListInfos)
        }

        if (!mAllFuncationInfos.isNullOrEmpty()) {
            val itemChildren =
                mAllFuncationInfos!![mAllFuncationInfos!!.size - 1].children
            lastItemChildrenEmpty = itemChildren!!.isEmpty()
        }
    }

    var lastItemChildrenEmpty = false

    @SuppressLint("NotifyDataSetChanged")
    private fun setAllFuncationData() {
        mAllFuncationRvAdapter = AllFuncationRvAdapter(
            mAllFuncationInfos!!, lastItemChildrenEmpty,
            mBinding.recyclerView, mSpace, R.layout.item_all_funcation
        )
        mManager = LinearLayoutManager(context)
        mBinding.recyclerView.layoutManager = mManager
        mBinding.recyclerView.adapter = mAllFuncationRvAdapter
        RecycleViewU.setMaxFlingVelocity(mBinding.recyclerView, 10000)
        initTablayout()
        mAllFuncationRvAdapter!!.notifyDataSetChanged()
    }

    override fun prepareData() {
        super.prepareData()
        initAdapter()
        setAllFuncationData()
    }

    private fun initTablayout() {
        mBinding.tabLayout.tabMode = TabLayout.MODE_SCROLLABLE
        for (i in mAllFuncationInfos!!.indices) {
            val allFunctionInfoRes = mAllFuncationInfos!![i]
            mBinding.tabLayout.addTab(
                mBinding.tabLayout.newTab().setText(allFunctionInfoRes.name).setTag(i)
            )
        }
    }

}

//适配器
class AllFuncationRvAdapter(
    allFunctionInfoRes: MutableList<AllFunctionInfoRes>,
    private var lastItemChildrenEmpty: Boolean,
    recyclerView: RecyclerView,
    space: Int,
    layoutResId: Int
) : BaseQuickAdapter<AllFunctionInfoRes, BaseViewHolder>(layoutResId, data = allFunctionInfoRes) {

    private val mViewTypeItem = 1
    private var parentHeight = 0
    private var itemHeight = 0
    private var itemTitleHeight = 0
    private var mSpace: Int = space
    private var mRecyclerView: RecyclerView = recyclerView
    private var mAllFuncationInfos: List<AllFunctionInfoRes> = allFunctionInfoRes
    private var mLayoutResId = layoutResId

    override fun convert(holder: BaseViewHolder, item: AllFunctionInfoRes) {
        //负责将每一个将每一个子项holder绑定数据
        if (holder.itemViewType == mViewTypeItem) {
            holder.setText(R.id.item_title_tv, item.name)
            holder.setImageResource(R.id.item_titie_iv, R.drawable.icon_three)
            val recyclerView = holder.getView<RecyclerView>(R.id.item_recycler_view)
            recyclerView.setHasFixedSize(true)
            recyclerView.layoutManager =
                GridLayoutManager(
                    ContextU.context(), 4,
                    GridLayoutManager.VERTICAL, false
                )

            if (recyclerView.itemDecorationCount == 0) {    //只能设置一次
                recyclerView.addItemDecoration(
                    GridSpacingItemDecoration(
                        4,
                        mSpace,
                        true
                    )
                )
            }

//            当我们确定Item的改变不会影响RecyclerView的宽高的时候可以设置setHasFixedSize(true)
//            https://blog.csdn.net/wsdaijianjun/article/details/74735039
            recyclerView.setHasFixedSize(true);

            //可以做一下缓存 避免每次滑动都重新设置
            val itemRecyclerViewAdapter =
                ItemRecyclerViewAdapter(R.layout.item_recycle_inner_content)
            recyclerView.adapter = itemRecyclerViewAdapter
            itemRecyclerViewAdapter.setNewInstance(item.children)

            itemRecyclerViewAdapter.setOnItemClickListener { adapter, _, position ->
                val childrenBean = adapter.getItem(position) as ChildrenBean
                if (mOpenFunctionActivityInterface != null) {
                    mOpenFunctionActivityInterface!!.openFunctionActivity(childrenBean)
                }
            }
        }
    }

    override fun onCreateViewHolder(parent: ViewGroup, viewType: Int): BaseViewHolder {
        return if (viewType == mViewTypeItem) {
            val view = LayoutInflater.from(parent.context).inflate(mLayoutResId, parent, false)
            view.post {
                parentHeight = mRecyclerView.height
                itemHeight = view.height
                if (itemTitleHeight == 0) {
                    val childNumber = (view as ViewGroup).childCount
                    if (childNumber > 0) {
                        itemTitleHeight = view.getChildAt(0).height
                    }
                }
            }
            ItemViewHolder(view)
        } else {
            //Footer是最后留白的位置,以便最后一个item能够出发tab的切换
            //需要考虑一个问题,若二级列表中有数据和没有数据 Footer的高度计算存在区别
            val view = View(parent.context)
            if (lastItemChildrenEmpty) {
                view.layoutParams =
                    ViewGroup.LayoutParams(
                        ViewGroup.LayoutParams.MATCH_PARENT,
                        parentHeight - itemTitleHeight
                    )
            } else {
                view.layoutParams =
                    ViewGroup.LayoutParams(
                        ViewGroup.LayoutParams.MATCH_PARENT,
                        parentHeight - itemHeight
                    )
            }
            ItemViewHolder(view)
        }
    }

    override fun getItemCount(): Int {
        return mAllFuncationInfos.size + 1
    }

    //若使用Java语言开发,则不需要做该处理
    override fun getItem(position: Int): AllFunctionInfoRes {
        //需要重写一下该方法做特殊处理
        if (position == mAllFuncationInfos.size) {       //做拦截处理 避免 super.getItem(position)执行时出现索引越界
            return AllFunctionInfoRes()                  //返回一个空的AllFunctionInfoRes即可
        }
        return super.getItem(position)
    }

    override fun getItemViewType(position: Int): Int {
        return if (position == mAllFuncationInfos.size) {
            2
        } else {
            mViewTypeItem
        }
    }

    internal inner class ItemViewHolder(itemView: View) : BaseViewHolder(itemView)

    //使用接口回调
    private var mOpenFunctionActivityInterface: OpenFunctionActivityInterface? = null

    interface OpenFunctionActivityInterface {
        fun openFunctionActivity(childrenBean: ChildrenBean)
    }

    fun setOpenFunctionActivityInterface(openFunctionActivityInterface: OpenFunctionActivityInterface) {
        mOpenFunctionActivityInterface = openFunctionActivityInterface
    }
}

//适配的布局文件
<?xml version="1.0" encoding="utf-8"?>
<androidx.constraintlayout.widget.ConstraintLayout xmlns:android="http://schemas.android.com/apk/res/android"
    xmlns:app="http://schemas.android.com/apk/res-auto"
    xmlns:tools="http://schemas.android.com/tools"
    android:layout_width="match_parent"
    android:layout_height="wrap_content"
    tools:ignore="ResourceName">

    <LinearLayout
        android:id="@+id/item_title"
        android:layout_width="match_parent"
        android:layout_height="@dimen/dp_30"
        android:orientation="horizontal"
        android:gravity="center_vertical"
        android:layout_marginLeft="@dimen/dp_7"
        android:layout_marginRight="@dimen/dp_7"
        app:layout_constraintLeft_toLeftOf="parent"
        app:layout_constraintTop_toTopOf="parent">

        <ImageView
            android:id="@+id/item_titie_iv"
            android:layout_width="@dimen/dp_10"
            android:layout_height="@dimen/dp_10"
            android:src="@drawable/icon_three"
            android:layout_marginLeft="@dimen/dp_8" />

        <TextView
            android:id="@+id/item_title_tv"
            android:layout_width="match_parent"
            android:layout_height="wrap_content"
            android:layout_marginLeft="@dimen/dp_4"
            android:textSize="@dimen/sp_15" />

    </LinearLayout>

    <androidx.recyclerview.widget.RecyclerView
        android:id="@+id/item_recycler_view"
        android:layout_width="match_parent"
        android:layout_height="match_parent"
        android:layout_marginTop="@dimen/dp_7"
        app:layout_constraintEnd_toEndOf="parent"
        app:layout_constraintStart_toStartOf="parent"
        app:layout_constraintTop_toBottomOf="@+id/item_title"/>

</androidx.constraintlayout.widget.ConstraintLayout>

//Rv间距设置工具类
public class GridSpacingItemDecoration extends RecyclerView.ItemDecoration {
    private int     spanCount;
    private int     spacing;
    private boolean includeEdge;

    public GridSpacingItemDecoration(int spanCount, int spacing, boolean includeEdge) {
        this.spanCount = spanCount;
        this.spacing = spacing;
        this.includeEdge = includeEdge;
    }

    public void getItemOffsets(@NonNull Rect outRect, @NonNull View view, RecyclerView parent, @NonNull RecyclerView.State state) {
        int position = parent.getChildAdapterPosition(view); // 获取view 在adapter中的位置
        int column = position % spanCount; // view 所在的列

        if (includeEdge) {
            outRect.left = spacing - column * spacing / spanCount; // spacing - column * ((1f / spanCount) * spacing)
            outRect.right = (column + 1) * spacing / spanCount; // (column + 1) * ((1f / spanCount) * spacing)
            if (position < spanCount) { // 第一行
                outRect.top = spacing;
            }
            outRect.bottom = spacing;
        } else {
            //等间距需满足两个条件:
            //1.各个模块的大小相等,即 各列的left+right 值相等;
            //2.各列的间距相等,即 前列的right + 后列的left = 列间距;

            //公式是需要推演的[演示了当列数为2或者3的时候,验证了公式是成立的]: 资料---https://blog.csdn.net/JM_beizi/article/details/105364227
            //注:这里用的所在列数为从0开始
            outRect.left = column * spacing / spanCount; //某列的left = 所在的列数 * (列间距 * (1 / 列数))
            outRect.right = spacing - (column + 1) * spacing / spanCount; //某列的right = 列间距 - 后列的left = 列间距 -(所在的列数+1) * (列间距 * (1 / 列数))
            if (position >= spanCount) {    //说明不是在第一行
                outRect.top = spacing;
            }
        }
    }
}
五.总结
- TabLayout和RecycleView的联动关键在于两个监听的设置,同时将上方提及的几个细节注意一下即可;
