redis启动和简单使用
1.redis启动
1.1 找到redis解压的位置,在里面输入cmd回车
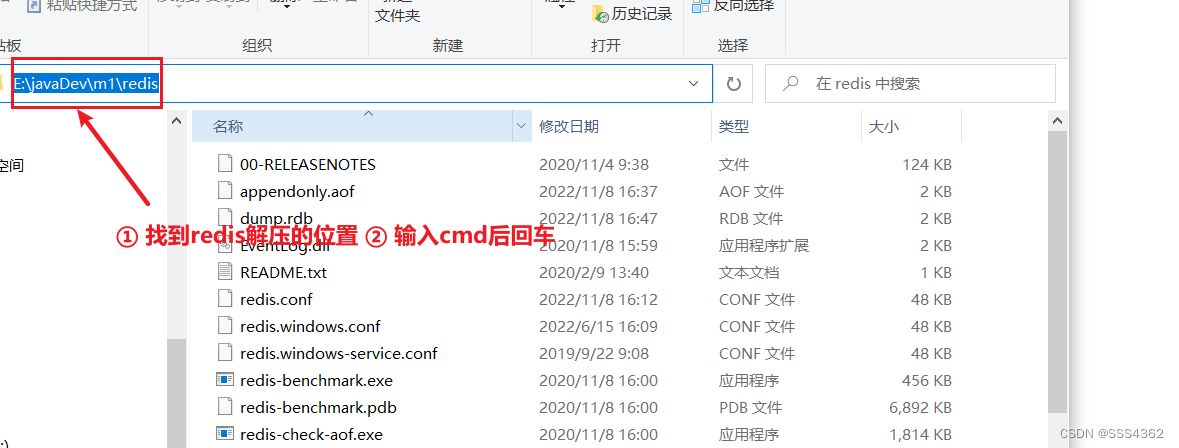
1.2 输入redis-server redis.conf指令,然后回车,出现如下界面
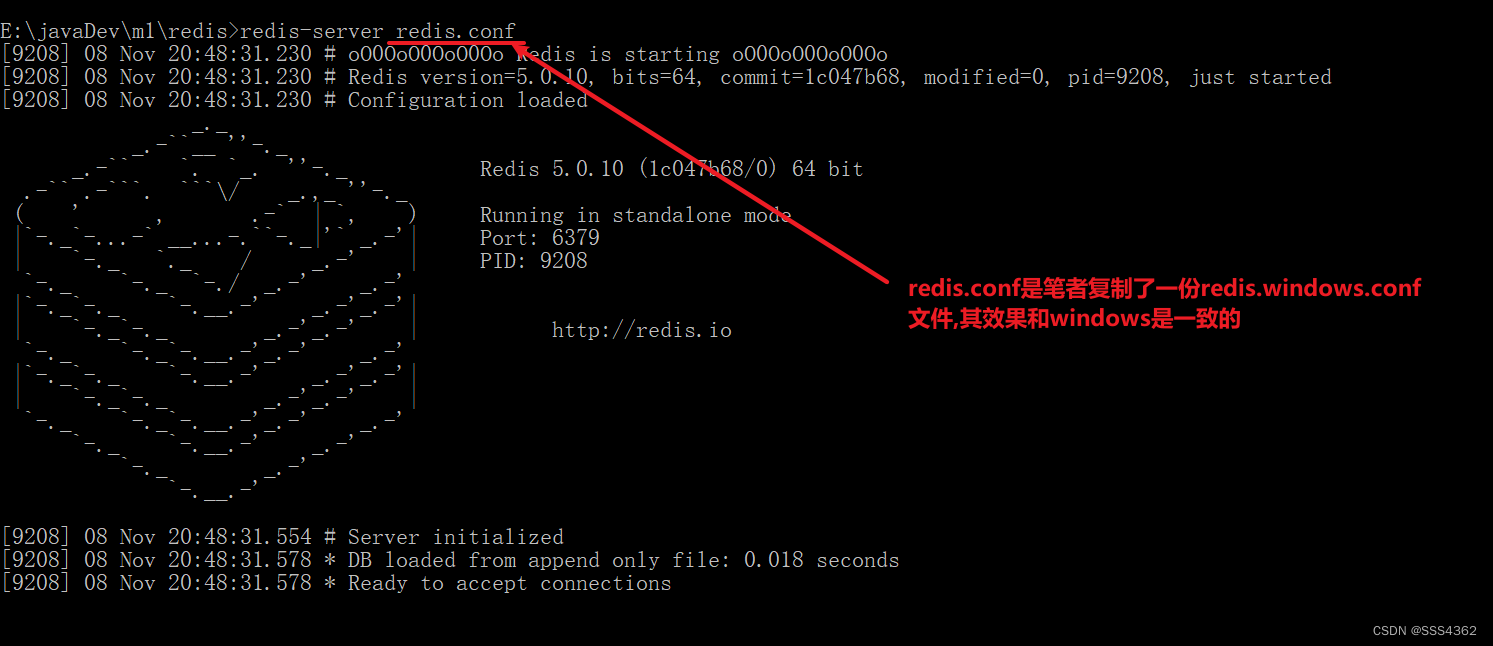
注意:该界面不能关闭了
1.3 再进入一次redis解压的位置 输入cmd回车

1.4 输入redis-cli指令后的结果

1.5 补充
当出现127.0.0.1:6379的时候就代表redis客户端是启动成功了,可以对redis进行操作了
在输入redis-cli前需要先打开服务端 redis-server redis.conf
2.redis结合mybatis单框架简单使用
2.1 修改redis.conf中的appendOnly值为yes
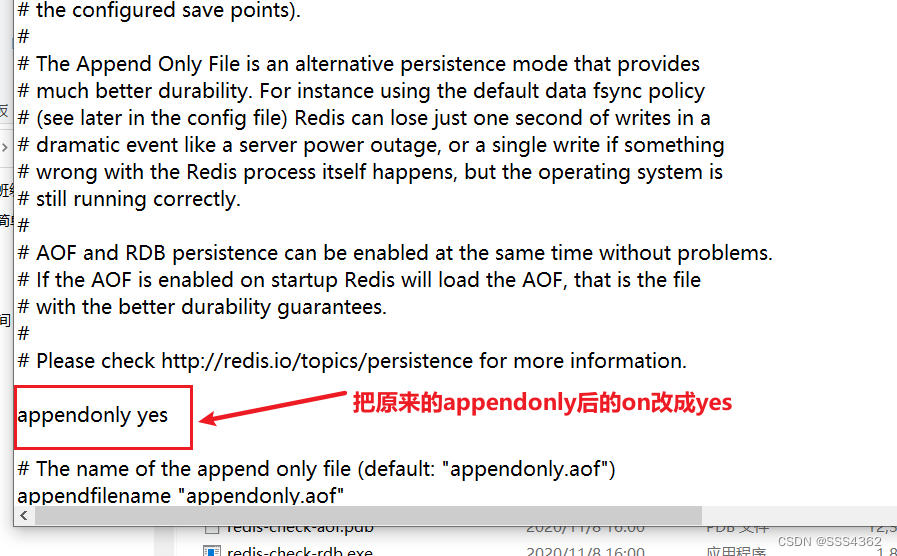
2.2 按照1中的redis启动方法去进行启动
2.3 在需要用缓存的子配置文件写上cache标签(首行)
<cache type="org.mybatis.caches.redis.RedisCache"></cache>
2.4 cache标签中的type属性如何来的
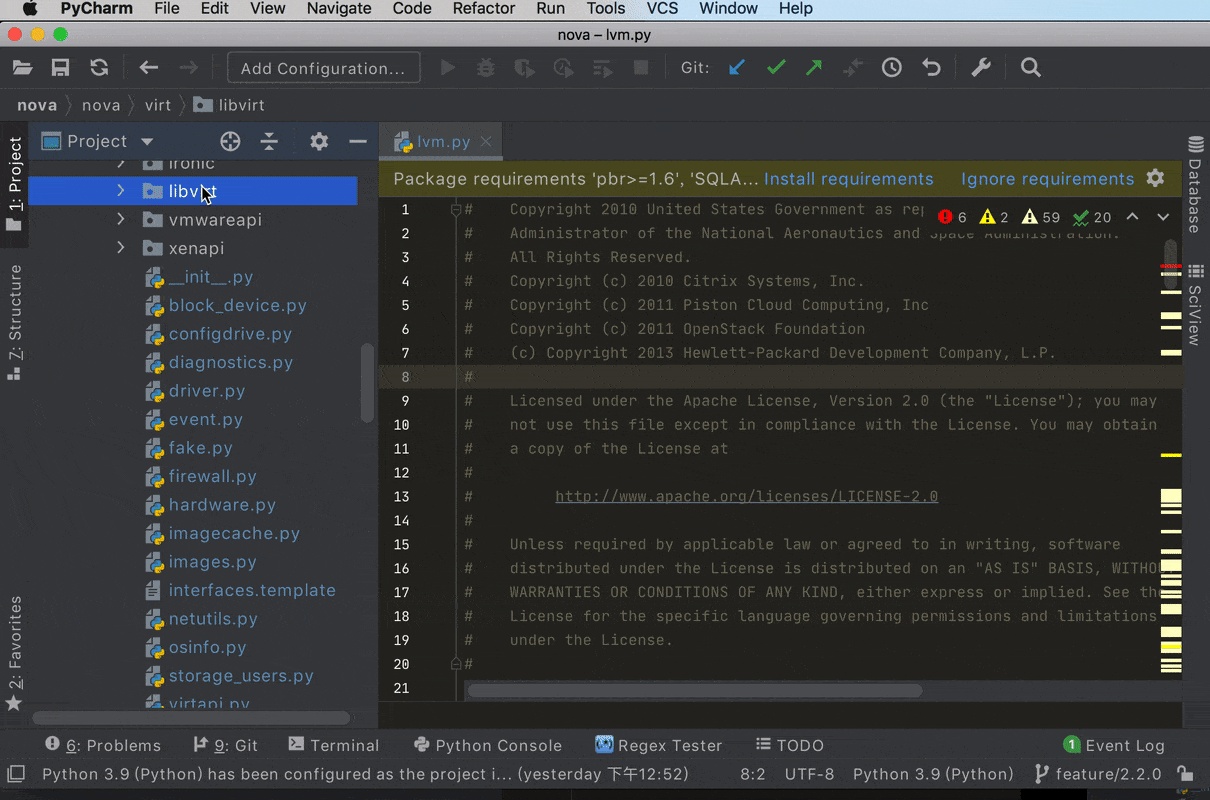
2.4.1 同时按下两个shift键
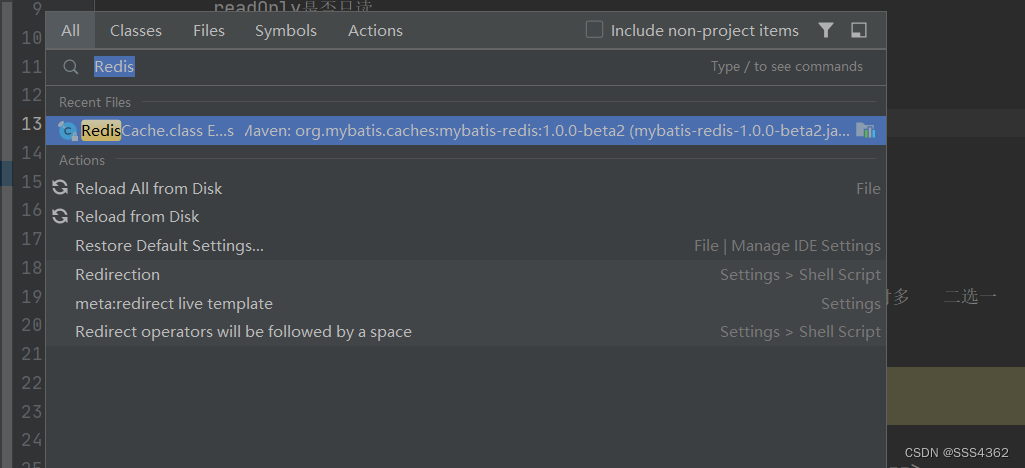
2.4.2 输入RedisCache,双击进入

2.4.3 复制package后面的这段内容

2.4.4 粘贴到cache的type属性里面 并在后面拼上.RedisCache,展示结果如下所示
<cache type="org.mybatis.caches.redis.RedisCache"></cache>
2.5 测试方法
 @Test
    public void t1(){
        SqlSessionFactory sf = SqlSessionFactoryUtil.sf();
        SqlSession sqlSession01 = sf.openSession();
        SqlSession sqlSession02 = sf.openSession();
        EmpMapper em = sqlSession01.getMapper(EmpMapper.class);
        List<Emp> all = em.findAll();
        sqlSession01.close();
        System.out.println(all);
        System.out.println("------------");
        EmpMapper em2 = sqlSession02.getMapper(EmpMapper.class);
//        sqlSession01.commit();
        List<Emp> all2 = em2.findAll();
        System.out.println(all2);
        sqlSession02.close();
    }
2.6 运行结果

