目录
程序设计
程序设计1:根据要求设计UI,补充相应布局文件,即.xml文件
程序设计2:根据要求,补充Activity.java文件
程序填空
说明:
程序设计
程序设计1:根据要求设计UI,补充相应布局文件,即.xml文件
Design the UI using proper layouts and widgets for the House Selling App/Car Selling App. The UI should include multiple widgets such as TextView文本框, EditText输入框, Button按钮, Radiobutton单选按钮, Checkbox复选框, Menu菜单,Spinner列表,ListView列表,Seekbar进度条,preference设置。
说明:我将4个实验中要求组件整合到一起来设计了UI
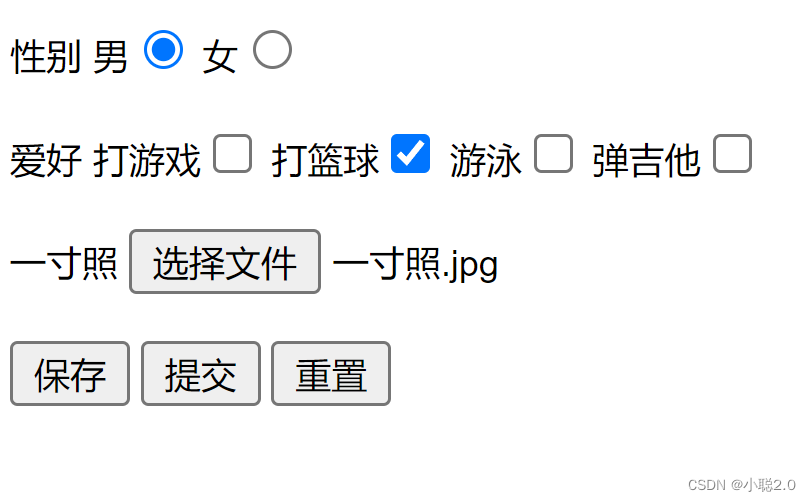
UI设计图如下:

(Spinner列表,写代码时我漏掉了,在这就不补充了,)
main_activity.xml文件如下
<?xml version="1.0" encoding="utf-8"?>
<!--布局方式有6种,常用的有LinearLayout、TableLayout、RelativeLayout,此xml以LinearLayout布局编写-->
<!--eg:构建一个2行3列的TableLayout
<TableLayout xmlns:android="http://schemas.android.com/apk/res/android">
    android:layout_width=...
    ...
    <TableRow>
        <组件1.1/>
        <组件1.2/>
        <组件1.3/>
    </TableRow>
    <TableRow>
        <组件2.1/>
        <组件2.2/>
        <组件2.3/>
    </TableRow>
</TableLayout>
-->
<LinearLayout xmlns:android="...">
    android:id="@+id/llt_02"
    android:layout_width="match_parint"
    android:layout_heigth="wrap_parint"
    android:orientation="vertical">
<!--设置布局的宽为match_parint/wrap_content/具体值-->
<!--设置布局的高为match_parint/wrap_content/具体值-->
<!--orientation设置布局的方向为vertical/horizontal-->
    <TextView
        android:id="@+id/tvCarSale"
        android:layout_width="wrap_parint"
        android:layout_heigth="wrap_parint"
        android:gravity="center"
        android:text="汽车销售"/>
<!--TextView还有textColor,textStyle,textSize,background等属性-->
<!--TextView宽高赋值不同,会影响布局,具体问题,具体分析-->
<!--gravity设置对齐方式left/center/right默认left-->
    <TextView
        android:id="@+id/tvSearch"
        android:layout_width="wrap_parint"
        android:layout_heigth="wrap_parint"
        android:text="请输入你想要搜索的汽车:"/>
    <EditText
        android:id="@+id/et1"
        android:layout_width="wrap_parint"
        android:layout_heigth="wrap_parint"
        android:ems="10"
        android:hint="输入关键字"/>
<!--ems设置下划线长度,hint设置未输入时下划线显示的字符-->
    <Button
        android:id="@+id/btmakesure"
        android:layout_width="wrap_parint"
        android:layout_heigth="wrap_parint"
        android:text="确认"/>
    <TextView
        android:id="@+id/tvdanxuan"
        android:layout_width="wrap_parint"
        android:layout_heigth="wrap_parint"
        android:text="变速箱类型(单选):"/>
    <RadioGroup
        android:id="@+id/rgp1"
        android:layout_width="match_parint"
        android:layout_heigth="wrap_parint"
        android:orientation="horizontal">
<!--设置选项方向为水平-->
        <RadioButton
            android:id="@+id/rbt1"
            android:layout_width="wrap_parint"
            android:layout_heigth="wrap_parint"
            android:text="手动"/>
        <RadioButton
            android:id="@+id/rbt2"
            android:layout_width="wrap_parint"
            android:layout_heigth="wrap_parint"
            android:text="自动"/>
    </RadioGroup>
    <TextView
        android:id="@+id/tvduoxuan"
        android:layout_width="wrap_parint"
        android:layout_heigth="wrap_parint"
        android:text=":汽车类型(多选):"/>
    <CheckBox
        android:id="@+id/ckbSuv"
        android:layout_width="wrap_parint"
        android:layout_heigth="wrap_parint"
        android:text=":SUV"/>
    <CheckBox
        android:id="@+id/ckbSportsCar"
        android:layout_width="wrap_parint"
        android:layout_heigth="wrap_parint"
        android:text=":跑车"/>
    <CheckBox
        android:id="@+id/ckbSaloonCar"
        android:layout_width="wrap_parint"
        android:layout_heigth="wrap_parint"
        android:text=":轿车"/>
    <CheckBox
        android:id="@+id/ckbother"
        android:layout_width="wrap_parint"
        android:layout_heigth="wrap_parint"
        android:text=":其他"/>
    <FrameLayout
        android:id="@+id/settings"
        android:layout_width="match_parent"
        android:layout_height="wrap_parent"/>
</LinearLayout>

<LinearLayout xmlns:android="..."><!--编写listView布局,并为其添加进度条-->
    android:id="@+id/llt_02"
    android:layout_width="match_parint"
    android:layout_heigth="wrap_parint"
    android:orientation="vertical">
    <TextView
        android:id="@+id/tvCarlistview"
        android:layout_width="match_parint"
        android:layout_heigth="wrap_parint"
        android:text="畅销汽车列表(ListView):"/>
    <ListView
        android:id="@+id/lv"
        android:layout_width="match_parint"
        android:layout_heigth="wrap_parint">
    </ListView>
    <SeekBar
        android:id="@+id/sk"
        android:layout_width="match_parint"
        android:layout_heigth="wrap_parint"
        android:max="100"
        android:progress="50"/>
    <!--max最大进度,progress当前进度-->
</LinearLayout>meun.xml文件如下
<?xml version="1.0" encoding="utf-8"?>
<!--menu文件写在另一个xml文件中,在Activity中通过重写onCreateOptionsMenu方法,进行调用-->
<menu xmlns:android="...">
    android:layout_width="match_parint"
    android:layout_heigth="match_parint">
    <item
        android:id="@+id/m1"
        android:title="收藏"/>
    <item
        android:id="@+id/m2"
        android:title="历史记录"/>
    <item
        android:id="@+id/m3"
        android:title="帮助与反馈"/>
    <item
        android:id="@+id/m4"
        android:title="关于App"/>
</menu>listView.item.xml文件如下
<?xml version="1.0" encoding="utf-8"?>
<!--listView的item文件写在另一个xml文件中,通过Adapter与Activity建立联系-->
<LinearLayout xmlns:android="...">
    android:layout_width="match_parint"
    android:layout_heigth="match_parint"
    <TextView
        android:id="@+id/tv_car1"
        android:layout_width="wrap_content"
        android:layout_height="wrap_content"
        android:text="五菱" />
    <TextView
        android:id="@+id/tv_car2"
        android:layout_width="wrap_content"
        android:layout_height="wrap_content"
        android:text="大众" />
    <TextView
        android:id="@+id/tv_car3"
        android:layout_width="wrap_content"
        android:layout_height="wrap_content"
        android:text="比亚迪" />
    <TextView
        android:id="@+id/tv_car4"
        android:layout_width="wrap_content"
        android:layout_height="wrap_content"
        android:text="特斯拉" />
</LinearLayout>
setting.xml文件如下
<?xml version="l.0" encoding="utf-8"?>
<PreferenceScreen>
    <Preference
        android:key="largeSize"
        android:title="大字体"
        android:summary="Setting a large font"/>
    <Preference
        android:key="middleSize"
        android:title="中字体"
        android:summary="Setting a middle font"/>
    <Preference
        android:key="smallSize"
        android:title="小字体"
        android:summary="Setting a small font"/>
<!--summary将在title以小字体解释说明title-->
    <Preference
        android:key="cancel"
        android:title="取消"/>
</PreferenceScreen>
程序设计2:根据要求,补充Activity.java文件
1、在Activity中获取RadioButton,为RadioGroup添加监听器,实现OnCheckedChangedListener接口,代码如下
public class MainActivity extends Activity {//继承父类

    private RadioButton shoudong,zidong;//
    private RadioGroup  speedchange
    @Override
    protected void onCreate(Bundle savedInstanceState){//实现onCreate方法,包含下一行
        super.onCreate(savedlnstanceState);
        setContentView(R.layout.activity_main);//调用方法,展现视图View

        speedchange=(RadioGroup)findViewByld(R.id.bgp1);
        shoudong=(RadioButton)findViewByld(R.id.rbt1);
        zidong=(RadioButton)findViewByld(R.id.rbt2);//这里的bgp1,rbt1,rbt2与xml文件中id一致

        speedchange.setOnClickedChangeListener(new zjrRadioButtonListener());
    }
    class zjrRadioButtonListener implements OnClickedChangeListener{
        @Override
        public void onCheckedChanged(RadioGroup Group,int checkedId){
            switch(checkedId){
                case R.id.rbt1:
                Log.i("speedchange","变速箱选择了"+rbt1.getText().toString());
                break;
                case R.id.rbt2:
                Log.i("speedchange","变速箱选择了"+rbt2.getText().toString());
                break;
//这里点击事件发生后我写了log,考试时要具体分析
            }
        }
    }
}
2、在Activity中获取Button,添加监听器,实现OnClickListener接口,并利用Intent实现两个活动状态之间的转换,代码如下
public class MainActivity extends Activity {//继承父类

    private Button button;

    @Override
    protected void onCreate(Bundle savedInstanceState){//实现onCreate方法,包含下一行
        super.onCreate(savedlnstanceState);
        setContentView(R.layout.activity_main);//调用方法,展现视图View

        button=(Button)findViewByld(R.id.btmakesure);
        button.setOnClickListener(new View.OnClickListener(){
            @Override
            public void onClick(View v){
                Intent intent=new Intent(MainActivity.this,NextActivity.class);
                startActivity(intent);
            }
        });
    }
}
3、编写Menu菜单的Activity.java文件
//The Activity.java for menu
public class TipCalculatorActivity extends Activity{

    @Override
    protected void onCreate(Bundle savedInstanceState){
        super.onCreate(savedlnstanceState);
        setContentView(R.layout.activity_main);
    }
    @Override
    public boolean onCreateOptionsMenu(Menu menu) {//The code that displays the menu展示菜单
        getMenuInflater().inflate(R.menu-activity_tip_calculator, menu);
        return true;
    }
    @Override
    public boolean onOptionsItemSelected(Menultem item) {//The code that handles the menu item events处理项目点击事件
        switch(item.getItemId()) {
            case R.id.menu_settings:
               startActivity(new Intent(getApplicationContext( ),SettingsActivity.class));
                return true;
            case R.id.menu_about:
                startActivity(new Intent(getApplicationContext( ),AboutActivity.class));
                return true;
            default:
                return super.onOptionsItemSelected(item);
        }
    }
}
程序填空
程序填空能考的实在太多了,上面的程序设计题中已经覆盖了很多填空的知识,所以要理解地选择记忆
补充一些上面没有涉及到的,如下:
1、第四章how to trace code execution跟踪代码执行的两种方法
- 利用日志Logcat
//How to use the Log class如何使用日志
//第1步:Import the Log class导入日志类
import android.util.Log;

//第2步:Declare a constant for the tag parameter为标签参数声明一个常量
private static final String TAG = "TipCalculatorActivity";

//第3步:Send messages to the log向日志发送消息
Log.d(TAG, "calculateAndDisplay method started");
Log.d(TAG, "billAmount: " + billAmount);- 利用消息提示框Toast
//How to display a toast如何展示消息框
//第1步:Import the Toast class导入消息类
import android.widget.Toast;

//第2步:Use two statements使用方法makeText()和show()
Toast t = Toast.makeText(this, "onCreate method", Toast.LENGTH_SHORT);
t.show();

//第3步:Use a single statement (method chaining)使用方法makeText()链接
Toast.makeText(this, "onCreate method ", Toast.LENGTH_SHORT).show();
2、第十章
- 考点一:how to use SAX ( Simple API for XML) to parse XML files
final String FILENAME = "news_feed.xml";
RSSFeed feed;
try {

    SAXParserFactory factory = SAXParserFactory.newlnstance();// get the XML reader
    SAXParser parser = factory.newSAXParser();
    XMLReader xmlreader = parser.getXMLReader();

    RSSFeedHandler theRssHandler = new RSSFeedHandler();// set content handler
    xmlreader.setContentHandler(theRssHandler);

    FilelnputStream in = openFilelnput(FILENAME); // get the input stream

    InputSource is = new InputSource(in);// parse the data
    xmlreader.parse(is);

    feed = theRssHandler.getFeed();// get the content handler and return it
}
catch (Exception e) {
    Log.e("News reader", e.toString());
}- 考点二:How to use an adapter to display data in a list view
//Code that creates and sets the adapter创建和设置适配器的代码

ArrayList <RSSItem> items = feed.getAllItems();// 获取提要项

ArrayList <HashMap<String, String>> data = new ArrayList<HashMap<String, String>>();// 创建Map<String, ?>对象列表
for (RSSItem item : items) {
    HashMap<String, String> map = new HashMap<String, String>();
    map.put("date", item.getPubDateFormatted());
    map.put("title", item.getTitle( ));
    data.add(map);
}

int resource = R.layout.listview_item;// 创建资源变量、from变量和to变量
String[] from = {"date", "title"};
int[] to = {R.id.pubDateTextView, R.id.titleTextView};

SimpleAdapter adapter =new SimpleAdapter(this, data, resource, from, to);// 创建和设置适配器
itemsListView.setAdapter(adapter);
3、第十一章
- 考点一:Service核心代码
//The NewsReaderService class with its lifecycle methods implemented
//NewsReaderService类及其实现的生命周期方法
public class NewsReaderService extends Service {
    @Override
    public void onCreate() {
    }
    @Override
    public int onStartCommand(Intent intent, int flags, int startld) {
        return START_STICKY;
    }
    @Override
    public IBinder onBind(Intent intent) {
        return null;
    }
    @Override
    public void onDestroyO {
    }
}
- 考点二:notifications核心代码
//How to create a notification如何创建通知
//Step 1: Create the variables for the notification步骤1:为通知创建变量
int icon = R.drawable.ic_launcher;
CharSequence tickerText = "Updated news feed is available";
CharSequence contentTitle = getText(R.string.app_name);
CharSequence contentText = "Select to view updated feed.";

//Step 2: Create the Notification object步骤2:创建Notification对象
Notification notification =new Notification.Builder(this)
    .setSmallIcon(icon)
    .setTicker(tickerText )
    .setContentTitle(contentTitle)
    .setContentText(contentText )
    .setContentlntent(pendingIntent )
    .setAutoCancel(true)
    .build();
4、第十二章
- The BootReceiver class
public class BootReceiver extends BroadcastReceiver {
    @Override
    public void onReceive(Context context, Intent intent) {
        Log.d("News reader", "Boot completed");

        // start service
        Intent service = new Intent(context, NewsReaderService.class);
        context.startService(service);
    }
}
说明:
我不推荐大家看我的博文来复习
- 第一,这篇总结我并没有写完整,至少还剩1/3没写,但是我没时间写了
- 第二,我总结的只是老师划的重点以及我阅读代码后的见解,能覆盖多少咱说不准
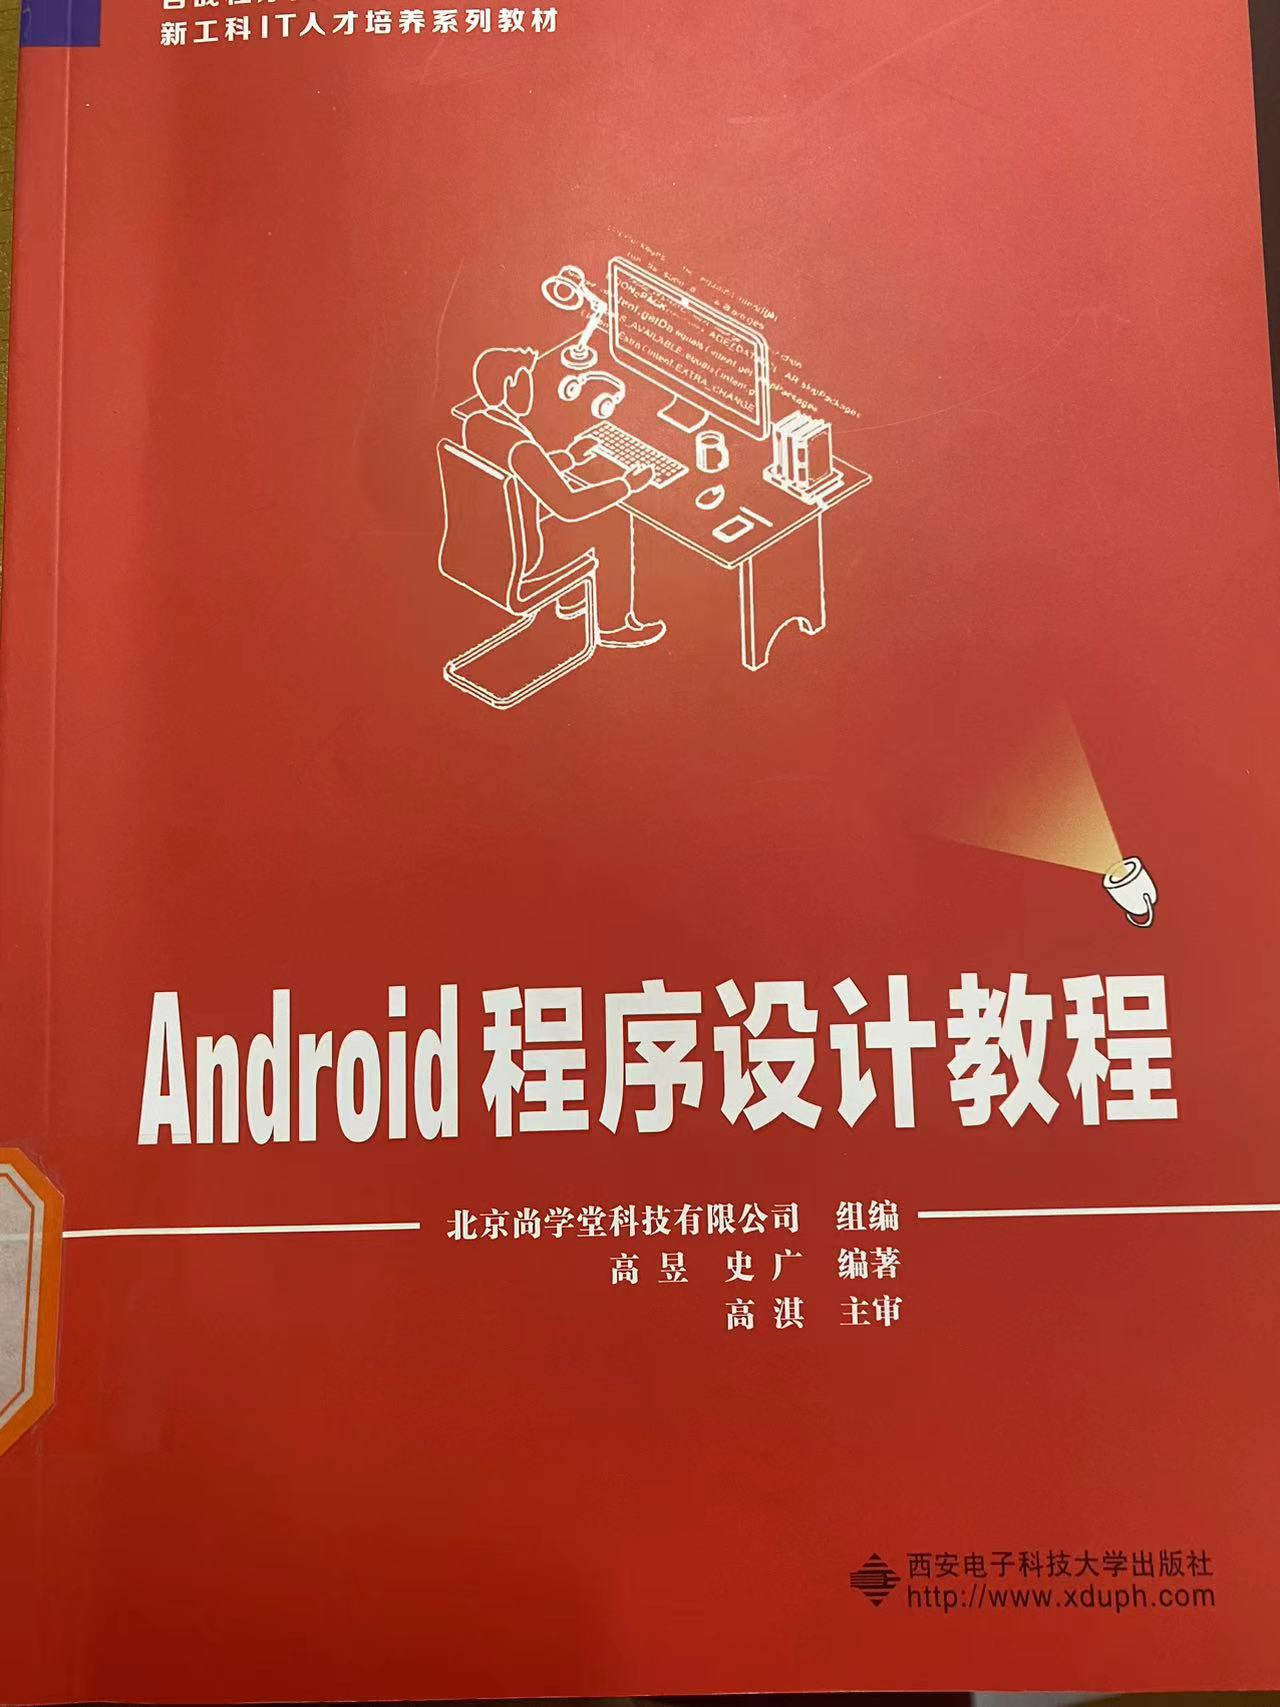
- 我写的并不是很通俗易懂,实在没时间写那么细,如果看不懂,我建议先去图书馆找android中文书,走马观花地过一遍,我看的是以下两本,图书馆3楼东,关于android开发的书很多
|
|
|
