这篇文章是记录自己查看客户端grpc负载均衡源码的过程,并没有太详细的讲解,参考价值不大,可以直接跳过,主要给自己看的。
一.主要接口:Balancer Resolver
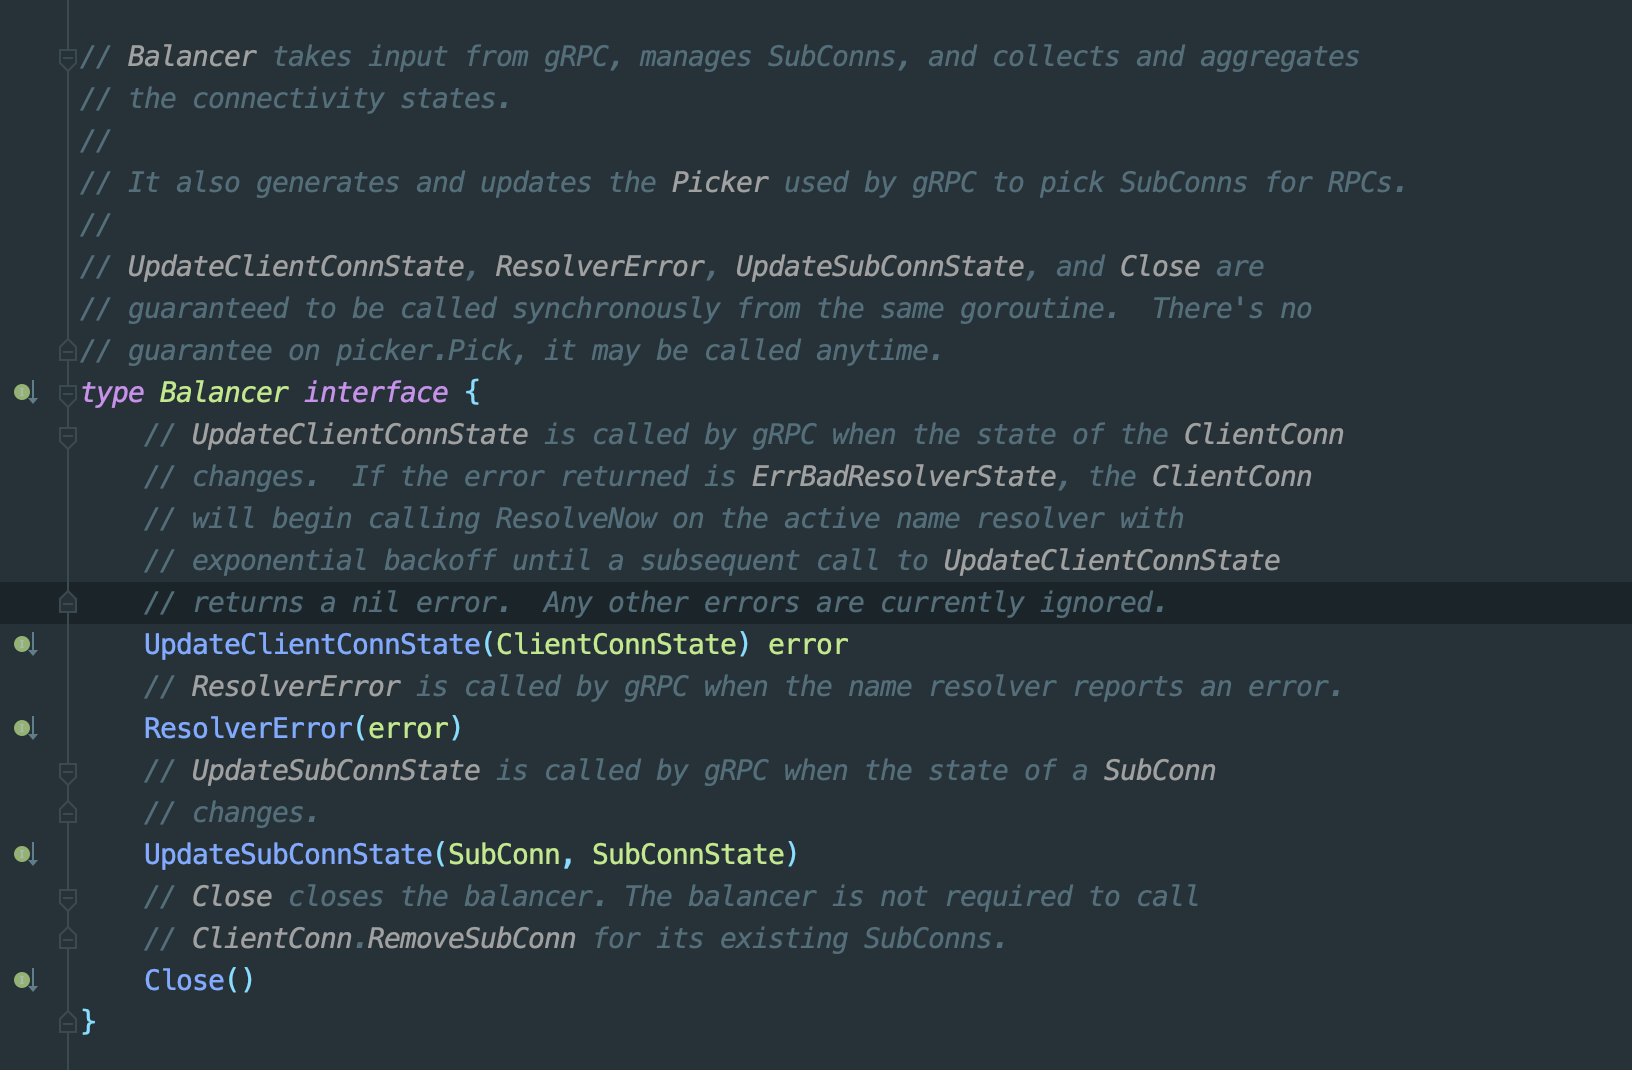
1.Balancer定义
Resolver定义

具体位置为

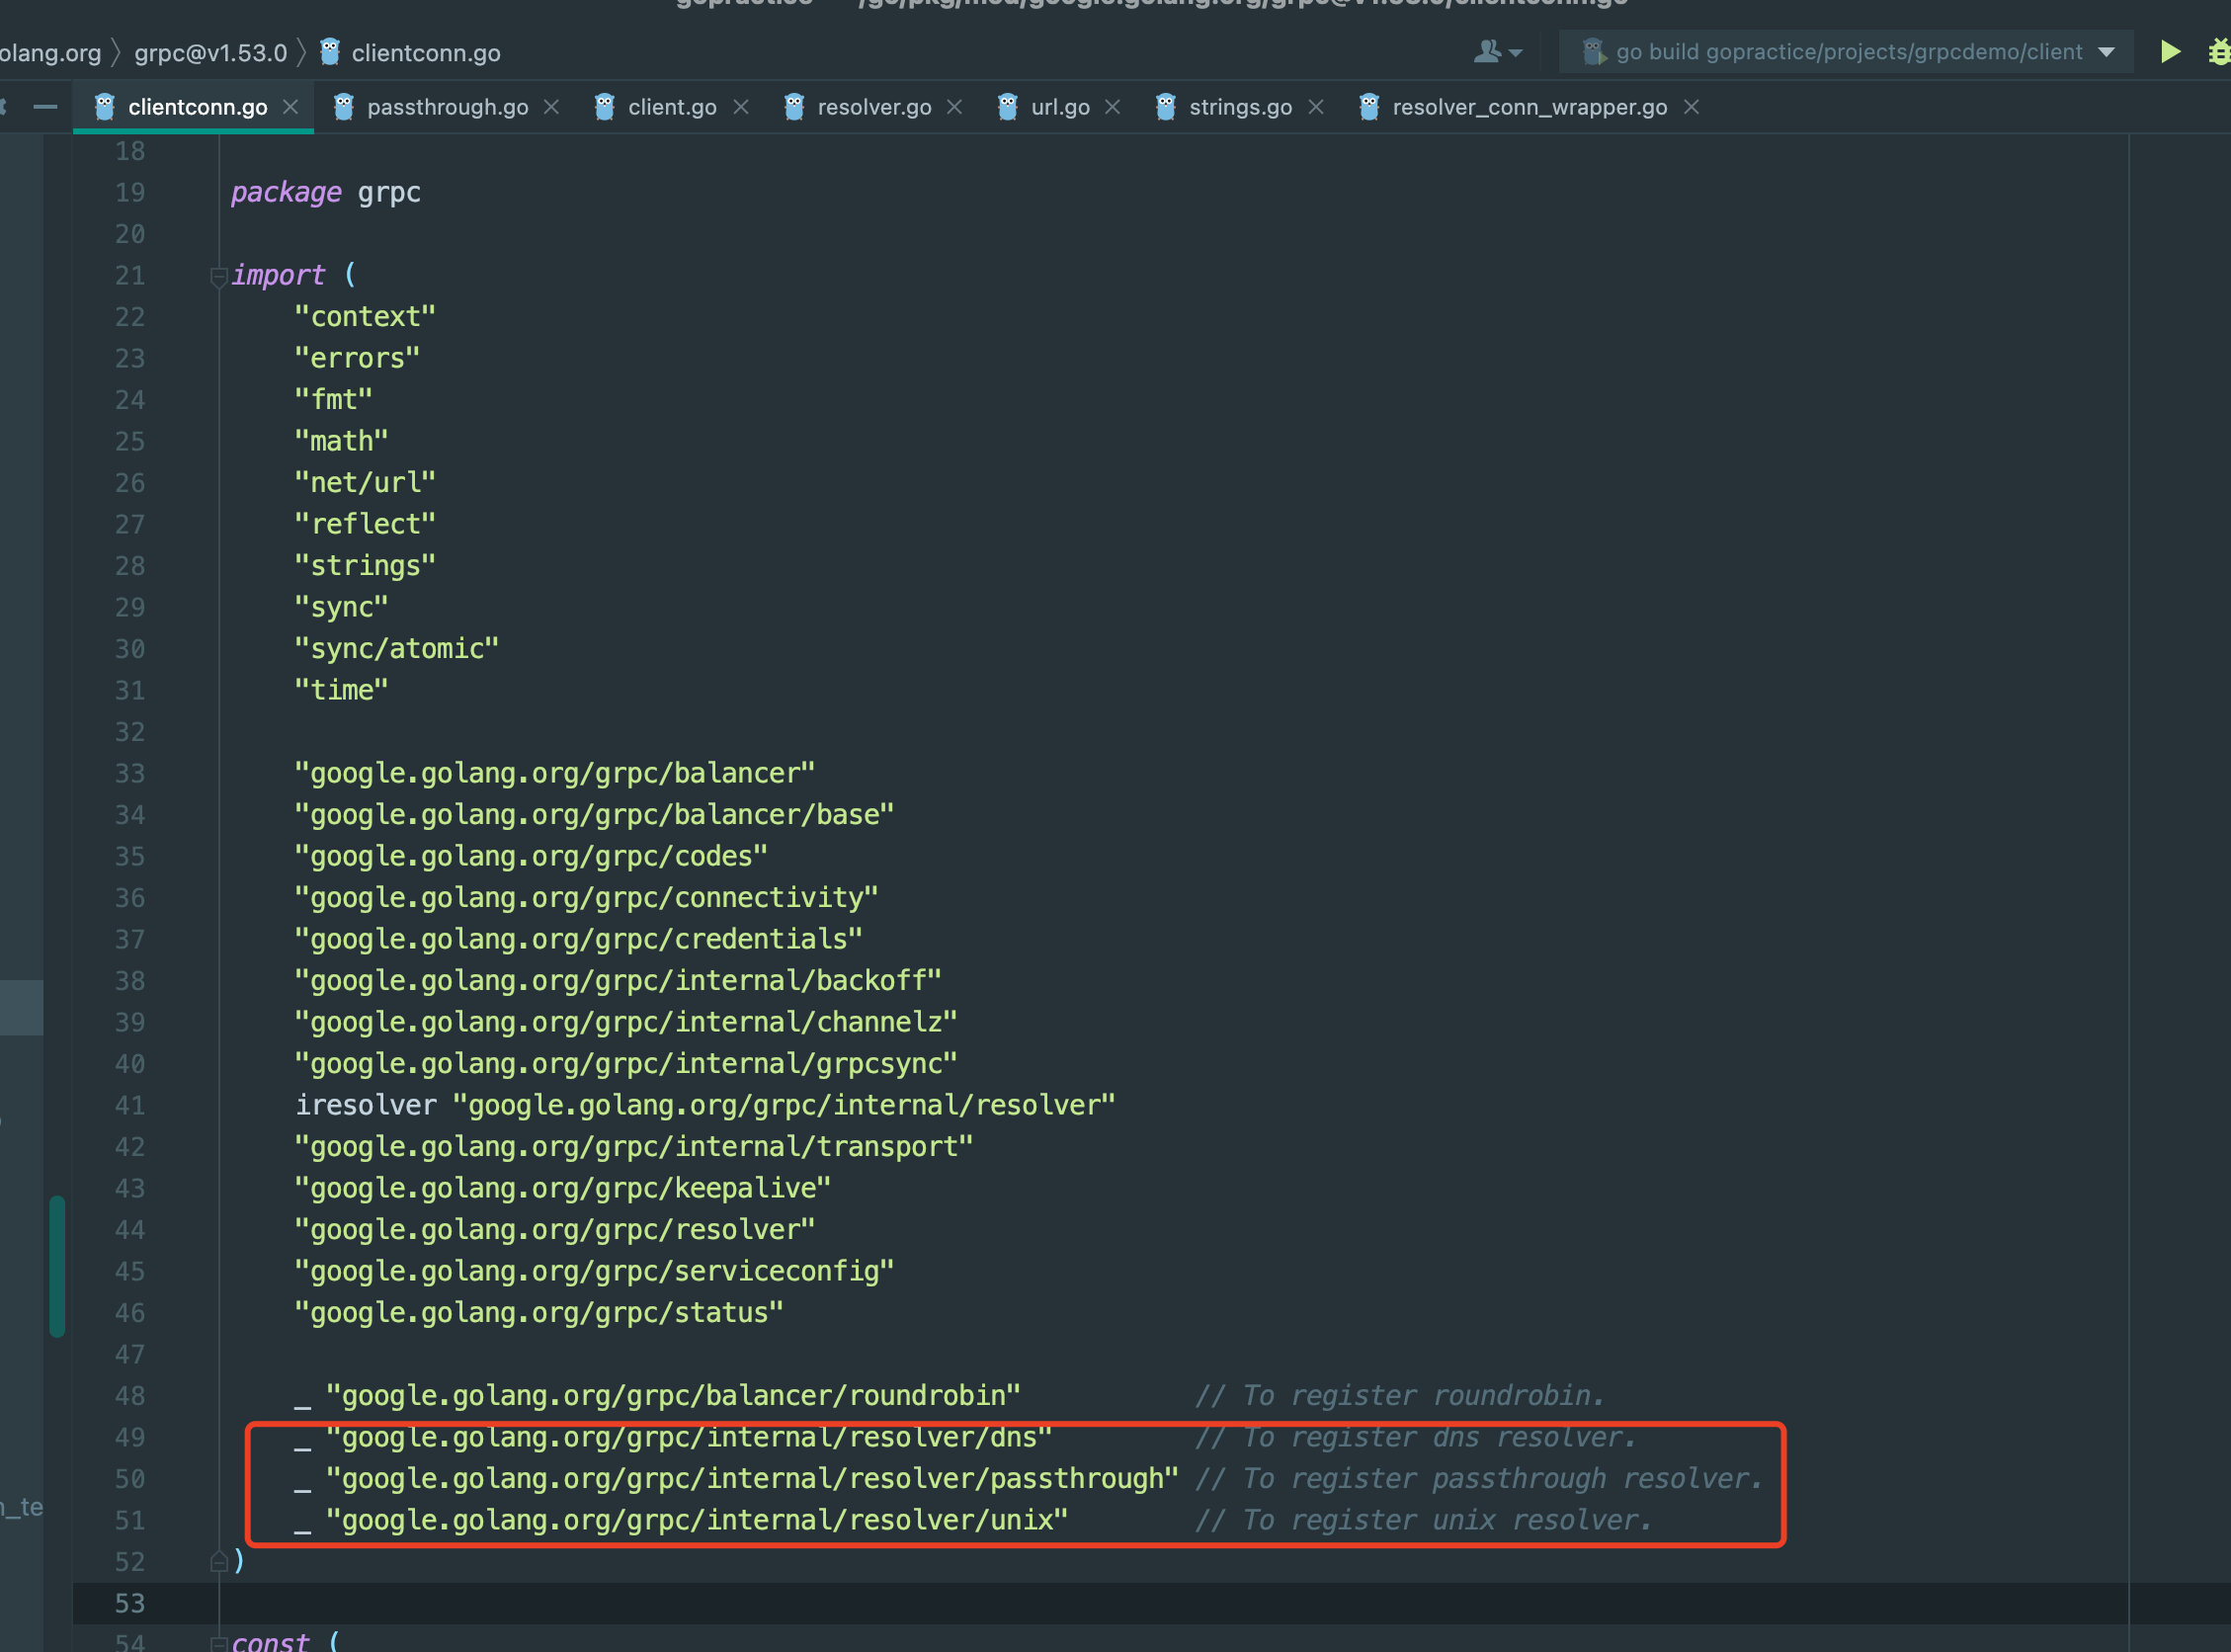
1.grpc源码对解析器(resolver)Builder接口有三个结构体进行实现:dns,passthrough,unix。在clientconn.go文件中通过引用包在相应包的初始化方法中进行了注册
2.进入internal/resolver/passthrough/passthrough.go文件中init初始化函数中看到了将passthroughBuilder进行了注册。调用了resolver包的Register函数
func init() {
    resolver.Register(&passthroughBuilder{})
}
3.Register将注册后的结构保存在全局变量m中,是一个map。key为Scheme,value为Builder接口。我们看到grpc默认的scheme是passthrough即透传什么也不做
package resolver

import (
    "context"
    "net"
    "net/url"
    "strings"

    "google.golang.org/grpc/attributes"
    "google.golang.org/grpc/credentials"
    "google.golang.org/grpc/internal/pretty"
    "google.golang.org/grpc/serviceconfig"
)

var (
    // m is a map from scheme to resolver builder.
    m = make(map[string]Builder)
    // defaultScheme is the default scheme to use.
    defaultScheme = "passthrough"
)

// TODO(bar) install dns resolver in init(){}.

// Register registers the resolver builder to the resolver map. b.Scheme will be
// used as the scheme registered with this builder.
//
// NOTE: this function must only be called during initialization time (i.e. in
// an init() function), and is not thread-safe. If multiple Resolvers are
// registered with the same name, the one registered last will take effect.
func Register(b Builder) {
    m[b.Scheme()] = b
}

// Get returns the resolver builder registered with the given scheme.
//
// If no builder is register with the scheme, nil will be returned.
func Get(scheme string) Builder {
    if b, ok := m[scheme]; ok {
        return b
    }
    return nil
}
4.再看下passthroughBuilder,看到它实现了Buider接口,Build方法返回实现Resolver接口的结构passthroughResolver。其中passthroughBuilder用来创建解析器,passthroughResolver为创建的解析器
package passthrough

import (
    "errors"

    "google.golang.org/grpc/resolver"
)

const scheme = "passthrough"

type passthroughBuilder struct{}

func (*passthroughBuilder) Build(target resolver.Target, cc resolver.ClientConn, opts resolver.BuildOptions) (resolver.Resolver, error) {
    if target.Endpoint() == "" && opts.Dialer == nil {
        return nil, errors.New("passthrough: received empty target in Build()")
    }
    r := &passthroughResolver{
        target: target,
        cc:     cc,
    }
    r.start()
    return r, nil
}

func (*passthroughBuilder) Scheme() string {
    return scheme
}

type passthroughResolver struct {
    target resolver.Target
    cc     resolver.ClientConn
}

func (r *passthroughResolver) start() {
    r.cc.UpdateState(resolver.State{Addresses: []resolver.Address{{Addr: r.target.Endpoint()}}})
}

func (*passthroughResolver) ResolveNow(o resolver.ResolveNowOptions) {}

func (*passthroughResolver) Close() {}

func init() {
    resolver.Register(&passthroughBuilder{})
}
5.这段代码中返回的resolverBuilder就是从上面找到注册的builder,resolver.Get就是1.3中对应的代码

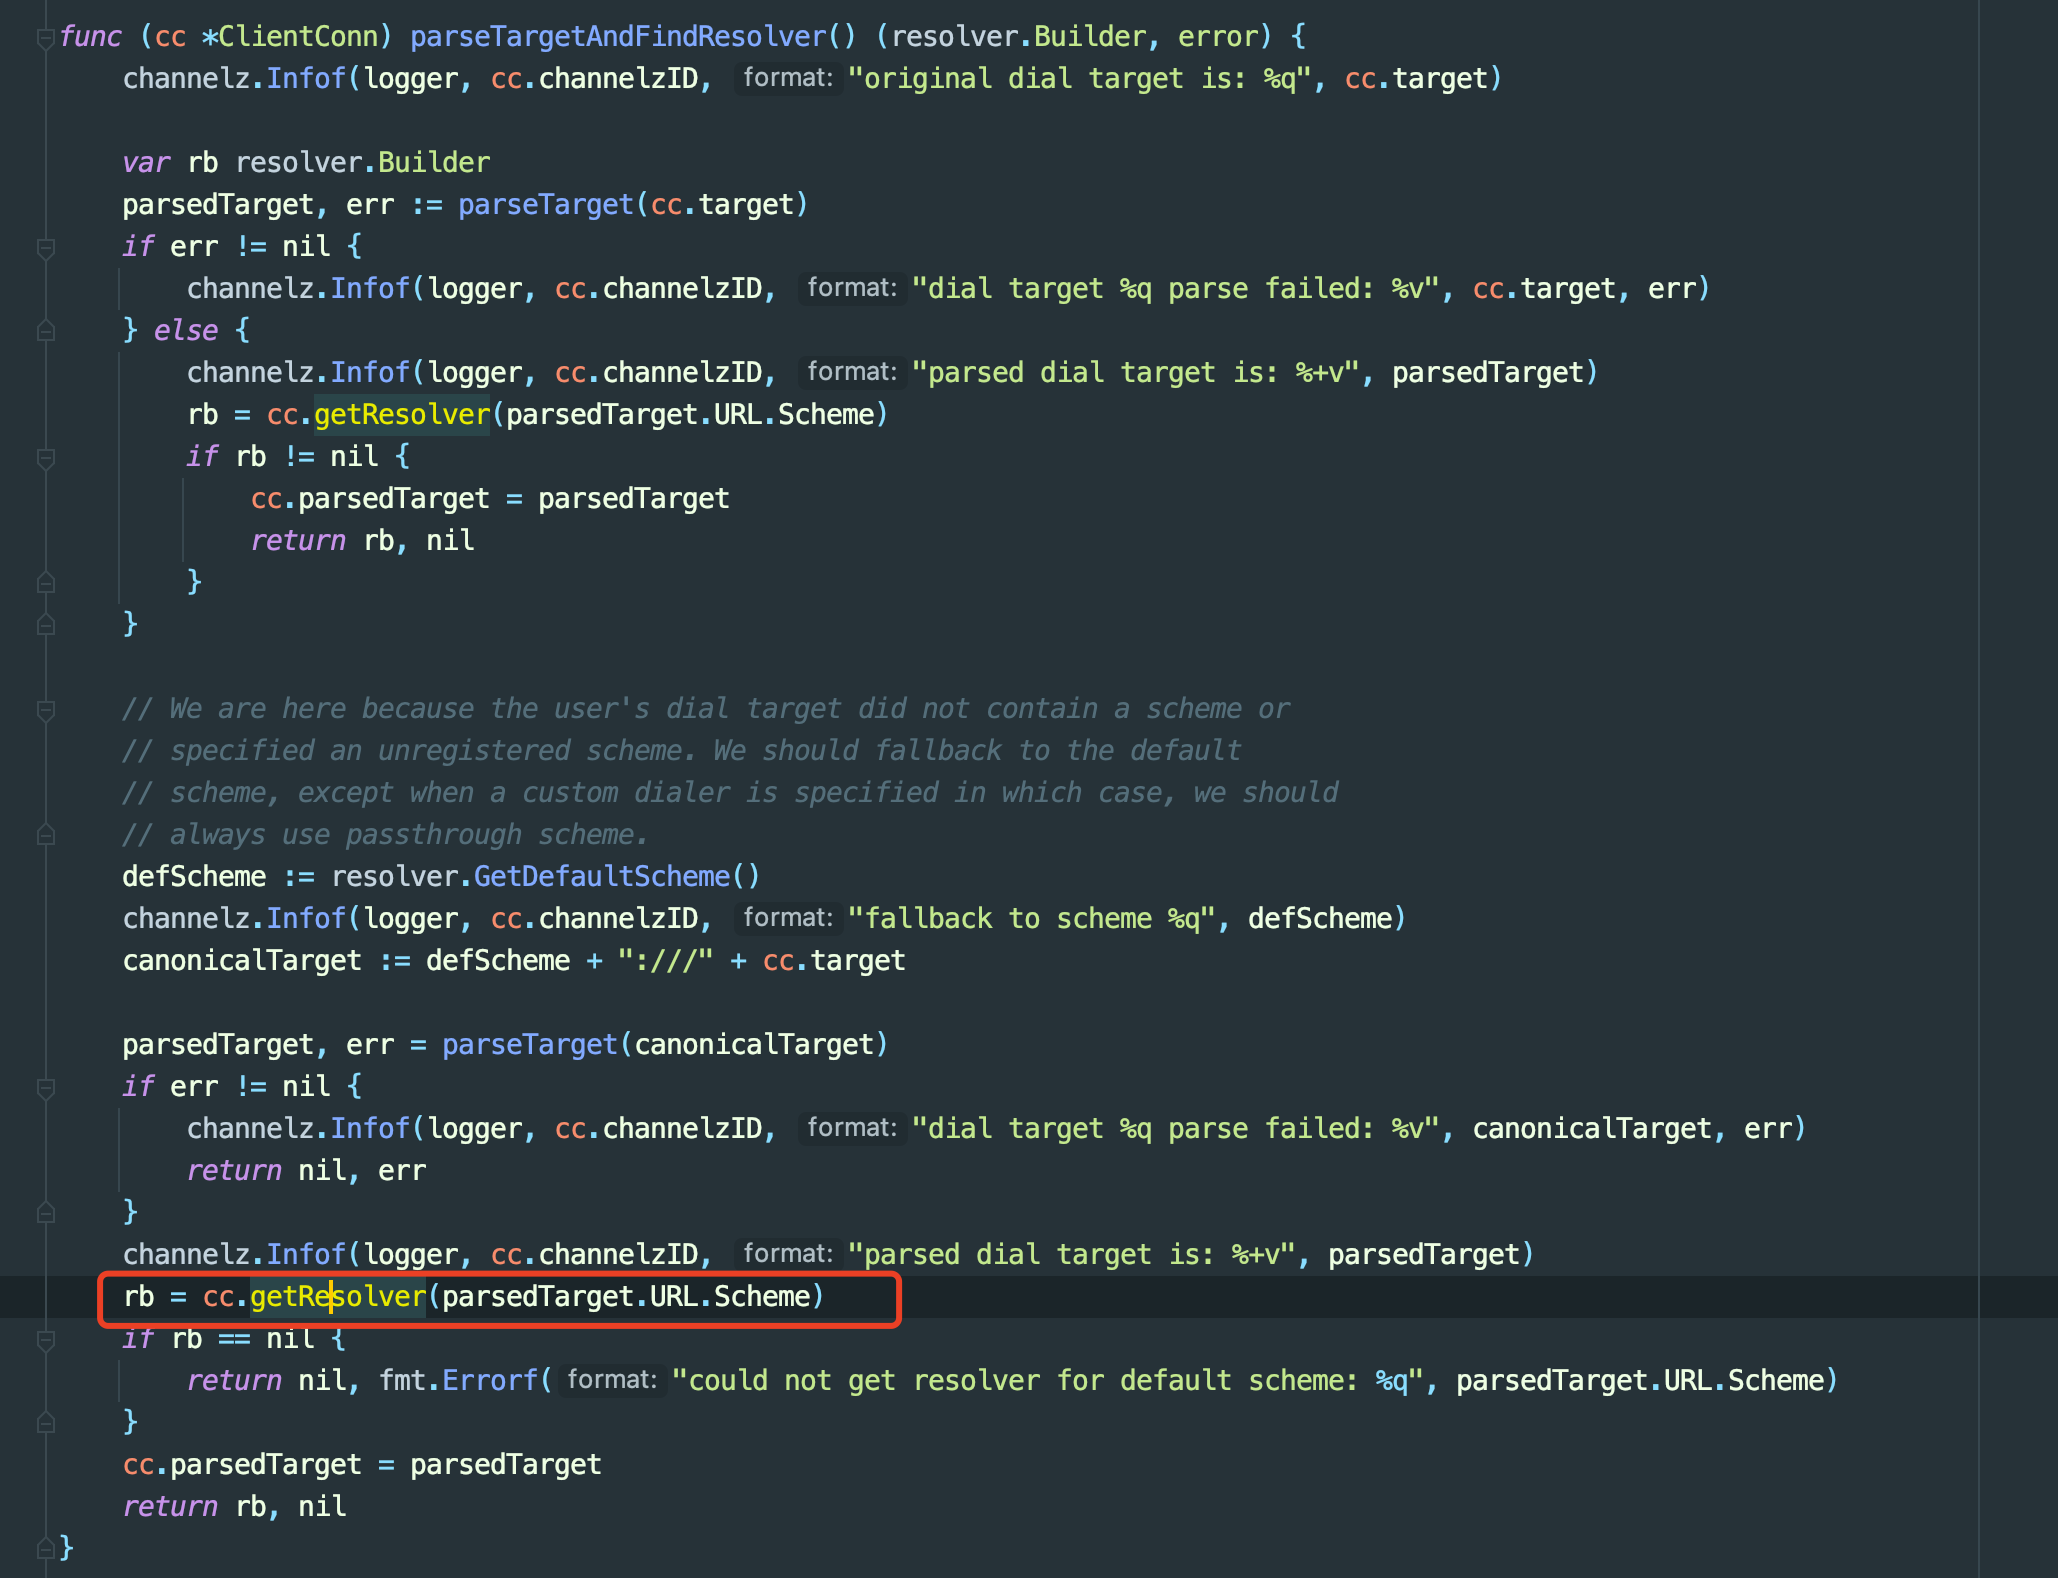
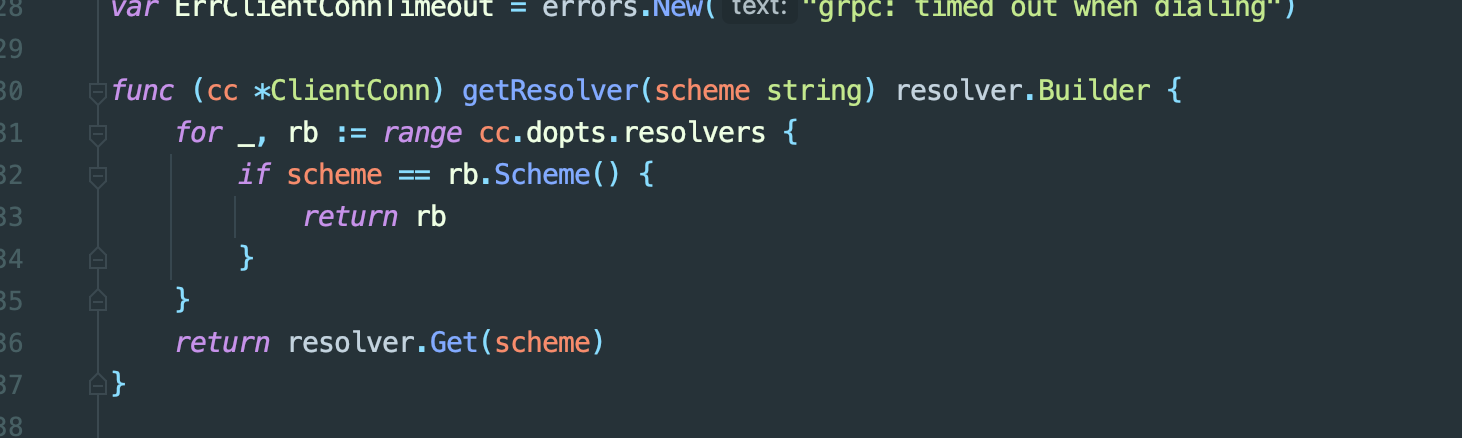
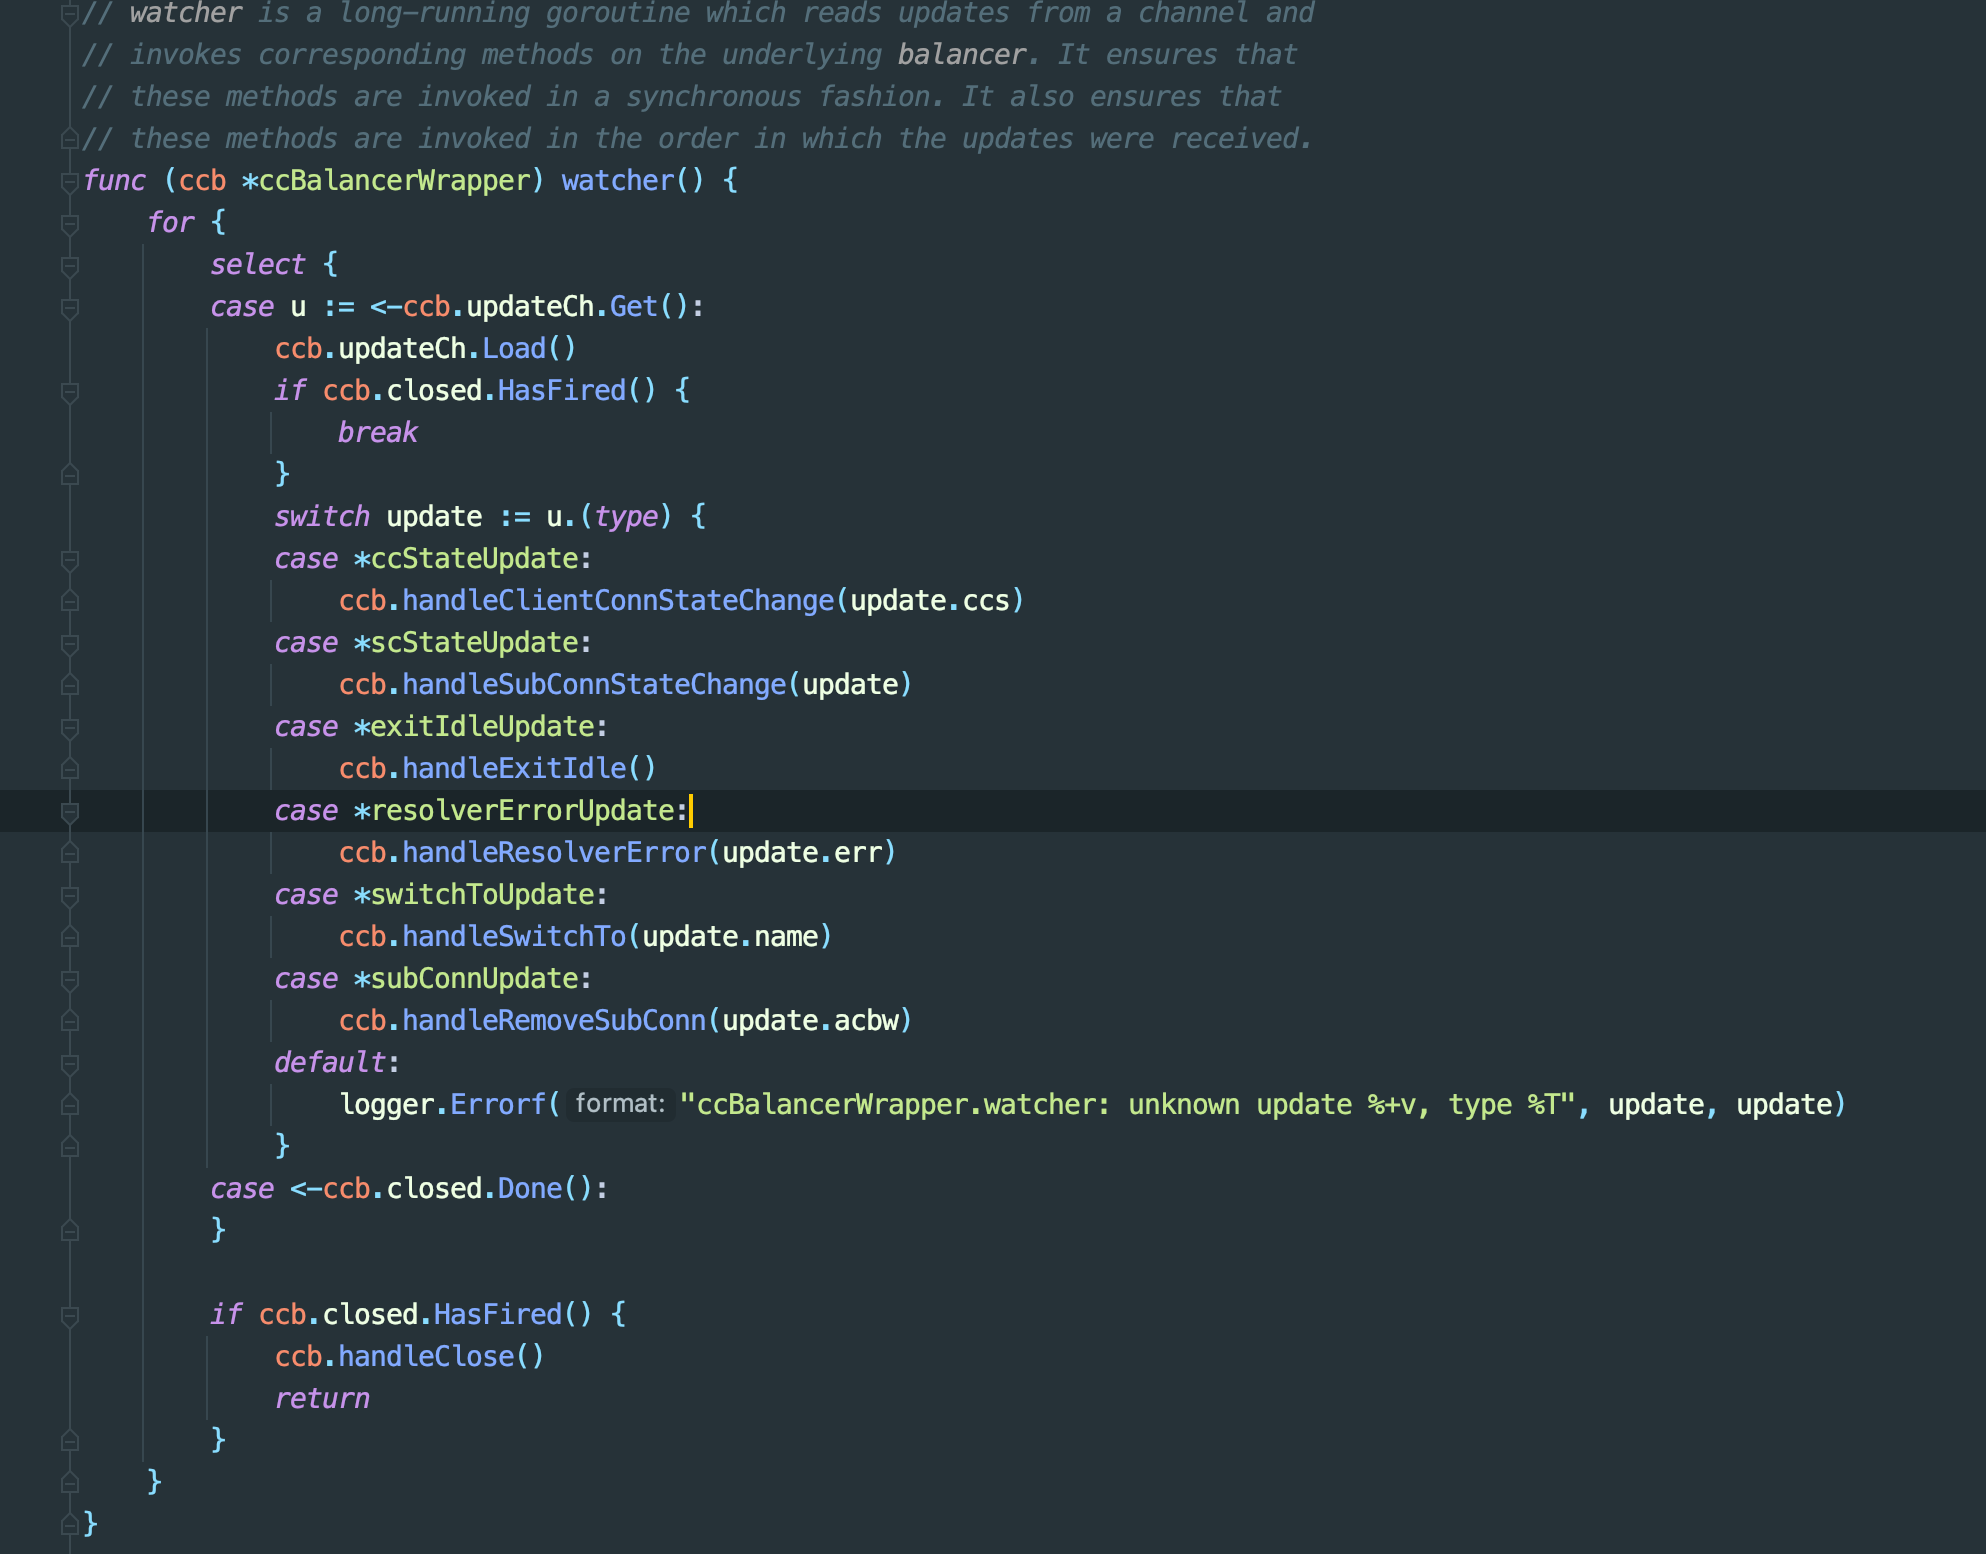
7.生成解析器的封装newCCResolverWrapper,并调用build将创建解析器,这个过程中调用了解析器的start方法,这个方法比较重要的是做了两件事情。1.触发选择balancer信号。2.触发状态修改(其中有负载均衡即连接的创建)
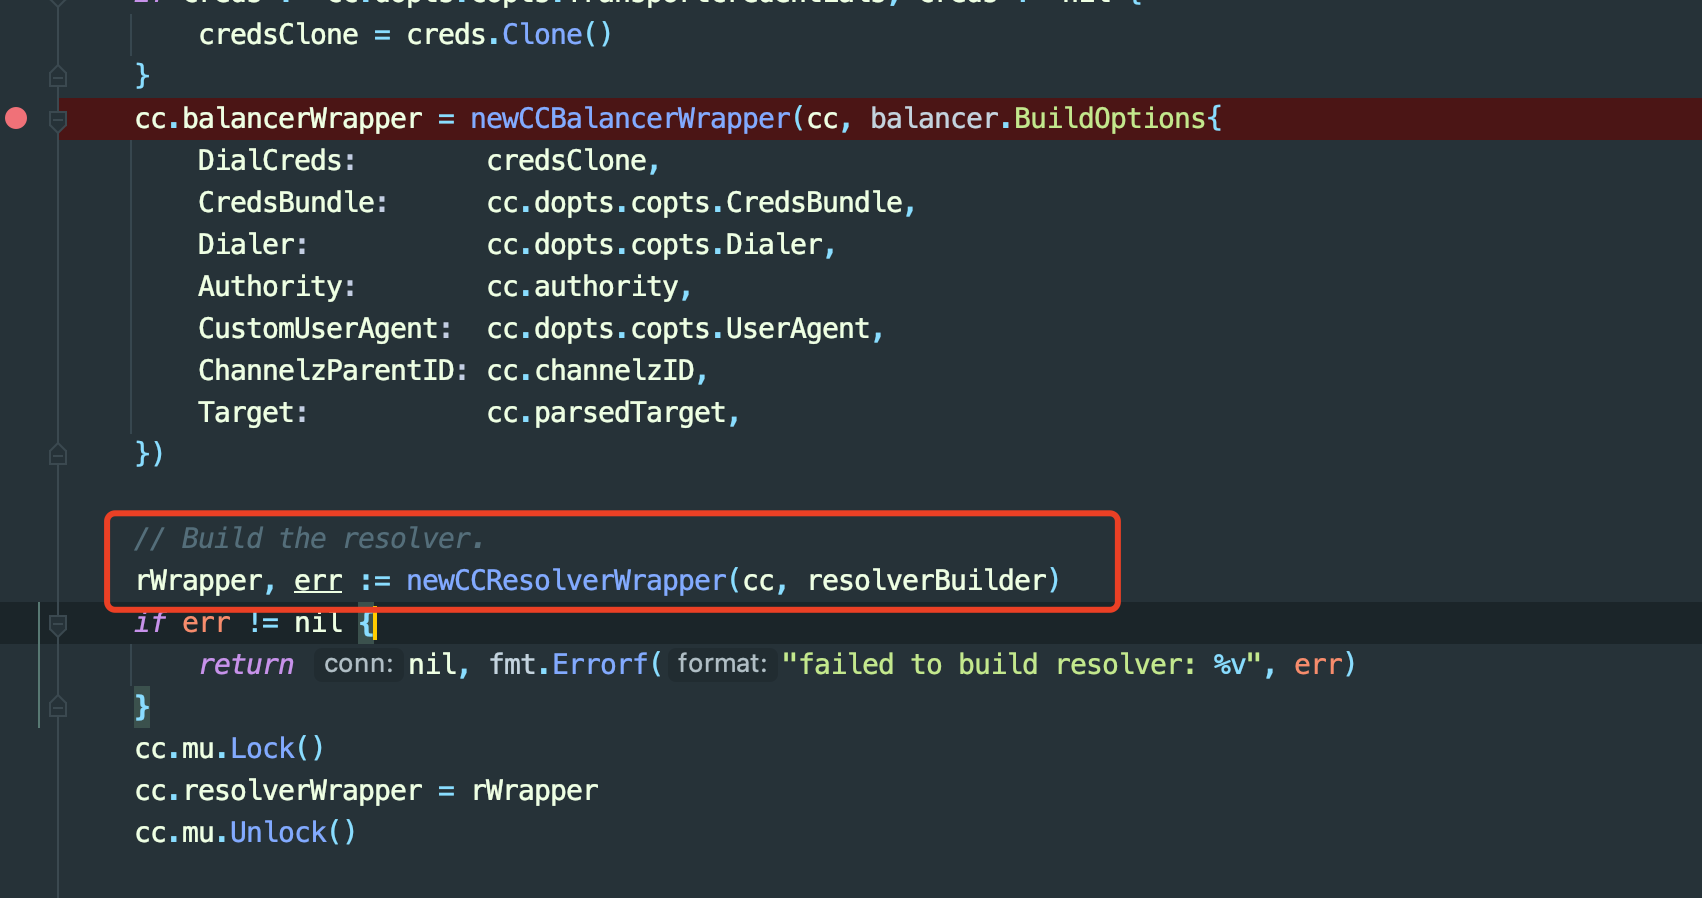


上面分别向ccBalancerWrapper的channel中发送了switchToUpdate和ccStateUpdate
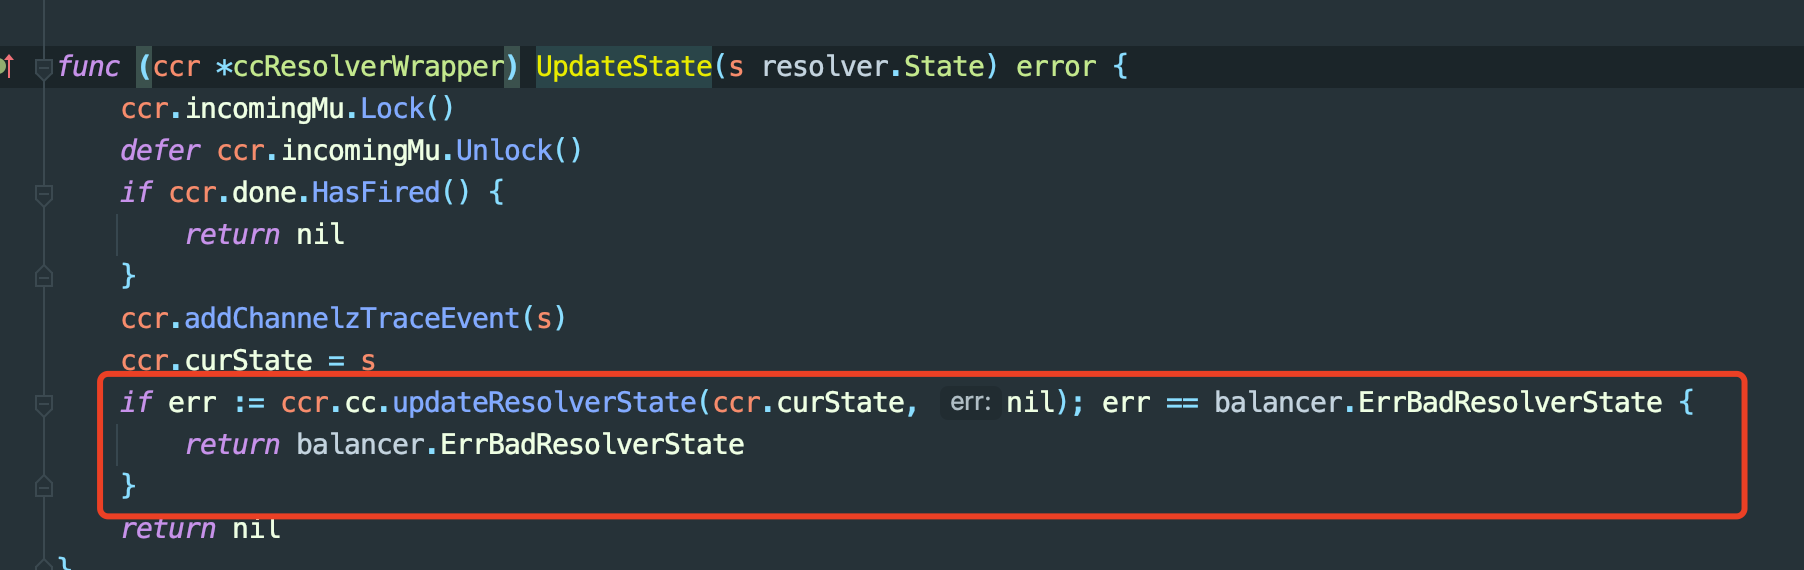
balancer选择逻辑

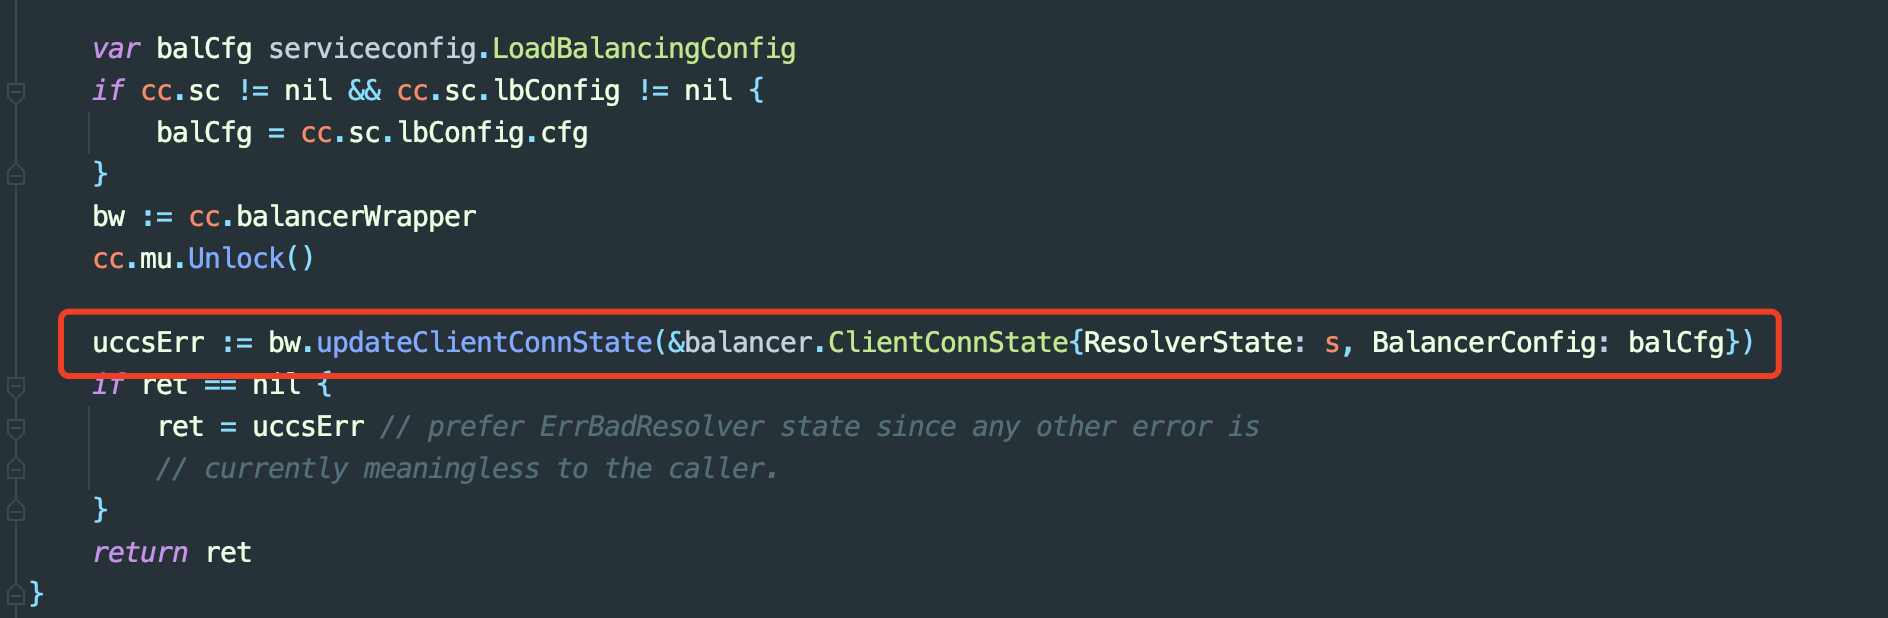
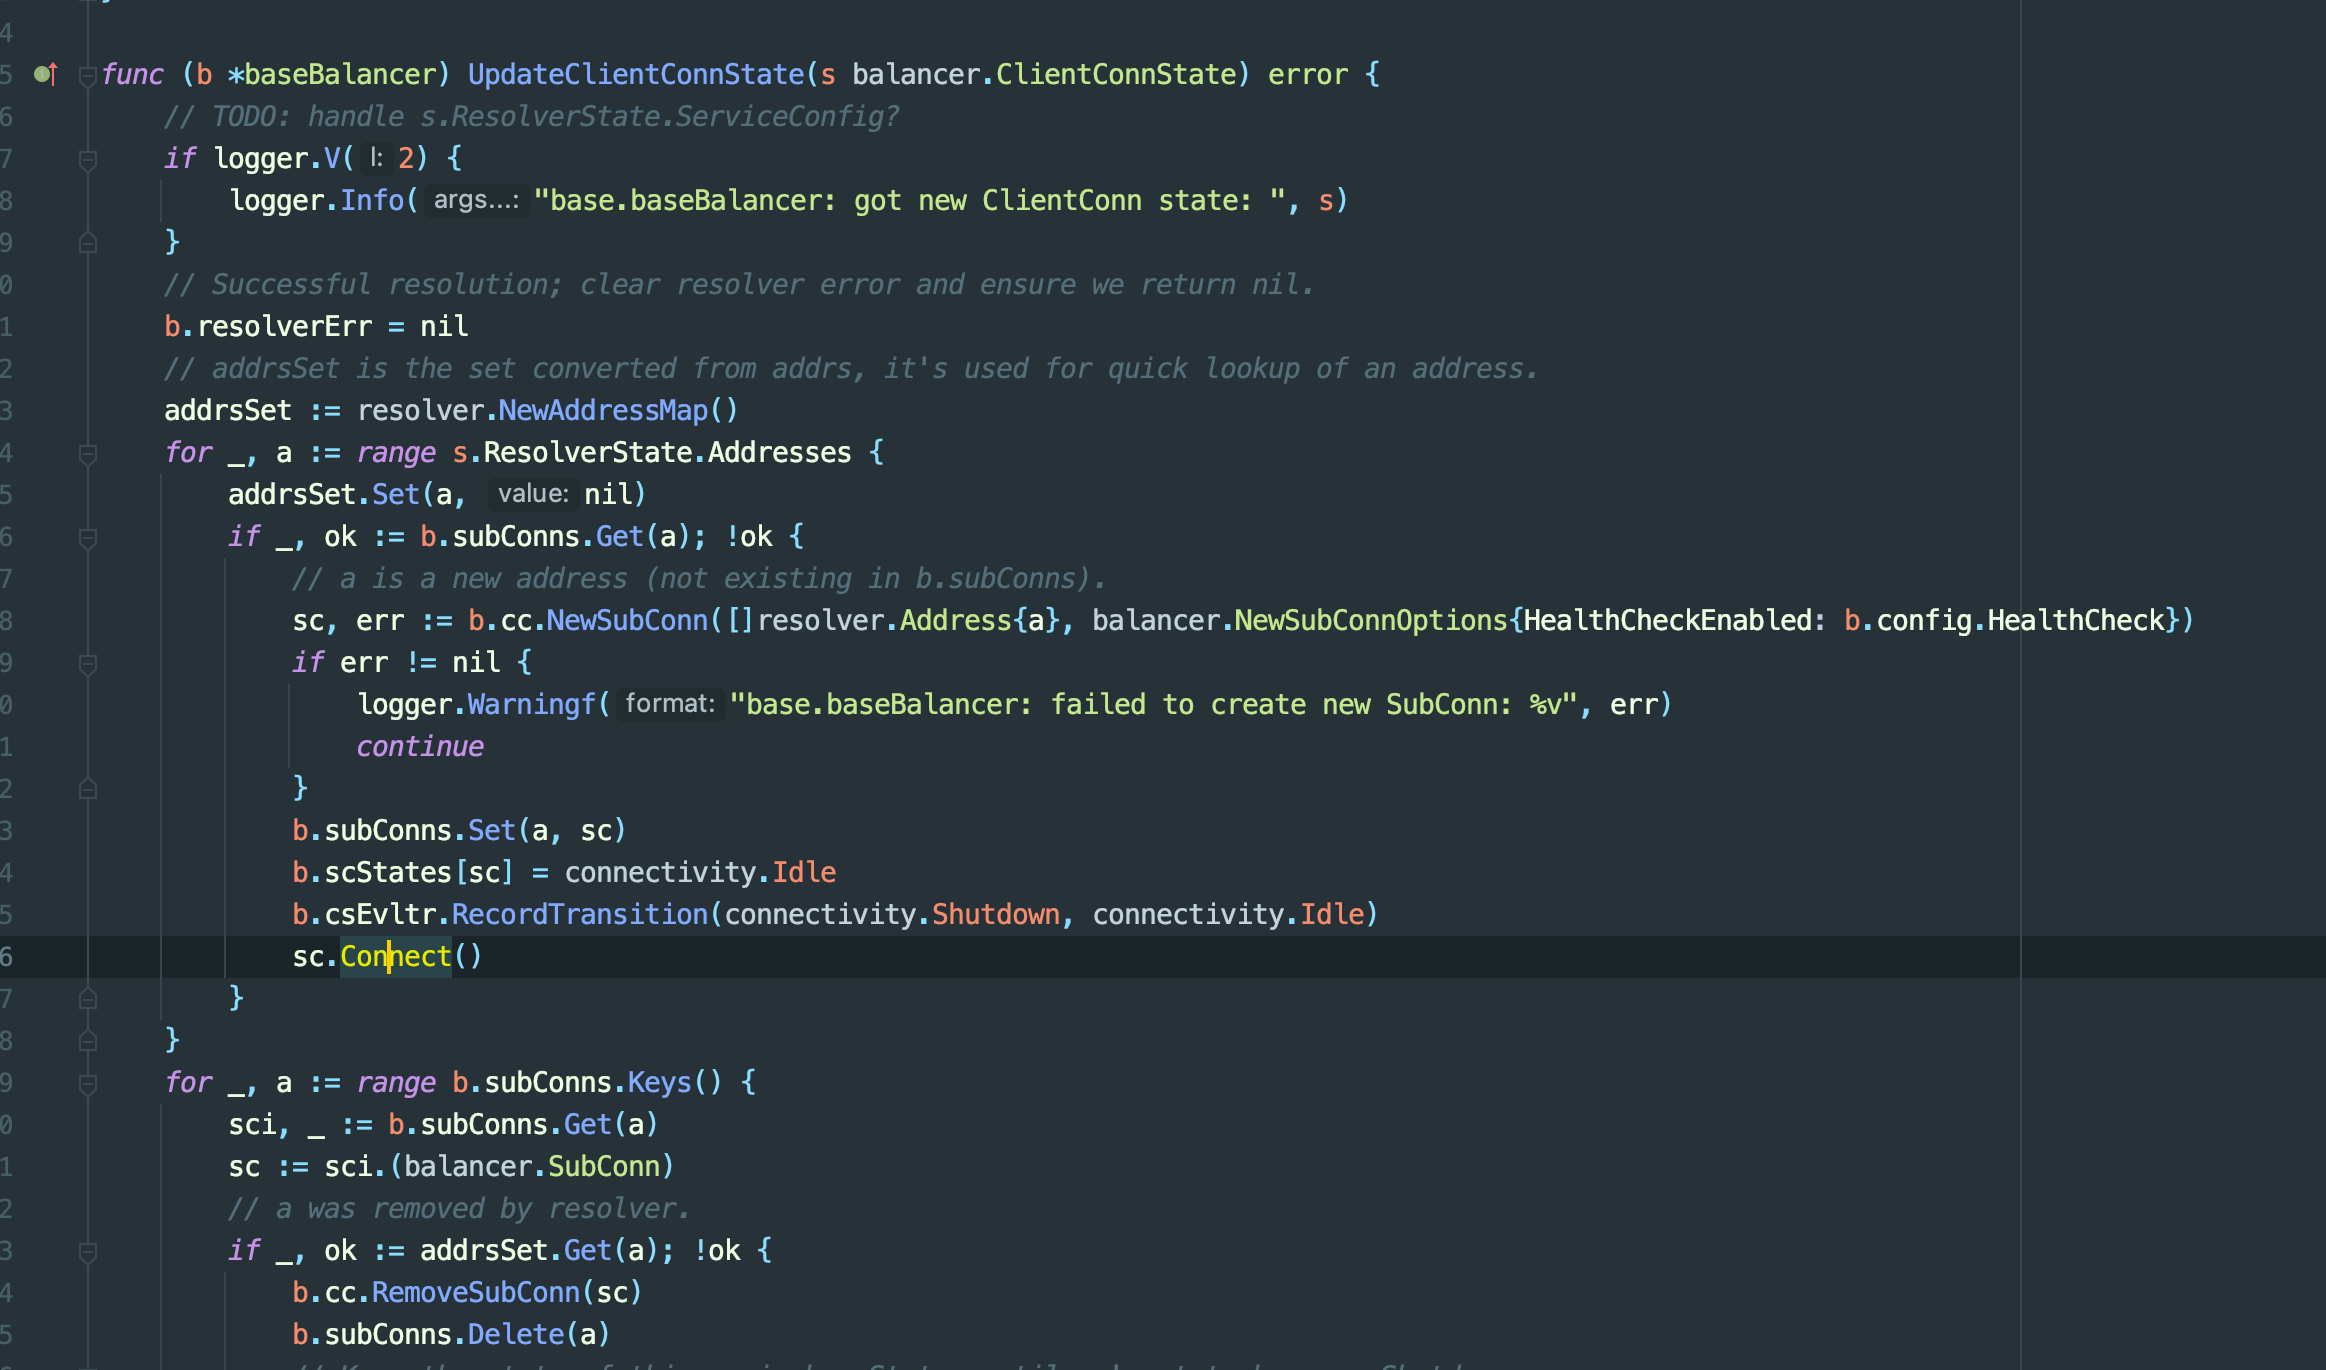
baseBalancer会将所有地址都创建一个连接
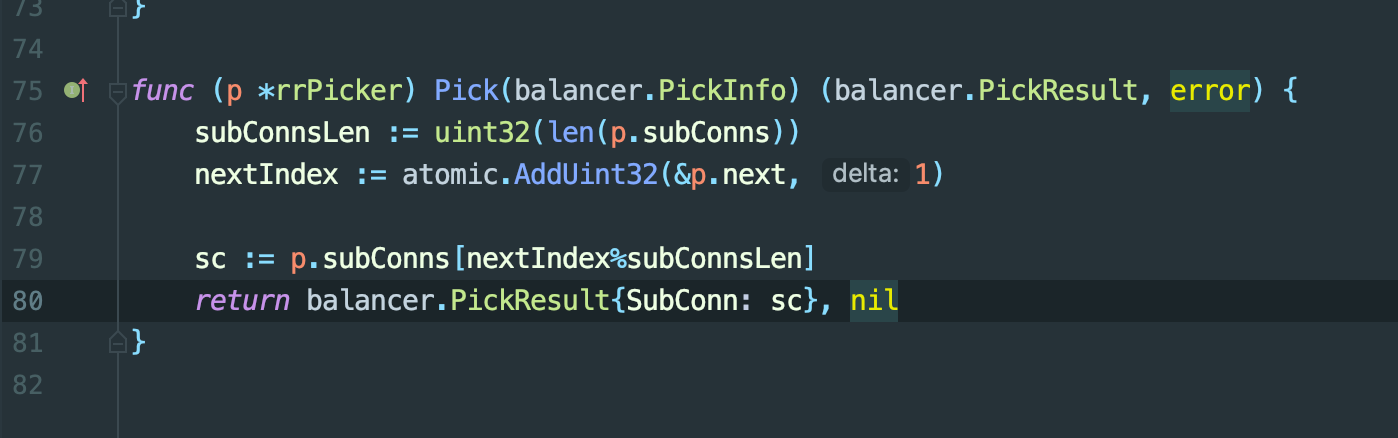
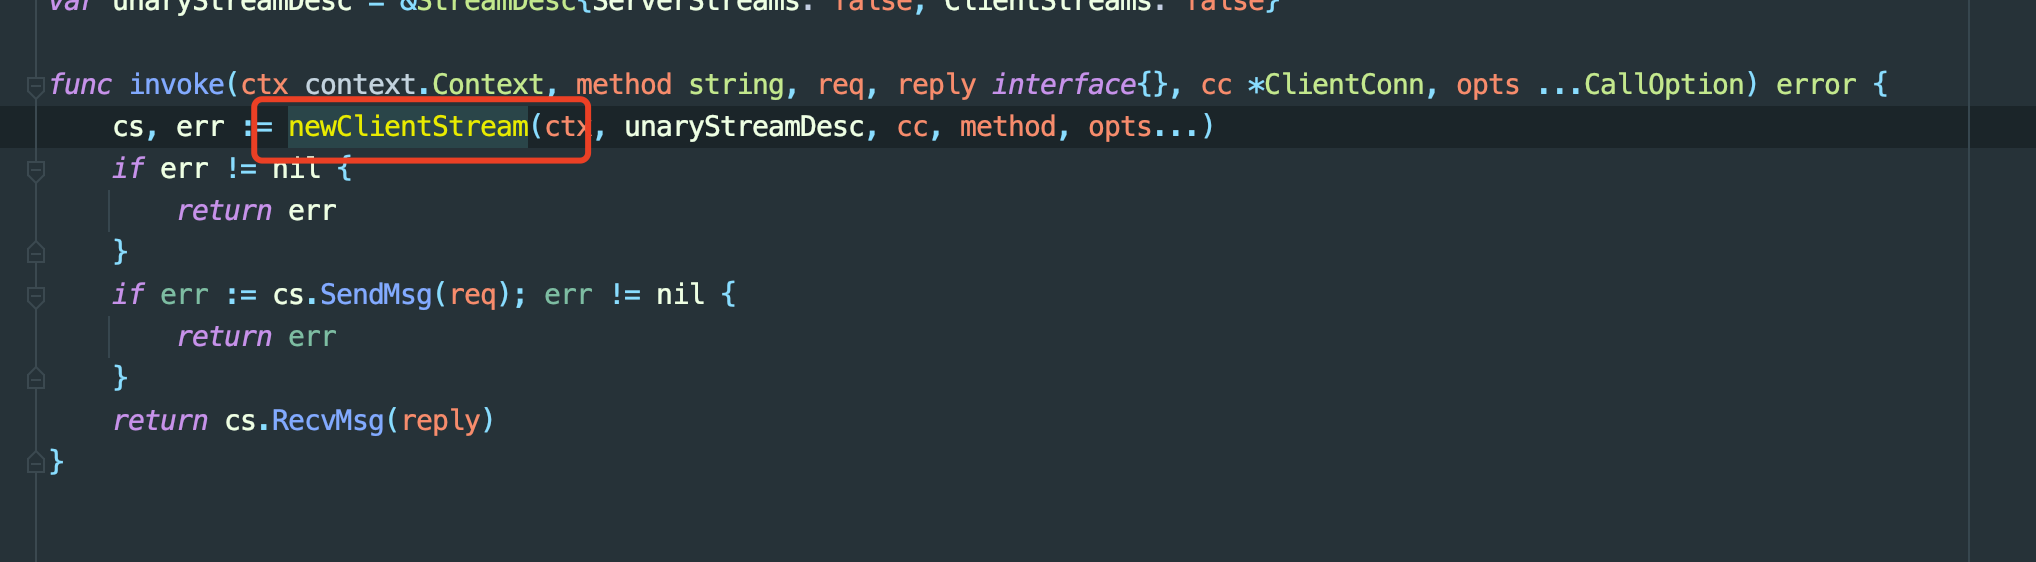
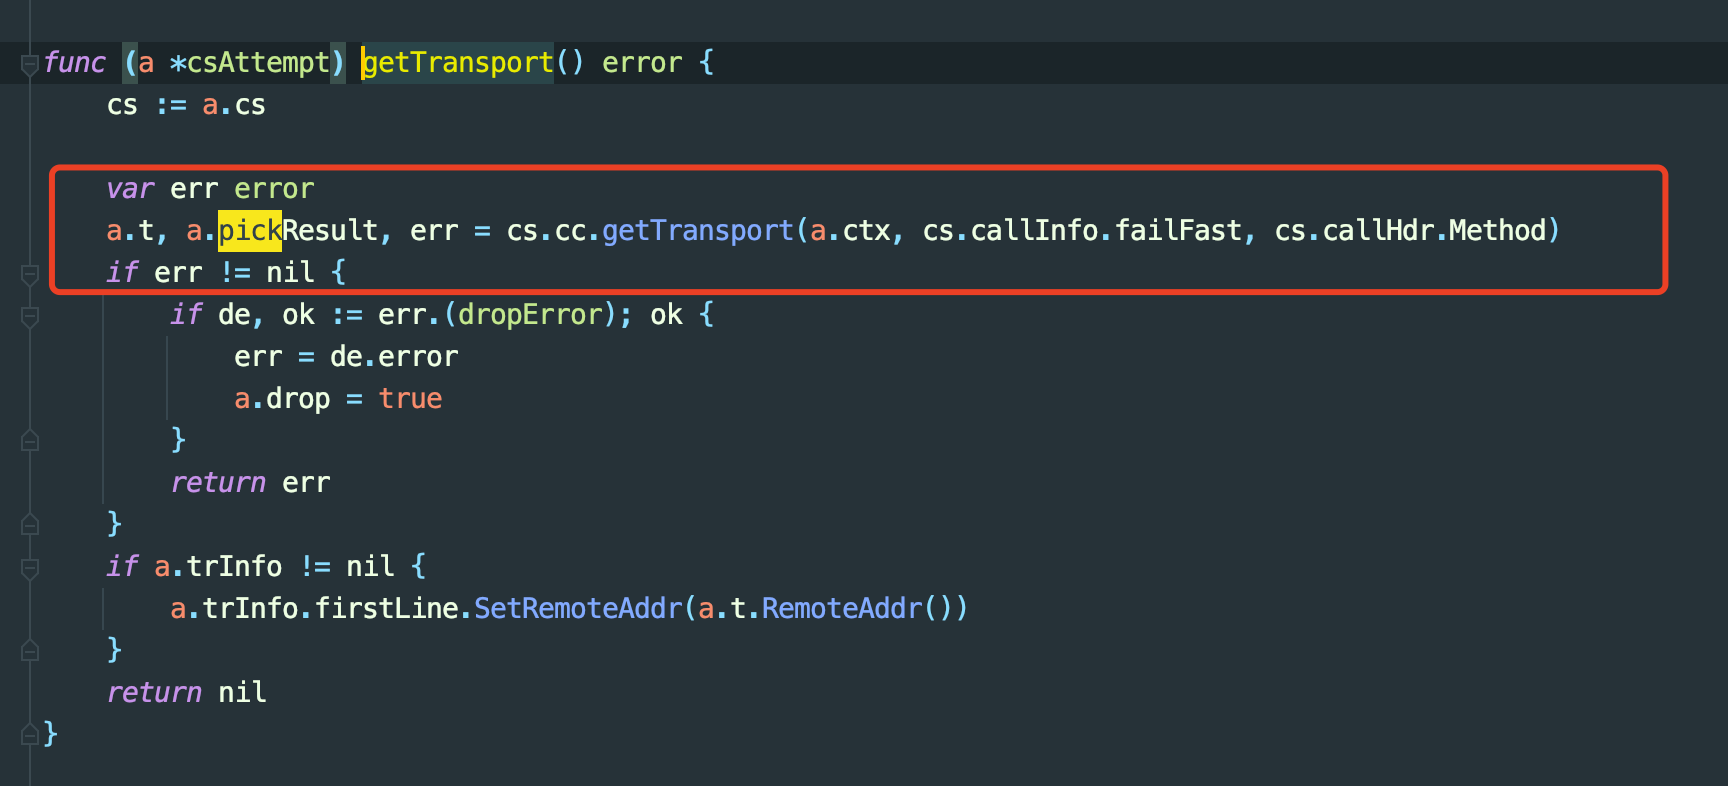
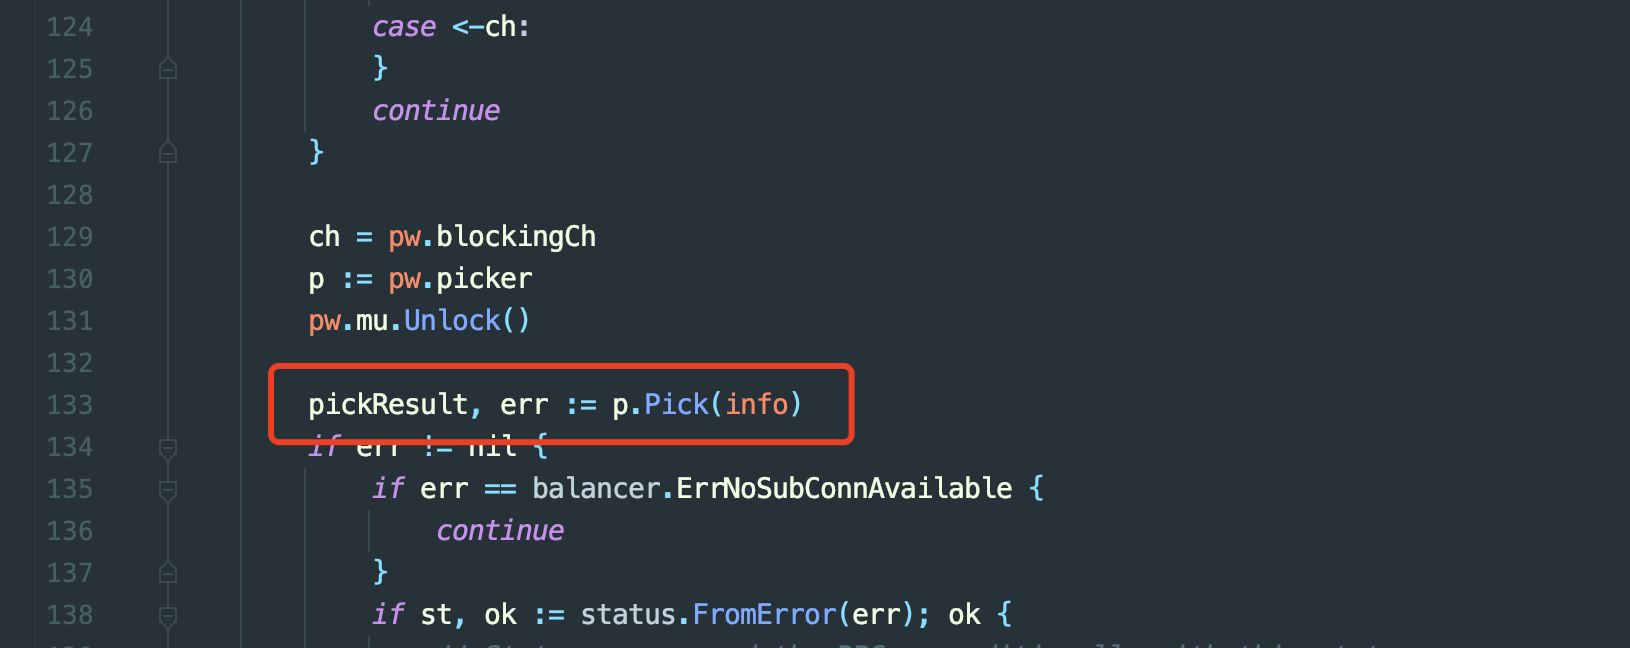
invoke的时候,会调用picker选择连接
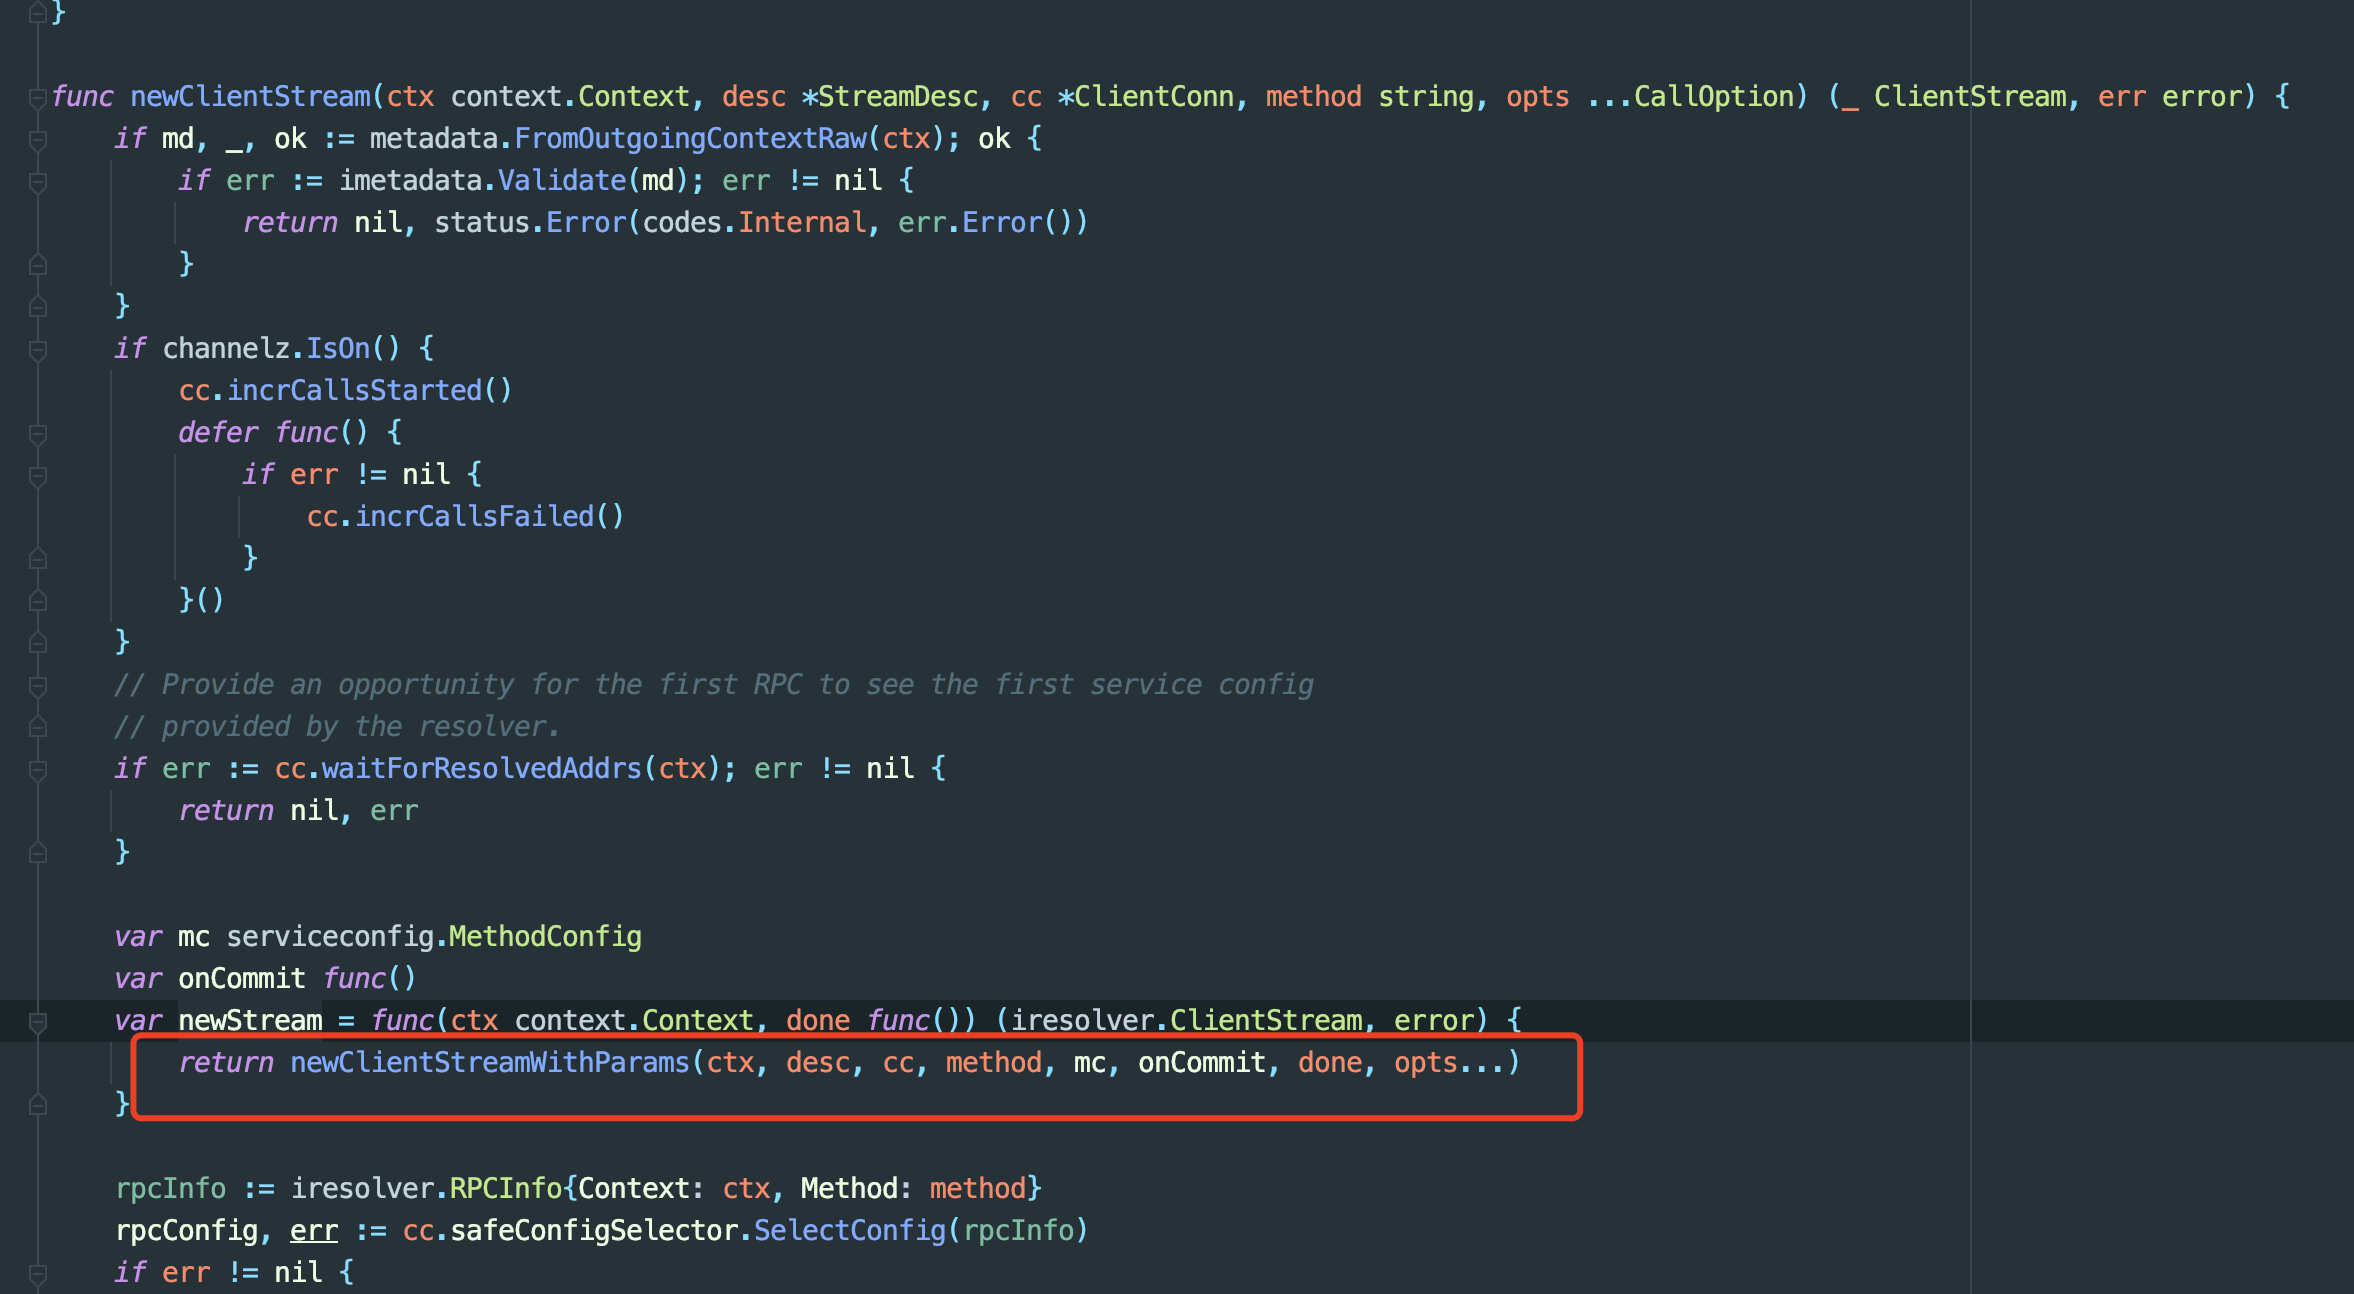


以上路径最终调用这个方法,可以看到是轮询使用连接