在Centos7上部署OnlyOffice编译结果
此处将尝试将OnlyOffice验证(一)DocumentServer编译验证的结果部署到Centos7上。并且使用其它服务器现有的RabbitMq和Mysql。
安装Nginx
先安装Nginx需要的依赖环境:
yum install openssl* -y
yum install ncurses-devel -y
先下载Nginx资源包:
[root@test nginx]# pwd
/usr/local/nginx
[root@test nginx]# ll
总用量 1052
-rw-r--r--. 1 root root 1073948 2月  24 09:25 nginx-1.22.1.tar.gz
[root@test nginx]# tar -zxvf nginx-1.22.1.tar.gz
解压后目录结构如下(目录为:/usr/local/nginx/nginx-1.22.1):
[root@test nginx]# ll
总用量 1052
drwxr-xr-x. 8 1001 1001     158 10月 19 16:02 nginx-1.22.1
-rw-r--r--. 1 root root 1073948 2月  24 09:25 nginx-1.22.1.tar.gz
[root@test nginx]# cd nginx-1.22.1
[root@test nginx-1.22.1]# ll
总用量 804
drwxr-xr-x. 6 1001 1001   4096 2月  24 09:34 auto
-rw-r--r--. 1 1001 1001 317399 10月 19 16:02 CHANGES
-rw-r--r--. 1 1001 1001 485035 10月 19 16:02 CHANGES.ru
drwxr-xr-x. 2 1001 1001    168 2月  24 09:34 conf
-rwxr-xr-x. 1 1001 1001   2590 10月 19 16:02 configure
drwxr-xr-x. 4 1001 1001     72 2月  24 09:34 contrib
drwxr-xr-x. 2 1001 1001     40 2月  24 09:34 html
-rw-r--r--. 1 1001 1001   1397 10月 19 16:02 LICENSE
drwxr-xr-x. 2 1001 1001     21 2月  24 09:34 man
-rw-r--r--. 1 1001 1001     49 10月 19 16:02 README
drwxr-xr-x. 9 1001 1001     91 2月  24 09:34 src
开始安装
./configure && make
切换目录到/usr/local/nginx,如果没有新的文件回到安装目录再执行一下:
make install
最终目录结构应该和下面差不多:
[root@test nginx-1.22.1]# pwd
/usr/local/nginx/nginx-1.22.1
[root@test nginx-1.22.1]# cd ../
[root@test nginx]# ll
总用量 1056
drwxr-xr-x. 2 root root    4096 2月  24 09:45 conf
drwxr-xr-x. 2 root root      40 2月  24 09:45 html
drwxr-xr-x. 2 root root       6 2月  24 09:45 logs
drwxr-xr-x. 9 1001 1001     186 2月  24 09:43 nginx-1.22.1
-rw-r--r--. 1 root root 1073948 2月  24 09:25 nginx-1.22.1.tar.gz
drwxr-xr-x. 2 root root      19 2月  24 09:45 sbin
切换目录到sbin,启动Nginx:
[root@test nginx]# cd sbin/
[root@test sbin]# pwd
/usr/local/nginx/sbin
[root@test sbin]# ./nginx
[root@test sbin]#
当前虚拟机配的IP是192.168.95.131,访问http://192.168.95.131:80/(端口可以不用写):

配置自启服务,此处不重要可以略过。这里先关闭Nginx:
[root@test sbin]# pwd
/usr/local/nginx/sbin
[root@test sbin]# ./nginx -s stop
[root@test sbin]#
创建一个系统服务配置文件
[root@test sbin]# pwd
/usr/local/nginx/sbin
[root@test sbin]# vim nginx.service
[root@test sbin]# cat nginx.service
[Unit]
Description=nginx service
After=network.target

[Service]
Type=forking
ExecStart=/usr/local/nginx/sbin/nginx
ExecReload=/usr/local/nginx/sbin/nginx -s reload
ExecStop=/usr/local/nginx/sbin/nginx -s stop
WorkingDirectory=/usr/local/nginx/sbin
PrivateTmp=true

[Install]
WantedBy=multi-user.target
创建软连接,随后重新加载服务配置
[root@test sbin]# ln -s /usr/local/nginx/sbin/nginx.service /usr/lib/systemd/system/nginx.service
[root@test sbin]# systemctl daemon-reload
接下来使用systemctl start nginx来启动Nginx
[root@test sbin]# systemctl start nginx
[root@test sbin]# systemctl status nginx
● nginx.service - nginx service
   Loaded: loaded (/usr/local/nginx/sbin/nginx.service; disabled; vendor preset: disabled)
   Active: active (running) since 五 2023-02-24 10:18:52 CST; 1s ago
  Process: 35348 ExecStart=/usr/local/nginx/sbin/nginx (code=exited, status=0/SUCCESS)
 Main PID: 35349 (nginx)
   Memory: 952.0K
   CGroup: /system.slice/nginx.service
           ├─35349 nginx: master process /usr/local/nginx/sbin/nginx
           └─35350 nginx: worker process

2月 24 10:18:52 test systemd[1]: Starting nginx service...
2月 24 10:18:52 test systemd[1]: Started nginx service.
配置自启,重启服务器验证即可
[root@test sbin]# systemctl enable nginx
Created symlink from /etc/systemd/system/multi-user.target.wants/nginx.service to /usr/local/nginx/sbin/nginx.service.
Created symlink from /etc/systemd/system/nginx.service to /usr/local/nginx/sbin/nginx.service.
资源准备
Ubuntu虚拟机资源准备
此处先将安装资源准备一下,将之前编译好的documentserver打个压缩包。然后将资源传到Centos7上。
root@t16:/opt/build_master/build_tools/out/linux_64/onlyoffice# tar -zcvf documentserver.tar.gz documentserver
root@t16:/opt/build_master/build_tools/out/linux_64/onlyoffice# pwd
/opt/build_master/build_tools/out/linux_64/onlyoffice
root@t16:/opt/build_master/build_tools/out/linux_64/onlyoffice# ll
总用量 822728
drwxr-xr-x  5 root root      4096 2月  24 10:35 ./
drwxr-xr-x  3 root root      4096 2月  19 23:26 ../
drwxr-xr-x 10 root root      4096 2月  23 14:00 documentserver/
drwxr-xr-x  3 root root      4096 2月  23 13:56 documentserver-example/
drwxr-xr-x  3 root root      4096 2月  19 23:27 documentserver-snap/
-rw-r--r--  1 root root 842447109 2月  24 10:36 documentserver.tar.gz
将压缩文件传到目标Centos7上
root@t16:/opt/build_master/build_tools/out/linux_64/onlyoffice# scp documentserver.tar.gz root@192.168.95.131:/usr/local/nginx/html
The authenticity of host '192.168.95.131 (192.168.95.131)' can't be established.
ECDSA key fingerprint is SHA256:P8yATBEzmZX9B7VcnUT6yYWDksUcNMdapeO4alDUYSw.
Are you sure you want to continue connecting (yes/no)? yes
Warning: Permanently added '192.168.95.131' (ECDSA) to the list of known hosts.
root@192.168.95.131's password:
documentserver.tar.gz                                                                                                100%  803MB 160.7MB/s   00:05
root@t16:/opt/build_master/build_tools/out/linux_64/onlyoffice#
Centos7虚拟机资源准备
在上一步将安装资源打压缩包,传到了Centos7中的/usr/local/nginx/html目录
[root@test html]# pwd
/usr/local/nginx/html
[root@test html]# ll -h
总用量 804M
-rw-r--r--. 1 root root  497 2月  24 09:45 50x.html
-rw-r--r--. 1 root root 804M 2月  24 10:40 documentserver.tar.gz
-rw-r--r--. 1 root root  615 2月  24 09:45 index.html
解压资源
[root@test html]# tar -zxvf documentserver.tar.gz
[root@test html]# pwd
/usr/local/nginx/html
[root@test html]# ll
总用量 822712
-rw-r--r--.  1 root root       497 2月  24 09:45 50x.html
drwxr-xr-x. 10 root root       147 2月  23 14:00 documentserver
-rw-r--r--.  1 root root 842447109 2月  24 10:40 documentserver.tar.gz
-rw-r--r--.  1 root root       615 2月  24 09:45 index.html
修改启动配置,切换目录到/usr/local/nginx/html/documentserver/server/Common/config。修改development-linux.json配置文件,此处只保留了修改的配置内容。分别是RabbitMQ连接、欢迎页、Mysql数据库连接和文件上传大小。
{
  "rabbitmq": {
    "url": "amqp://test:123456@192.168.95.130:5672"
   },
  "services": {
    "CoAuthoring": {
      "server": {
        "static_content": {
          "/welcome": {
            "path": "../../server/welcome"
          }
        }
      },
      "sql": {
        "type": "mysql",
        "dbHost": "192.168.95.130",
        "dbPort": "3306",
        "dbName": "onlyoffice",
        "dbUser": "root",
        "dbPass": "123456"
       }
    }
  },
  "FileConverter": {
    "converter": {
      "maxDownloadBytes": "524288000"
    }
  }
}
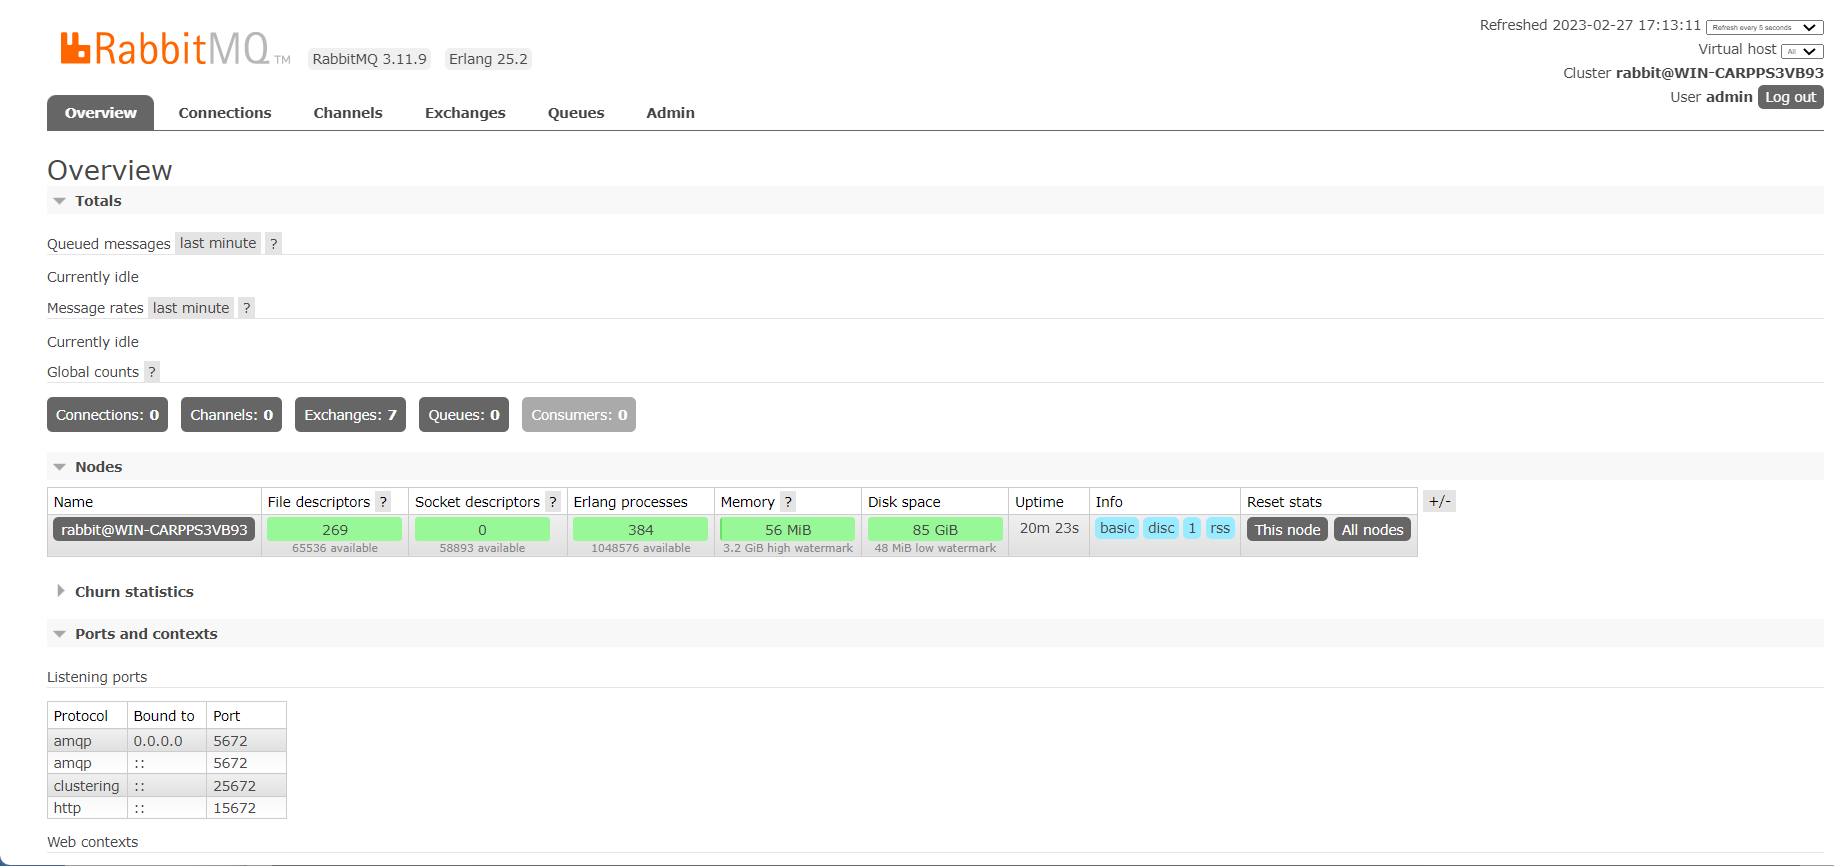
※RabbitMQ注意默认用户只能本机访问,注意提前配置好用户权限
※Mysql表创建脚本在目录/usr/local/nginx/html/documentserver/server/schema/mysql中,提前创建数据库执行createdb.sql脚本
[root@test mysql]# pwd
/usr/local/nginx/html/documentserver/server/schema/mysql
[root@test mysql]# ll
总用量 12
-rwxrwxrwx. 1 root root 3125 2月  19 19:44 createdb.sql
-rwxrwxrwx. 1 root root   35 2月  19 19:44 removedb.sql
-rwxrwxrwx. 1 root root  146 2月  19 19:44 removetbl.sql
drwxrwxrwx. 2 root root   98 2月  19 19:44 upgrade
功能测试验证
启动转换服务:
[root@test FileConverter]# pwd
/usr/local/nginx/html/documentserver/server/FileConverter
[root@test FileConverter]# LD_LIBRARY_PATH=$PWD/bin \
> NODE_ENV=development-linux \
> NODE_CONFIG_DIR=$PWD/../Common/config \
> ./converter
[2023-02-24T14:21:50.564] [WARN] [localhost] [docId] [userId] nodeJS - update cluster with 1 workers
[2023-02-24T14:21:50.572] [WARN] [localhost] [docId] [userId] nodeJS - worker 112277 started.
[2023-02-24T14:21:50.575] [WARN] [localhost] [docId] [userId] nodeJS - update cluster with 1 workers
[2023-02-24T14:21:51.170] [DEBUG] [localhost] [docId] [userId] nodeJS - [AMQP] connected
启动文档服务:
[root@test DocService]# NODE_ENV=development-linux \
> NODE_CONFIG_DIR=$PWD/../Common/config \
> ./docservice
[2023-02-24T14:22:26.774] [WARN] [localhost] [docId] [userId] nodeJS - Express server starting...
[2023-02-24T14:22:26.775] [WARN] [localhost] [docId] [userId] nodeJS - Set services.CoAuthoring.token.enable.browser, services.CoAuthoring.token.enable.request.inbox, services.CoAuthoring.token.enable.request.outbox in the Document Server config to prevent an unauthorized access to your documents and the substitution of important parameters in ONLYOFFICE Document Server requests.
[2023-02-24T14:22:26.775] [INFO] [localhost] [docId] [userId] nodeJS - End updateLicense
[2023-02-24T14:22:26.777] [WARN] [localhost] [docId] [userId] nodeJS - Failed to subscribe to plugin folder updates. When changing the list of plugins, you must restart the server. https://nodejs.org/docs/latest/api/fs.html#fs_availability
[2023-02-24T14:22:26.780] [INFO] [localhost] [docId] [userId] nodeJS - End updateLicense
[2023-02-24T14:22:26.840] [DEBUG] [localhost] [docId] [userId] nodeJS - [AMQP] connected
[2023-02-24T14:22:26.901] [DEBUG] [localhost] [docId] [userId] nodeJS - [AMQP] connected
[2023-02-24T14:22:26.922] [INFO] [localhost] [docId] [userId] nodeJS - Start callbackFunction
[2023-02-24T14:22:26.928] [WARN] [localhost] [docId] [userId] nodeJS - Express server listening on port 8000 in development-linux mode. Version: 7.3.2. Build: 0
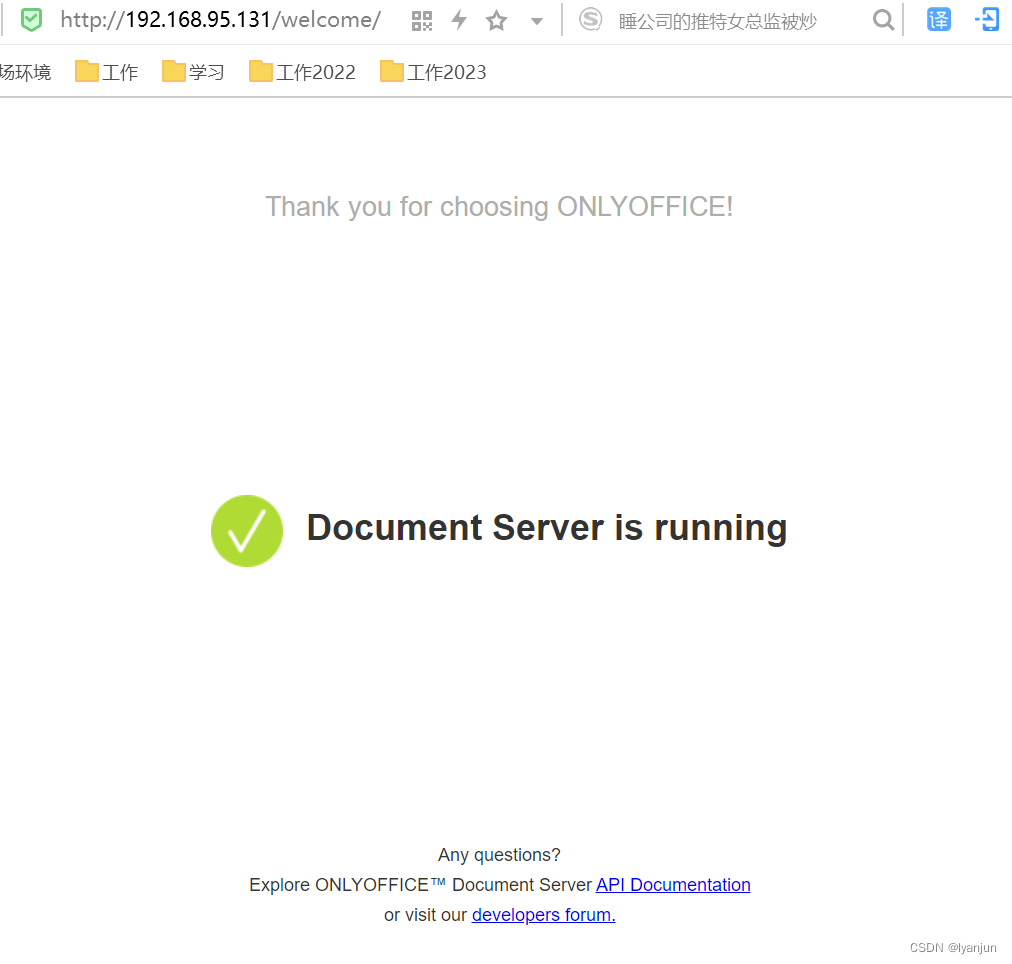
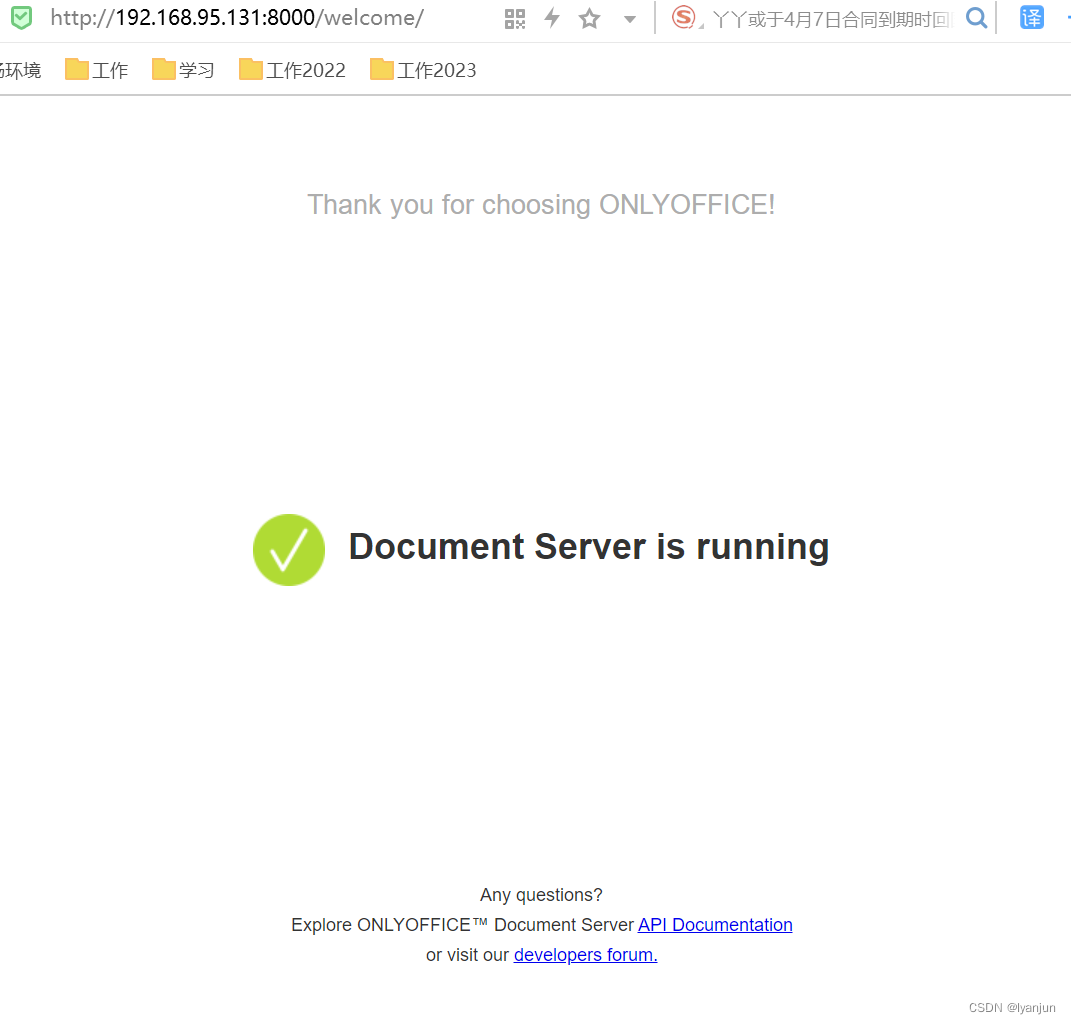
访问欢迎页,默认端口是8000:
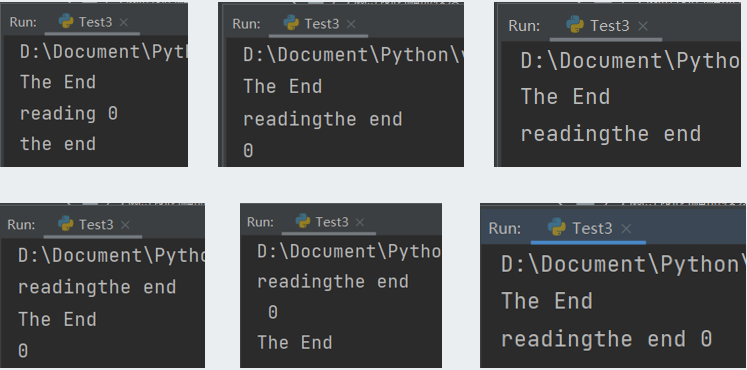
接下来测试文档是否可以正常加载:
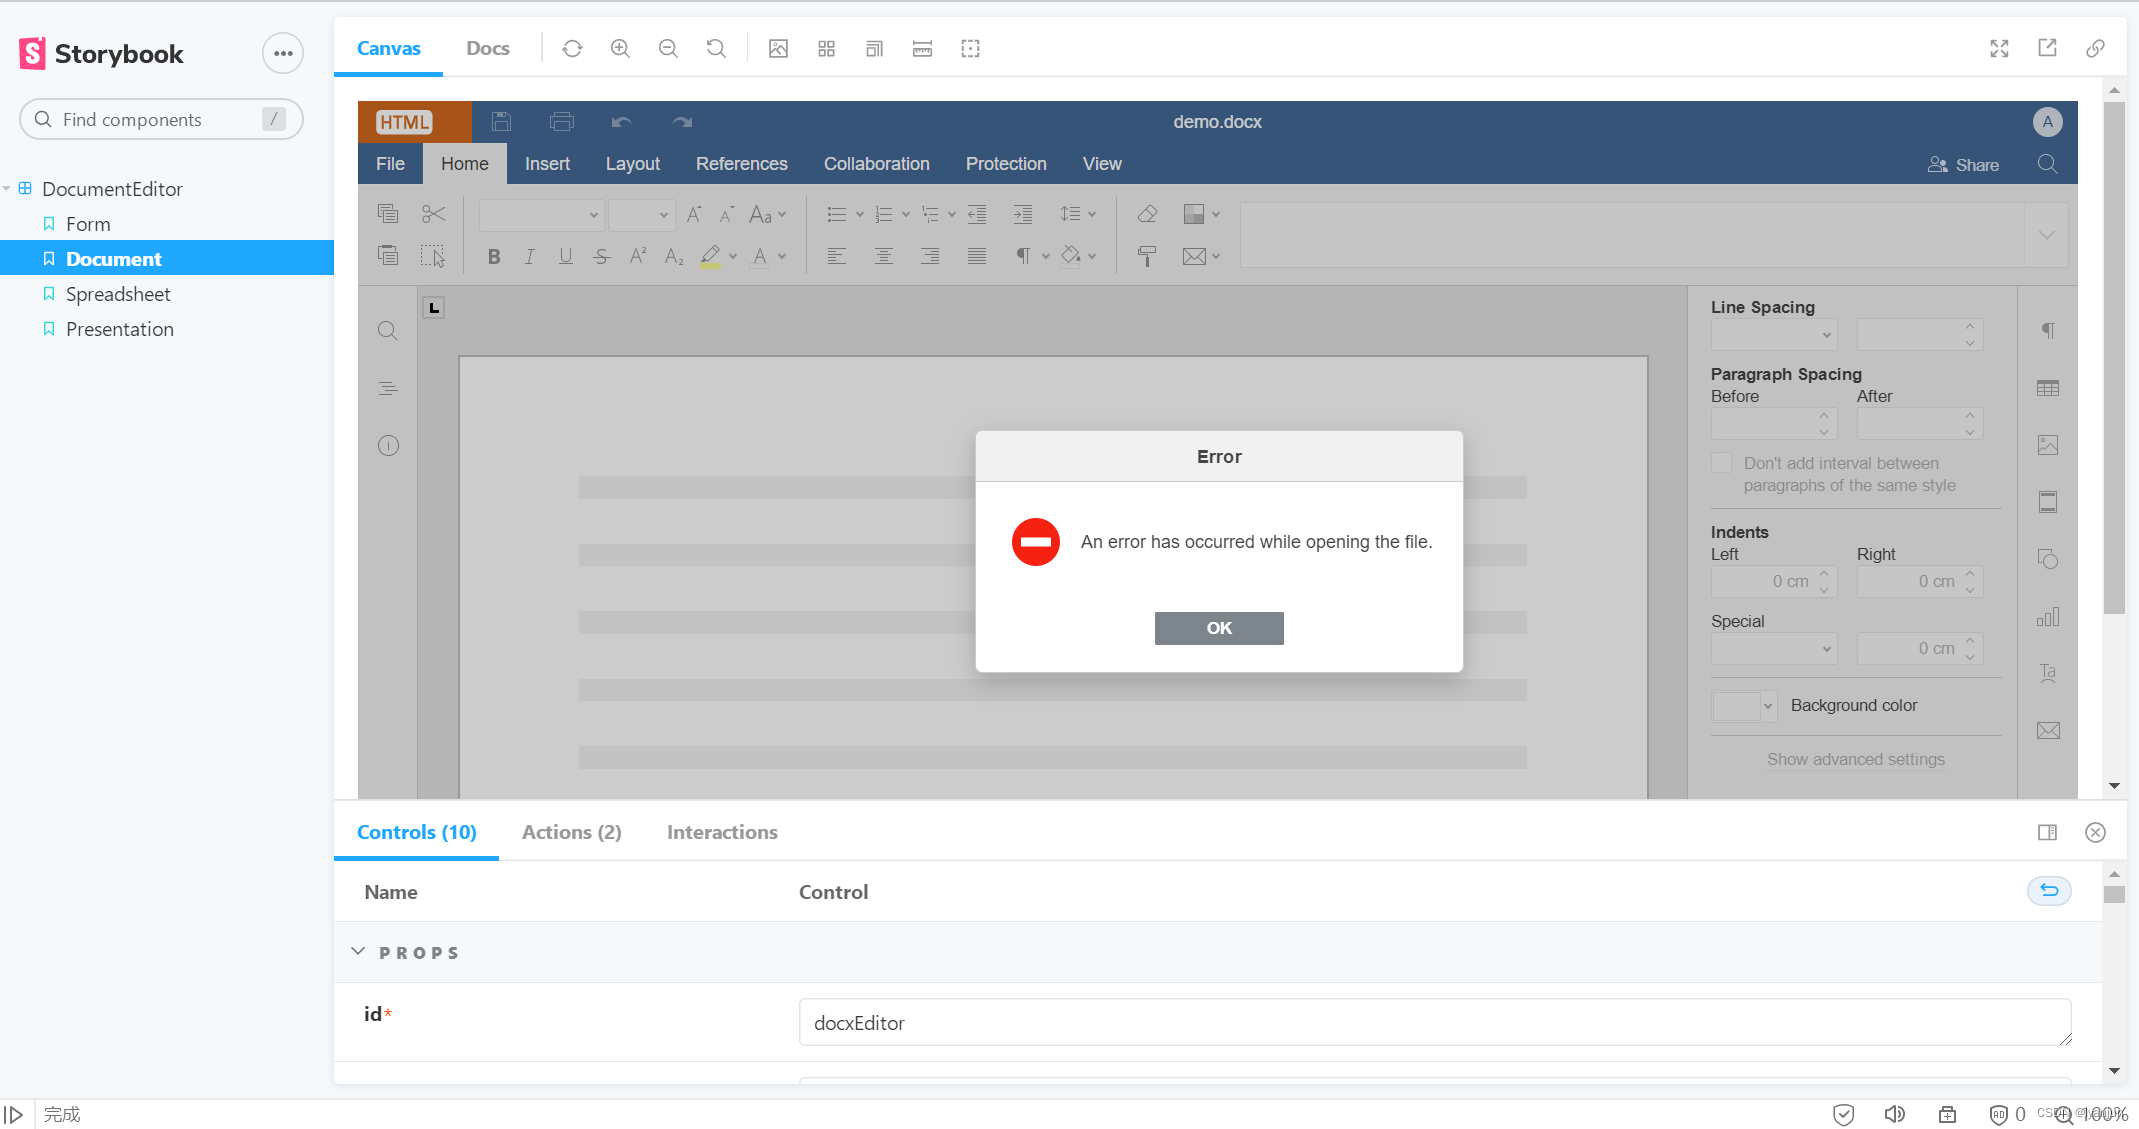
注意此处报错跟Nginx没有关系,目前来看Nginx并不是必须的。怀疑只是在Docker部署的时候占一个前台进程。目前是转换服务报异常提示缺少动态库。
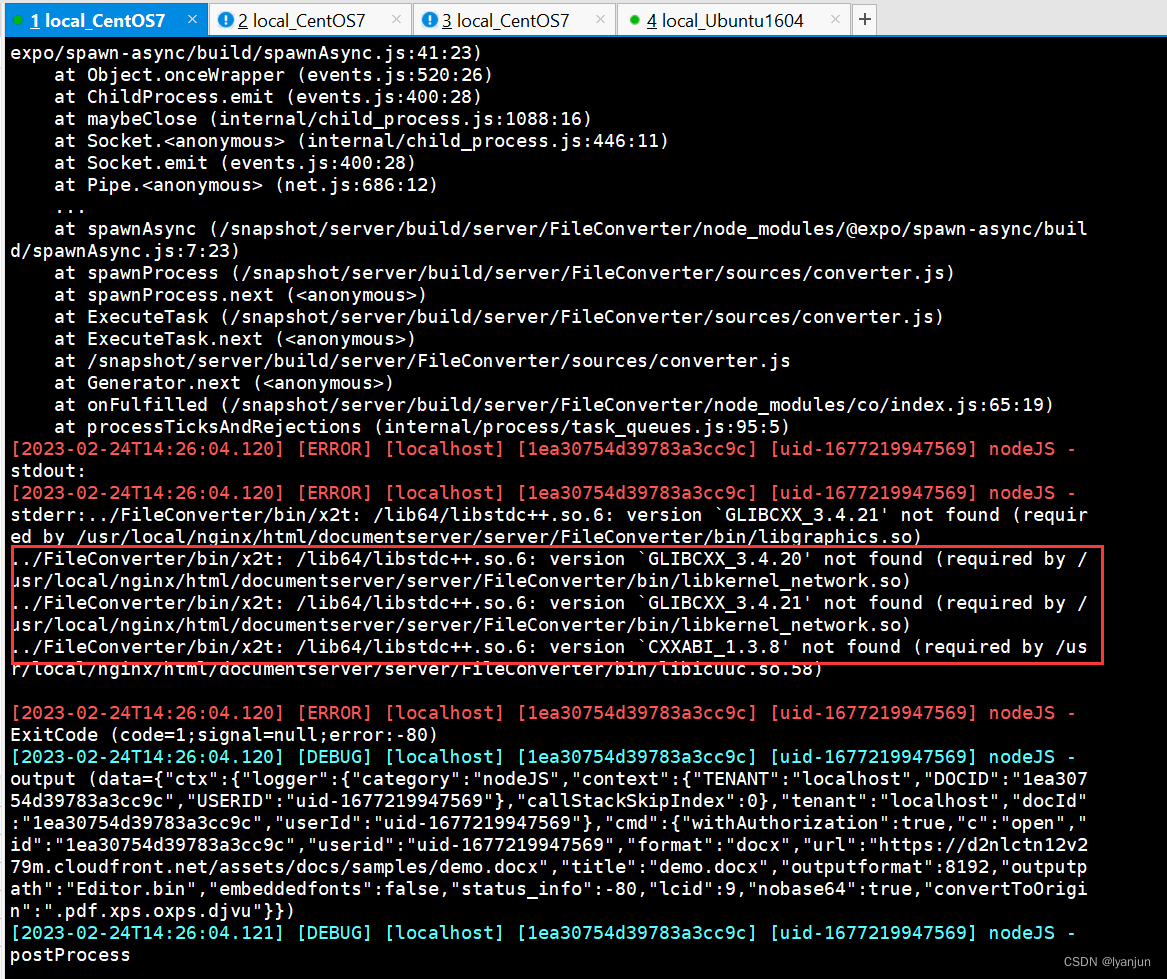
经排查确实没有,所以打算升级动态库,参考下面三个连接,升级动态库,主要参考第一个,升级动态库后最好重启一下。
- 编译动态库看这里 https://www.jianshu.com/p/cedbdf0b6bca
- 下载资源慢看这里 https://blog.csdn.net/qq_29695701/article/details/115182856
- 升级动态库补充说明 https://blog.csdn.net/davidhopper/article/details/79681695
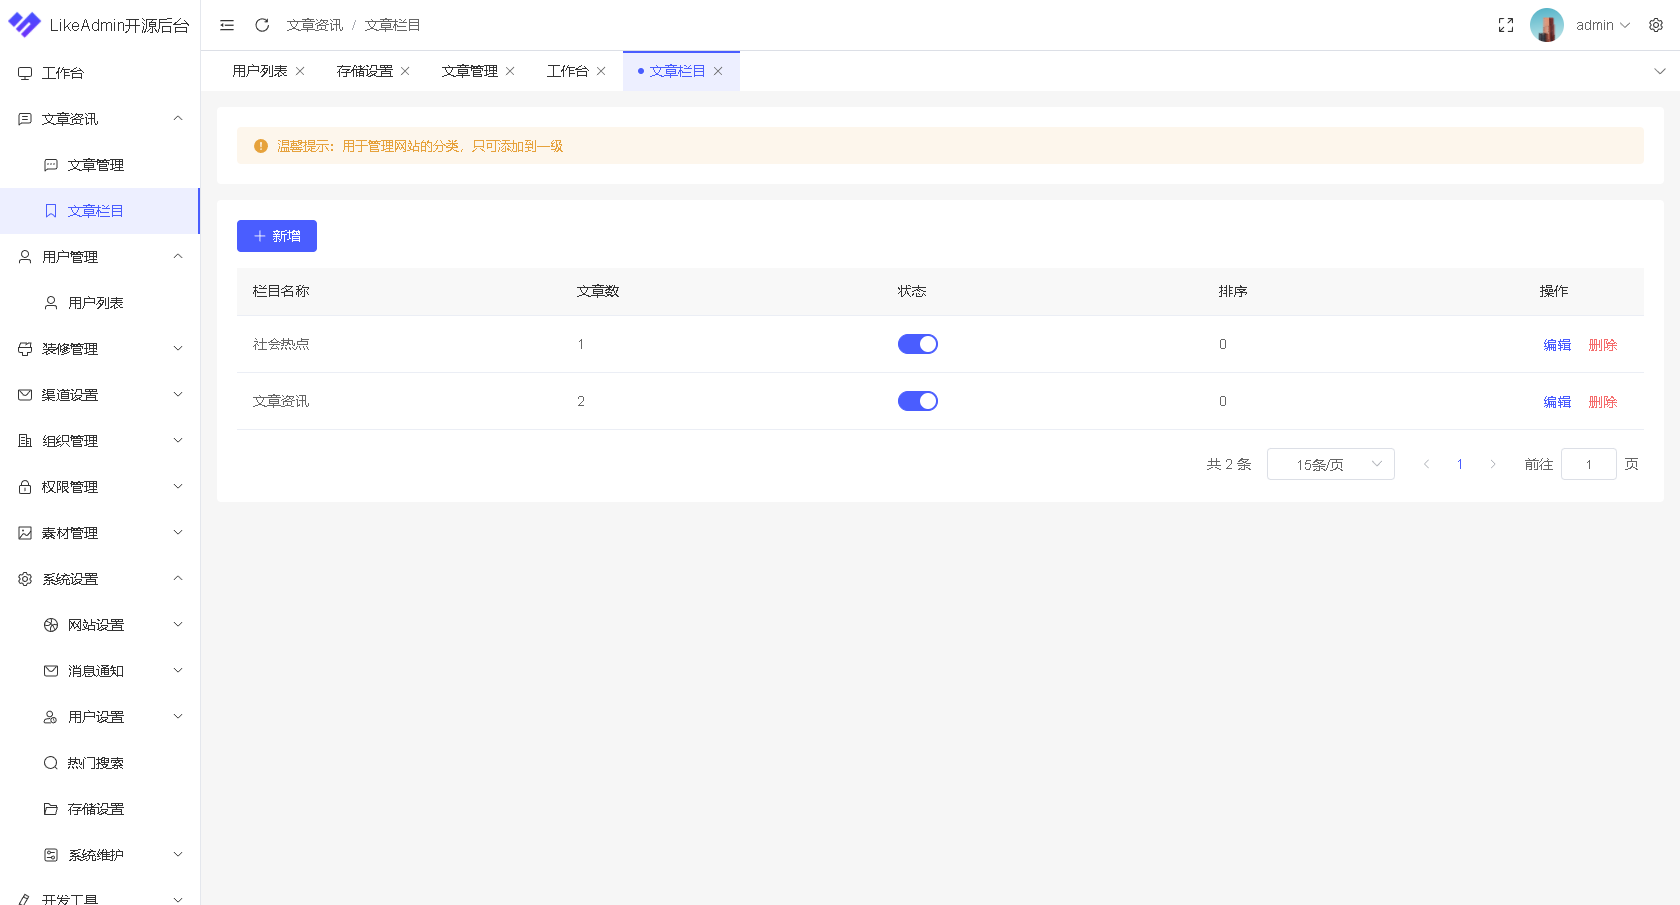
升级动态库后重新启动服务,看看能不能正常加载。目前来看一切正常

虽然界面加载看起来没有问题,其实还是有问题的。比如文件修改后保存失败,调用文档格式转换失败。需要补充初始化的操作,切换目录回到解压后的根目录,然后执行初始化命令:
当前目录结构
[root@test documentserver]# pwd
/usr/local/nginx/html/documentserver
[root@test documentserver]# ll
总用量 20
drwxr-xr-x. 39 root root 4096 2月  23 13:56 core-fonts
drwxr-xr-x. 50 root root 4096 2月  23 13:56 dictionaries
drwxr-xr-x.  4 root root   31 2月  23 13:56 document-templates
drwxr-xr-x.  2 root root 8192 2月  27 09:04 fonts
drwxr-xr-x.  7 root root   68 2月  23 13:53 sdkjs
drwxr-xr-x. 14 root root  234 2月  23 13:56 sdkjs-plugins
drwxr-xr-x. 12 root root  199 2月  23 14:04 server
drwxrwxrwx.  4 root root   32 2月  19 22:58 web-apps
LD_LIBRARY_PATH=${PWD}/server/FileConverter/bin server/tools/allfontsgen \
  --input="${PWD}/core-fonts" \
  --allfonts-web="${PWD}/sdkjs/common/AllFonts.js" \
  --allfonts="${PWD}/server/FileConverter/bin/AllFonts.js" \
  --images="${PWD}/sdkjs/common/Images" \
  --selection="${PWD}/server/FileConverter/bin/font_selection.bin" \
  --output-web='fonts' \
  --use-system="true"
LD_LIBRARY_PATH=${PWD}/server/FileConverter/bin server/tools/allthemesgen \
  --converter-dir="${PWD}/server/FileConverter/bin"\
  --src="${PWD}/sdkjs/slide/themes"\
  --output="${PWD}/sdkjs/common/Images"
随后重新启动,这时服务就正常了。文件保存和文档格式转换就可以正常使用了。Ubuntu部署顺便也验证了(验证版本16.04和20.04),跟Centos7的区别就是不用更新动态库,部署起来更方便。
配置Nginx
到这步其实可配可不配,配了Nginx就是代理了8000端口,让你访问的时候直接调80端口。经验证编译结果其实可以不用放在Nginx目录下。因为除了接口转发OnlyOffice服务跟Nginx并没有设么关系。
首先切换目录到Nginx配置文件的目录中/usr/local/nginx/conf,这里我创建了一个目录为custom用来存放配置。
[root@test conf]# pwd
/usr/local/nginx/conf
[root@test conf]# ll
总用量 68
drwxr-xr-x. 2 root root   34 2月  24 11:09 custom
-rw-r--r--. 1 root root 1077 2月  24 09:45 fastcgi.conf
-rw-r--r--. 1 root root 1077 2月  24 09:45 fastcgi.conf.default
-rw-r--r--. 1 root root 1007 2月  24 09:45 fastcgi_params
-rw-r--r--. 1 root root 1007 2月  24 09:45 fastcgi_params.default
-rw-r--r--. 1 root root 2837 2月  24 09:45 koi-utf
-rw-r--r--. 1 root root 2223 2月  24 09:45 koi-win
-rw-r--r--. 1 root root 5349 2月  24 09:45 mime.types
-rw-r--r--. 1 root root 5349 2月  24 09:45 mime.types.default
-rw-r--r--. 1 root root 2710 2月  24 11:04 nginx.conf
-rw-r--r--. 1 root root 2656 2月  24 09:45 nginx.conf.default
-rw-r--r--. 1 root root  636 2月  24 09:45 scgi_params
-rw-r--r--. 1 root root  636 2月  24 09:45 scgi_params.default
-rw-r--r--. 1 root root  664 2月  24 09:45 uwsgi_params
-rw-r--r--. 1 root root  664 2月  24 09:45 uwsgi_params.default
-rw-r--r--. 1 root root 3610 2月  24 09:45 win-utf
切换目录到custom中,创建名为*.conf的配置文件
[root@test conf]# cd custom/
[root@test custom]# ll
总用量 4
-rw-r--r--. 1 root root 763 2月  24 11:09 document_server.conf
配置内容如下,其实就是官网提供的配置
map $http_host $this_host {
  "" $host;
  default $http_host;
}
map $http_x_forwarded_proto $the_scheme {
  default $http_x_forwarded_proto;
  "" $scheme;
}
map $http_x_forwarded_host $the_host {
  default $http_x_forwarded_host;
  "" $this_host;
}
map $http_upgrade $proxy_connection {
  default upgrade;
  "" close;
}
proxy_set_header Host $http_host;
proxy_set_header Upgrade $http_upgrade;
proxy_set_header Connection $proxy_connection;
proxy_set_header X-Forwarded-Host $the_host;
proxy_set_header X-Forwarded-Proto $the_scheme;
server {
  listen 0.0.0.0:80;
  listen [::]:80 default_server;
  server_tokens off;
  rewrite ^\/OfficeWeb(\/apps\/.*)$ /web-apps$1 redirect;
  location / {
    proxy_pass http://localhost:8000;
    proxy_http_version 1.1;
  }
}
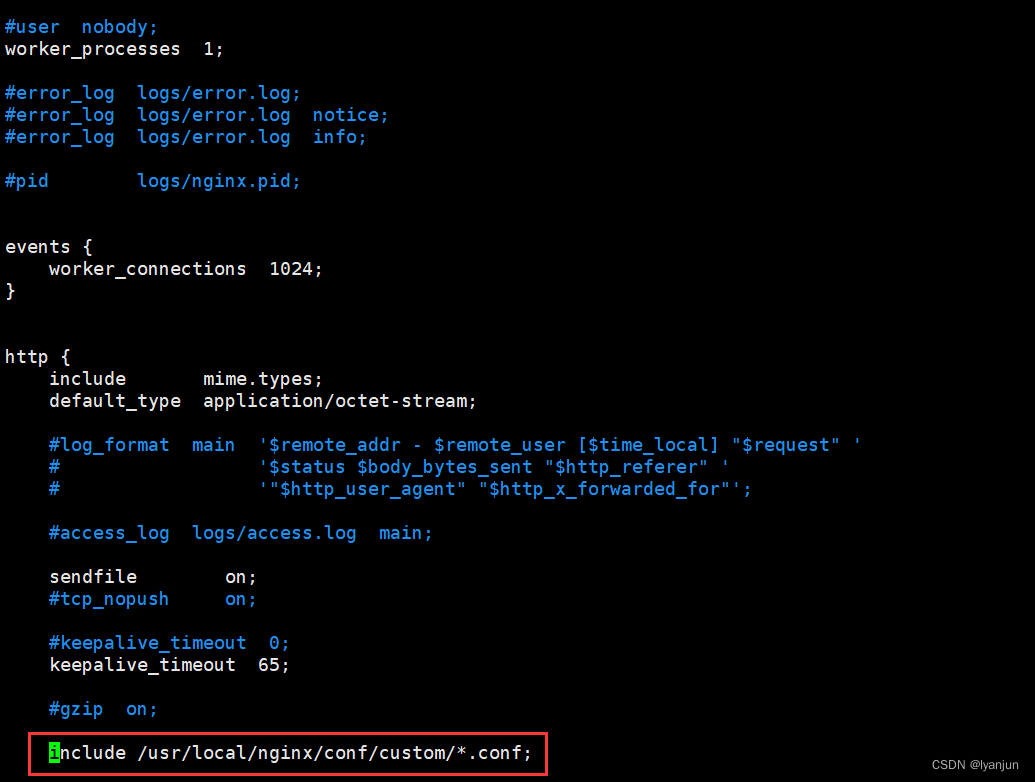
切换目录回到/usr/local/nginx/conf,修改下nginx.conf配置文件,添加如下配置
include /usr/local/nginx/conf/custom/*.conf;
最后重新加载Nginx配置,使配置立即生效:
[root@test conf]# systemctl reload nginx
最终结果就是192.168.95.131:8000和192.168.95.131:80都可以正常访问。