文章目录
- 1.类型判断isinstance
- 2.Dimension实例
- 3.Tensor常用操作
- 4.索引和切片
- 5.Tensor维度变换
- 6.Broadcast自动扩展
- 7.合并与分割
- 8.基本运算
- 9.统计属性
- 10.高阶OP
1.类型判断isinstance
常见类型如下:

 a = torch.randn(2,3)
 a.type()

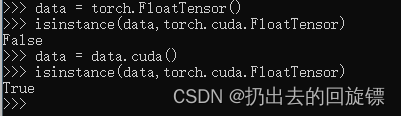
data = torch.FloatTensor()
isinstance(data,torch.cuda.FloatTensor)
data = data.cuda()
isinstance(data,torch.cuda.FloatTensor)
2.Dimension实例
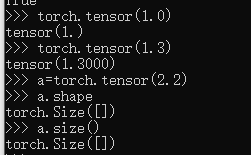
Dim0:Loss
torch.tensor(1.0)
torch.tensor(1.3)
a=torch.tensor(2.2)
a.shape
a.size()
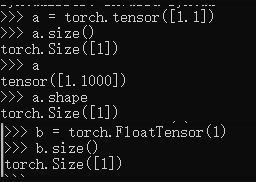
Dim1:bias,linear input
a = torch.tensor([1.1])
a.size()
a
a.shape
b = torch.FloatTensor(1)
b.size()
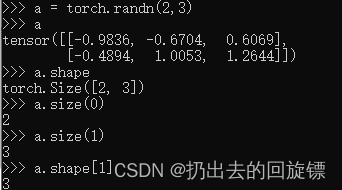
Dim2:linear input batch
 a = torch.randn(2,3)
 a
 a.shape
 a.size(0)
 a.size(1)
 a.shape[1]
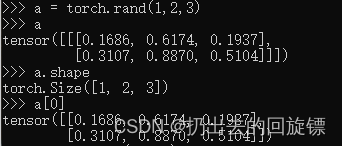
Dim3:RNN input batch
a = toch.rand(1,2,3)
a
a.shape
a[0]
Dim4:图像输入[b, c, h, w]
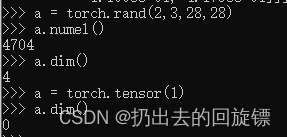
a = torch.rand(2,3,28,28)
a
a.shape
list(a.shape)

Mixed:
a = torch.rand(2,3,28,28)
a.numel()
a.dim()
a = torch.tensor(1)
a.dim()
3.Tensor常用操作
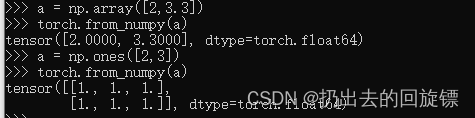
Import from numpy
a = np.array([2,3.3])
torch.from_numpy(a)
a = np.ones([2,3])
torch.from_numpy(a)
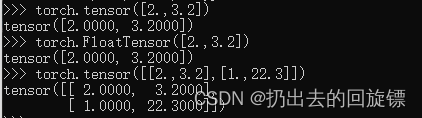
Import from List
torch.tensor([2.,3.2])
torch.FloatTensor([2.,3.2])#不推荐
torch.tensor([[2.,3.2],[1.,22.3]])
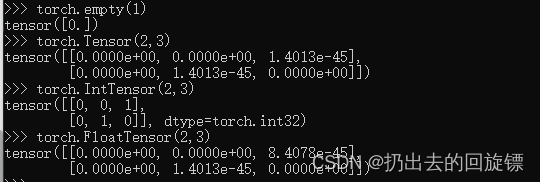
uninitialized
torch.empty(1)
torch.Tensor(2,3)
torch.IntTensor(2,3)
torch.FloatTensor(2,3)
set default type
torch.tensor([1.2,3]).type()
torch.set_default_tensor_type(torch.DoubleTensor)
torch.tensor([1.2,3]).type()

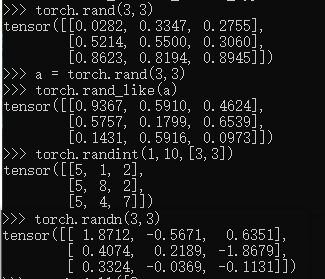
rand/rand_like, randint,randn
torch.rand(3,3)#[0, 1]
a = torch.rand(3,3)
torch.rand_like(a)
torch.randint(1,10,[3,3])#[min, max)
torch.randn(3,3)#N(0,1)
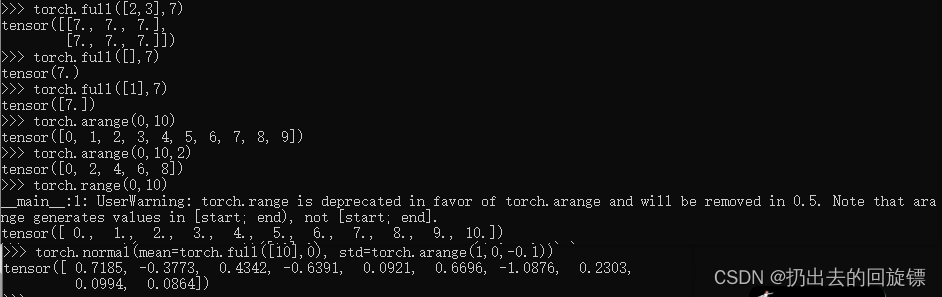
full&arange/range
torch.full([2,3],7)
torch.full([],7)
torch.full([1],7)
torch.arange(0,10)
torch.arange(0,10,2)
torch.range(0,10)#不建议
torch.normal(mean=torch.full([10],0), std=torch.arange(1,0,-0.1))#N(mean,std)
linspace/logspace
torch.linspace(0,10,steps=4)
torch.linspace(0,10,steps=11)
torch.logspace(0,10,steps=4)

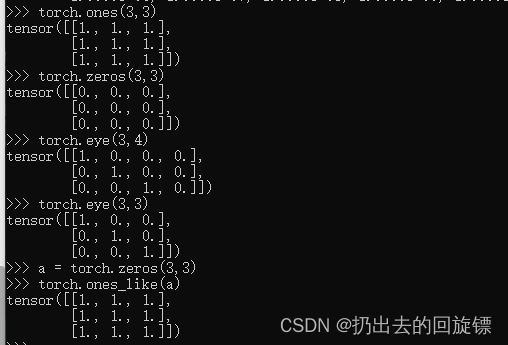
Ones/zeros/eye
torch.ones(3,3)
torch.zeros(3,3)
torch.eys(3,4)
torch.eys(3,3)
#常用快捷操作
a = torch.zeros(3,3)
torch.ones_like(a)
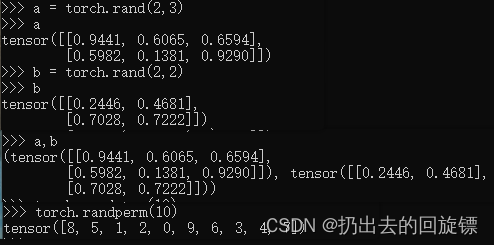
randperm
a = torch.rand(2,3)
a
b = torch.rand(2,2)
b
a,b
torch.randperm(10)
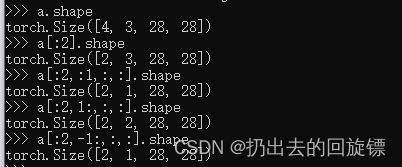
4.索引和切片
Indexing:dim0 优先
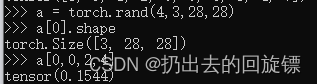
a = torch.rand(4,3,28,28)
a[0].shape
a[0,0,2,4]#取值
select first/last N
a[:2].shape#第一维[0,2)
a[:2,:1,:,:].shape#第一维[0,2),第二维[0,1)
a[:2,1:,:,:].shape#第一维[0,2),第二维[1,_]
a[:2,-1:,:,:].shape#第一维[0,2),第二维(1,_]
select by steps
a[:,:,0:28:2,0:28:2].shape
a[:,:,::2,::2].shape

select by specific index
a.index_select(0,torch.tensor([0,2])).shape
a.index_select(1,torch.tensor([1,2]).shape
a.index_select(2,torch.arange(8)).shape

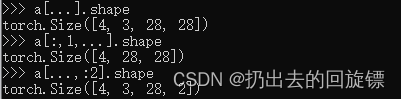
…:表全部
a[...].shape
a[:,1,...].shape
a[...,:2].shape
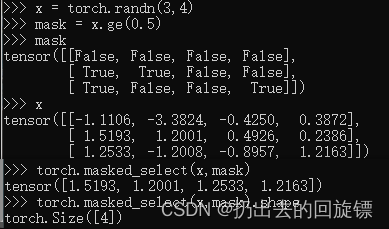
select by mask
x = torch.randn(3,4)
mask = x.ge(0.5)
mask
x
torch.masked_select(x,mask)
torch.masked_select(x,mask).shape
select by flatten index
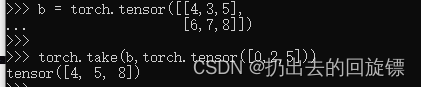
 b = torch.tensor([[4,3,5],
                  [6,7,8]])
torch.take(b,torch.tensor([0,2,5]))#返回展开后的索引
5.Tensor维度变换
View reshape
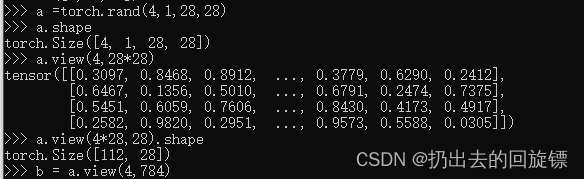
a = torch.rand(4,1,28,28)
a.shape
a.view(4,28*28)
a.view(4*28,28).shape
b = a.view(4,784)#不推荐,合并尽量写成连乘帮助记忆原数据各维度作用
Squeeze v.s. unsqueeze
a.shpae
a.unsqueeze(0).shape#第一个空位
a.unsqueeze(-1).shape#最后一个空位
a.unsqueeze(4).shape#第五个空位
a.unsqueeze(-4).shape#倒数第4个空位
a.unsqueeze(-5).shape#导数第5个空位
a.unsqueeze(5).shape#第6个空位,没有

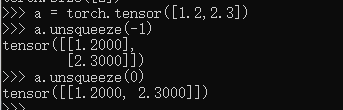
a = torch.tensor([1.2,2.3])
a.unsqueeze(-1)
a.unsqueeze(0)
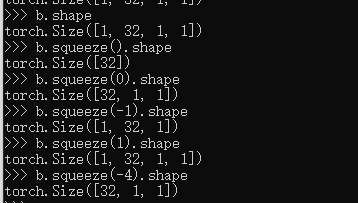
b = torch.rand(32)
f = torch.rand(4,32,14,14)
b = b.unsqueeze(1).unsqueeze(2).unsqueeze(0)#每次处理后重新排序
b.shape

b.squeeze().shape#压缩所有为1
b.squeeze(0).shape
b.squeeze(-1).shape
b.squeeze(1).shape#不是1,所以不变
b.squeeze(-4).shape#导数第四个
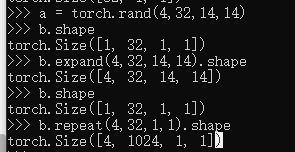
Expand ( broadcasting)/ repeat(memory copied)
a = torch.rand(4,32,14,14)
b.shape
b.expand(4,32,14,14).shape
b.repeat(4,32,1,1).shape
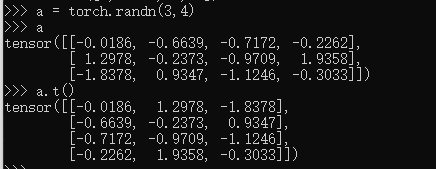
.t:转置
a = torch.randn(3,4)
a
a.t()#注意高维转置不了
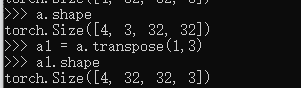
Transpose
a.shape
a1 = a.transpose(1,3)#交换次序
a1.shape
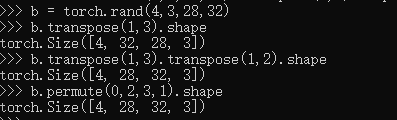
permute
b = torch.rand(4,3,28,32)
b.transpose(1,3).shape
b.transpose(1,3).transpose(1,2).shape
b.permute(0,2,3,1).shape#按索引排列
6.Broadcast自动扩展
broadcast是不同size的tensor进行加减时自动进行的机制,其主要思想以及特点如下:
- 从最右边的维度开始匹配,前面维度缺失的补1直到维度相同
- 从最右边的维度开始匹配,维度不等但有一个是1则扩展到相同的值,实例如下:

- 节约内存,核心是利用expand,只进行逻辑上的扩展而不会实际拷贝
7.合并与分割
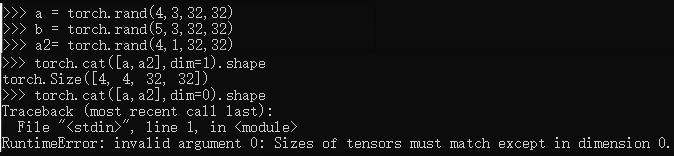
Cat
a = torch.rand(4,3,32,32)
b = torch.rand(5,3,32,32)
a2= torch.rand(4,1,32,32)
torch.cat([a,a2],dim=1).shape
torch.cat([a,a2],dim=0).shape#Error,多个维度不同
stack
a1=torch.rand(4,3,16,32)
a2=torch.rand(4,3,16,32)
torch.cat([a1,a2],dim=2).shape
torch.stack([a1,a2],dim=2).shape
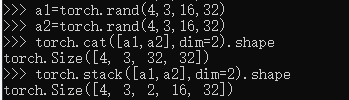
Cat与stack的区别:前者是合并dim,后者是增加dim;后者要求所有一摸一样
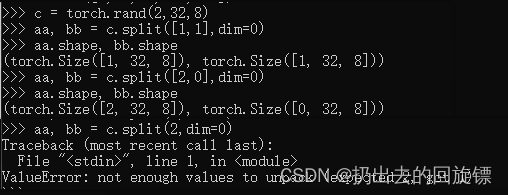
Split: by len
c = torch.rand(2,32,8)
aa, bb = c.split([1,1],dim=0)
aa.shape, bb.shape
aa, bb = c.split([2,0],dim=0)
aa.shape, bb.shape
aa, bb = c.split(1,dim=0)
aa.shape, bb.shape
aa, bb = c.split(2,dim=0)
Chunk: by num
c.shape
aa, bb = c.chunk(2,dim=0)

8.基本运算
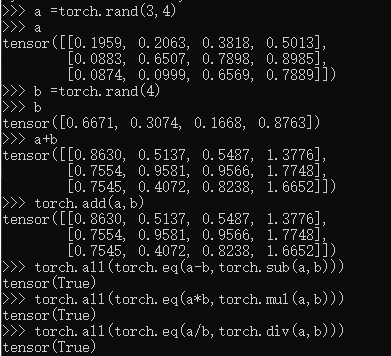
basic
a =torch.rand(3,4)
a
b =torch.rand(4)
b
a+b
torch.add(a,b)
torch.all(torch.eq(a-b,torch.sub(a,b)))
torch.all(torch.eq(a*b,torch.mul(a,b)))
torch.all(torch.eq(a/b,torch.div(a,b)))
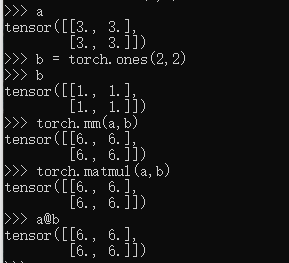
matmul
a
b = torch.ones(2,2)
b
torch.mm(a,b)#only for 2dim
torch.matmul(a,b)
a@b
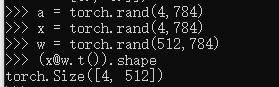
a = torch.rand(4,784)
x = torch.rand(4,784)
w = torch.rand(512,784)
(x@w.t()).shape
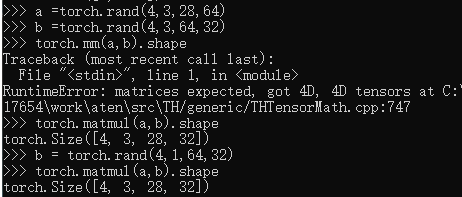
>2d tensor matmul?
a =torch.rand(4,3,28,64)
b =torch.rand(4,3,64,32)
torch.mm(a,b).shape#用不了2D以上
torch.matmul(a,b).shape#只计算最后两维
b = torch.rand(4,1,64,32)
torch.matmul(a,b).shape#触发Broadcast机制
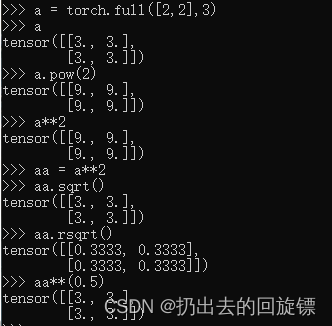
Power
a = torch.full([2,2],3)
a.pow(2)
a**2
aa = a**2
aa.sqrt()
aa.rsqrt()#平方根的倒数
aa**(0.5)
Exp log
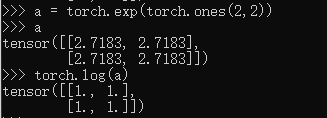
a = torch.exp(torch.ones(2,2))
a
torch.log(a)
Approximation
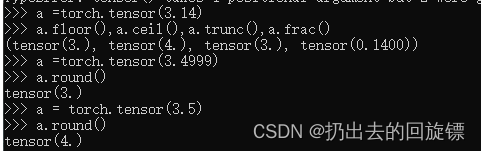
a =torch.tensor(3.14)
a.floor(),a.ceil(),a.trunc(),a.frac()#分别是向下取整,向上取整,整数部分,小数部分
a =torch.tensor(3.4999)
a.round()#4舍5入
a = torch.tensor(3.5)
a.round()
clamp
grad = torch.rand(2,3)*15
grad
grad.max()
grad.median()
grad.clamp(10)
grad.clamp(0,10)
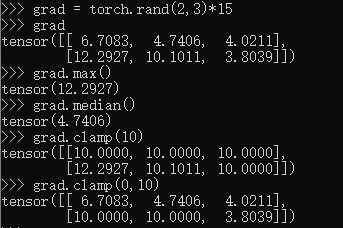
简单解释一下:
torch.clamp(input, min=None, max=None, *, out=None)
限定一个范围,input tensor中数值低于min的返回min,高于max的返回max
9.统计属性
norm1&norm2
a =torch.full([8],1)
a
b=a.view(2,4)
c=a.view(2,2,2)
b
c
a.norm(1),b.norm(1),c.norm(1)#1范数,绝对值之和
a.norm(2),b.norm(2),c.norm(2)#2范数,欧几里得范数,平方和再开方
b.norm(1,dim=1)
b.norm(2,dim=1)
c.norm(1,dim=0)
c.norm(2,dim=0)

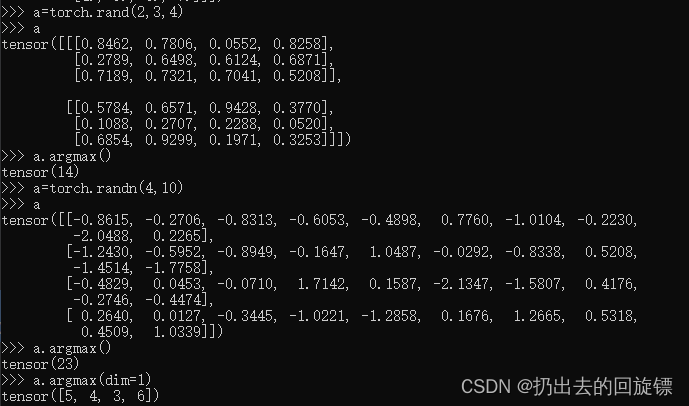
mean, sum, min, max, prod,argmin, argmax
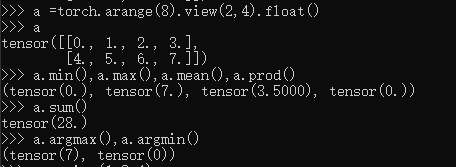
a =torch.arange(8).view(2,4).float()
a
a.min(),a.max(),a.mean(),a.prod()
a.sum()
a.argmax(),a.argmin()#返回索引位置
a=torch.rand(2,3,4)
a
a.argmax()
a=torch.randn(4,10)
a
a.argmax()
a.argmax(dim=1)#相应维度上索引
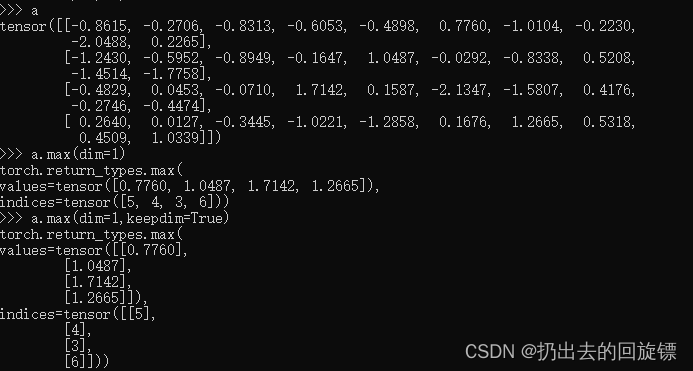
dim, keepdim
a
a.max(dim=1)
a.max(dim=1,keepdim=True)#保持输出的维度
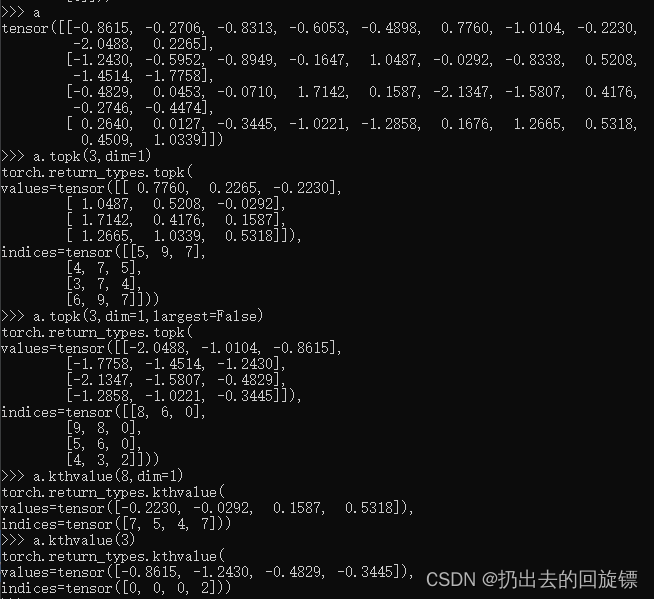
Top-k or k-th
a
a.topk(3,dim=1)
a.topk(3,dim=1,largest=False)#1维最小的前3个
a.kthvalue(8,dim=1)
a.kthvalue(3)#默认选择最后一个维度
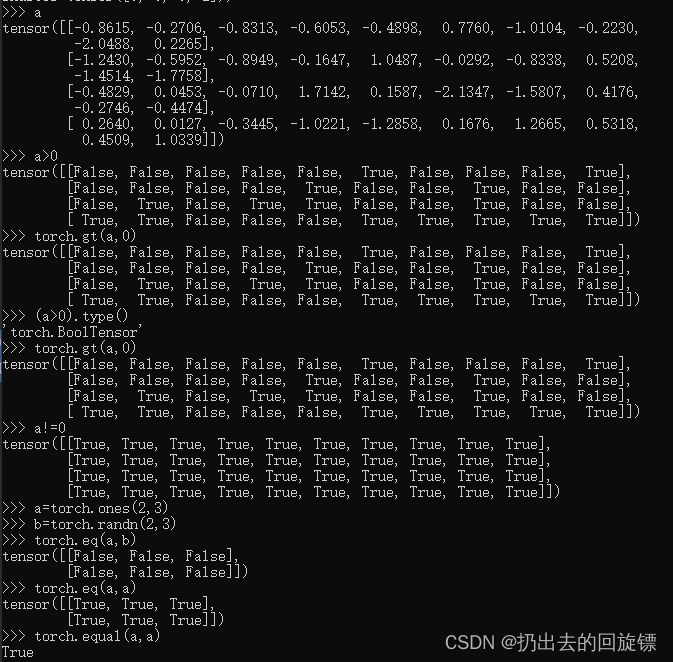
compare
a
a>0
torch.gt(a,0)
(a>0).type()
torch.gt(a,0)
a!=0
a=torch.ones(2,3)
b=torch.randn(2,3)
torch.eq(a,b)
torch.eq(a,a)#逐元素比较
torch.equal(a,a)# 张量比较
10.高阶OP
Where
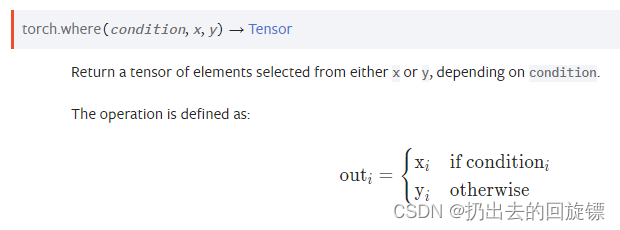
condition成立则填充x否则填充y
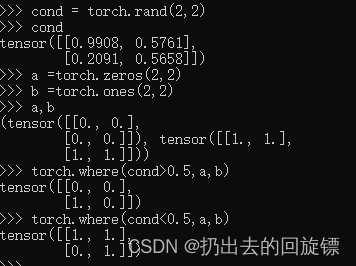
cond = torch.rand(2,2)
cond
a =torch.zeros(2,2)
b =torch.ones(2,2)
a,b
torch.where(cond>0.5,a,b)
torch.where(cond<0.5,a,b)
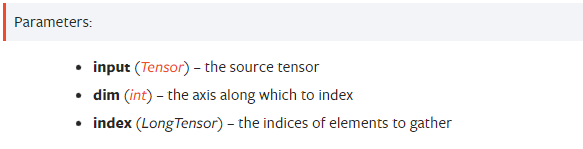
gather
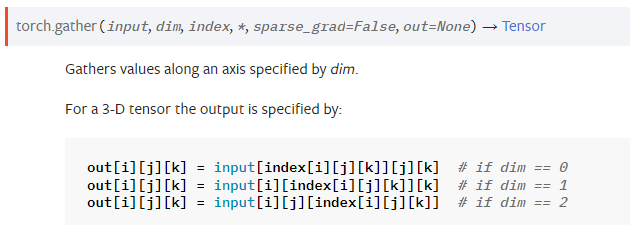
- 输入input和索引index不会Broadcast
- output形状与index相同
- 索引与dim方向相同
- index.size(dim)<=input.size(dim),保证有元素可取
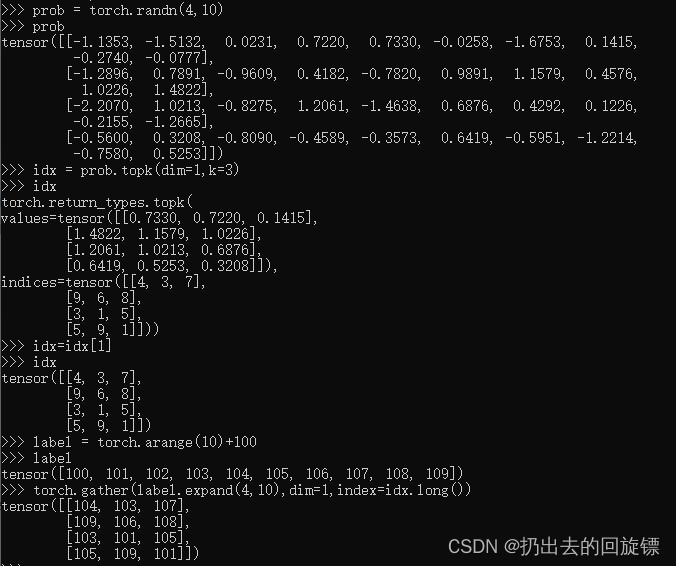
prob = torch.randn(4,10)
prob
idx = prob.topk(dim=1,k=3)
idx
idx=idx[1]
idx
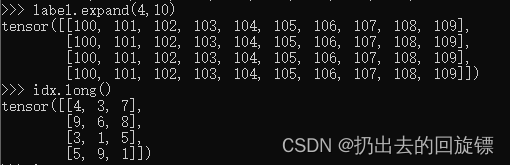
label = torch.arange(10)+100
label
torch.gather(label.expand(4,10),dim=1,index=idx.long())
#其中有
label.expand(4,10)
idx.long()