原文出处:https://haigear.blog.csdn.net/article/details/129060020
GDI发展到GDI+绘制函数中的参数往往都有矩形这个参数(除绘制直线和路径),所以我们用好了矩形绘图就容易多了。
一、中心定位绘制图形
但当我们绘制一个图形时都需要定位,而按照我们的定位习惯或者可预见的能力,一般都还是喜欢中心定位,恰恰gdi+不提供。
所以,这里我特意扩展了两个函数,我想一定可以给大家带来便利:
1、矩形及椭圆中心定位
 /// <summary>
        /// 为画矩形和椭圆提供rectangle中心
        /// </summary>
        /// <param name="centerPoint"></param>
        /// <param name="width"></param>
        /// <param name="hight"></param>
        /// <returns></returns>
        Rectangle getRectByCenter(Point centerPoint,int width,int hight)
        {
            return new Rectangle(centerPoint.X - width/2, centerPoint.Y - hight/2, width, hight);
        }
2、圆的中心定位矩形
 /// <summary>
/// 为画圆或者圆弧提供rect中心
/// </summary>
/// <param name="centerPoint"></param>
/// <param name="radius"></param>
/// <returns></returns>
Rectangle getRectByCenter(Point centerPoint, int radius)
  {
      //圆半径在水平是的X坐标和垂直时的Y坐标刚好是矩形的起始坐标,半径的两倍刚好是正方形的边长
      return new Rectangle(centerPoint.X - radius, centerPoint.Y - radius, 2 * radius, 2 * radius);
  }
有了中心定位,我们只要给定一个中心,那么绘制图形就随心所欲啦,比如我们在屏幕的中心绘制一个圆:
g.DrawEllipse(new Pen(Color.Red, 3), getRectByCenter(new Point(this.Width / 2, this.Height / 2), 100));
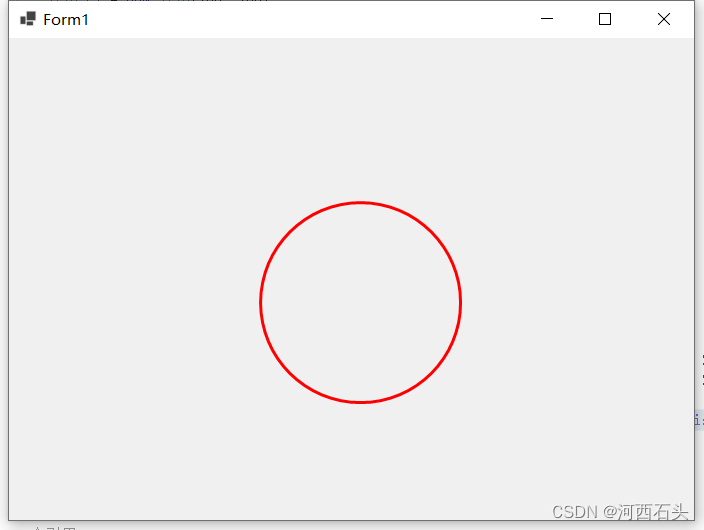
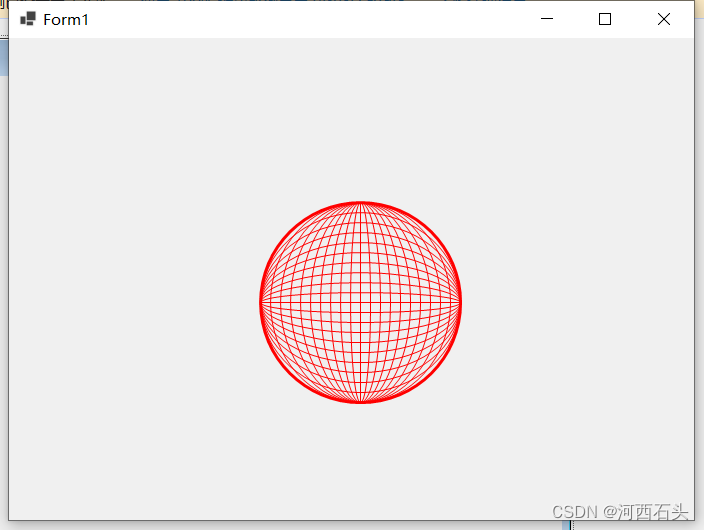
如果,我们想绘制一个圆球体,那就纵横都绘制一些椭圆即可,如下图:
二、圆角矩形
下面的方法其实是将一个矩形转化为了一个Path,里面添加了几个Arc
 void drawRoundRectangle(Graphics gp,Rectangle rectangle,int radius)
{
    GraphicsPath graphicsPath = new GraphicsPath();
    for(int i = 0; i < 4; i++)
    {
        var x=  (i>0 && i<3)?rectangle.X+rectangle.Width-radius: rectangle.X ;
        var y = (i>1)?rectangle.Y +(rectangle.Height-radius): rectangle.Y ;
        graphicsPath.AddArc(new Rectangle(x,y,radius,radius),180+i*90,90);
    }
    graphicsPath.CloseFigure();
    gp.DrawPath(new Pen(Color.Red, 4),graphicsPath);

}
但这样以后我们绘制圆角矩形就容易多了
drawRoundRectangle(g, getRectByCenter(new Point(this.Width / 2, this.Height / 2), 100,200),40);
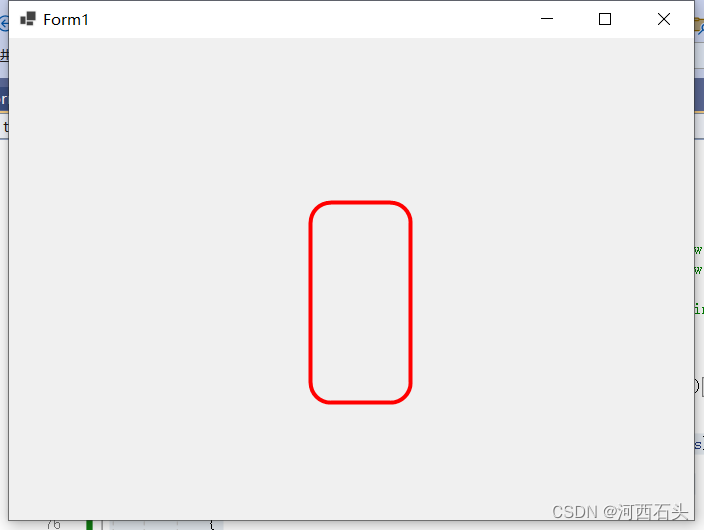
再配合我们后面的移动复制函数,很随意就画出一排圆角矩形,适合做界面

drawRoundRectangle(g, centerRect,40);
drawRoundRectangle(g, copyRectWithGap(centerRect, 20), 40);
drawRoundRectangle(g, copyRectWithGap(centerRect, -20), 40);
三、收缩功能
  Rectangle shrinkRectangle(ref Rectangle rectangle,int offset)
        {
            rectangle.Offset(offset,offset);
            rectangle.Width = rectangle.Width-2*offset;
            rectangle.Height= rectangle.Height-2*offset;
            return rectangle;
        }
我们将上面的图形收缩一下,就很容易了:
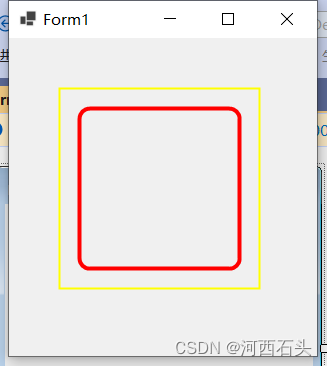
 Rectangle rect1 = new Rectangle(50, 50, 200, 200);
  g.DrawRectangle(new Pen(Color.Yellow, 2), rect1);
  shrinkRectangle(ref rect1, 20);
  drawRoundRectangle(g, rect1, 20);
这里调用了前面的drawRoundRectangle绘制圆角矩形函数。
四、移动复制功能
这个系统自带了,但我们还是想给它扩展出一个相对另一个矩形的移动功能,也就是所,我们一只一个矩形,在这个矩形的基础上再移动一定的距离
Rectangle copyRectWithGap(Rectangle rect, int gapx=0,int gapy=0)
 {
     Rectangle rt = rect;
     rt.Offset(gapx+rect.Width,gapy+rect.Height);
     return rt;

 }
暂时扩展了这四种功能,后面有时间再多扩展一些便于我们使用的函数,弥补、gdi+的绘制功能灵活度的不足。
码字不易,请标明出处:https://haigear.blog.csdn.net/article/details/129060020

