Zabbix & Grafana
- 3.1 Grafana简介
- 3.2 安装grafana
- 3.3 启动grafana
- 3.4 登录控制台
- 3.5 链接zabbix
- 1.安装zabbix插件
- 2.启用插件
- 3.链接数据源
- 4.导入仪表盘
- 5.创建仪表板
- 6.创建仪表盘
- 7.添加自建监控项
- 8.监控信息
3.1 Grafana简介
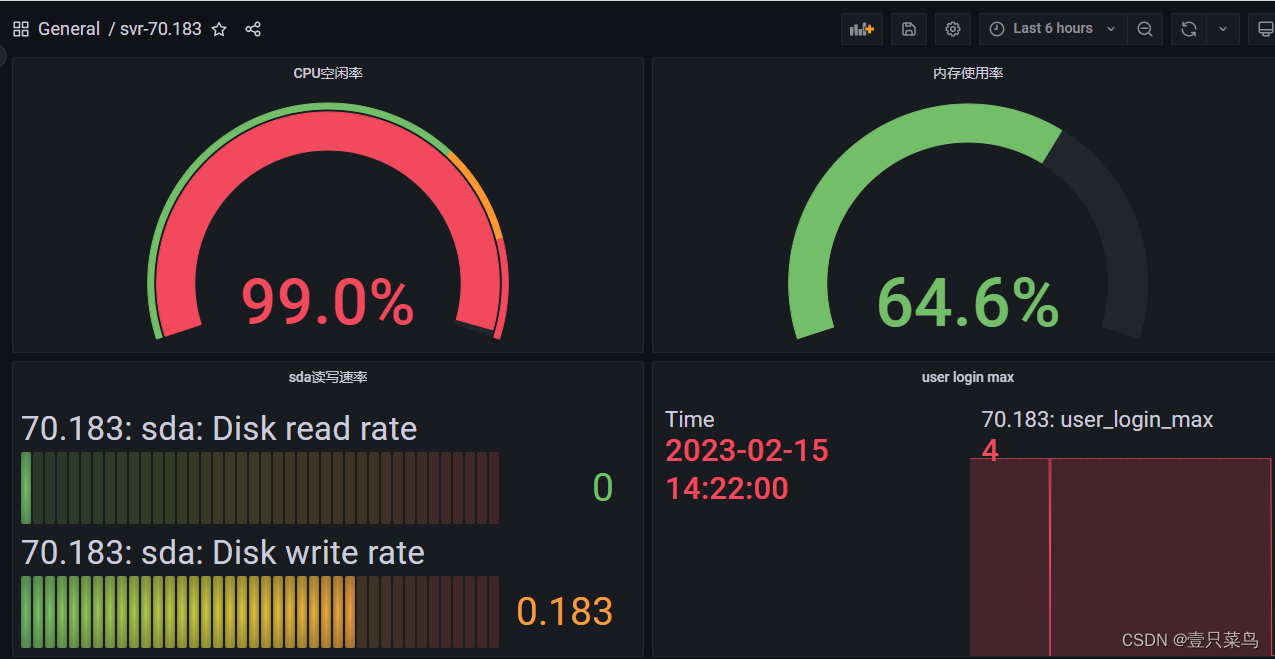
Grafana是一款开源的数据可视化工具,使用 Grafana 可以非常轻松的将数据转成图表(如下图)的展现形式来做到数据监控以及数据统计。
结合zabbix能够展现更直观的图形界面
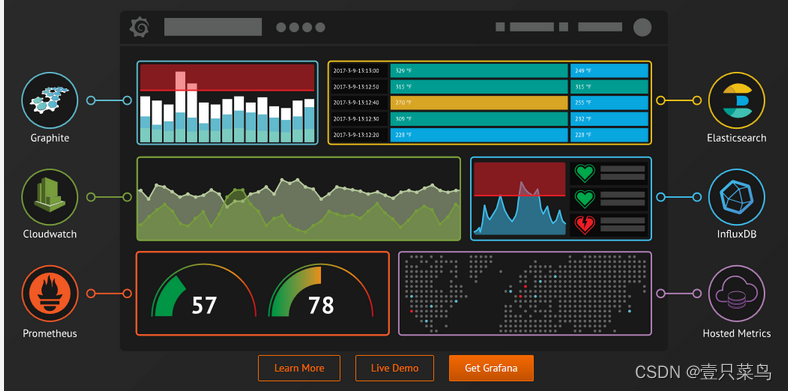
Grafana官网 https://grafana.com

3.2 安装grafana
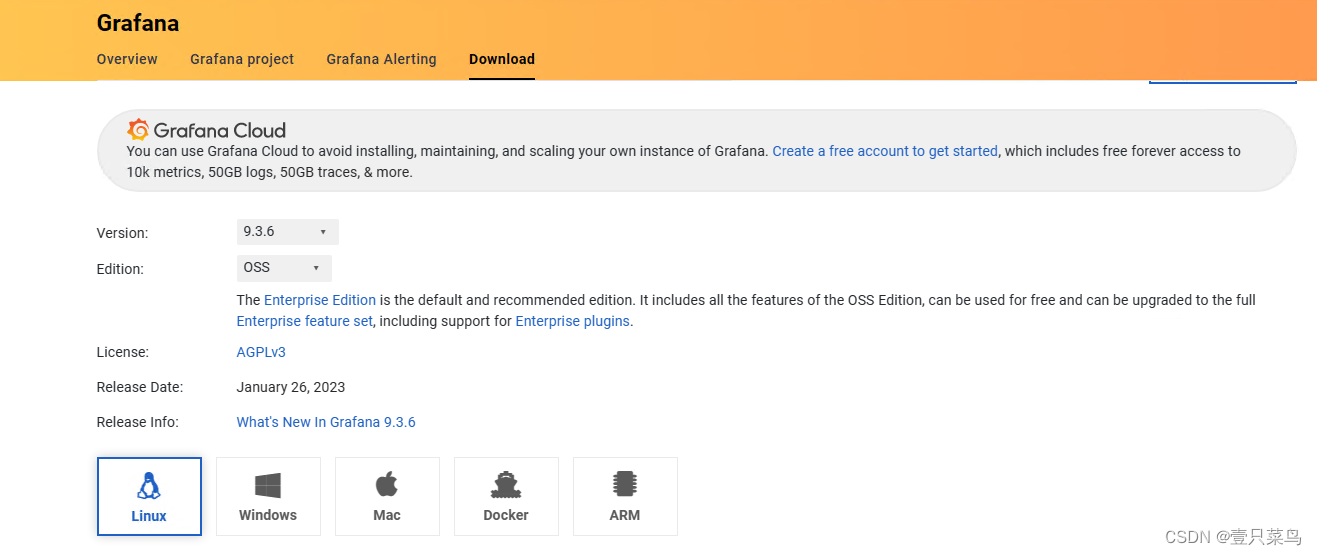
官网指南
由于是学习使用,我们这里选择OSS版本
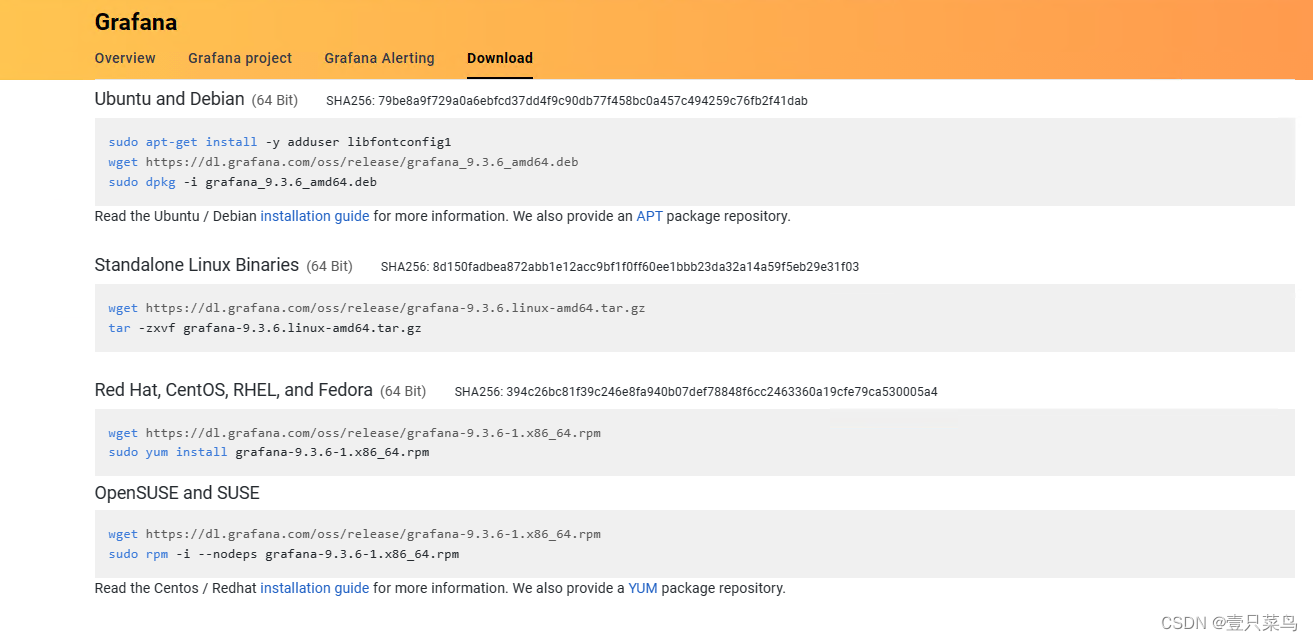
[root@dbc-server-554 grafana]# wget https://dl.grafana.com/oss/release/grafana-9.3.6-1.x86_64.rpm
--2023-02-15 11:44:07--  https://dl.grafana.com/oss/release/grafana-9.3.6-1.x86_64.rpm
Resolving dl.grafana.com (dl.grafana.com)... 199.232.194.217, 199.232.198.217, 2a04:4e42:4c::729, ...
Connecting to dl.grafana.com (dl.grafana.com)|199.232.194.217|:443... connected.
HTTP request sent, awaiting response... 200 OK
Length: 88935132 (85M) [application/octet-stream]
Saving to: ‘grafana-9.3.6-1.x86_64.rpm’

100%[================================================================================================>] 88,935,132   472KB/s   in 4m 17s

2023-02-15 11:48:25 (338 KB/s) - ‘grafana-9.3.6-1.x86_64.rpm’ saved [88935132/88935132]
...
[root@dbc-server-554 grafana]# yum install grafana-9.3.6-1.x86_64.rpm
...
POSTTRANS: Running script
  Verifying  : grafana-9.3.6-1.x86_64                                                                                                 1/1

Installed:
  grafana.x86_64 0:9.3.6-1

Complete!
3.3 启动grafana
[root@dbc-server-554 grafana]# systemctl start grafana-server.service
[root@dbc-server-554 grafana]# systemctl enable grafana-server.service
Created symlink from /etc/systemd/system/multi-user.target.wants/grafana-server.service to /usr/lib/systemd/system/grafana-server.service.
[root@dbc-server-554 grafana]# systemctl status grafana-server.service
● grafana-server.service - Grafana instance
   Loaded: loaded (/usr/lib/systemd/system/grafana-server.service; enabled; vendor preset: disabled)
   Active: active (running) since Wed 2023-02-15 11:50:56 CST; 18s ago
...
[root@dbc-server-554 grafana]# ss -nltp|grep grafana
LISTEN     0      128       [::]:3000                  [::]:*                   users:(("grafana-server",pid=3629,fd=20))
可以看到grafana的对外端口号为3000
3.4 登录控制台
访问http://192.168.5.54:3000

如果无法登录,如下

解决方法:1.重启下grafana服务,2.换个浏览器,例如,使用chrome登录
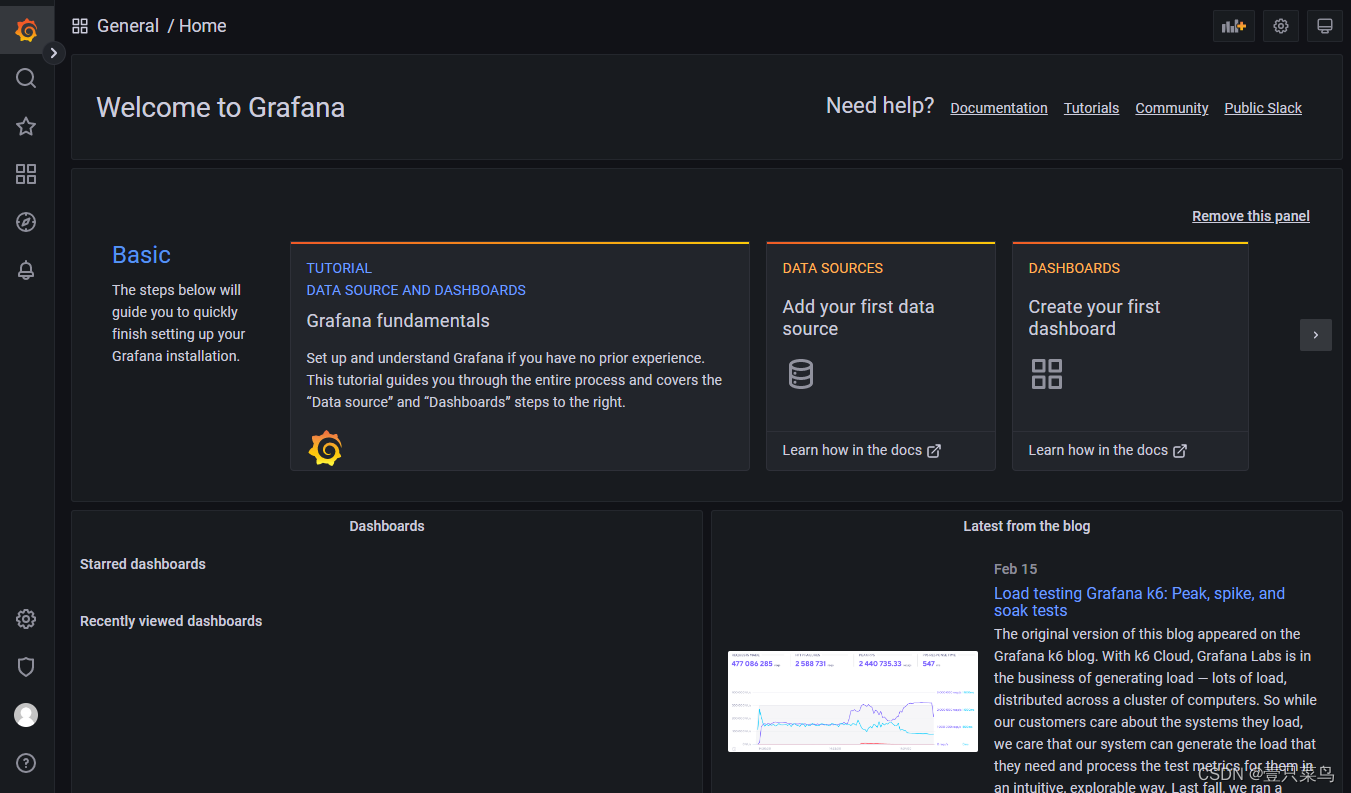
登录账号及密码均是admin,按照提示修改密码,然后我们就进入了控制台
3.5 链接zabbix
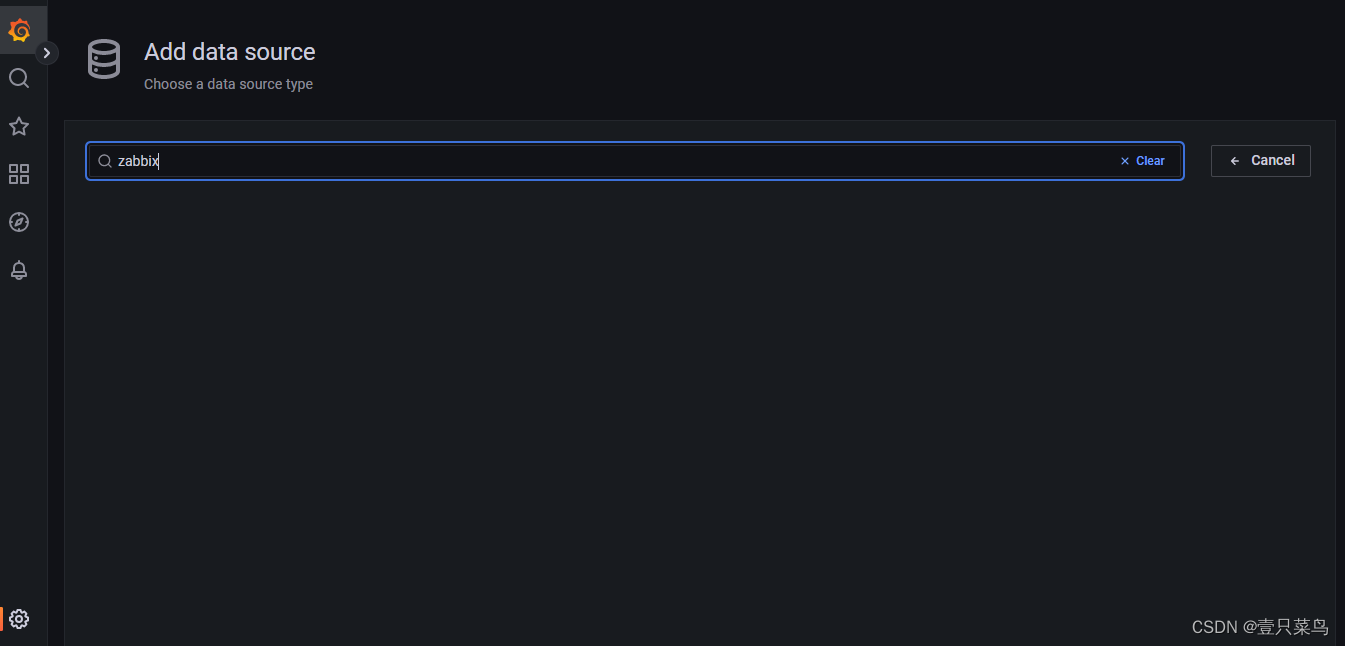
Configuration -> data source ->Add data source
1.安装zabbix插件
默认没有安装zabbix插件,所以我们需要安装zabbix的数据源插件
安装方式:https://grafana.com/grafana/plugins/alexanderzobnin-zabbix-app/?tab=installation
1.Install the Application
Use the grafana-cli tool to install Zabbix from the commandline:
grafana-cli plugins install alexanderzobnin-zabbix-app
The plugin will be installed into your grafana plugins directory; the default is /var/lib/grafana/plugins. More information on the cli tool.
Alternatively, you can manually download the .zip file and unpack it into your grafana plugins directory.
[root@dbc-server-554 grafana]# grafana-cli plugins install alexanderzobnin-zabbix-app
✔ Downloaded and extracted alexanderzobnin-zabbix-app v4.2.10 zip successfully to /var/lib/grafana/plugins/alexanderzobnin-zabbix-app

Please restart Grafana after installing plugins. Refer to Grafana documentation for instructions if necessary.
[root@dbc-server-554 grafana]# systemctl restart grafana-server.service
2.启用插件
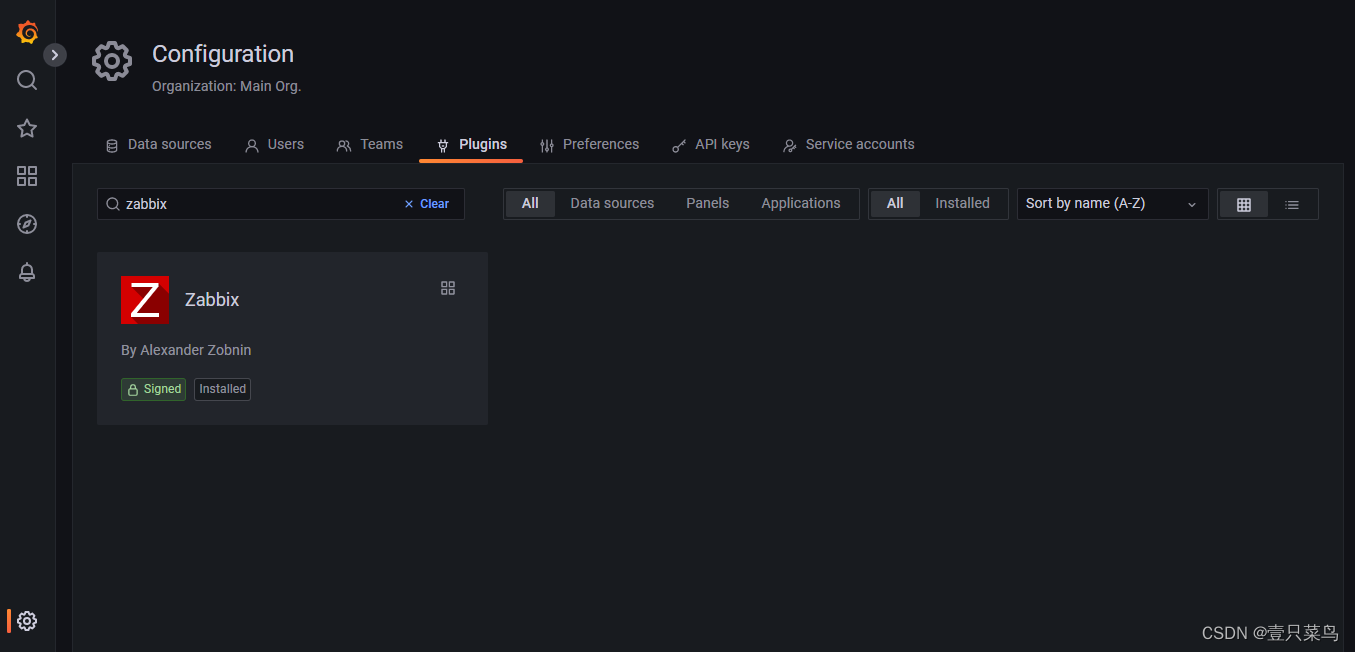
Enable

现在我们可以查到zabbix的数据源了

3.链接数据源
URL改为zabbix的服务器IP:http://192.168.5.54/api_jsonrpc.php
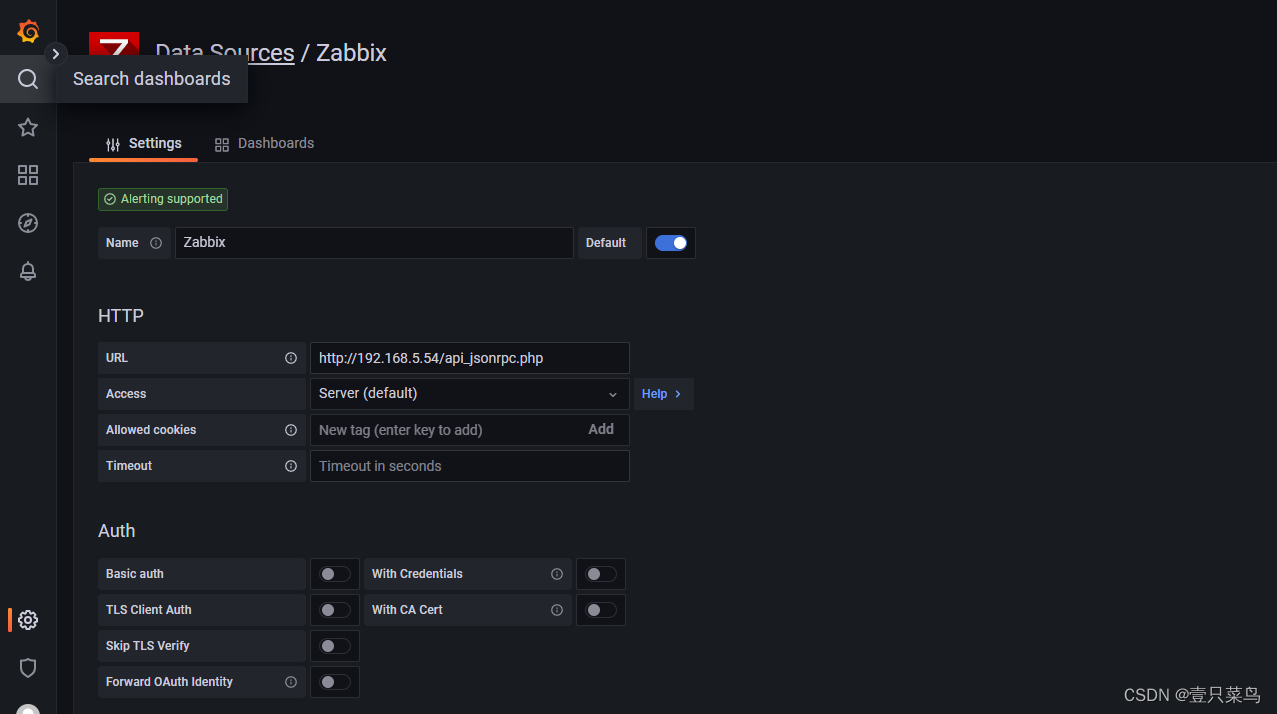
添加zabbix账号密码,并点击save & test

链接成功

4.导入仪表盘
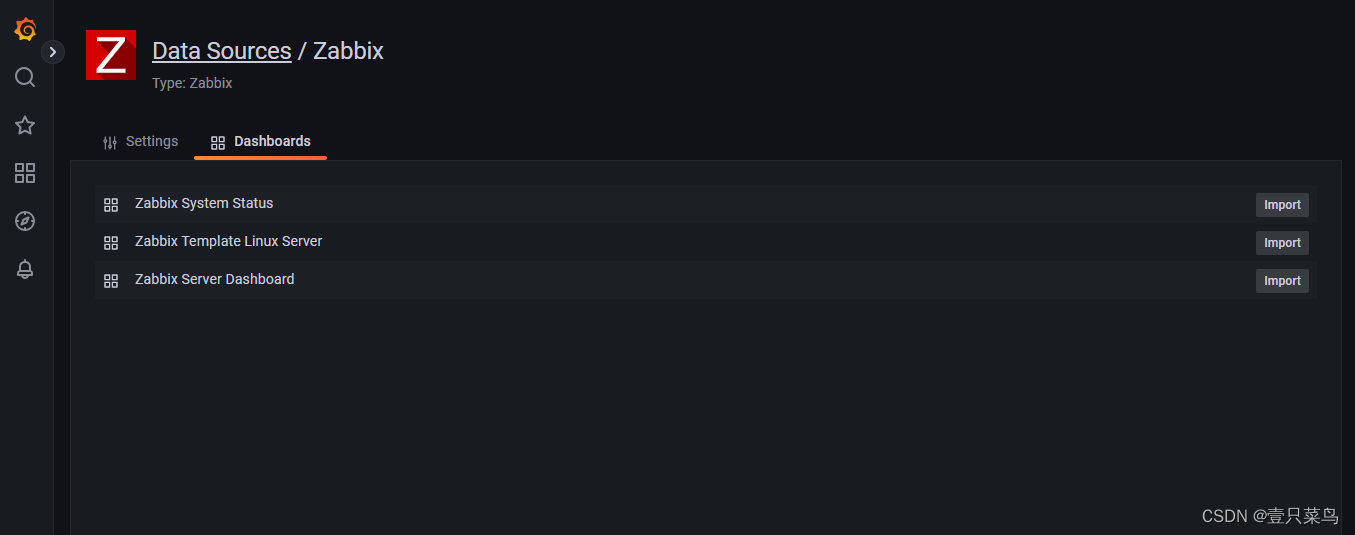
5.创建仪表板
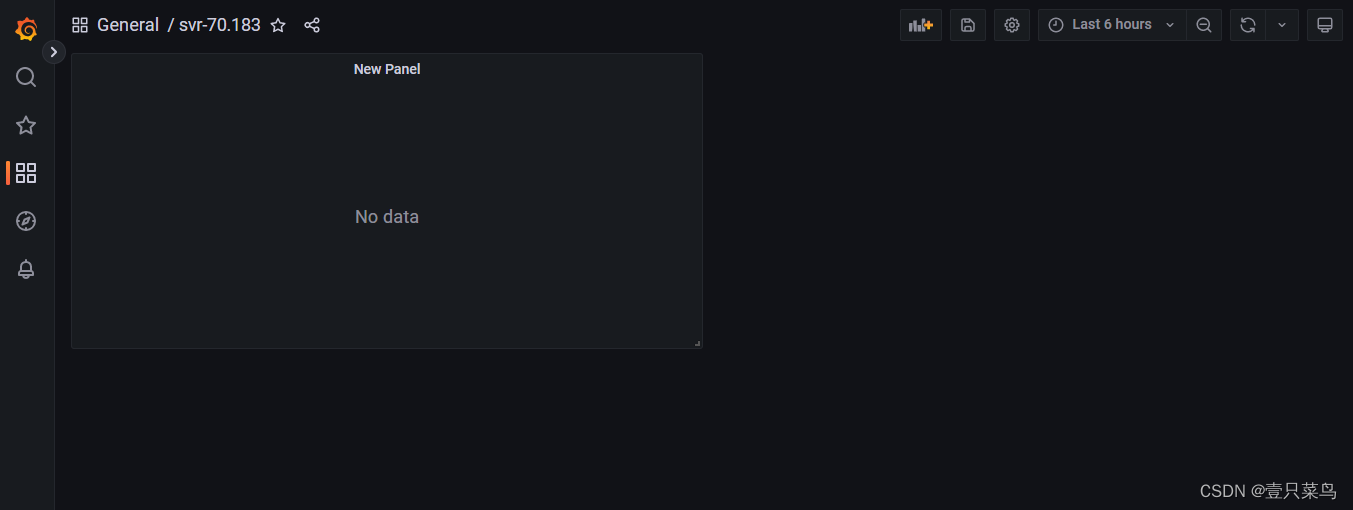
6.创建仪表盘
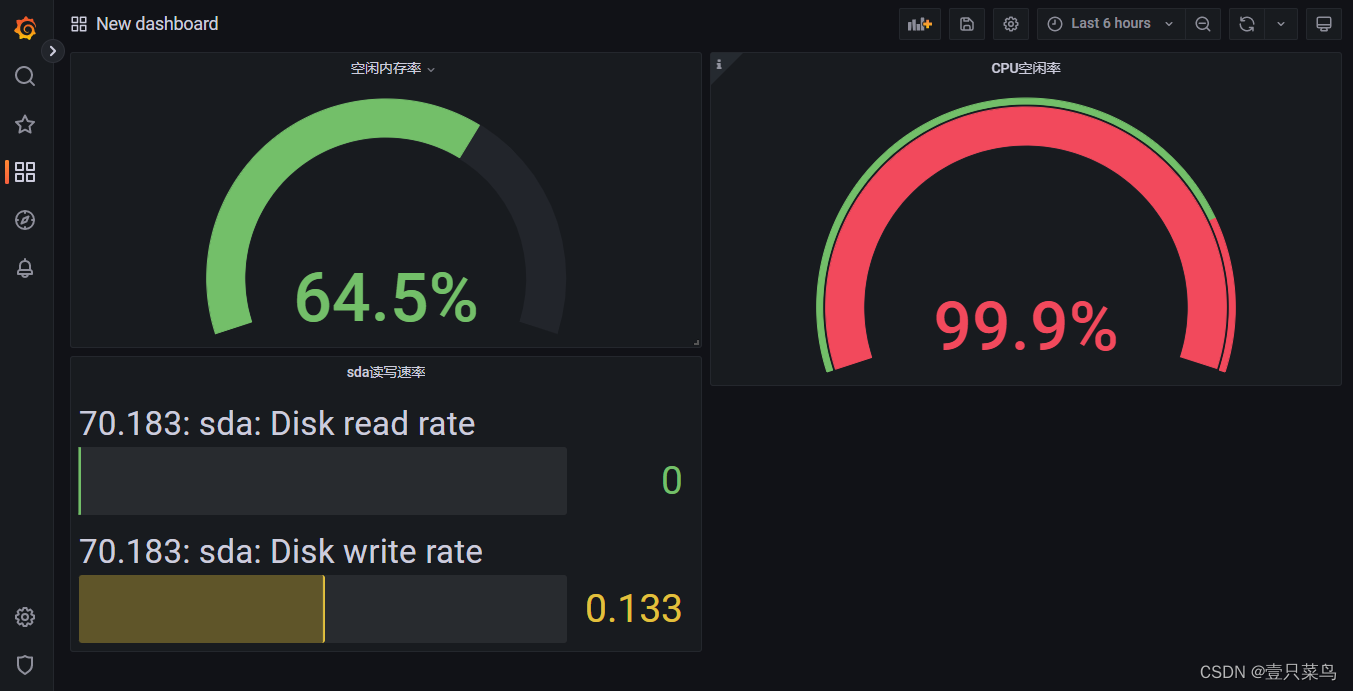
这里使用默认监控内容,监控CPU空闲率
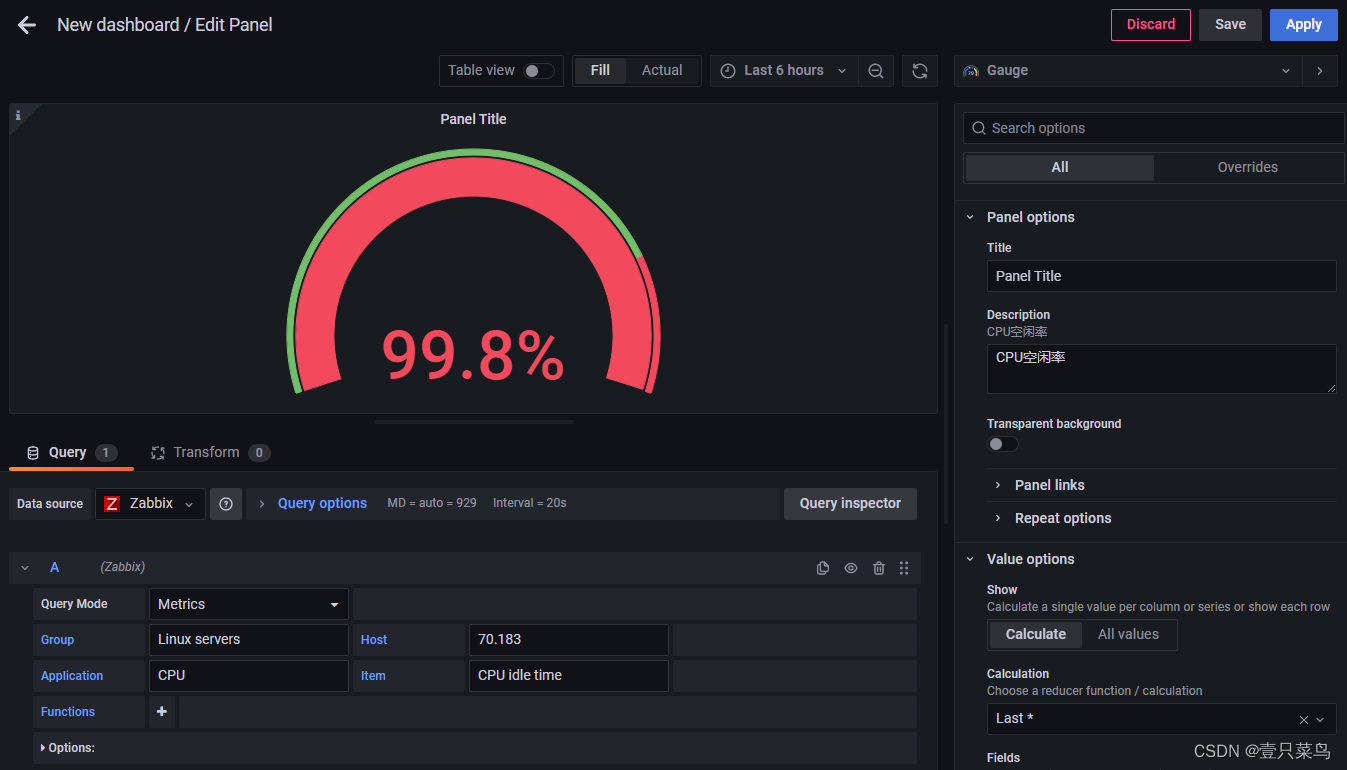
类似,我们在创建内存使用率和硬盘读写速率的仪表盘,内容看起来充实了不少
7.添加自建监控项
最后把我们的user_login_max加上
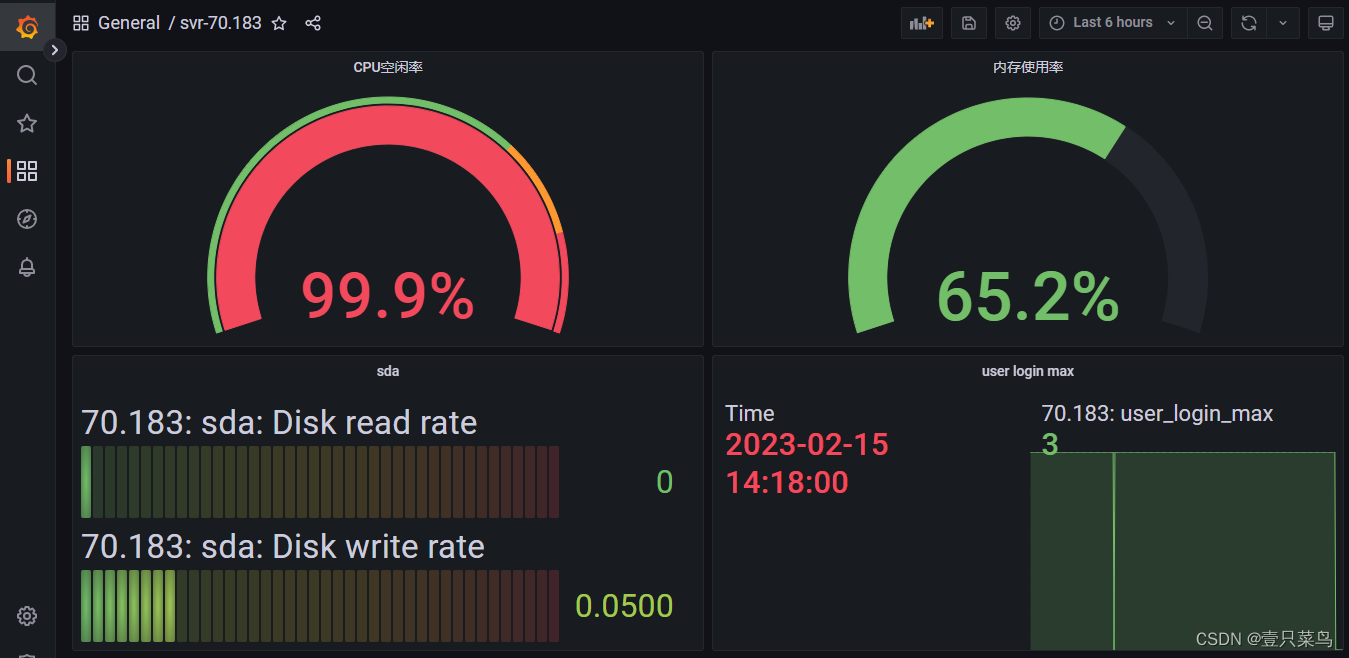
保存仪表板
8.监控信息
增加登录人数,可以看到user login max已经报红了
