springboot项目打包成docker镜像-贾玉珍-2023年2月8日
方法一:将项目jar包手动推送到docker服务器上
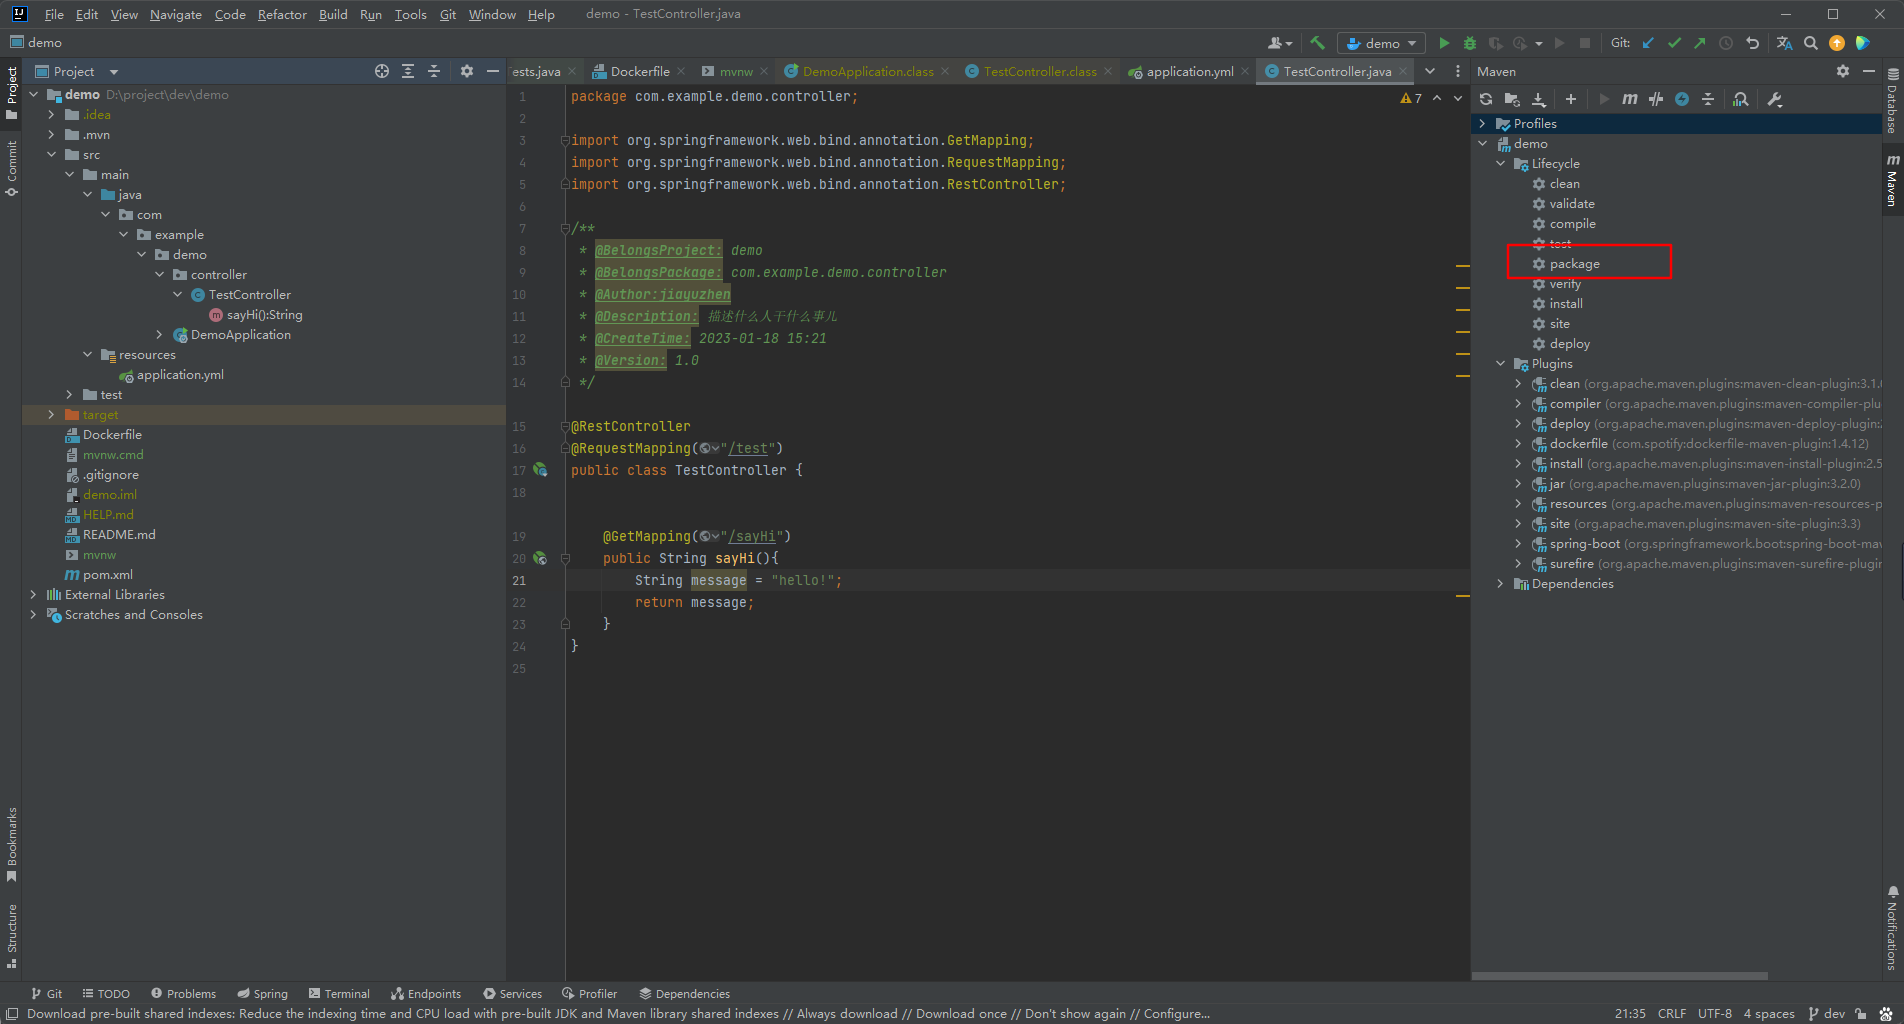
1.用maven对项目进行打包,打包成功后会有一个target目录,目录下有打好的项目jar包

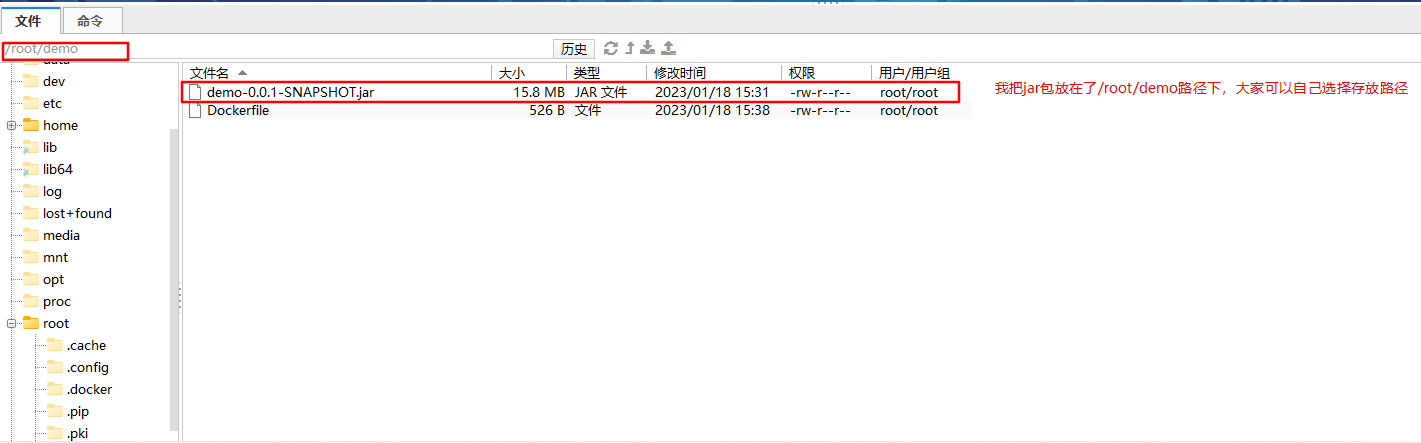
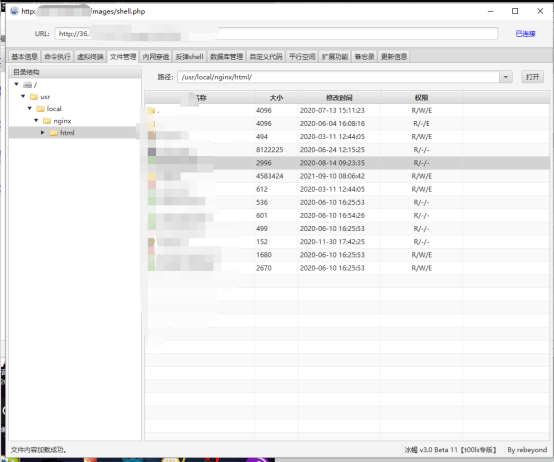
2.将jar包上传到服务器上,我用的是finalshell工具,大家可以自己根据自己使用的工具将文件传送到服务器上
3.在跟jar包同级目录下写Dockerfile文件

dockerfile文件具体内容
FROM openjdk:11 #基于哪些镜像进行构建
MAINTAINER gpj #作者名称
#
# 将jar包添加到容器中,并命名为 springboot_docker.jar
ADD demo-0.0.1-SNAPSHOT.jar /demo.jar
# 运行jar包
RUN bash -c 'touch demo.jar'
ENTRYPOINT ["java", "-jar", "demo.jar"]
# 设置时区
RUN /bin/cp /usr/share/zoneinfo/Asia/Shanghai /etc/localtime && echo 'Asia/Shanghai' >/etc/timezone
# SpringBoot项目配置的端口号为9999,需要将9999暴露出去
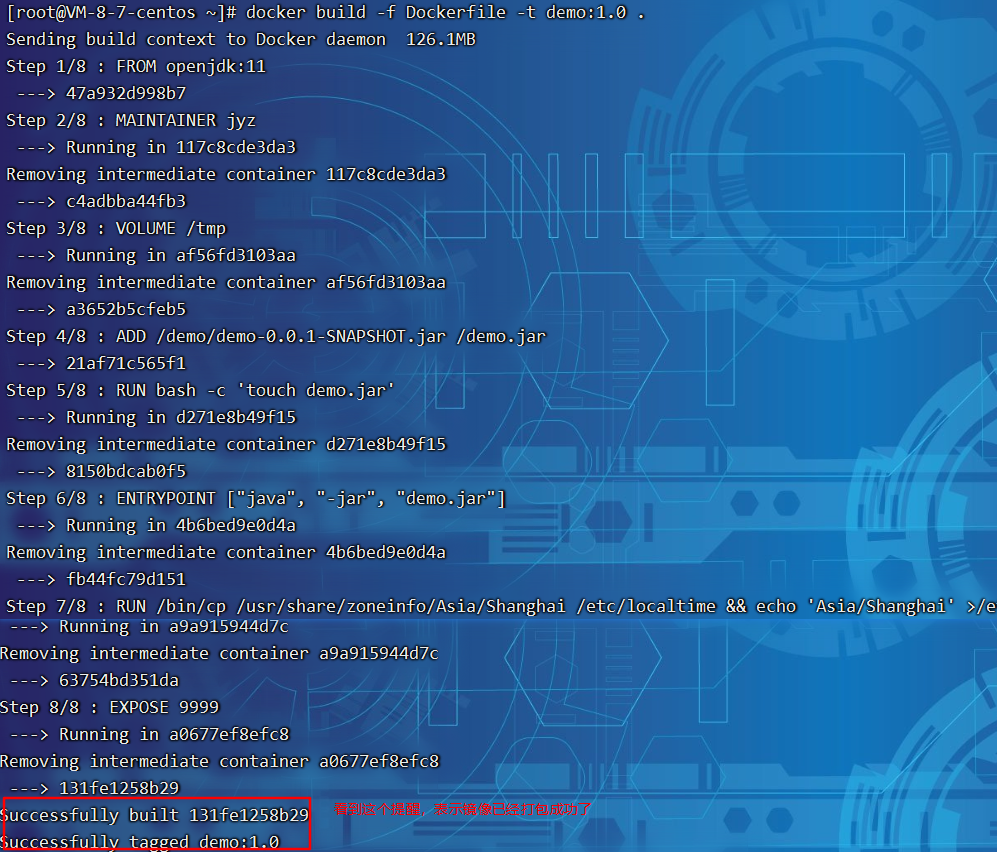
EXPOSE 99994.执行docker build命令
docker build -f Dockerfile -t demo:1.0 .
5.查看镜像
docker images
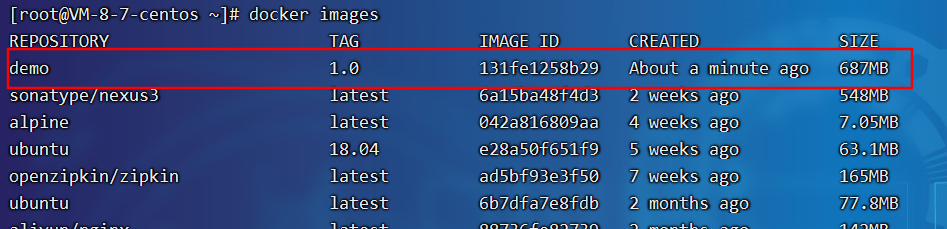
可以看到刚刚打包的镜像
6.运行容器
docker run -d --name dmeo -p 9999:9999 demo:1.0

查看容器是否在运行
docker ps

服务器开放9999端口
firewall-cmd --zone=public --add-port=9999/tcp --permanent
systemctl restart firewalld
调用后端方法

方法二:在idea中安装docker插件,通过插件部署
1.安装docker插件
进入项目,点击File->Settings->Plugins,docker插件是默认安装上的,可以先去Installed中查看是否已经安装
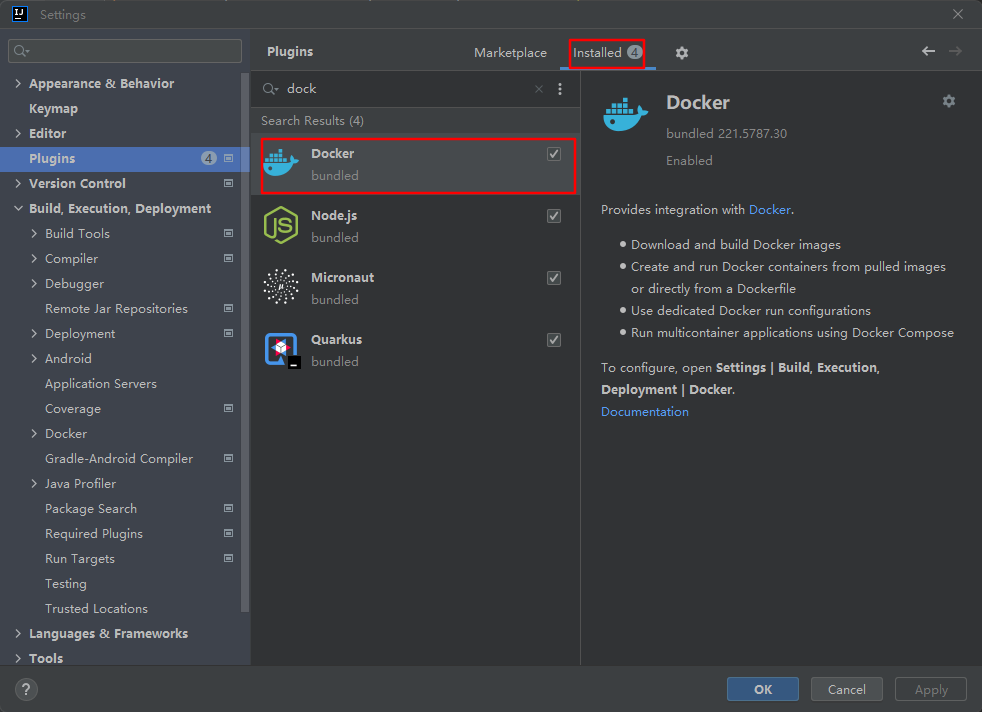
如果未安装可以点击Marketplace,在搜索框中搜索docker,点击Installed进行安装

2.打开docker远程访问
修改docker.service文件
Docker 安装成功之后,首先需要修改 Docker 配置来开启允许远程访问 Docker 的功能。
文件位置:/lib/systemd/system/docker.service
修改内容: 加入如下内容:
DOCKER_OPTS="-H tcp://0.0.0.0:2375 -H unix:///var/run/docker.sock"

服务器开放2375端口
firewall-cmd --zone=public --add-port=2375/tcp --permanent
systemctl restart firewalld
重启docker
systemctl daemon-reload
systemctl restart docker
3.在idea的docker插件中配置docker远程访问的地址
在idea项目中点击File->settings->Build->Docker

4.在项目根目录和pom文件同级的地方写Dockerfile文件
dockerfile文件的具体内容
FROM openjdk:11
MAINTAINER jyz
#
# 将jar包添加到容器中,并命名为 springboot_docker.jar
ADD demo-0.0.1-SNAPSHOT.jar /demo.jar
# 运行jar包
RUN bash -c 'touch demo.jar'
ENTRYPOINT ["java", "-jar", "demo.jar"]
# 设置时区
RUN /bin/cp /usr/share/zoneinfo/Asia/Shanghai /etc/localtime && echo 'Asia/Shanghai' >/etc/timezone
# SpringBoot项目配置的端口号为9999,需要将9999暴露出去
EXPOSE 9999
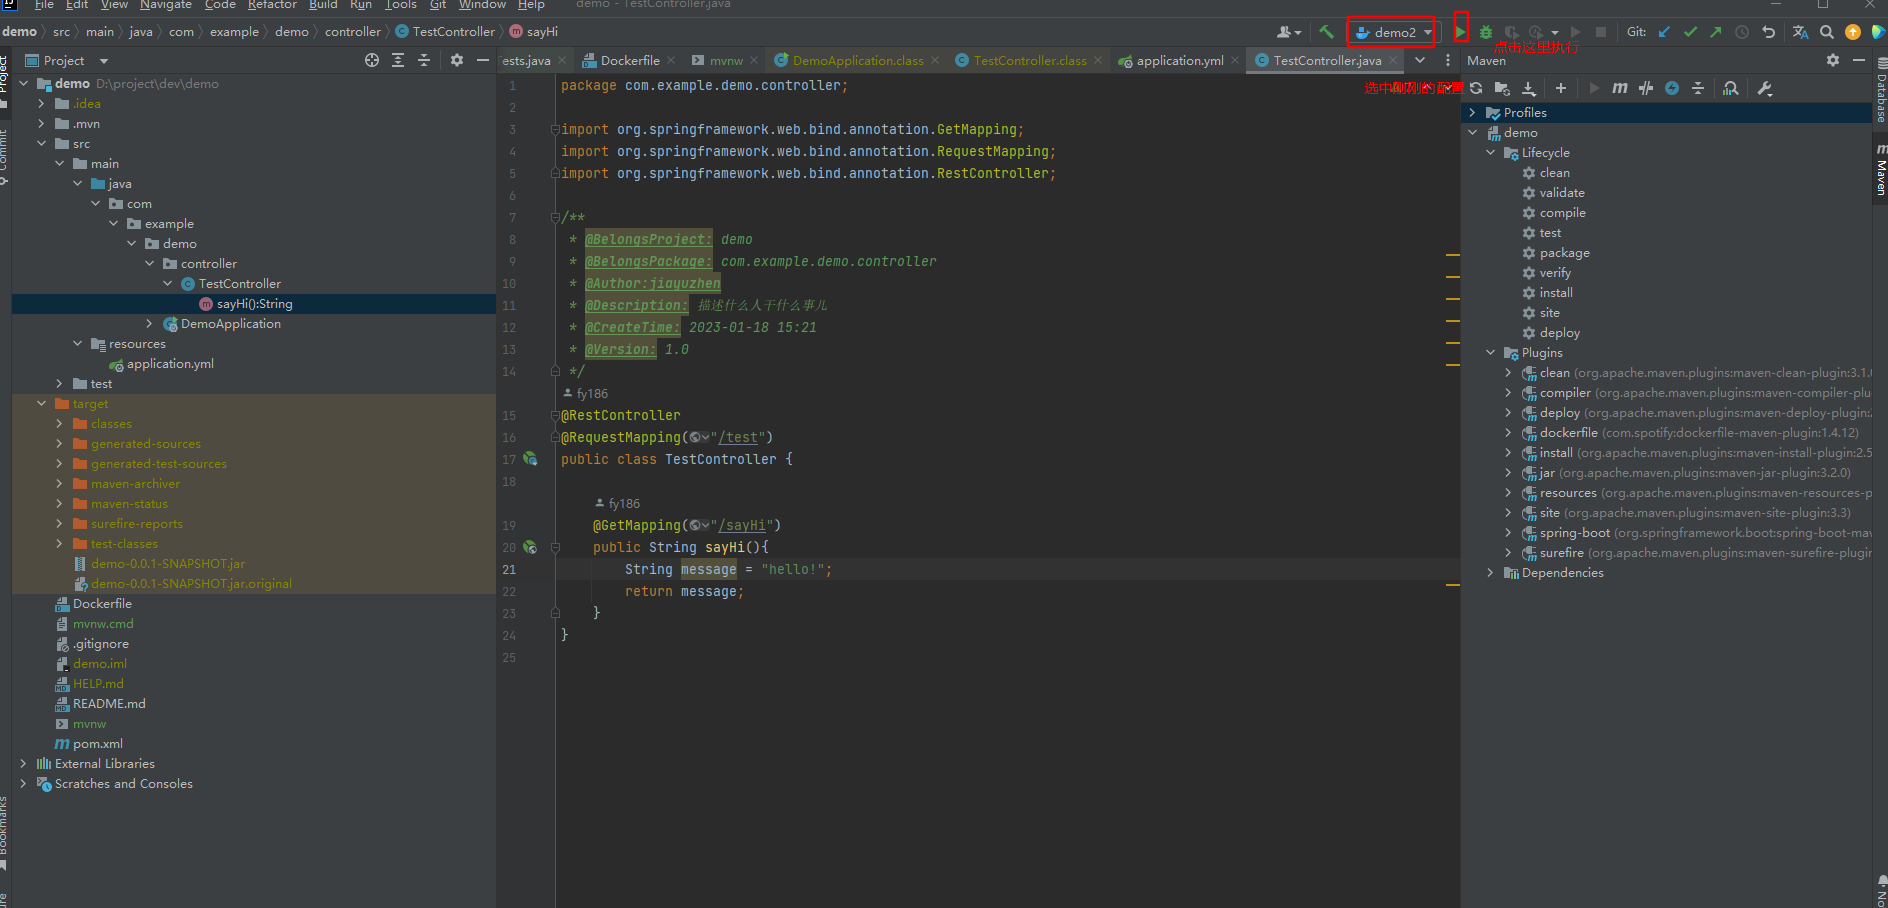
5.在启动配置那里编辑docker配置


之后点击执行
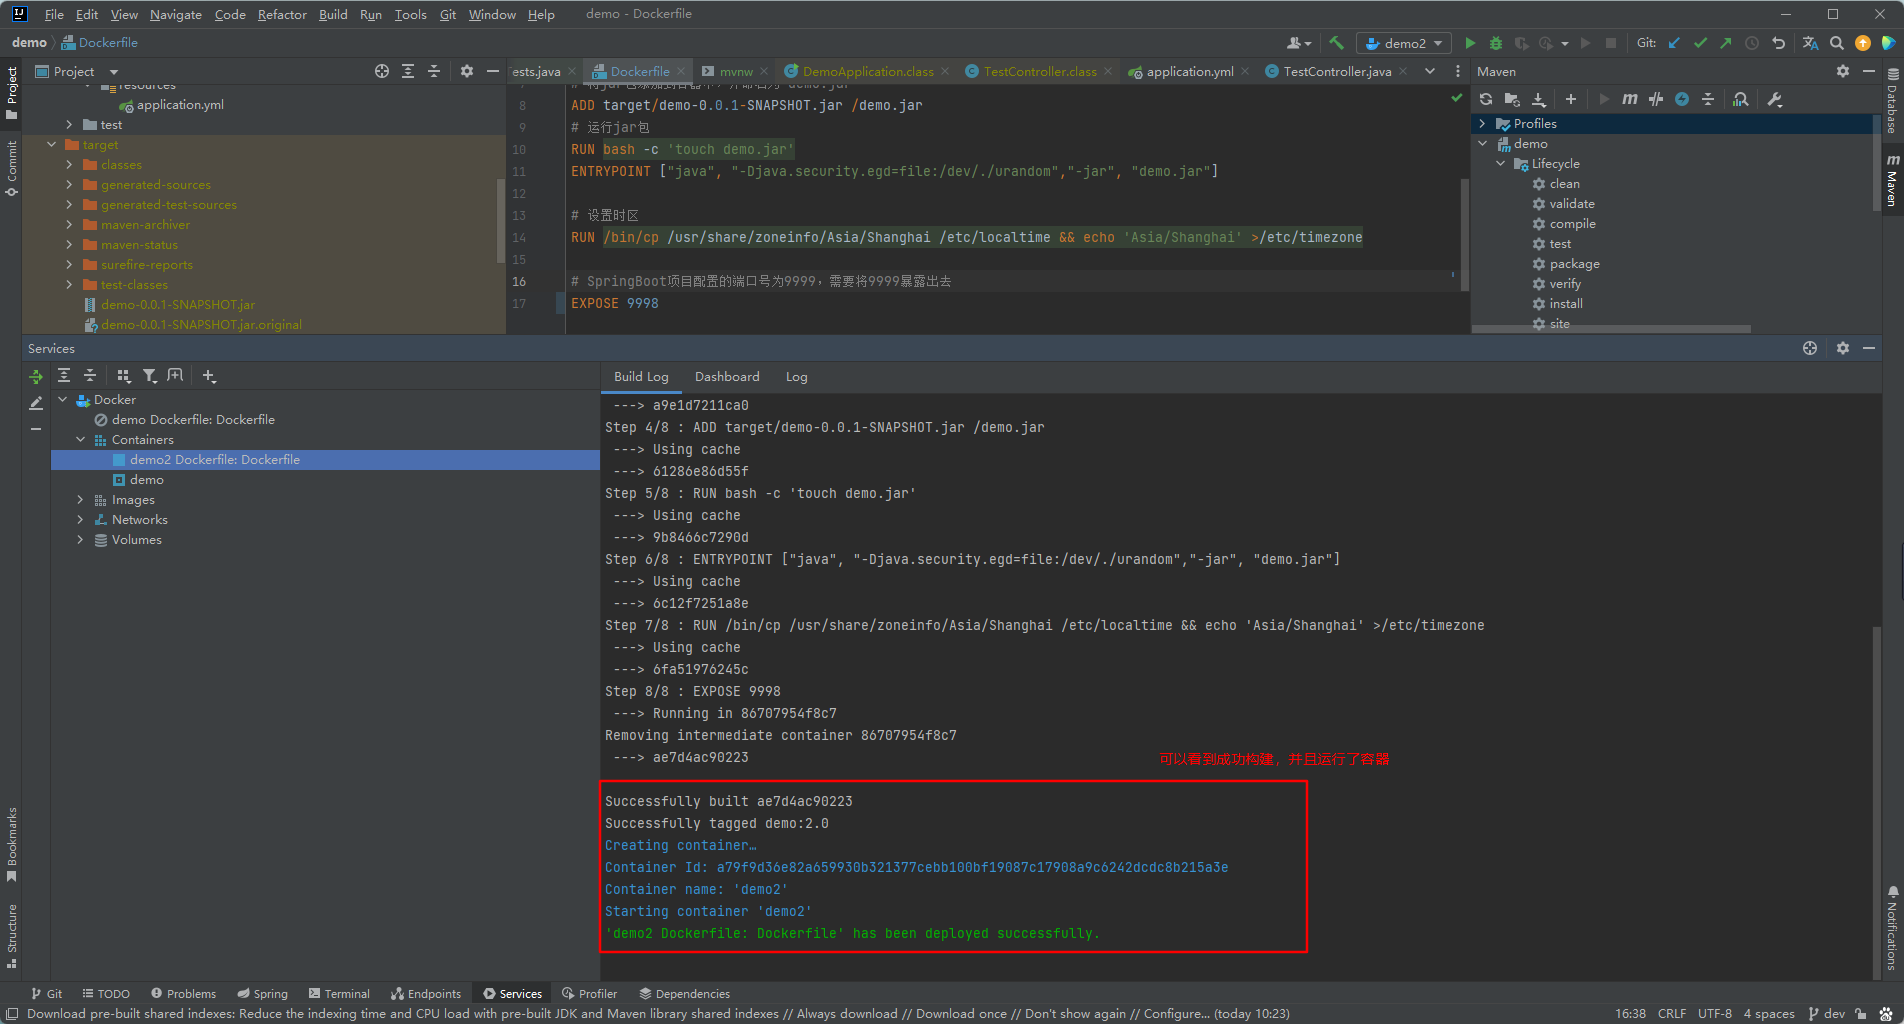
可以根据方法一中的最后两步进行验证
方法三:用maven插件进行构建
开启docker远程访问,详细步骤见方法二
将dockerfile文件放到resource文件夹下
1.在pom文件中引入docker插件
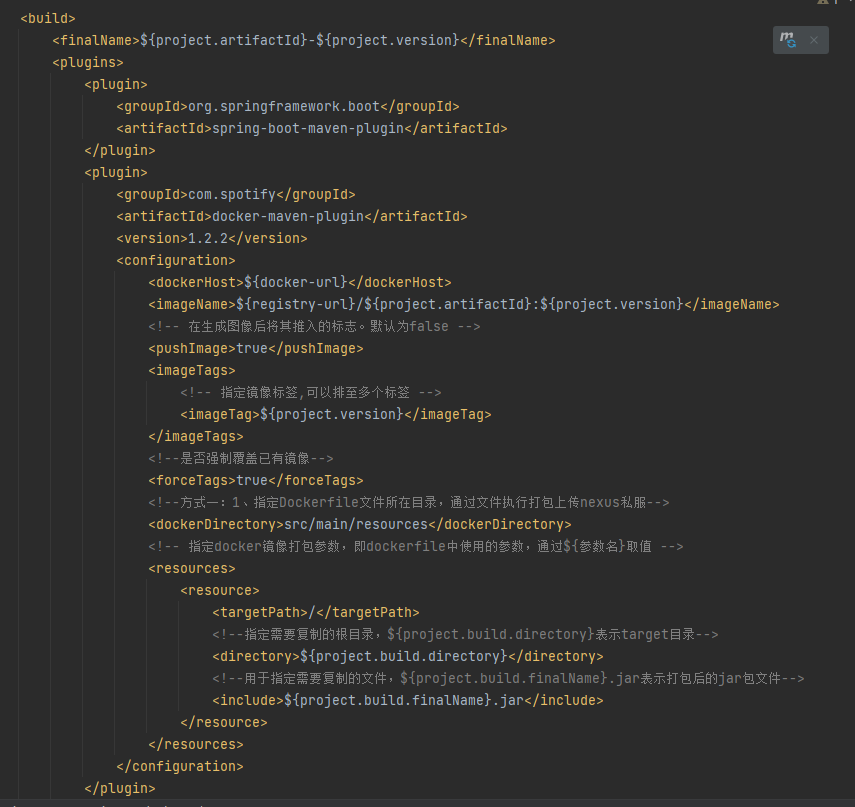
pom文件详细内容
<?xml version="1.0" encoding="UTF-8"?>
<project xmlns="http://maven.apache.org/POM/4.0.0" xmlns:xsi="http://www.w3.org/2001/XMLSchema-instance"
         xsi:schemaLocation="http://maven.apache.org/POM/4.0.0 https://maven.apache.org/xsd/maven-4.0.0.xsd">
    <modelVersion>4.0.0</modelVersion>
    <parent>
        <groupId>org.springframework.boot</groupId>
        <artifactId>spring-boot-starter-parent</artifactId>
        <version>2.3.12.RELEASE</version>
        <relativePath/> <!-- lookup parent from repository -->
    </parent>
    <groupId>com.example</groupId>
    <artifactId>demo</artifactId>
    <version>0.0.1-SNAPSHOT</version>
    <name>demo</name>
    <description>demo</description>
    <properties>
        <java.version>11</java.version>
        <docker-ip>服务器IP</docker-ip>
        <docker-url>http://${docker-ip}:2375</docker-url>
    </properties>
    <dependencies>
        <dependency>
            <groupId>org.springframework.boot</groupId>
            <artifactId>spring-boot-starter</artifactId>
        </dependency>
        <dependency>
            <groupId>org.springframework.boot</groupId>
            <artifactId>spring-boot-starter-web</artifactId>
        </dependency>

        <dependency>
            <groupId>org.springframework.boot</groupId>
            <artifactId>spring-boot-starter-test</artifactId>
            <scope>test</scope>
        </dependency>
    </dependencies>

    <build>
        <finalName>${project.artifactId}-${project.version}</finalName>
        <plugins>
            <plugin>
                <groupId>org.springframework.boot</groupId>
                <artifactId>spring-boot-maven-plugin</artifactId>
            </plugin>
            <plugin>
                <groupId>com.spotify</groupId>
                <artifactId>docker-maven-plugin</artifactId>
                <version>1.2.2</version>
                <configuration>
                    <dockerHost>${docker-url}</dockerHost>
                    <imageName>${project.artifactId}:${project.version}</imageName>
                    <!-- 在生成图像后将其推入的标志。默认为false -->
                    <pushImage>true</pushImage>
                    <imageTags>
                        <!-- 指定镜像标签,可以排至多个标签 -->
                        <imageTag>${project.version}</imageTag>
                    </imageTags>
                    <!--是否强制覆盖已有镜像-->
                    <forceTags>true</forceTags>
                    <!--方式一:1、指定Dockerfile文件所在目录,通过文件执行打包上传nexus私服-->
                    <dockerDirectory>src/main/resources</dockerDirectory>
                    <!-- 指定docker镜像打包参数,即dockerfile中使用的参数,通过${参数名}取值 -->
                    <resources>
                        <resource>
                            <targetPath>/</targetPath>
                            <!--指定需要复制的根目录,${project.build.directory}表示target目录-->
                            <directory>${project.build.directory}</directory>
                            <!--用于指定需要复制的文件,${project.build.finalName}.jar表示打包后的jar包文件-->
                            <include>${project.build.finalName}.jar</include>
                        </resource>
                    </resources>
                </configuration>
            </plugin>
        </plugins>
    </build>
</project>
2.运行mvn build命令
mvn docker:build
成功打包成镜像
可以根据方法一中的最后两步进行验证
基于第三步的配置进行镜像区分环境
以下文件需要配置到pom文件中,这里的配置每一个profile标签都是独立的,只有在打包的时候才会用到,也就是执行 mvn命令时通过 -P这个指令指定profile标签的id那么打包所用的一些参数配置会以你制定的profile为准。
    <profiles>
        <profile>
            <!--不同环境Profile的唯一id-->
            <id>dev</id>
            <properties>
                <!--profiles.active是自定义的字段(名字随便起),自定义字段可以有多个-->
                <profiles.active>dev</profiles.active>
            </properties>
        </profile>
        <profile>
            <id>prod</id>
            <!--properties标签下定义的标签是个性化的,根据业务项目需要定制不同标签,-->
            <properties>
                <profiles.active>prod</profiles.active>
                <docker-url>服务器IP:2375</docker-url>
            </properties>
        </profile>
        <profile>
            <id>test</id>
            <properties>
                <profiles.active>test</profiles.active>
                <docker-url>服务器IP:2375</docker-url>
            </properties>
            <activation>
                <activeByDefault>true</activeByDefault>
            </activation>
        </profile>
    </profiles>
此时把之前在pom中<properties>定义的docker-url删除,在执行mvn打包镜像命令时添加 -P
<!--这里如果镜像统一都是由一个docker服务器打包的话,在镜像的名字中添加上test或者prod,再或者其他标识不同环境的信息即可,我这里是使用的profiles.active作区分,对应的是我上面声明的环境信息-->
<imageName>${project.artifactId}-${profiles.active}:${project.version}</imageName>
mvn -Ptest docker:build


![[数据库迁移]-MySQL常见问题](https://img-blog.csdnimg.cn/627b7c893ad3438fabbfc4a2511a4583.png#pic_center)