1、搭建Samba服务
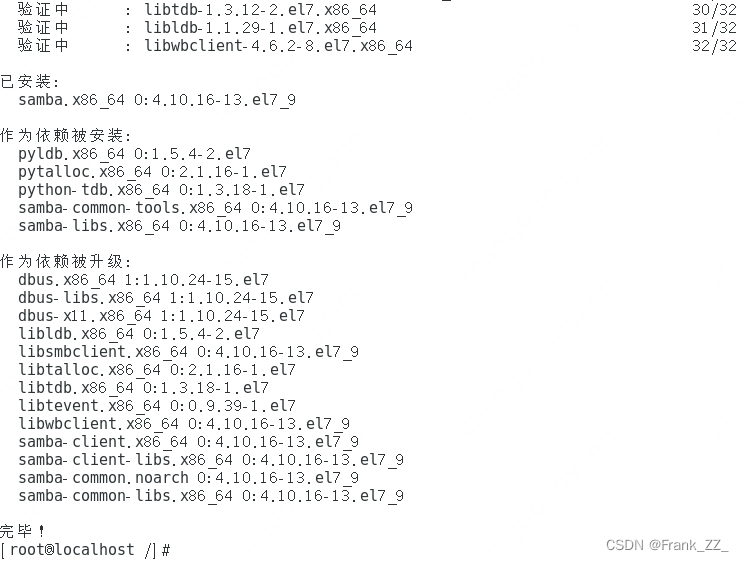
1.1安装Samba服务
yum -y install samba
结果如下:
1.2配置Samba服务
修改Samba服务的配置文件
vim /etc/samba/smb.conf
[sambadir]自定义路径
comment = Samba Directories自定义描述
path = /samba/dir自定义路径
[global]
        workgroup = SAMBA
        security = user

        passdb backend = tdbsam

        printing = cups
        printcap name = cups
        load printers = yes
        cups options = raw

[sambadir]
        comment = Samba Directories
        path = /samba/dir
        browseable = yes
        writable = yes
        public = no
创建文件夹
mkdir /samba/dir
chmod 777 /samba/dir
创建用户
# 先创建Linux系统用户
# 创建用户组sambauser
groupadd sambauser
# 创建用户sambauser1并添加到用户组sambauser
useradd -r -g sambauser sambauser1
# useradd -r -g sambauser sambauser1 -s /sbin/nologin -d /dev/null # 此命令未测试,请忽略此行
# cat /etc/group | grep samba
# cat /etc/passwd | grep samba

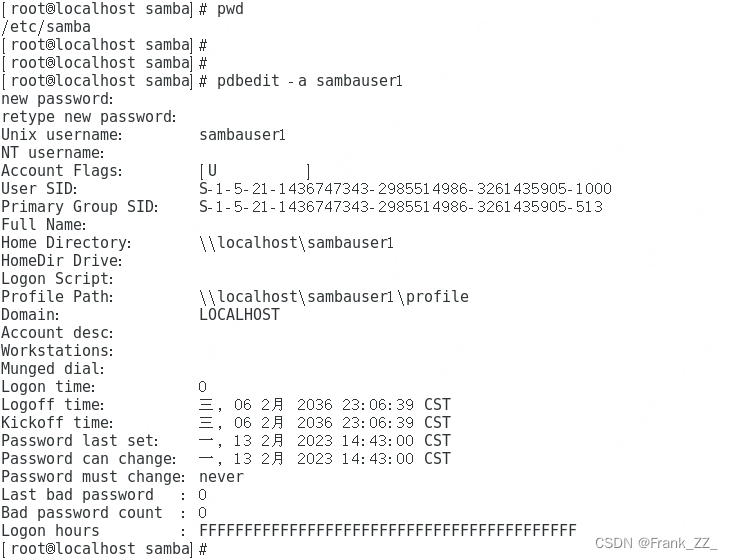
# 创建Samba中的用户
pdbedit -a sambauser1
# 输入两遍密码
# 查看用户
# pdbedit -L
1.3启动Samba服务,并设置为开机启动
# 启动Samba
systemctl start smb
systemctl start nmb
# service smb restart
# 设置为开机启动
chkconfig smb on
chkconfig nmb on

# 放行455端口
# CentOS 7 防火墙
# 查看防火墙是否开启
firewall-cmd --state
# 查看防火墙列表
firewall-cmd --list-all
# 添加445端口(–permanent永久生效,没有此参数重启后失效)
firewall-cmd --permanent --add-port=445/tcp
# 更新防火墙规则
firewall-cmd --reload
2、Windows挂载Samba
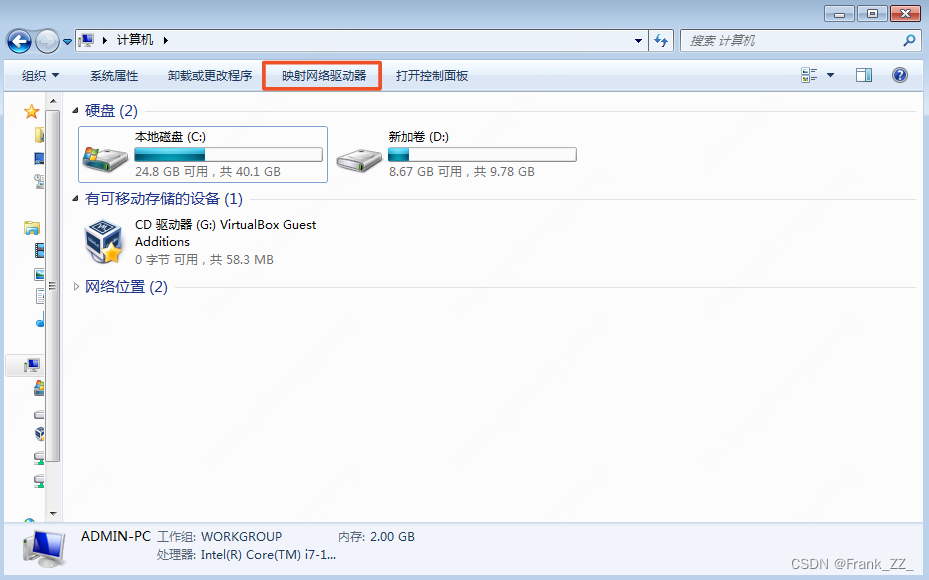
2.1 映射网络驱动器
计算机->映射网络驱动器
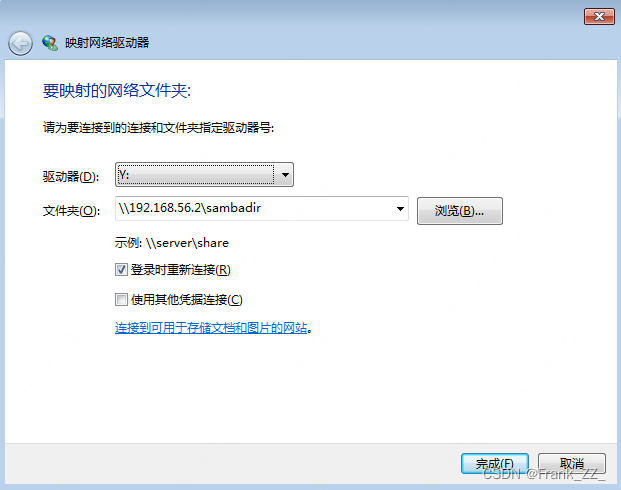
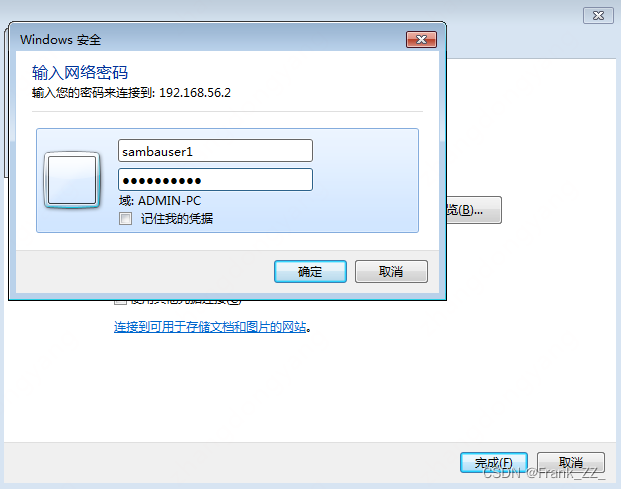
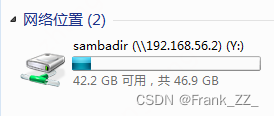
添加成功
3、Linux挂载Samba
mkdir /data/NAS
# mount -t cifs //hostname/Public /localpath -o username=xxxx,password=xxxx
# 参数
# hostname
# Public
# username
# password
# localpath
mount -t cifs //192.168.56.2/sambadir /data/NAS -o username=sambauser1,password=sambauser1
4、测试
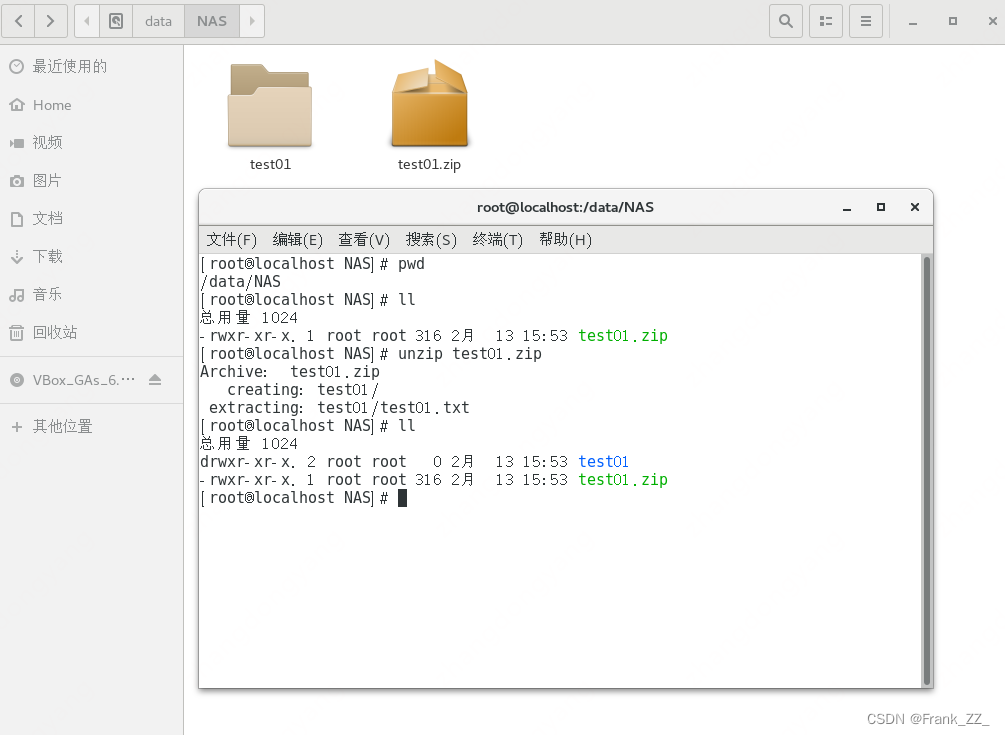
在Window系统创建压缩包并放入
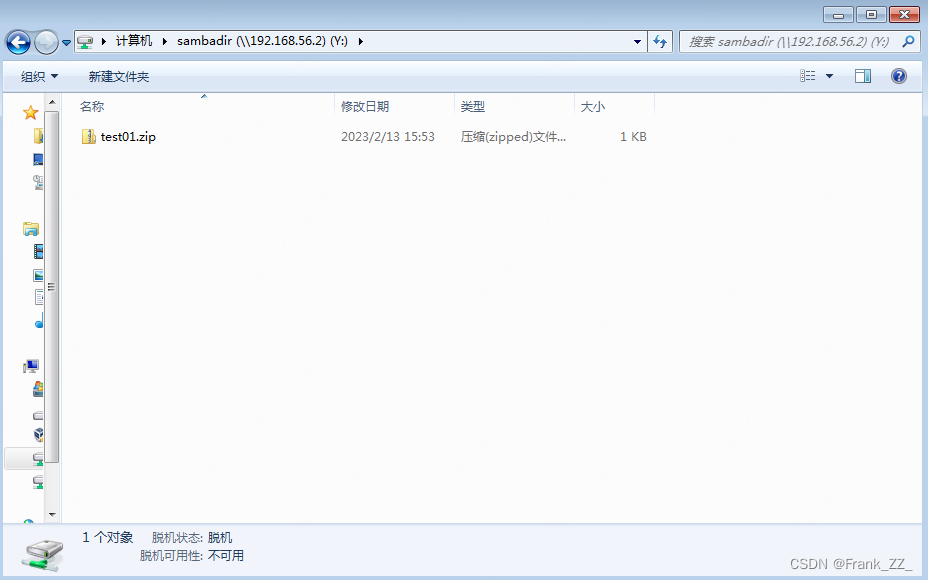
可以在Linux服务器上直接解压并打开
4、常见问题
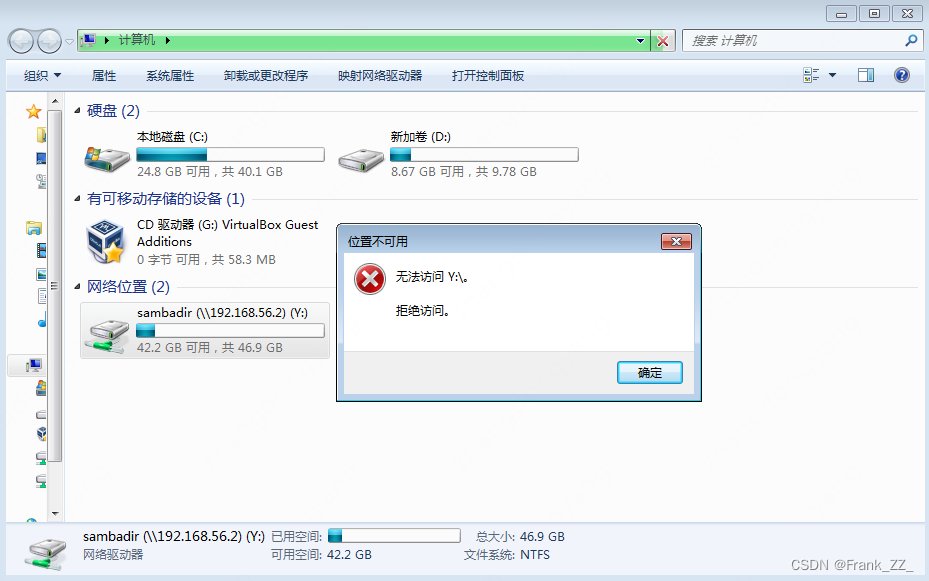
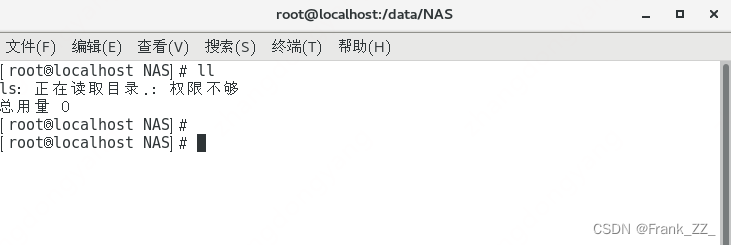
1、添加成功,但是无法访问
解决方法:
是由于selinux模式引起的,关闭selinux模式就可以解决。
# 临时关闭
setenforce 0
# 临时开启
setenforce 1
# 查询selinux是否开启
# sestatus
