环境准备
Idea插件SDK文档在线地址:https://plugins.jetbrains.com/docs/intellij/welcome.html
安装IntelliJ IDEA,这里使用版本2020.1.3 X64
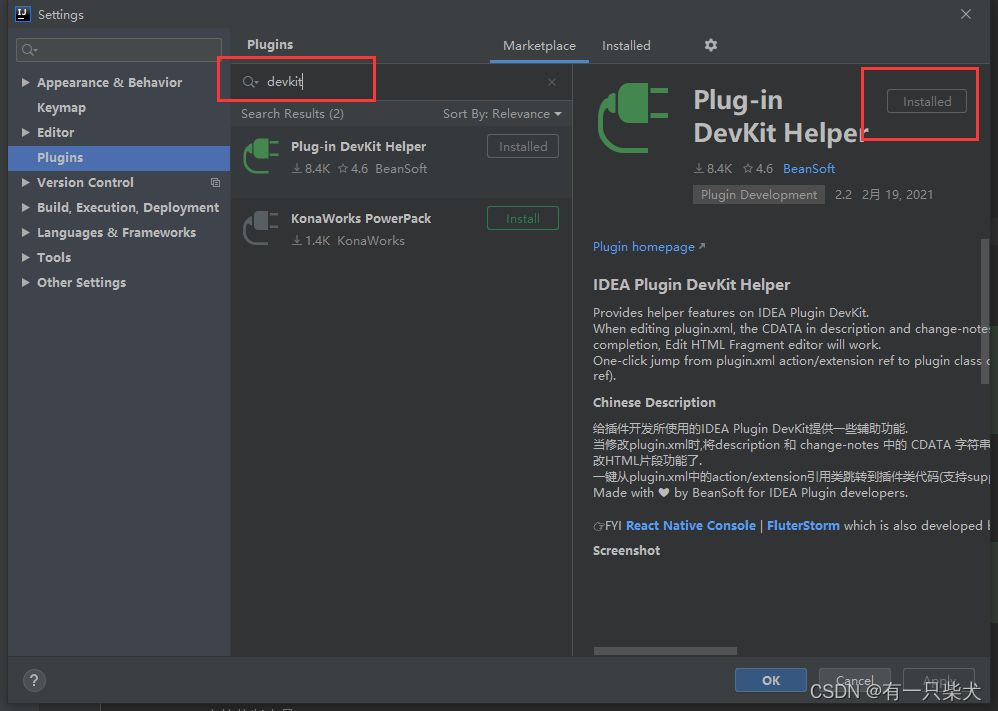
IDEA中安装Plugin DevKit插件
创建插件项目
新建工程。File ->New -> Project
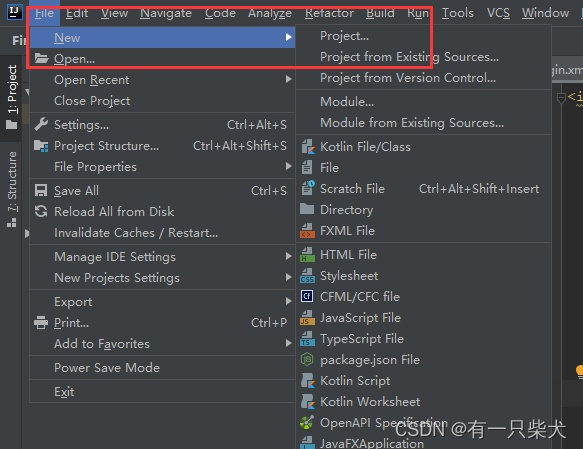
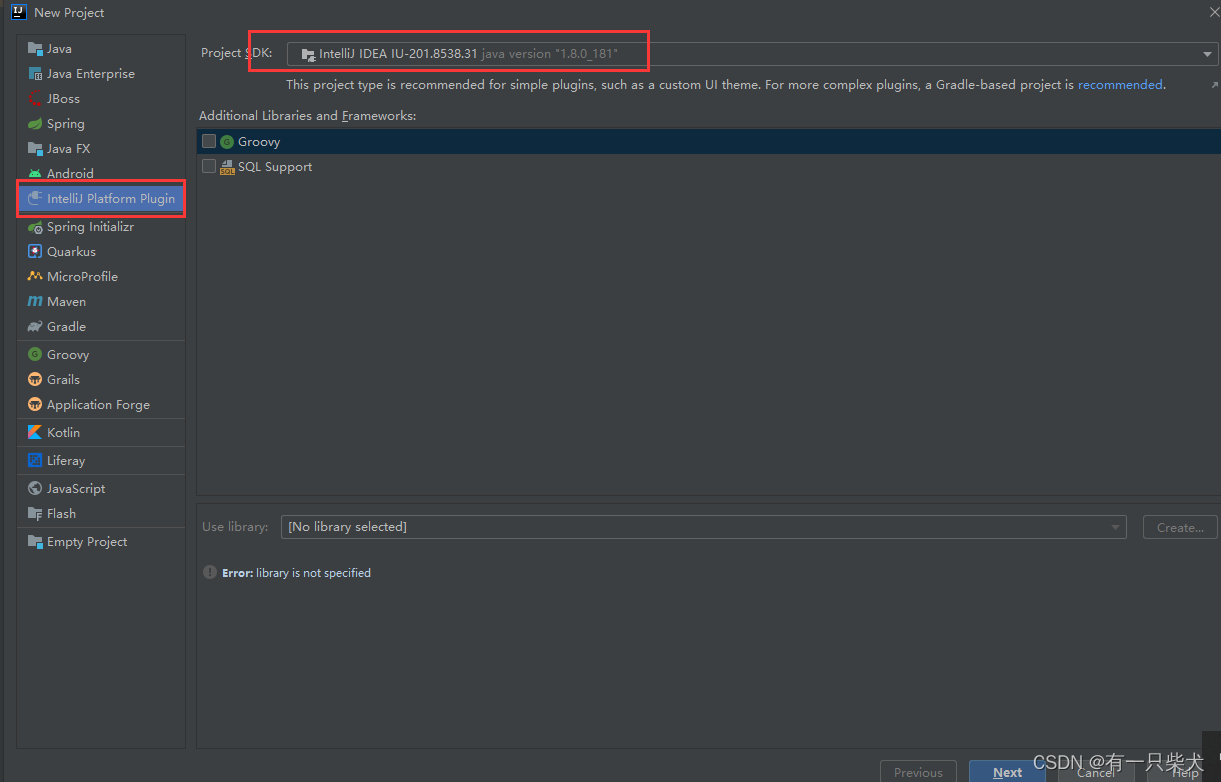
选择工程类型,IntelliJ PlatformPlugin,并选择IDEA自带SDK。点击Next
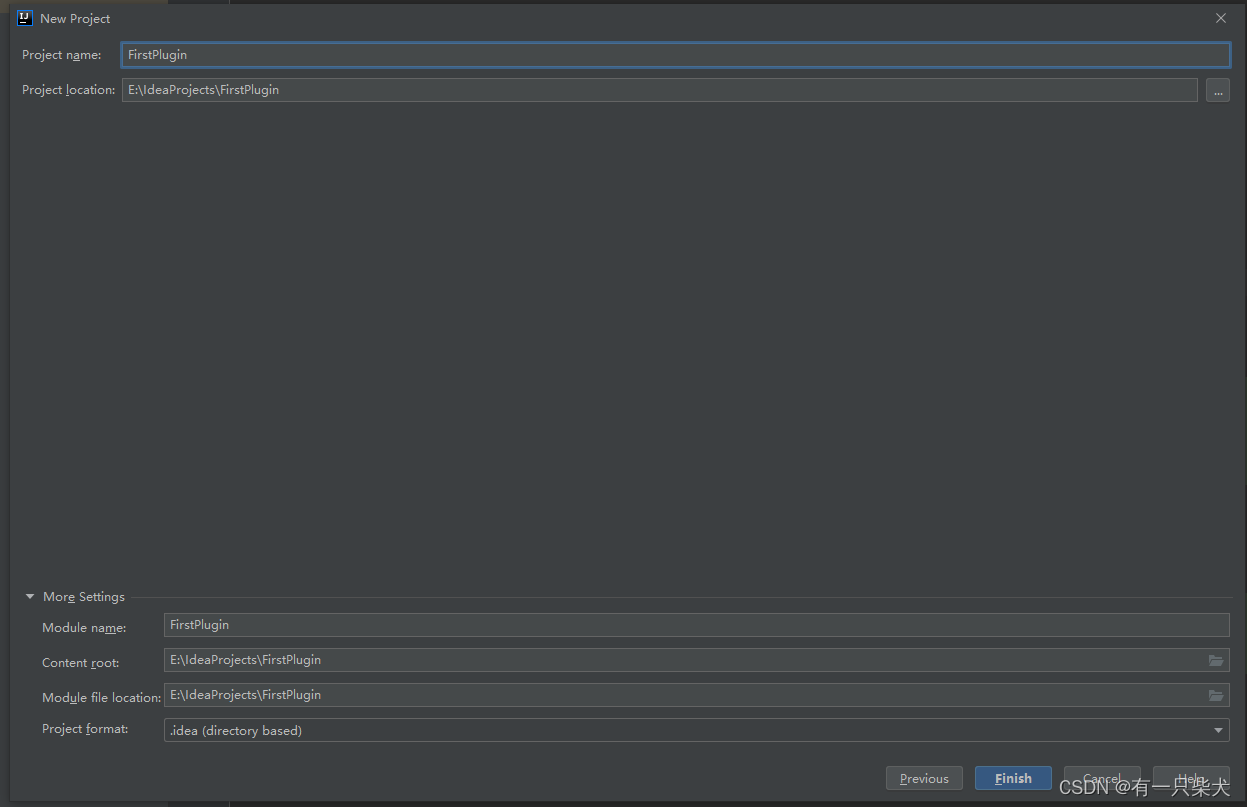
填写工程名称,点击Finish。
工程结构说明
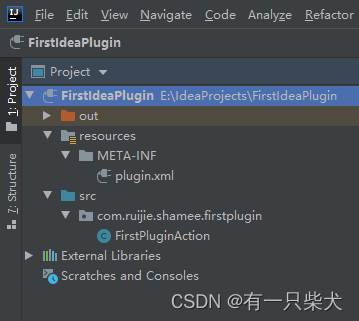
resources/META-INF/plugin.xml为插件核心配置文件
src为插件源码目录
核心配置文件说明
<idea-plugin>

  <!-- 插件id,要保证唯一 -->
  <id>com.ruijie.shamee.firstplugin.id</id>

  <!-- 插件名称,用于别人在插件市场搜索使用 -->
  <name>FirstPlugin</name>

  <!-- 版本号 -->
  <version>1.0</version>

  <!-- 插件提供方信息 -->
  <vendor email="shamee@qq.com" url="http://www.shamee.com.cn">Shamee</vendor>

  <!-- 插件描述 -->
  <description><![CDATA[
      Enter short description1 for your plugin here.<br>
      <em>most HTML tags may1 be used</em>
      <em>Test</em>
    ]]></description>


  <!-- 变更日志 -->
  <change-notes><![CDATA[
      Add change notes1 here.<br>
      <em>most HTML tags may1 be used</em>
    ]]>
  </change-notes>

  <!-- 插件所支持的idea版本号 -->
  <idea-version since-build="173.0"/>

  <!-- 相关的其他以来 -->
  <depends>com.intellij.modules.platform</depends>

  <!-- 扩展的内容 -->
  <extensions defaultExtensionNs="com.intellij">
    <!-- Add your extensions here -->
  </extensions>


  <!-- 菜单动作 -->
  <actions>
    <!-- Add your actions here -->
  </actions>

</idea-plugin>
插件编写
插件需求
编写一个IDEA顶部菜单Tools->子菜单。并点击该菜单会弹出一个消息通知。
创建Action
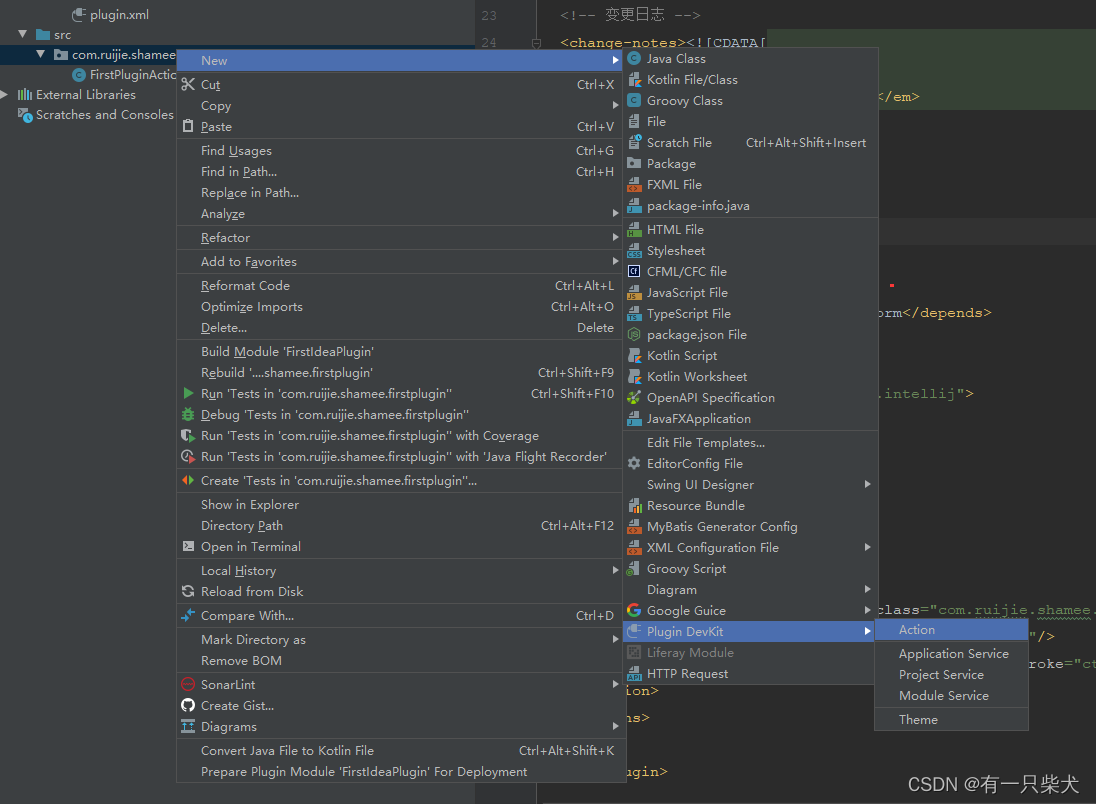
src先创建package,com.shamee.firstplugin
在该package右键->New->Plugin DevKit -> Action
编辑Action
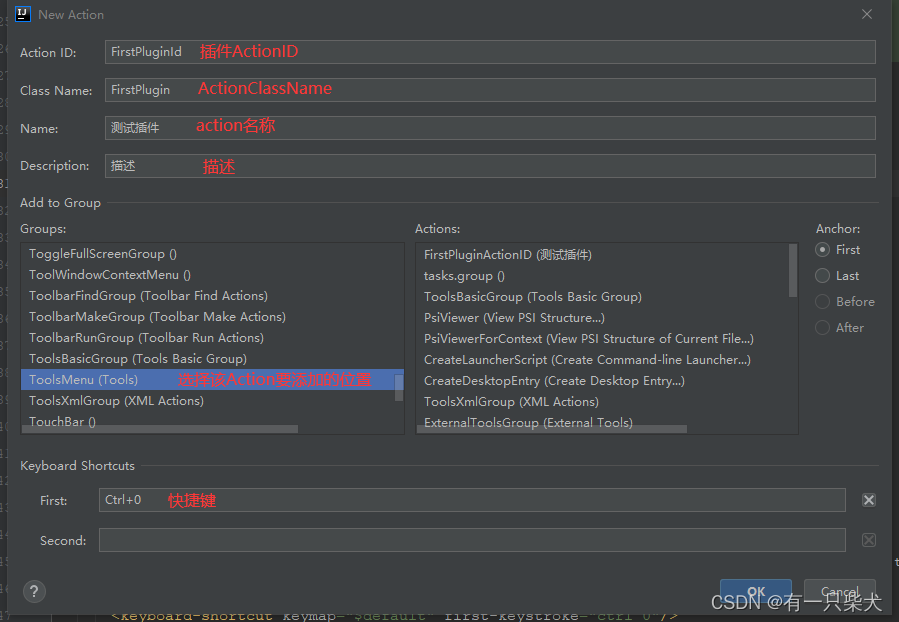
填写Action ID,Class Name, Name,Description。
我们这里需要将该动作添加到IDEA顶部菜单Tools下的子菜单,所以这里的Groups选择ToolsMenu,之后右侧的Anchor选择First,表示该子菜单添加到Tools下的第一个位置。
Keyboard Shortcuts为添加快捷键。
之后点击OK。
配置文件变更
添加完Action后,配置文件plugin.xml下的<actions>会添加一个子标签<action>,内容即为我们填写的action信息。
 <!-- 菜单动作 -->
  <actions>
    <!-- Add your actions here -->
    <action id="FirstPluginActionID" class="com.ruijie.shamee.firstplugin.FirstPluginAction" text="测试插件" description="测试插件描述">
      <add-to-group group-id="ToolsMenu" anchor="first"/>
      <keyboard-shortcut keymap="$default" first-keystroke="ctrl 0"/>
    </action>
  </actions>
同时src下新增了FirstPluginAction类。
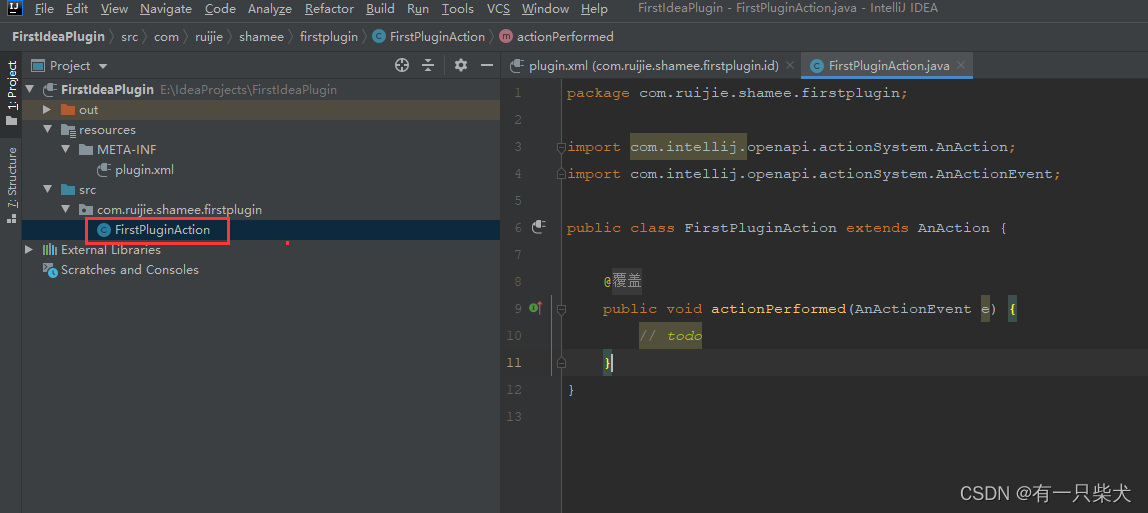
Action实现
package com.ruijie.shamee.firstplugin;

import com.intellij.notification.Notification;
import com.intellij.notification.NotificationDisplayType;
import com.intellij.notification.NotificationGroup;
import com.intellij.notification.Notifications;
import com.intellij.openapi.actionSystem.AnAction;
import com.intellij.openapi.actionSystem.AnActionEvent;
import com.intellij.openapi.ui.MessageType;

/**
 * 插件Action实现,
 * 这里继承的AnAction为Idea提供的openapi。
 * 按照不同的插件实现,提供了多种action的继承
 */
public class FirstPluginAction extends AnAction {

    @Override
    public void actionPerformed(AnActionEvent e) {
        // 添加NotificationGroup,指定消息通知类型。这里NotificationDisplayType.BALLOON表示为气泡类型
        // isLogByDefault设置为true,表示除了消息气泡通知还会出发Idea事件通知
        NotificationGroup notificationGroup = new NotificationGroup("firstplugin.id", NotificationDisplayType.BALLOON, true);

        // 在NotificationGroup中添加消息通知内容,以及消息类型。这里为MessageType.INFO
        Notification notification = notificationGroup.createNotification("点击测试", MessageType.INFO);

        // 消息通知
        Notifications.Bus.notify(notification);
    }
}
运行
编写完后,运行idea,会重新打开一个idea编辑器。
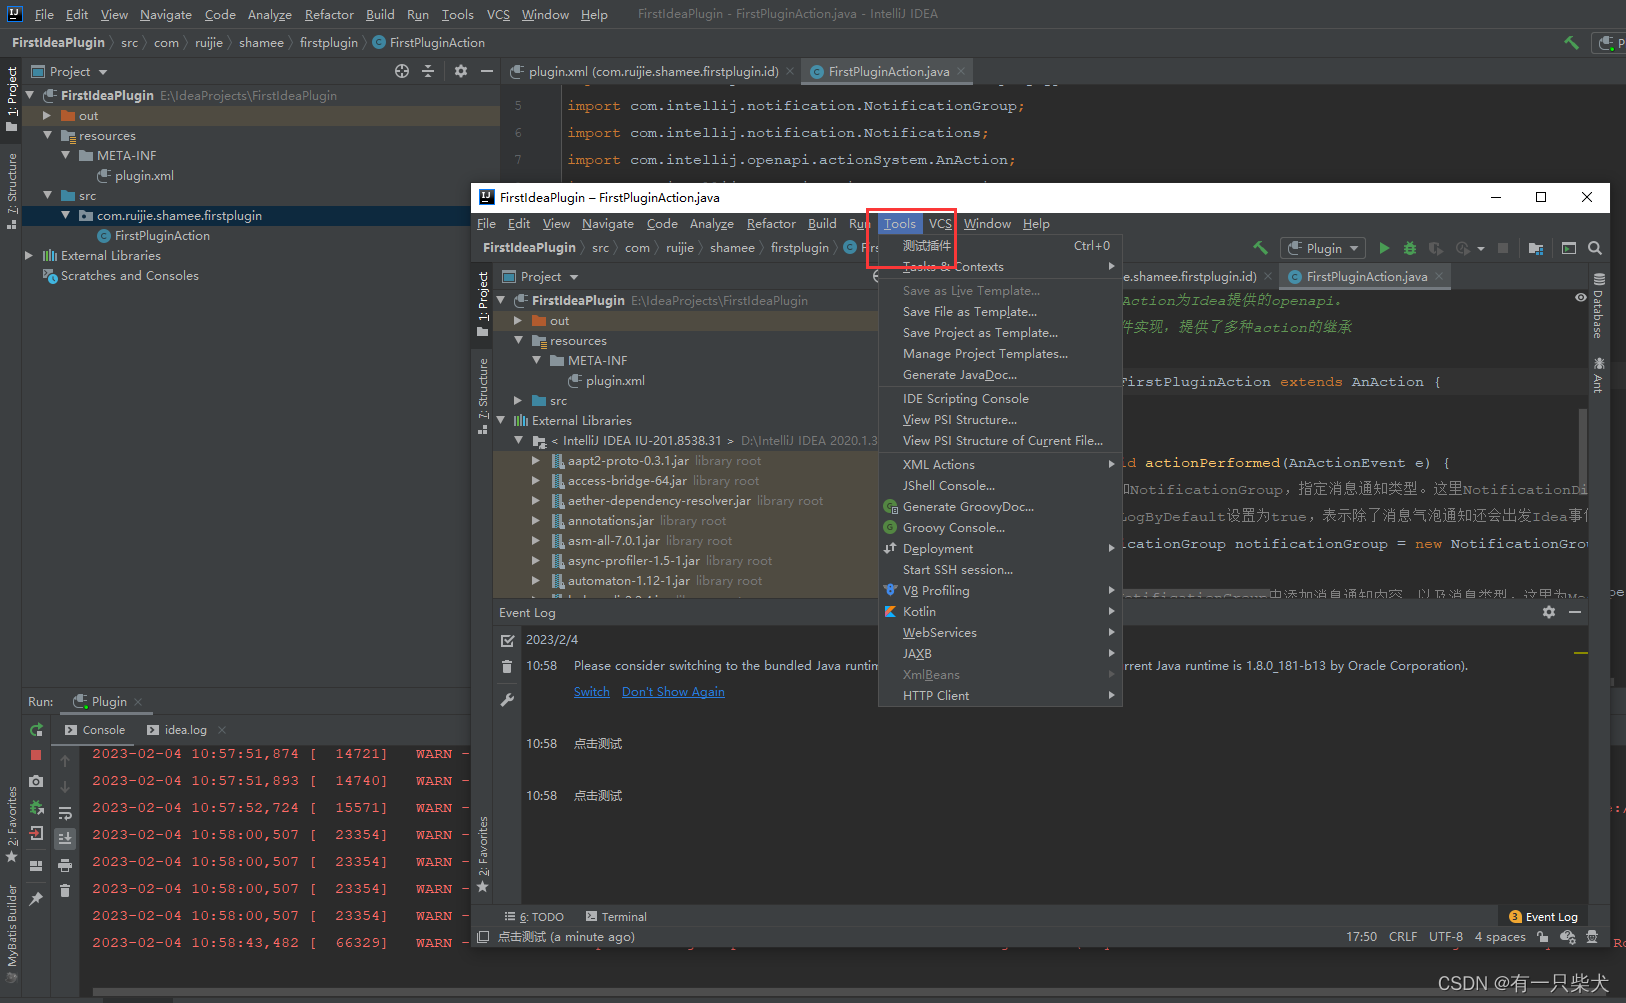
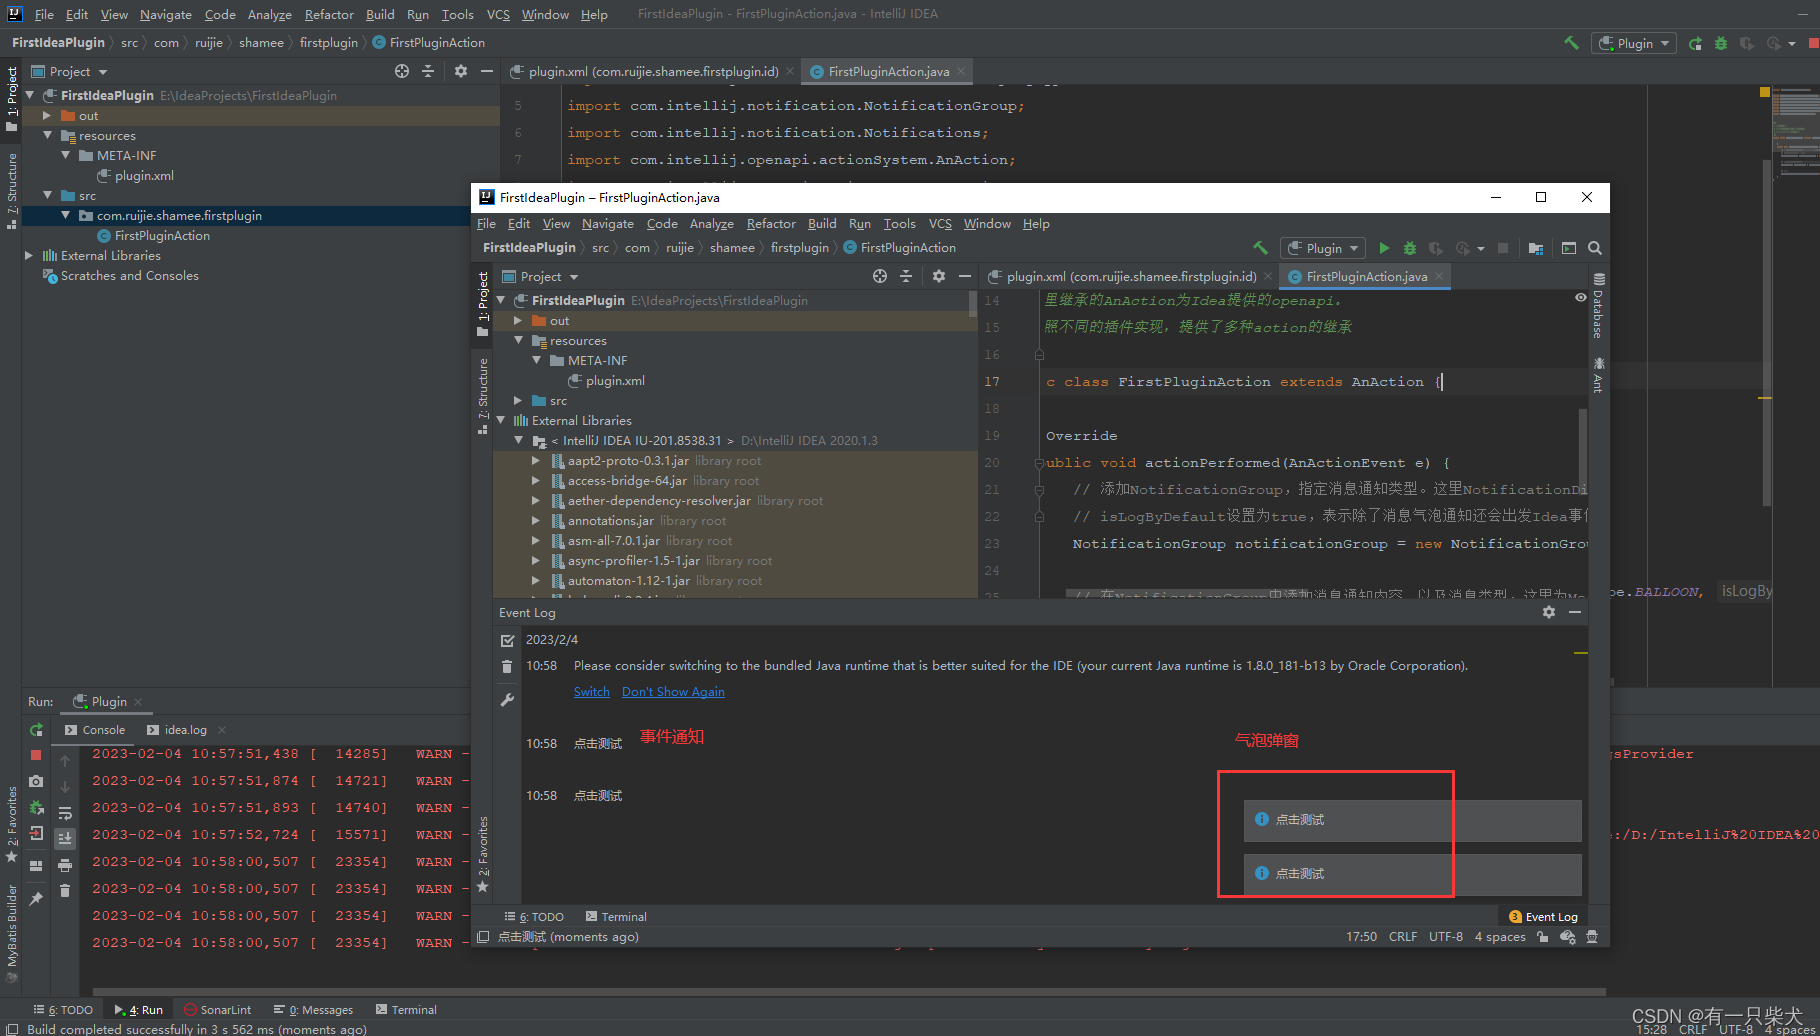
快捷键ctrl+0也会触发该消息通知。到此第一个没啥卵用的插件编写完成。
打包安装
打包Build->Prepare Plugin Module 'xxx' For Deployment
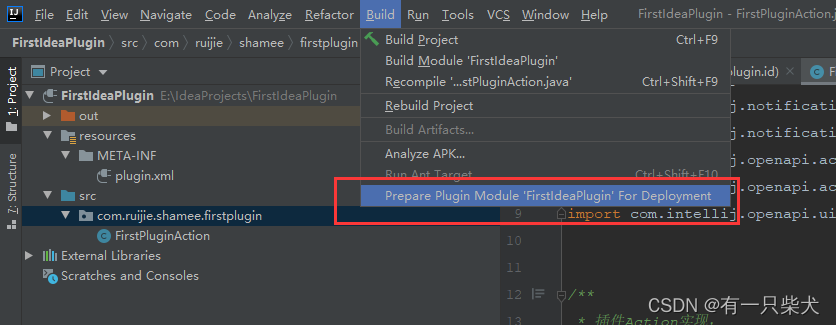
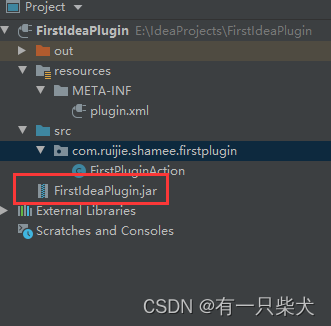
打包完成后,工程地下生成FirstPlugin.jar
安装。File->Setting->Plugins,点击Installed旁边的齿轮,选择Install Plugin From DIsk...
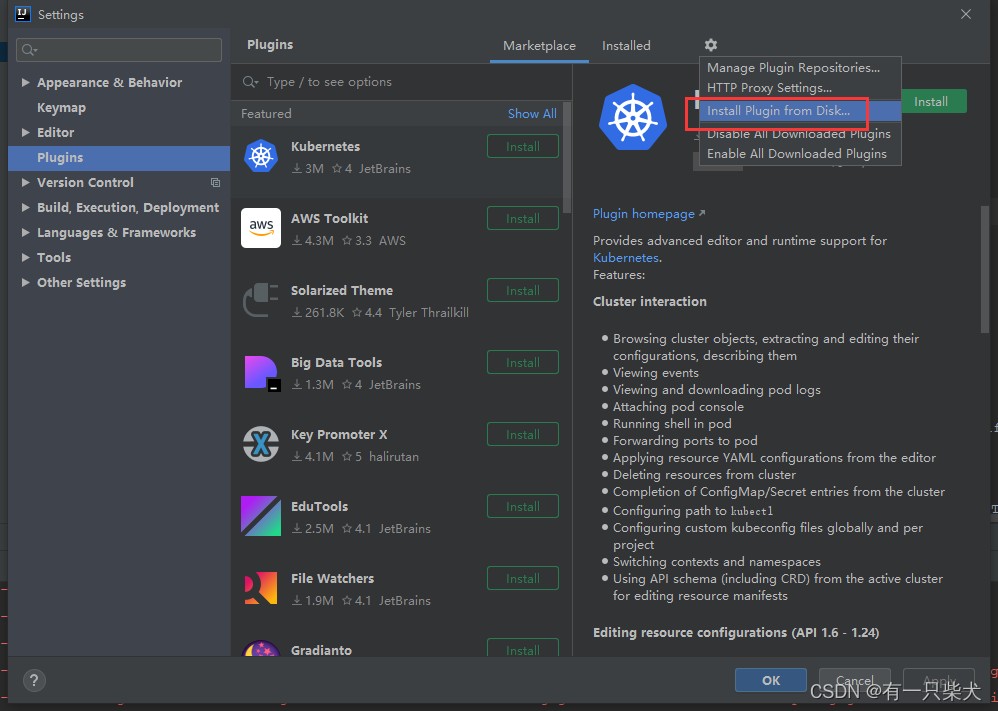
选择生成的jar,即可安装成功。之后idea重启后,插件便生效。
如果需要发布到插件市场,需要注册idea账号并上idea开发者后台提交上传即可,这里仅作随笔,不上传。