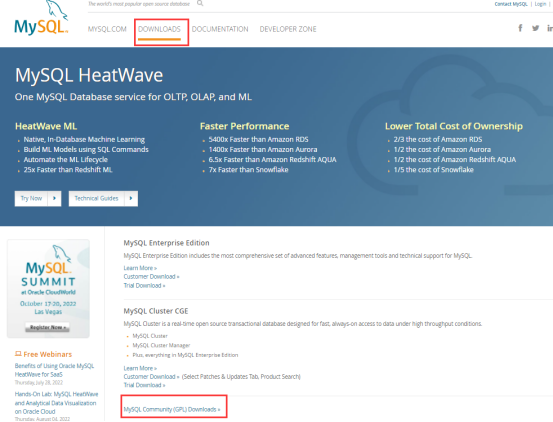
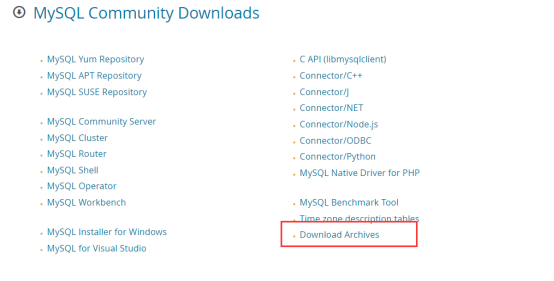
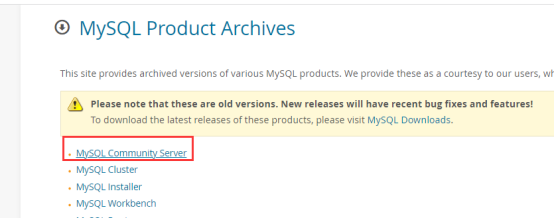
1、软件下载
1.1、下载地址:https://www.mysql.com/

2、Linux 查看centos版本(用于mysql版本选择)
2.1、先使用 yum 安装 redhat-lsb:yum install -y redhat-lsb
2.2、安装完成后,使用 -a 查看:lsb_release -a

3、操作命令
3.1、新建mysql文件夹,将下载的压缩包放进去
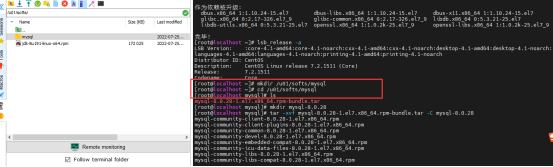
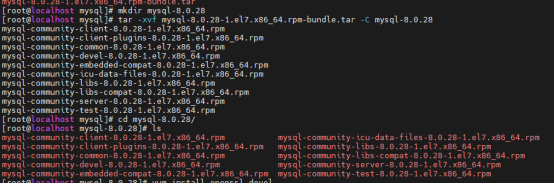
3.2、新建一个mysql-8.0.28(数据库版本)文件夹,将压缩包解压到当前文件夹
tar -xvf mysql-8.0.28-1.el7.x86_64.rpm-bundle.tar -C mysql-8.0.28
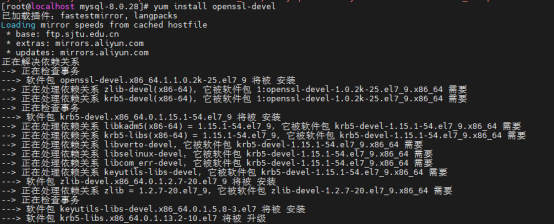
3.3、在安装执行 rpm 安装包之前先下载 openssl-devel 插件,因为 mysql 里面有些 rpm 的安装依赖于该插件
yum install openssl-devel
3.4、安装完该插件之后,依次执行以下命令安装这些 rpm 包
rpm -ivh mysql-community-common-8.0.28-1.el7.x86_64.rpm
rpm -ivh mysql-community-client-plugins-8.0.28-1.el7.x86_64.rpm
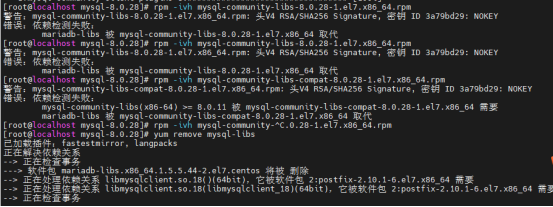
rpm -ivh mysql-community-libs-8.0.28-1.el7.x86_64.rpm
rpm -ivh mysql-community-libs-compat-8.0.28-1.el7.x86_64.rpm
rpm -ivh mysql-community-devel-8.0.28-1.el7.x86_64.rpm
rpm -ivh mysql-community-client-8.0.28-1.el7.x86_64.rpm
rpm -ivh mysql-community-icu-data-files-8.0.28-1.el7.x86_64.rpm
rpm -ivh mysql-community-server-8.0.28-1.el7.x86_64.rpm

community-libs会提示mariadb-libs 被 mysql-community-libs-compat-8.0.28-1.el7.x86_64 取代时 需要清除之前安装过的yum remove mysql-libs
4、数据库连接
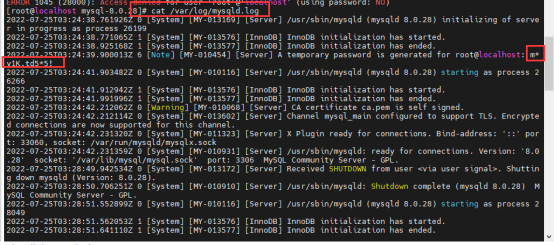
4.1、数据库连接:mysql -u root -p
4.2、查看默认密码:cat /var/log/mysqld.log
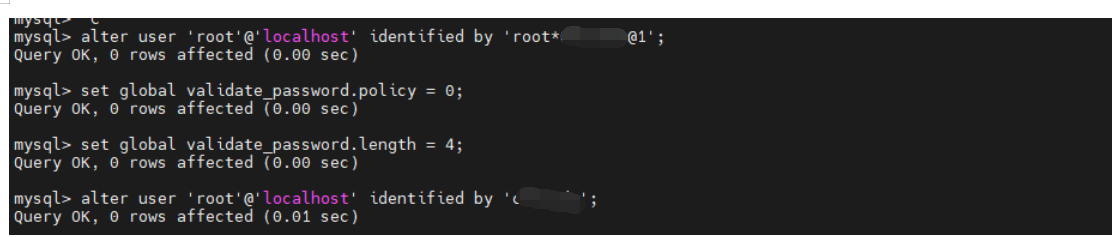
4.3、修改密码,若密码强度比较弱时需要降低
·第一次要先修改密码:alter user 'root'@'localhost' identified by 'root*xxx@1';
·set global validate_password.policy = 0;
·set global validate_password.length = 4;
·alter user 'root'@'localhost' identified by 'xxxx';
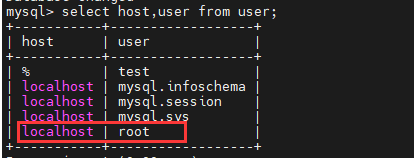
对外授权
·show databases;

· select host,user from user;
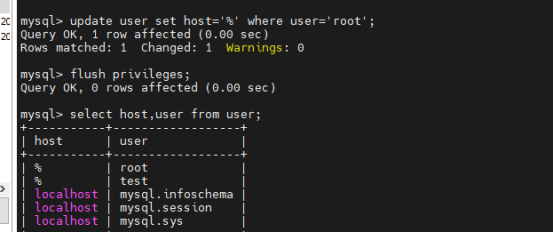
· update user set host='%' where user='root';
5、创建新的库
5.1、创建用户:create user 'test'@'%' identified with mysql_native_password by 'xxx';
5.2、授权:grant all on *.* to 'test'@'%';
************************使用连接发现版本过高*********************************
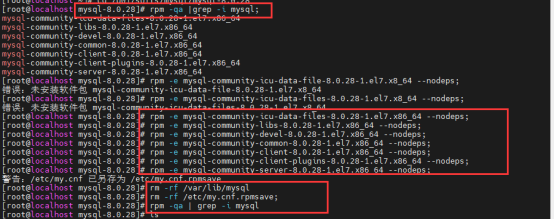
1、卸载
1.1、关闭mysql:systemctl stop mysqld
1.2、查看已安装的:# rpm -qa |grep -i mysql;然后删除对应
·删除MySQL的数据存放目录:rm -rf /var/lib/mysql
·删除MySQL的配置文件备份:rm -rf /etc/my.cnf.rpmsave;
2、mysql安装
2.1、安装包解压: tar -xvf MySQL-5.6.34-1.linux_glibc2.5.x86_64.rpm-bundle.tar
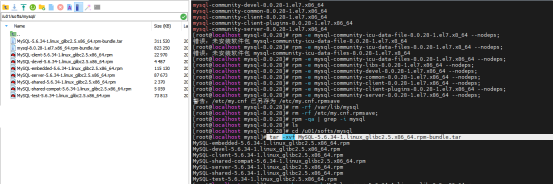
2.2、安装对应的包
· rpm -ivh MySQL-server-5.6.34-1.linux_glibc2.5.x86_64.rpm;
· rpm -ivh MySQL-devel-5.6.34-1.linux_glibc2.5.x86_64.rpm;
·rpm -ivh MySQL-client-5.6.34-1.linux_glibc2.5.x86_64.rpm;
·修改配置文件,将MySQL的配置文件拷贝到/etc目录下
cp /user/share/mysql/my-default.cnf/etc/my.cnf;
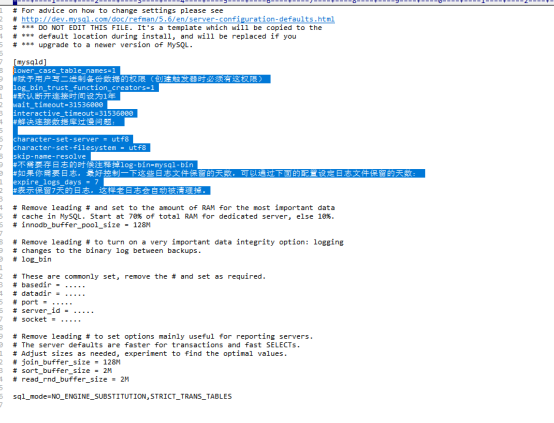
lower_case_table_names=1
#赋予用户写二进制备份数据的权限(创建触发器时必须有这权限)
log_bin_trust_function_creators=1
#默认断开连接时间设为1年
wait_timeout=31536000
interactive_timeout=31536000
#解决连接数据库过慢问题:
character-set-server = utf8
character-set-filesystem = utf8
skip-name-resolve
#不需要存日志的时候注释掉log-bin=mysql-bin
#如果你需要日志,最好控制一下这些日志文件保留的天数,可以通过下面的配置设定日志文件保留的天数:
expire_logs_days = 7
#表示保留7天的日志,这样老日志会自动被清理掉。
2.3、启动mysql:service mysql start;

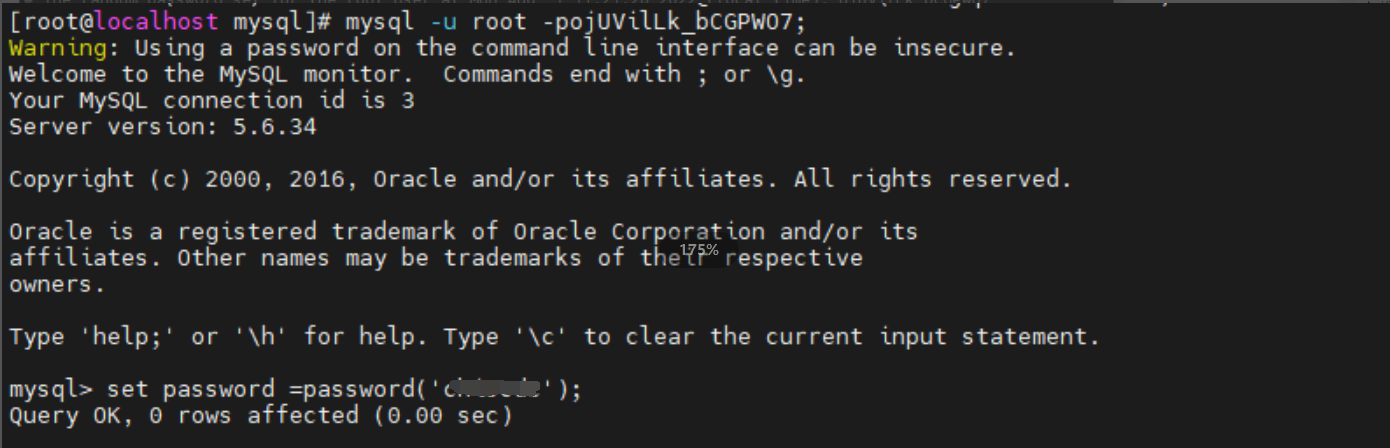
2.4、查看root账号初始密码
·cat /root/.mysql_secret;

2.5、修改密码
·set password =password('xxx');
2.6、设置远程主机登录
·use mysql;
·select host,user from user;
·grant all privileges on *.* to 'root'@'%' identified by 'chiscdc' with grant option;
·flush privileges;


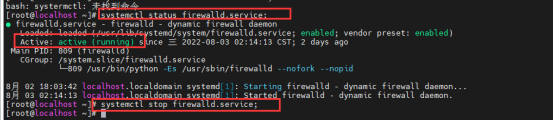
若还是连接不上 关闭防火墙
·查询防火墙是否开启:systemctl status firewalld.service;
·暂时关闭: systemctl stop firewalld.service;
·永久关闭:systemctl disable firewalld.service ;