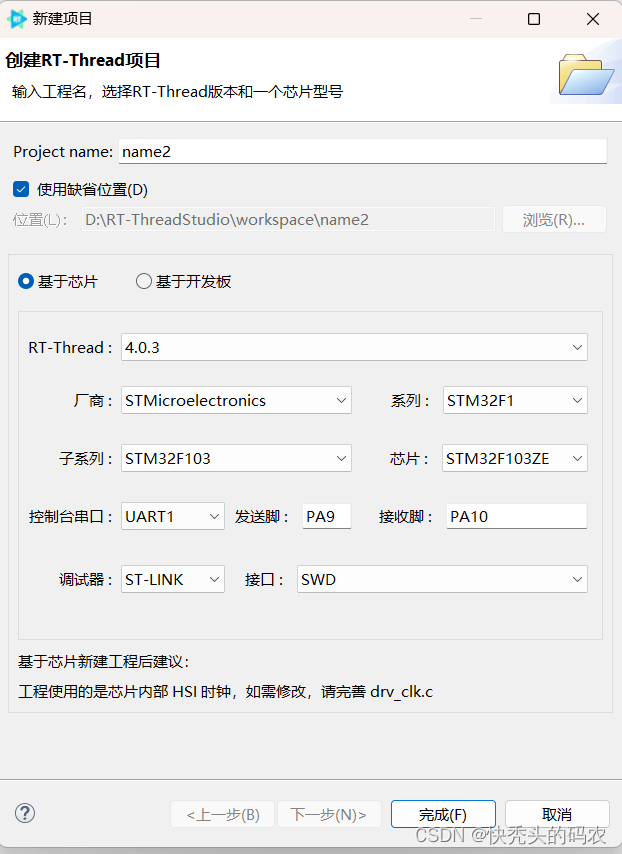
1创建项目 我的板子为STM32F03ZET6

点击RT-Thread项目
2选择板子(根据自己的板子选择)
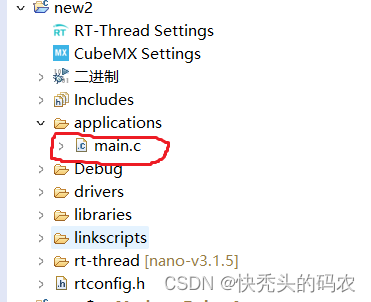
3找到主函数
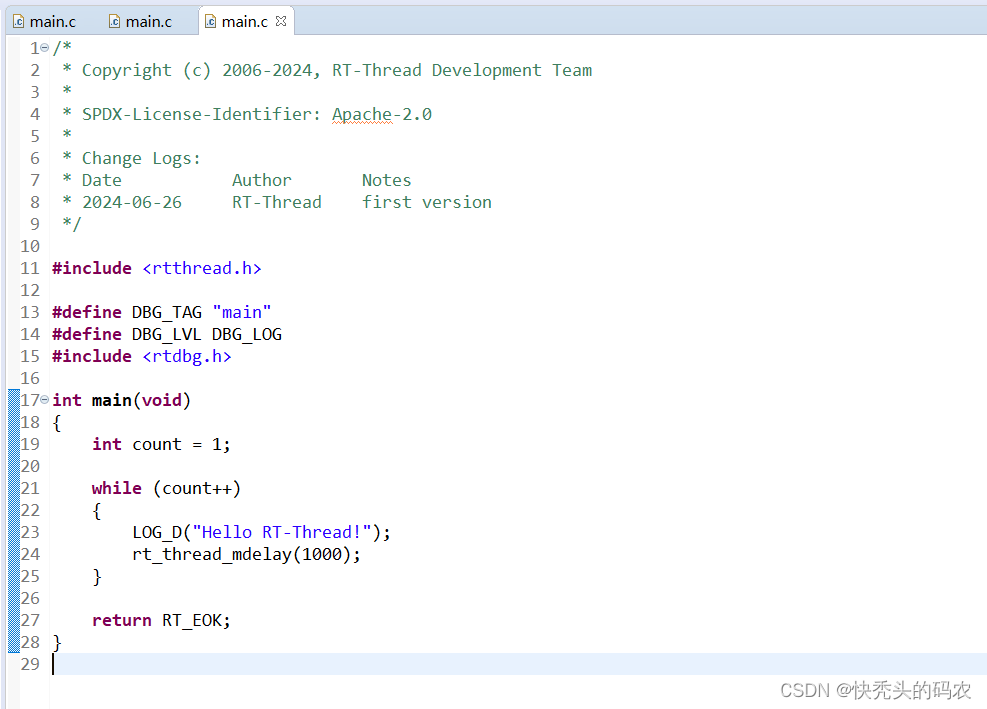
4编写代码
4-1创建函数入口
// 线程入口函数
static void thread_entry(void *parameter)
{
    rt_uint32_t count = 0;
    while (1)
    {
        // 线程执行的代码
        rt_kprintf("Thread count: %d\n", count++);
        rt_thread_delay(1000); // 线程延时,单位为毫秒
    }
}
4-2在main函数中启动线程
//定义线程控制块
        rt_thread_t tid = RT_NULL;

        // 动态创建线程
        tid = rt_thread_create("dynamic_thread",
                               thread_entry, // 线程入口函数
                               RT_NULL,     // 线程入口参数
                               512,         // 线程栈大小
                               25,          // 线程优先级
                               20);         // 线程时间片
        if (tid != RT_NULL)//判断是否成功创建
        {
            // 启动线程
            rt_thread_startup(tid);
        }
4-3全部代码
/*
 * Copyright (c) 2006-2024, RT-Thread Development Team
 *
 * SPDX-License-Identifier: Apache-2.0
 *
 * Change Logs:
 * Date           Author       Notes
 * 2024-06-26     RT-Thread    first version
 */

#include <rtthread.h>

#define DBG_TAG "main"
#define DBG_LVL DBG_LOG
#include <rtdbg.h>


// 线程入口函数
static void thread_entry(void *parameter)
{
    rt_uint32_t count = 0;
    while (1)
    {
        // 线程执行的代码
        rt_kprintf("Thread count: %d\n", count++);
        rt_thread_delay(1000); // 线程延时,单位为毫秒
    }
}


int main(void)
{
    int count = 1;
        //定义线程控制块
        rt_thread_t tid = RT_NULL;

        // 动态创建线程
        tid = rt_thread_create("dynamic_thread",
                               thread_entry, // 线程入口函数
                               RT_NULL,     // 线程入口参数
                               512,         // 线程栈大小
                               25,          // 线程优先级
                               20);         // 线程时间片
        if (tid != RT_NULL)//判断是否成功创建
        {
            // 启动线程
            rt_thread_startup(tid);
        }


    while (count++)
    {
        LOG_D("Hello RT-Thread!");
        rt_thread_mdelay(1000);
    }

    return RT_EOK;
}
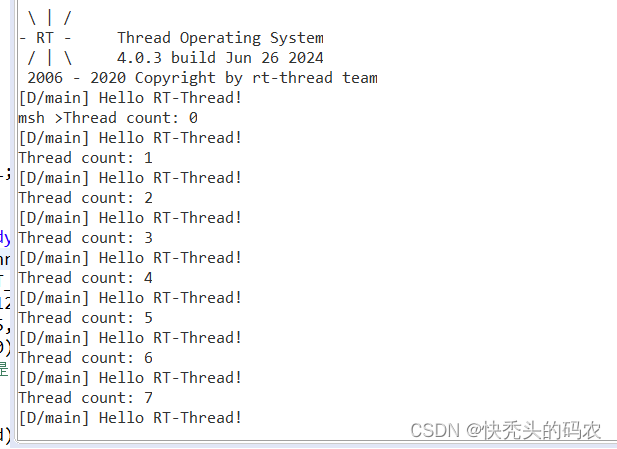
效果(串口输出)
