环境:
centos
Jenkins-2.319
系统自带git
mvn3.8.7
jdk1.8
一、安装jdk
1、https://blog.csdn.net/codedz/article/details/124044974
centos自带了openjdk,我是选择自己重新搞一个,用的上面链接地址的yum安装方式
2、安装完成
查看版本

查看java安装路径
which java
配置环境变量
编辑profile:
vim /etc/profile
profile文件中添加:
export JAVA_HOME=/usr/lib/jvm/java-1.8.0-openjdk-1.8.0.352.b08-2.el7_9.x86_64
export PATH=$JAVA_HOME/bin:$PATH
export CLASSPATH=$JAVA_HOME/lib:$CLASSPATH生效配置:
source /etc/profile查看JAVA_HOME
echo $JAVA_HOME
jdk配置完成
二、安装mvn
1、服务器新建一个文件夹用于存放mvn,
例如我的是:/usr/local/maven
新建:/usr/local/maven/repository 用于存放依赖包
然后 :cd /usr/local/maven 进入maven目录
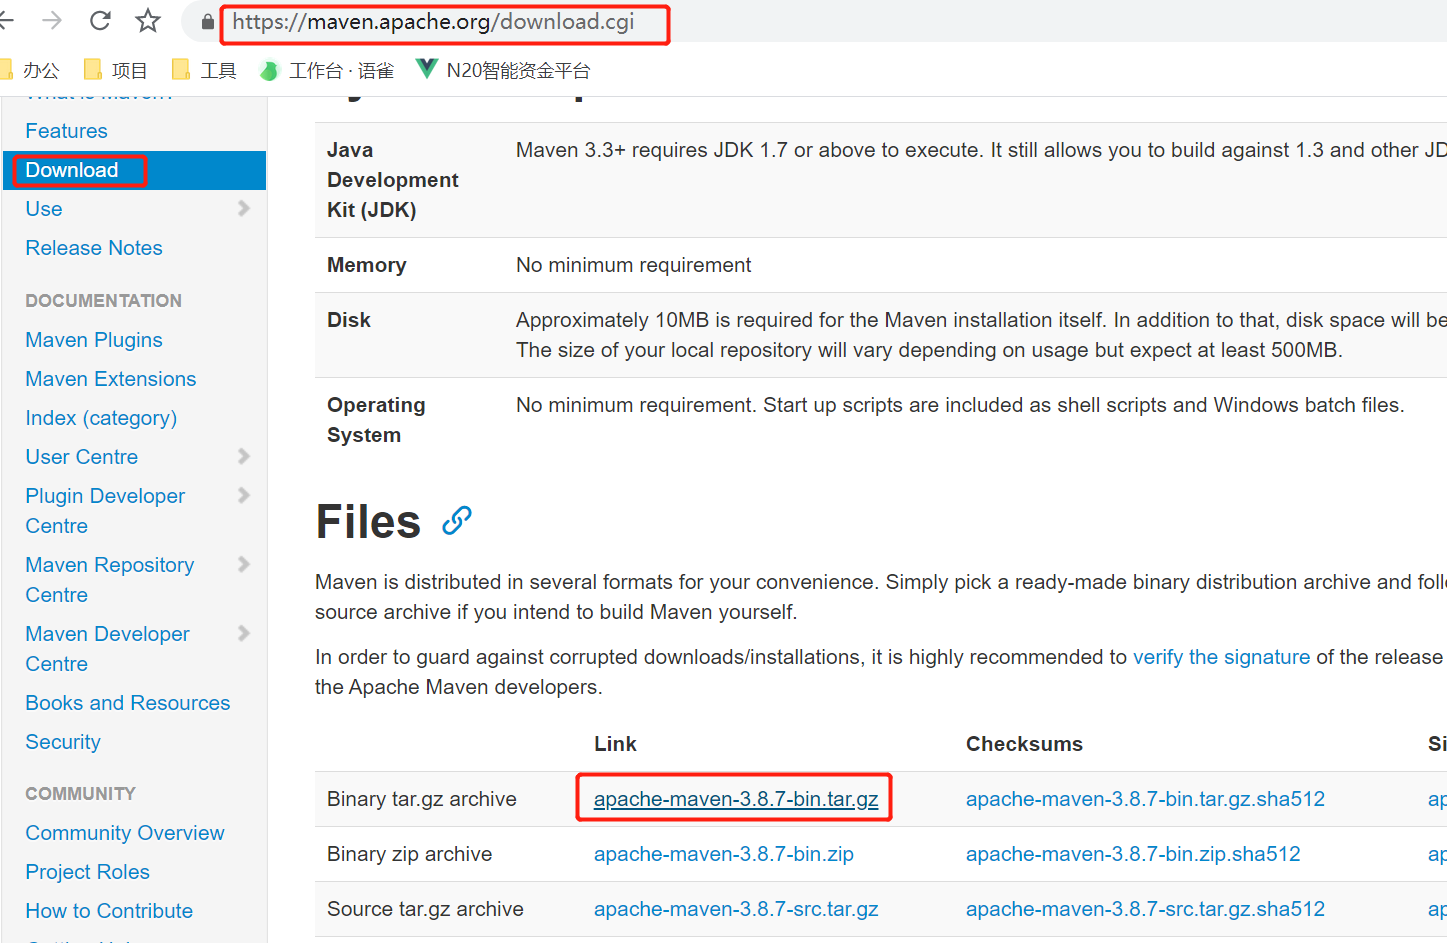
2、下载mvn
https://maven.apache.org/download.cgi
wget https://dlcdn.apache.org/maven/maven-3/3.8.7/binaries/apache-maven-3.8.7-bin.tar.gz如果遇到

使用--no-check-certificate 下载,执行命令时多等一会儿才有反应
wget --no-check-certificate https://dlcdn.apache.org/maven/maven-3/3.8.7/binaries/apache-maven-3.8.7-bin.tar.gz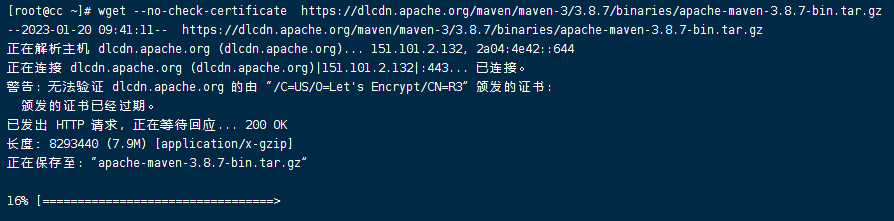
3、下载完成,在当前目录解压
tar -zxvf apache-maven-3.8.7-bin.tar.gz
4、配置Maven环境变量
# 编辑profile文件
vim /etc/profile

# 在配置文件末尾加上maven路径
export MAVEN_HOME=/usr/local/maven/apache-maven-3.8.7
export MAVEN_HOME
export PATH=$PATH:$MAVEN_HOME/bin

# 使配置文件立即生效
source /etc/profile
5、检查安装配置是否成功
mvn -version
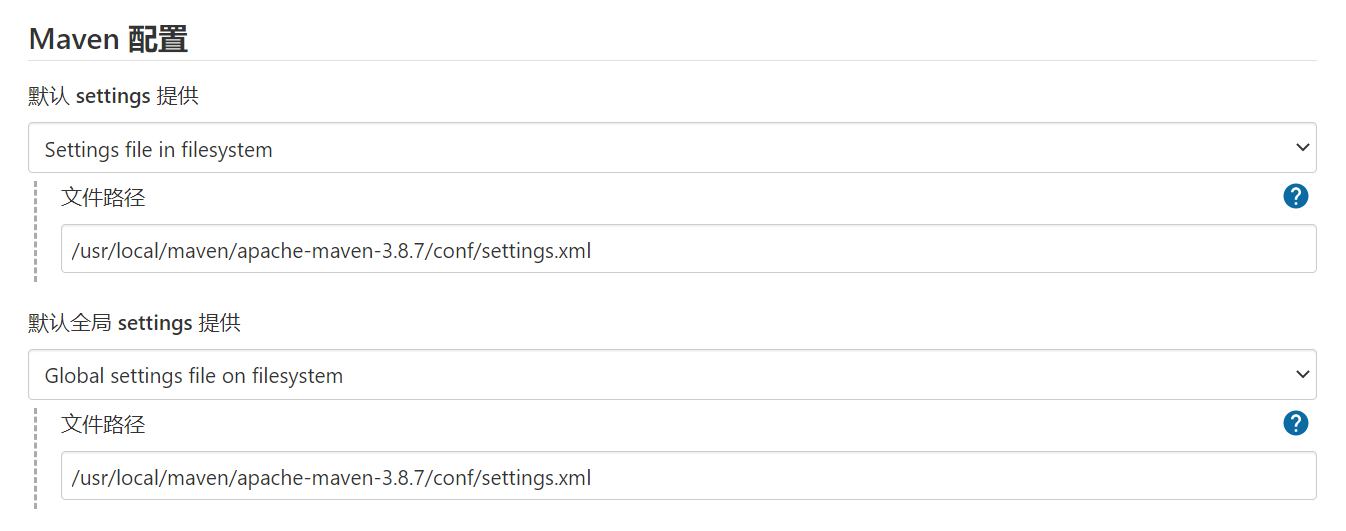
安装后,注意配置setting.xml文件, 同时将maven文件夹赋予所有访问写入权限,不然后续mvn拉取依赖会报权限不足
至此准备工作完成,开始搞jenkins
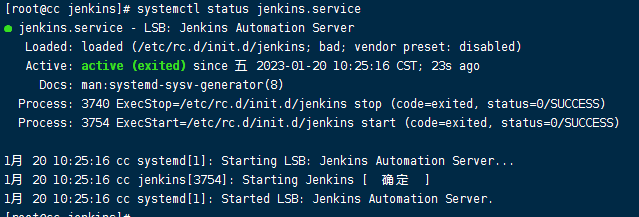
三、jenkins安装
见我的上一篇文章:https://blog.csdn.net/qq_36608921/article/details/128732621
如果不想关闭防火墙,可单独开放访问端口,然后重启防火墙即可
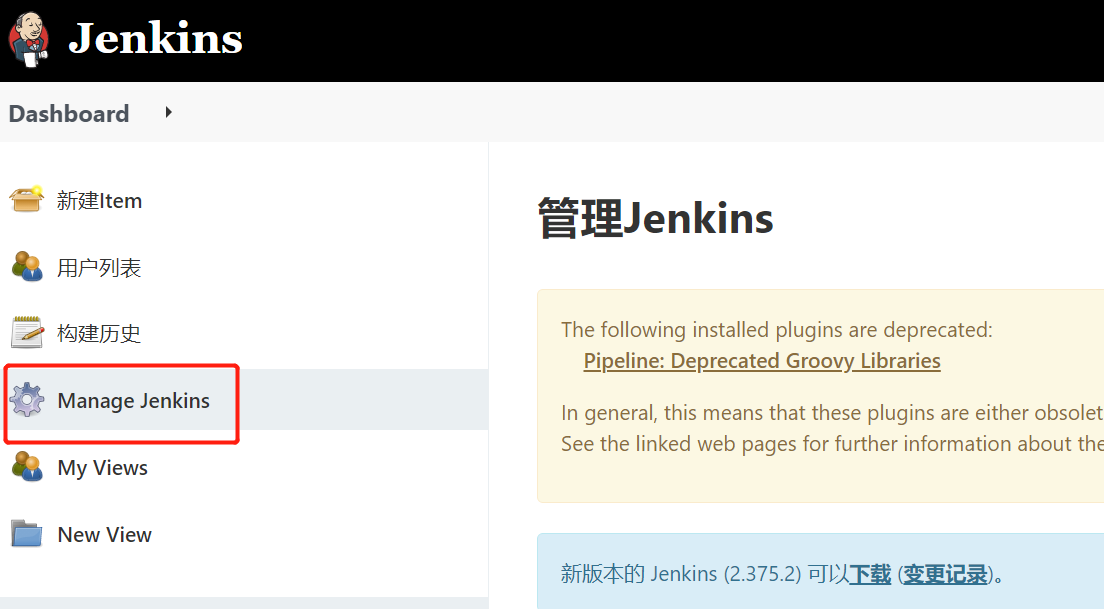
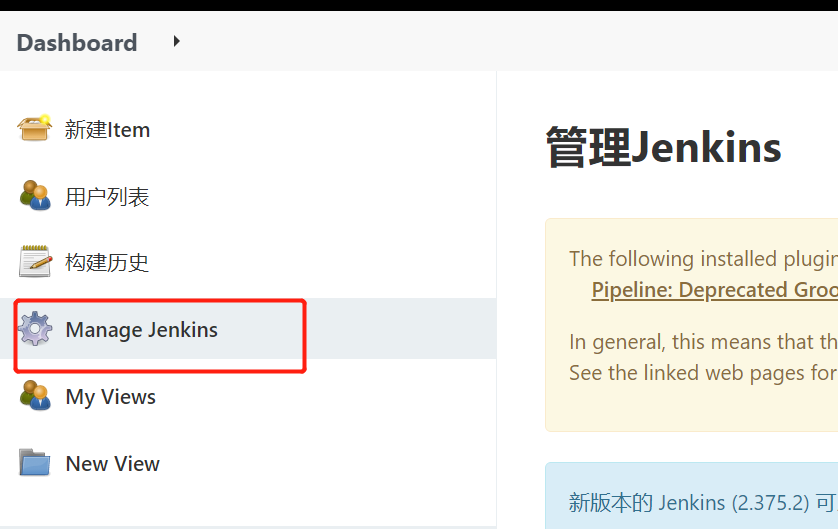
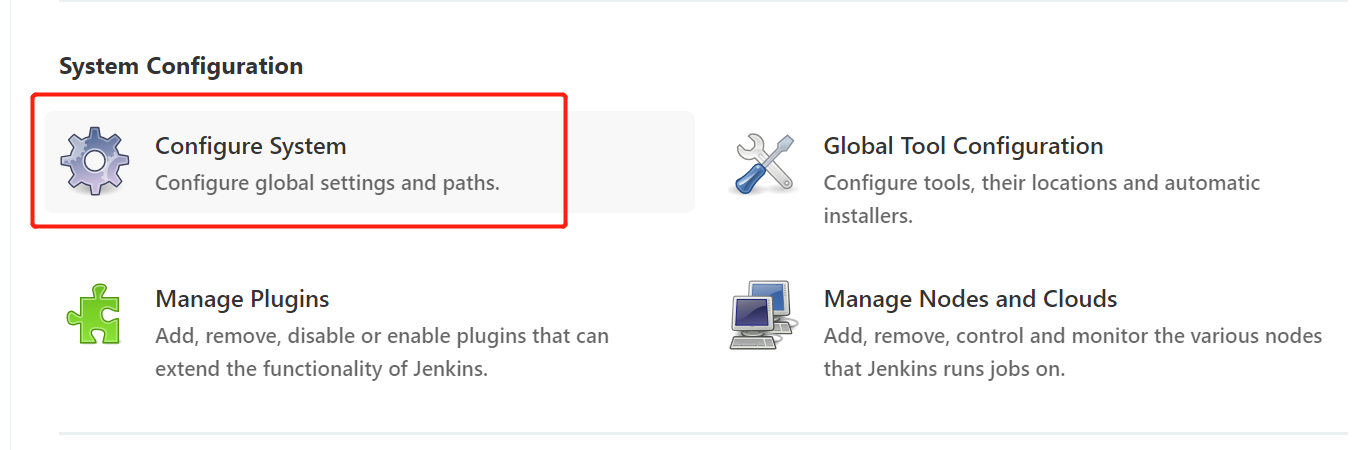
四、配置jenkins
访问:http://服务器ip:9091/
因为我这边8080端口号被占用,所有我改了端口号为:9091
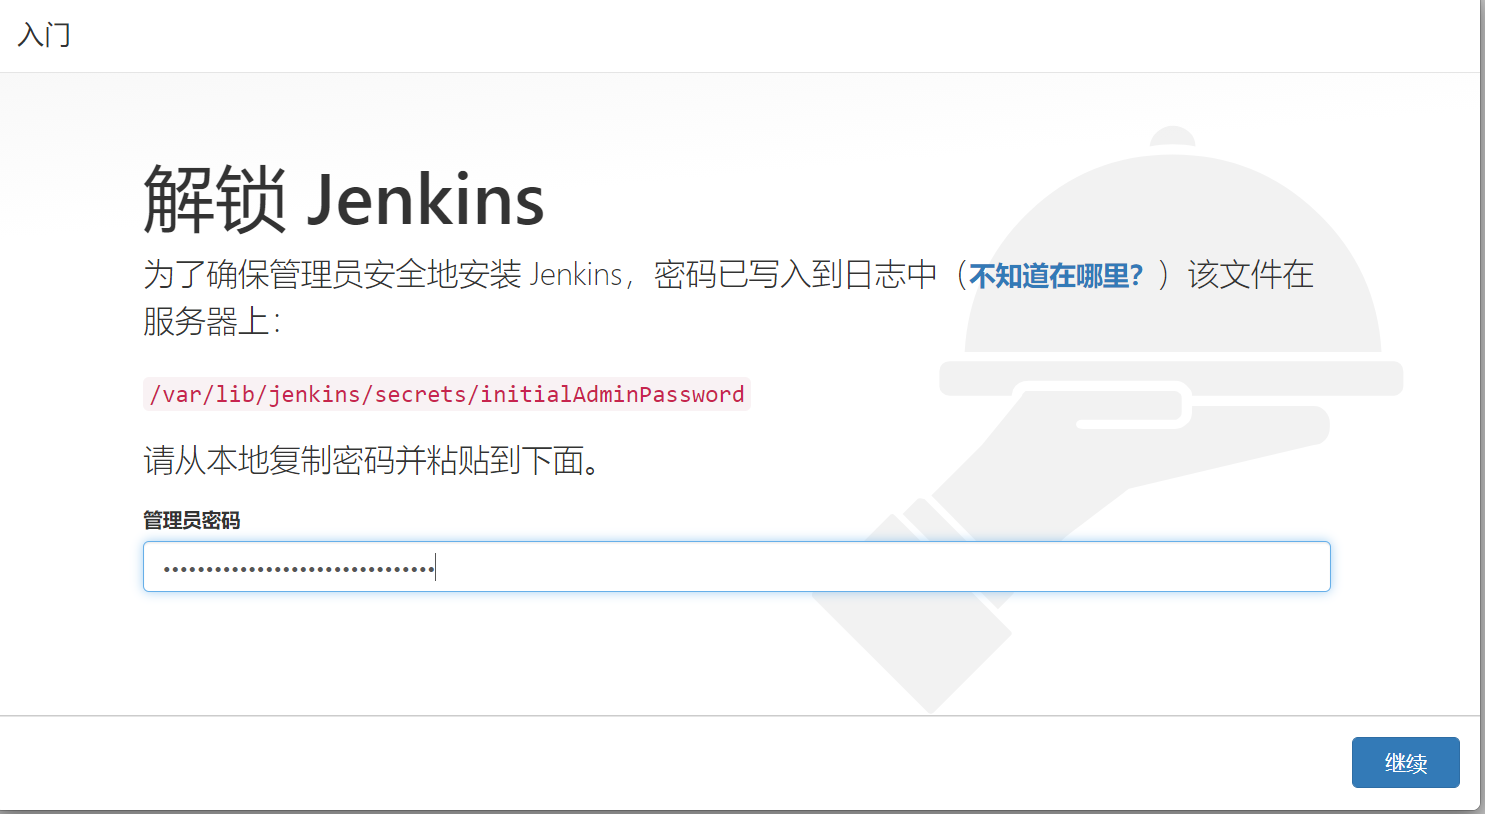
1、初次进入,配置密码(该密码也是admin的默认密码)
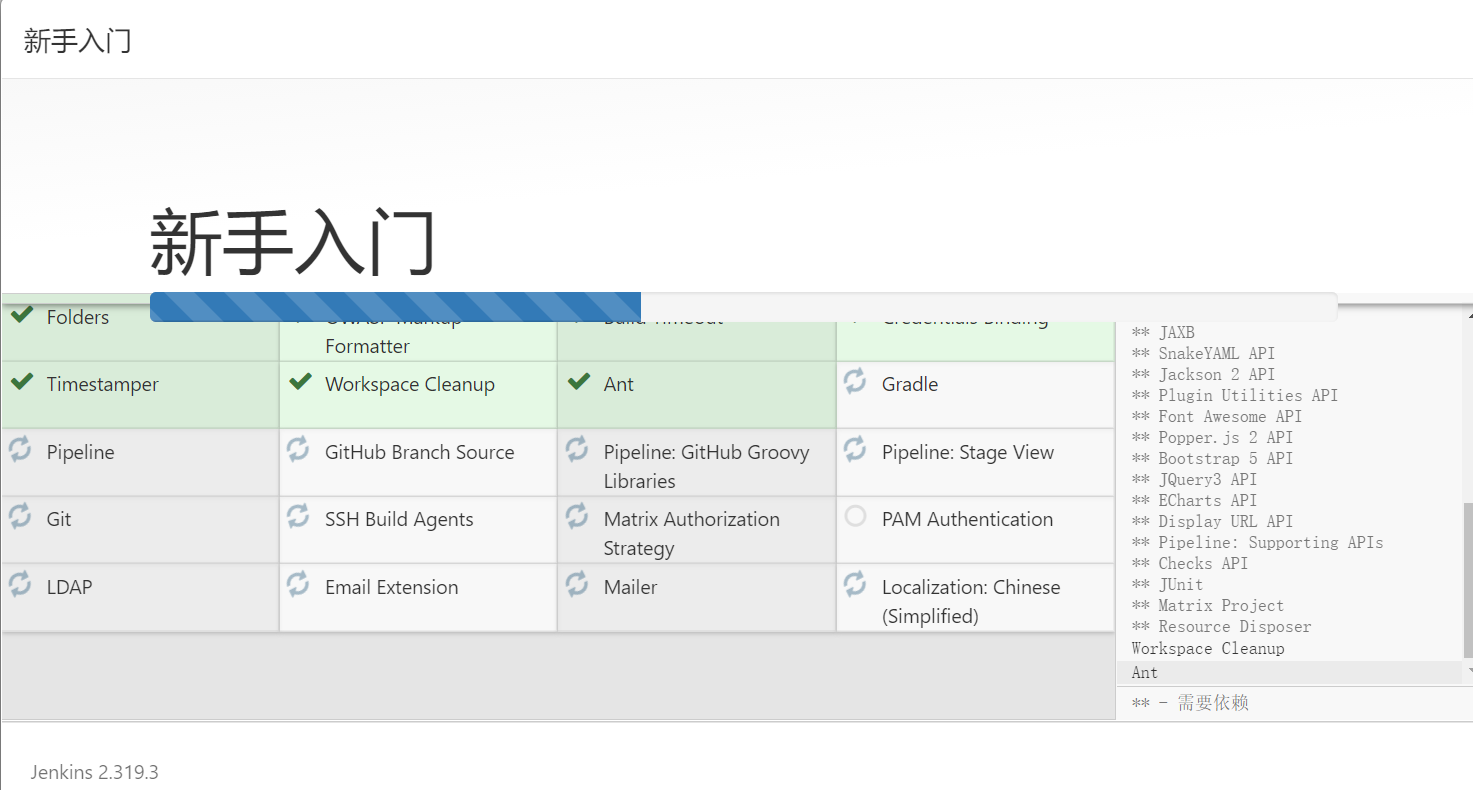
2、安装插件
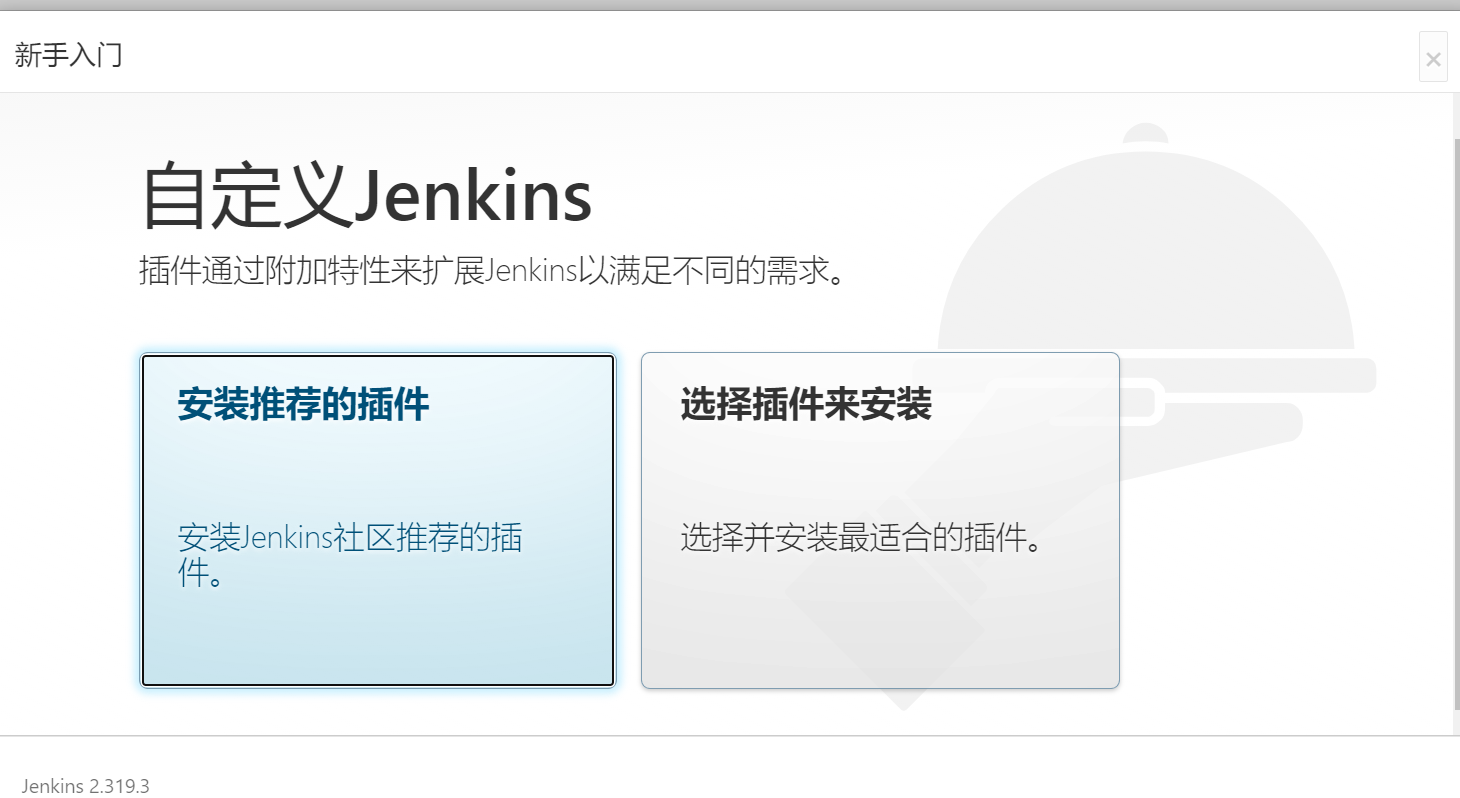
安装gitee插件、git插件

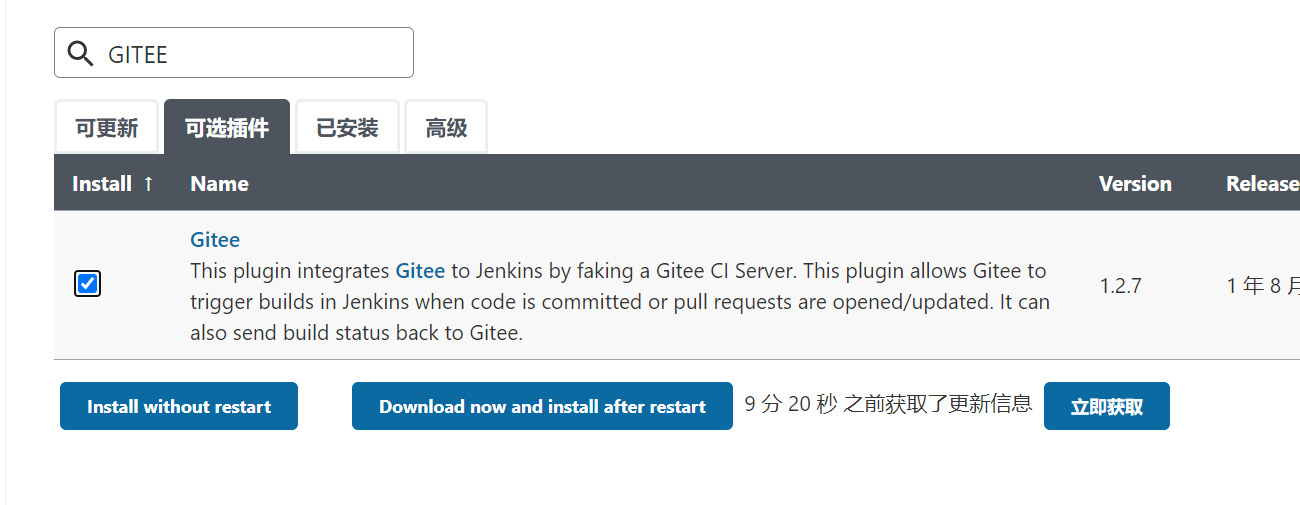
git插件,搜出来很多,管他三七21,差不多看着觉得合适的咔咔的都选上完事
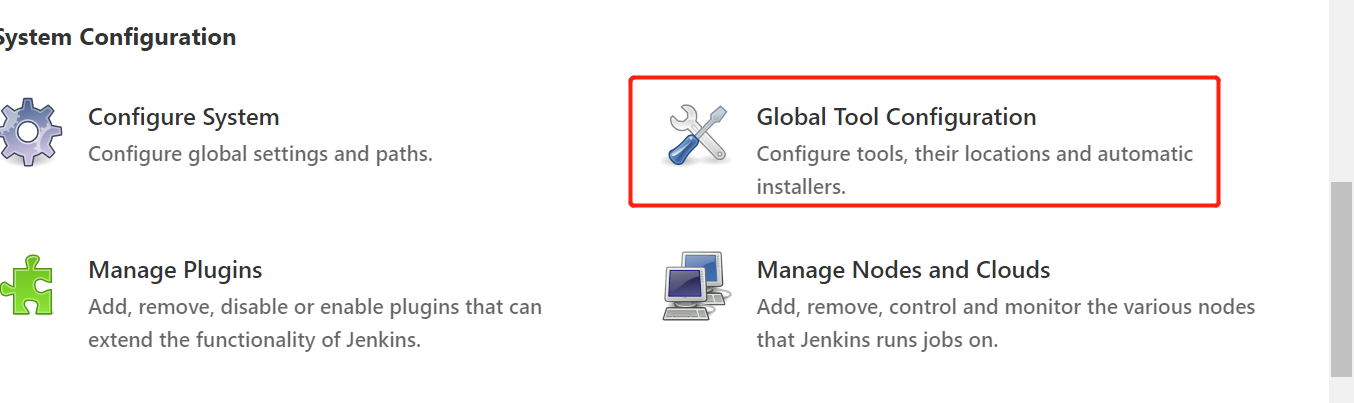
五、配置jdk\mvn\git
其中git默认就好,不用修改
全局工具
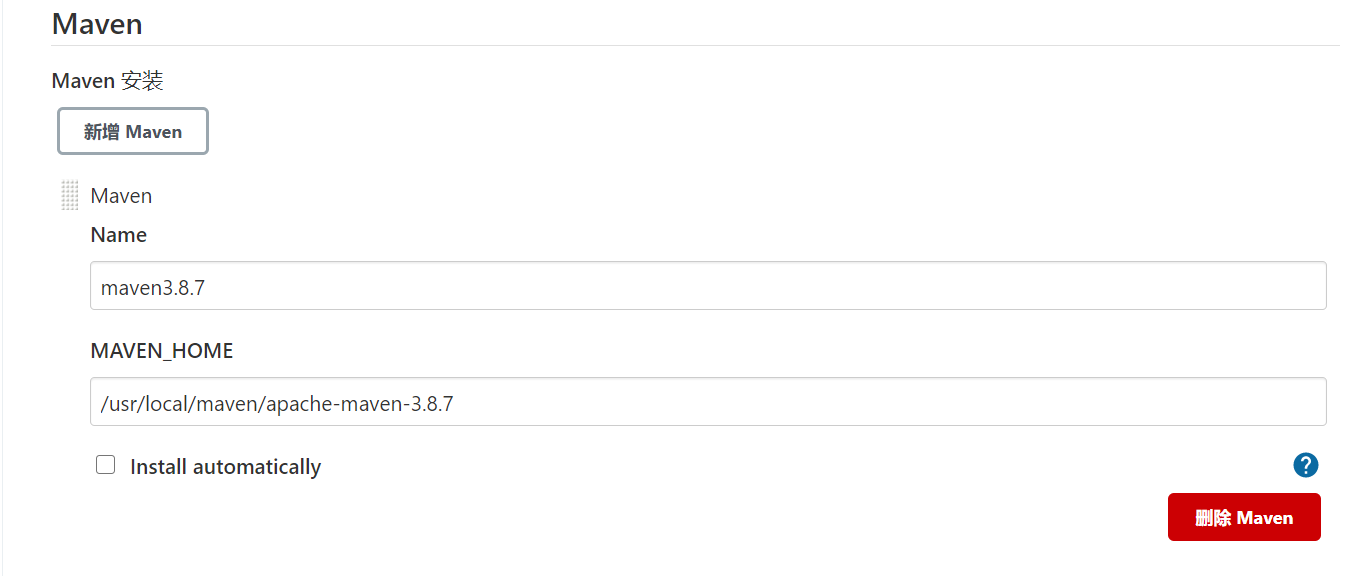
maven
jdk
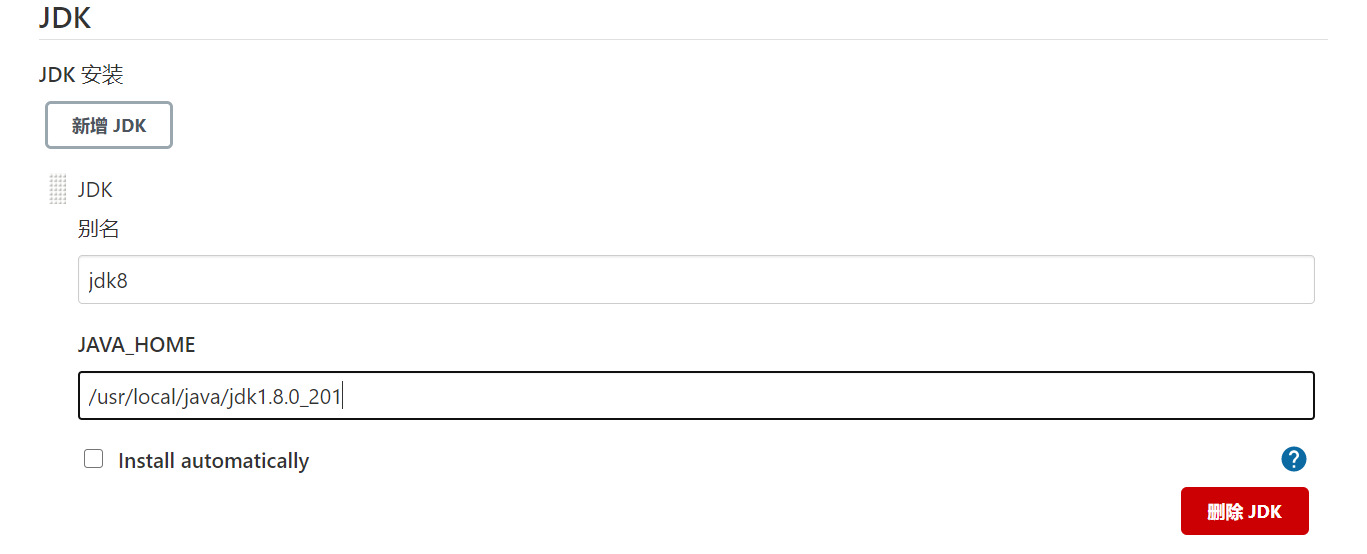
git
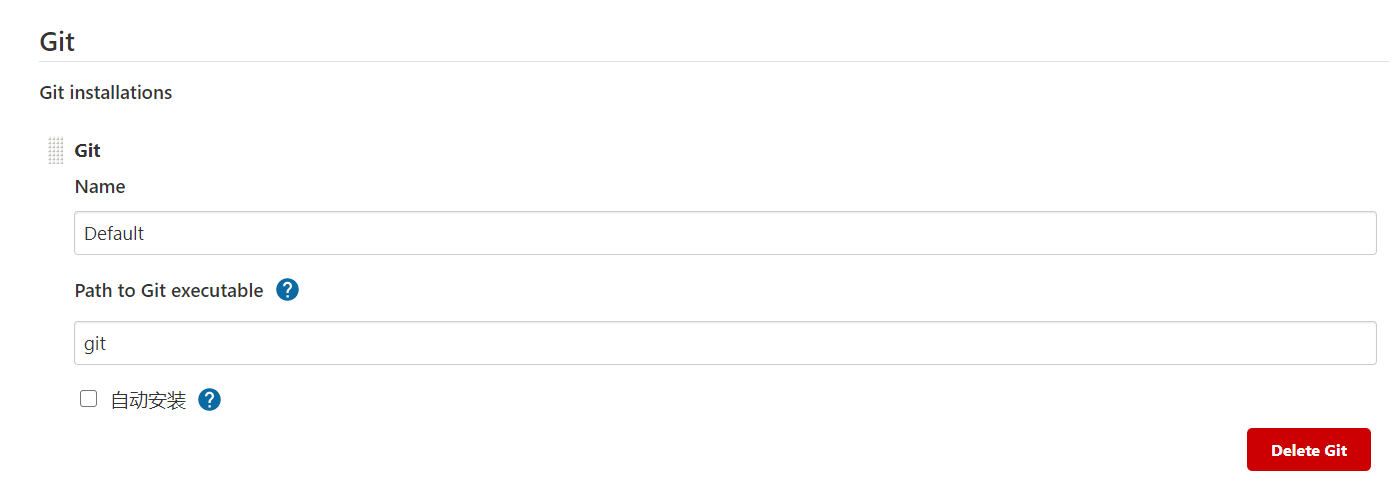
然后保存
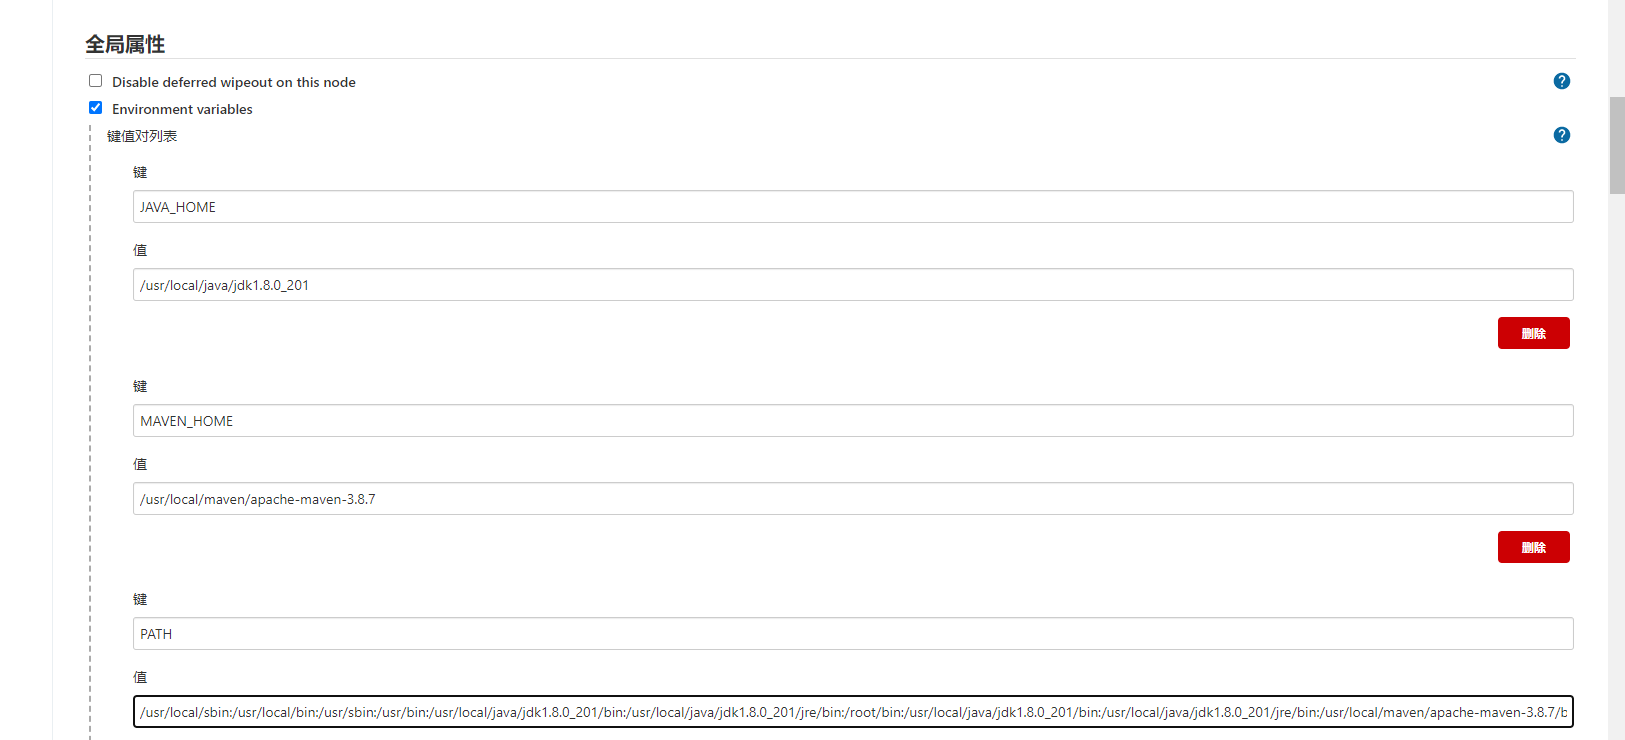
六、java\maven\gitee环境变量配置
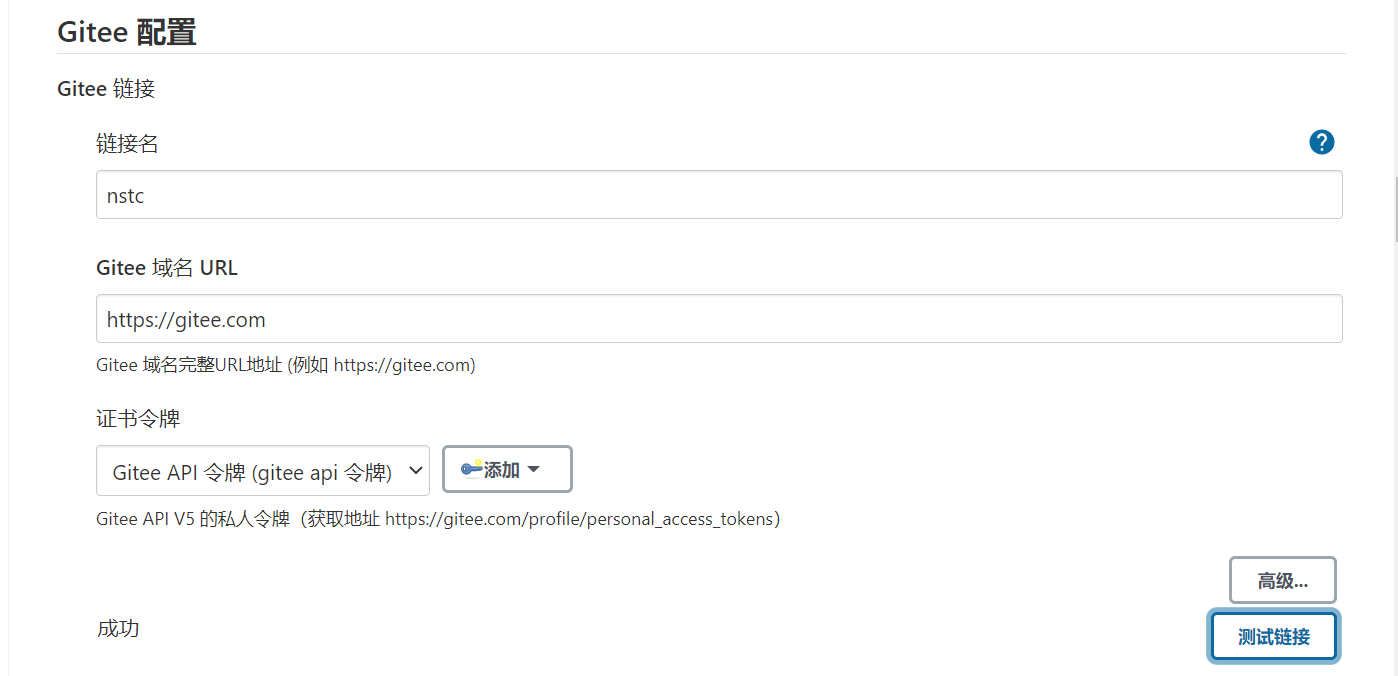
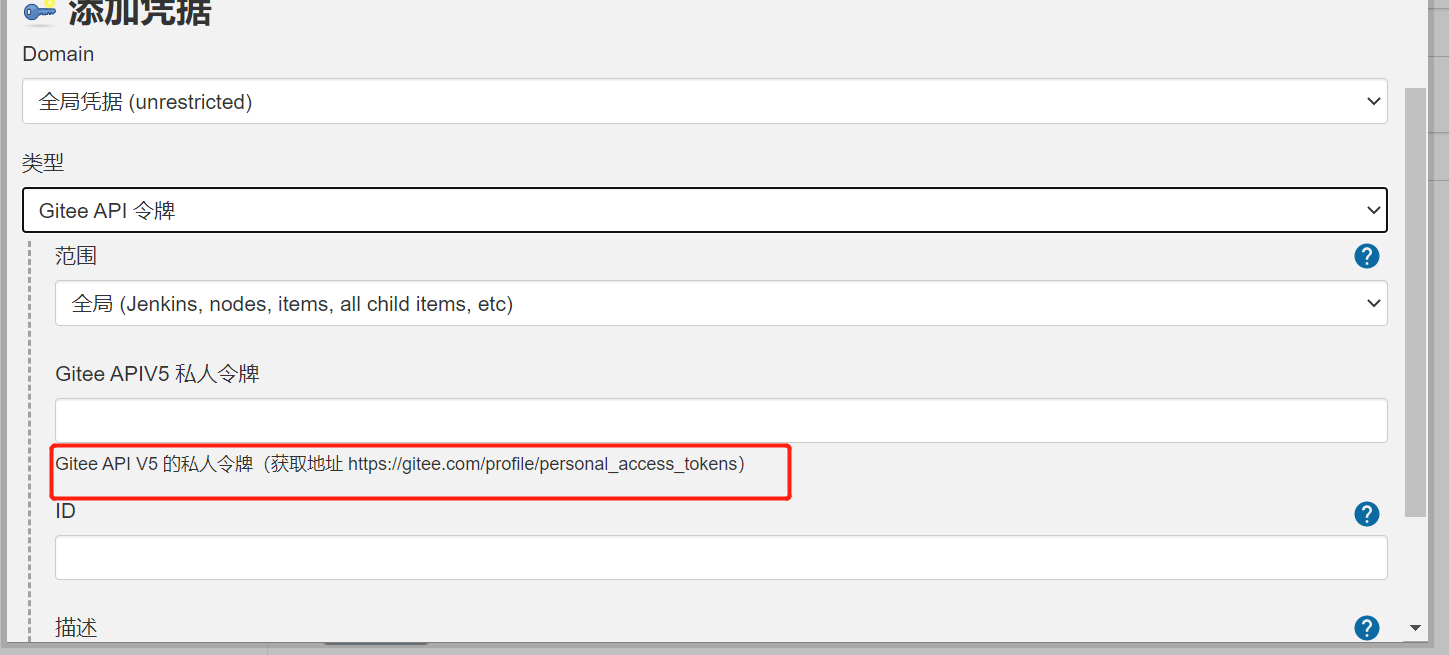
配置gitee需要用户名/密码 或者 gitee 私人令牌
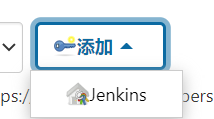
点击 添加-Jenkins;可选择用户名密码 或者 私人令牌,根据操作提示一步一步配置即可
以及下面的maven配置
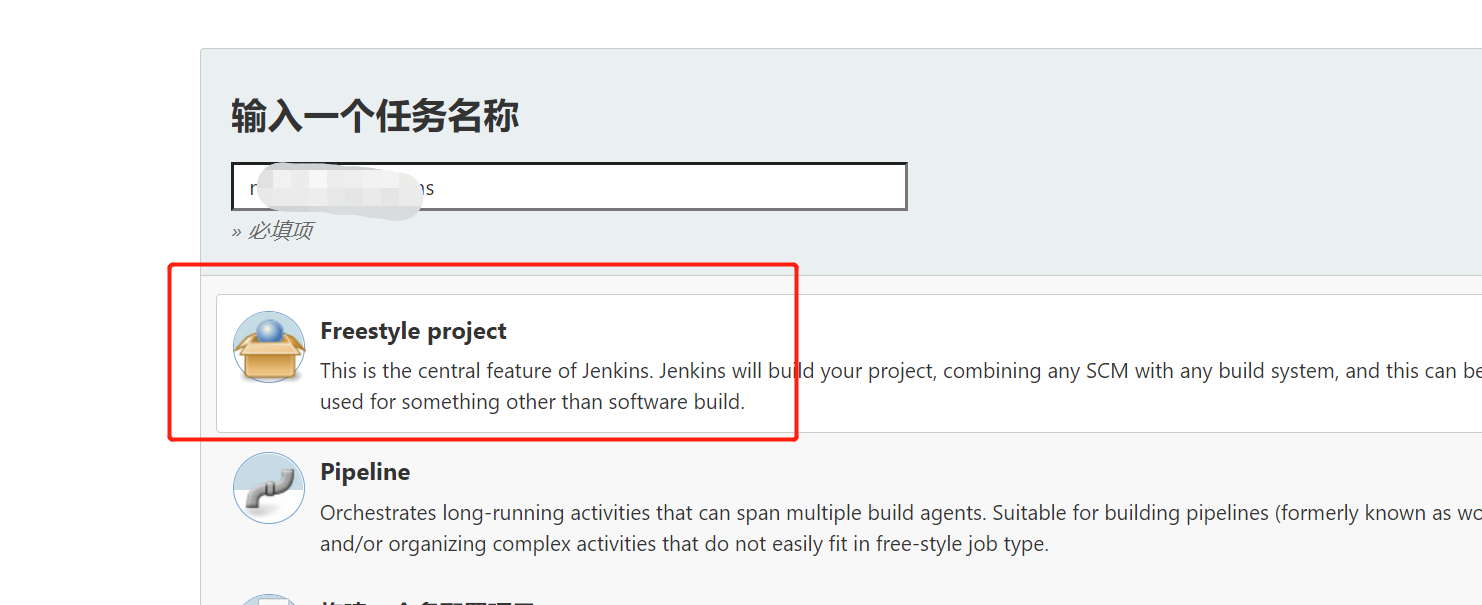
七、创建第一个项目
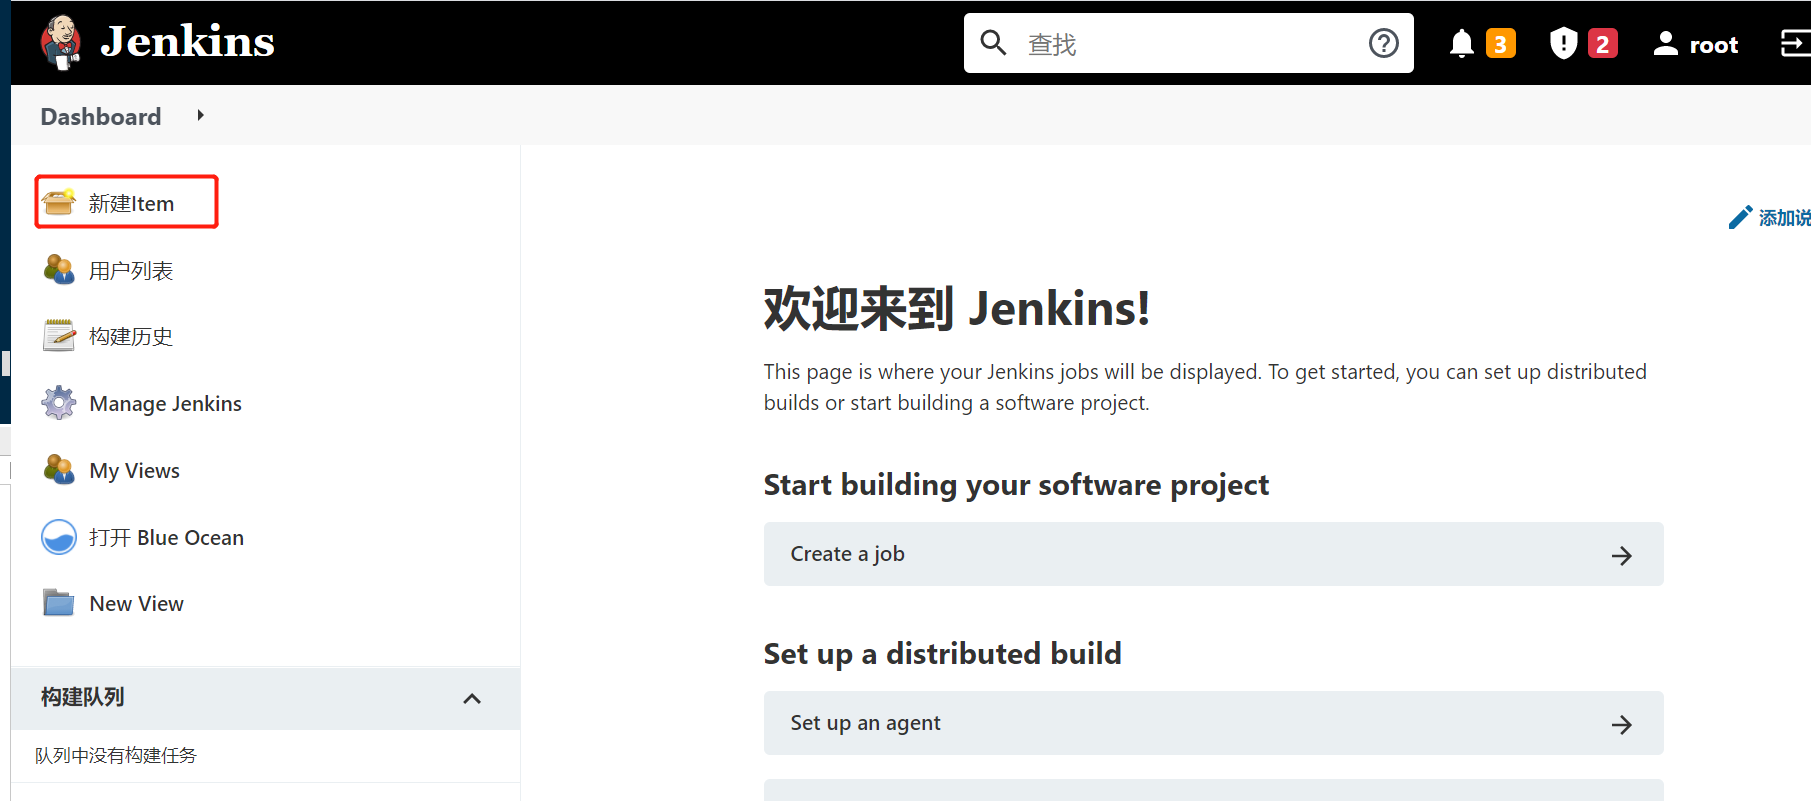
1、填一个名字,选择自由风格类型
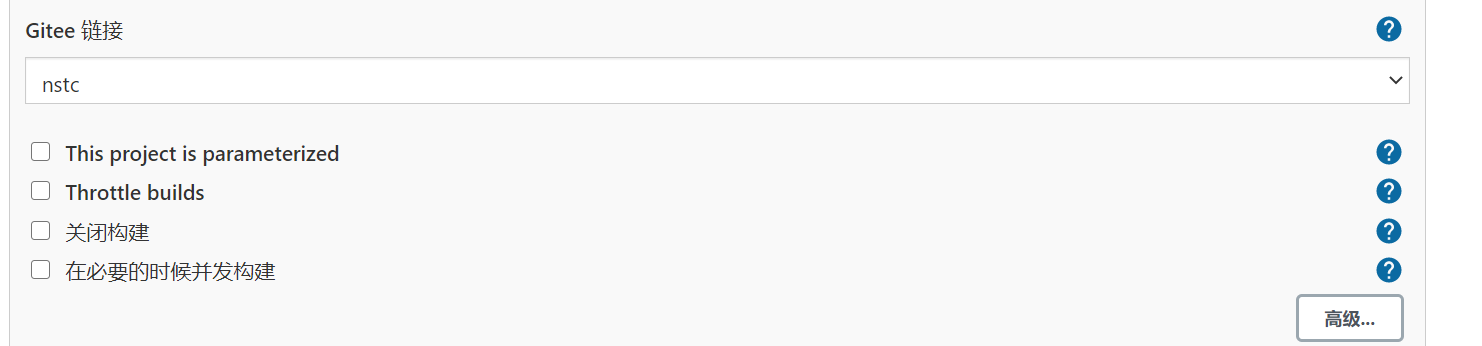
2、选择gitee链接
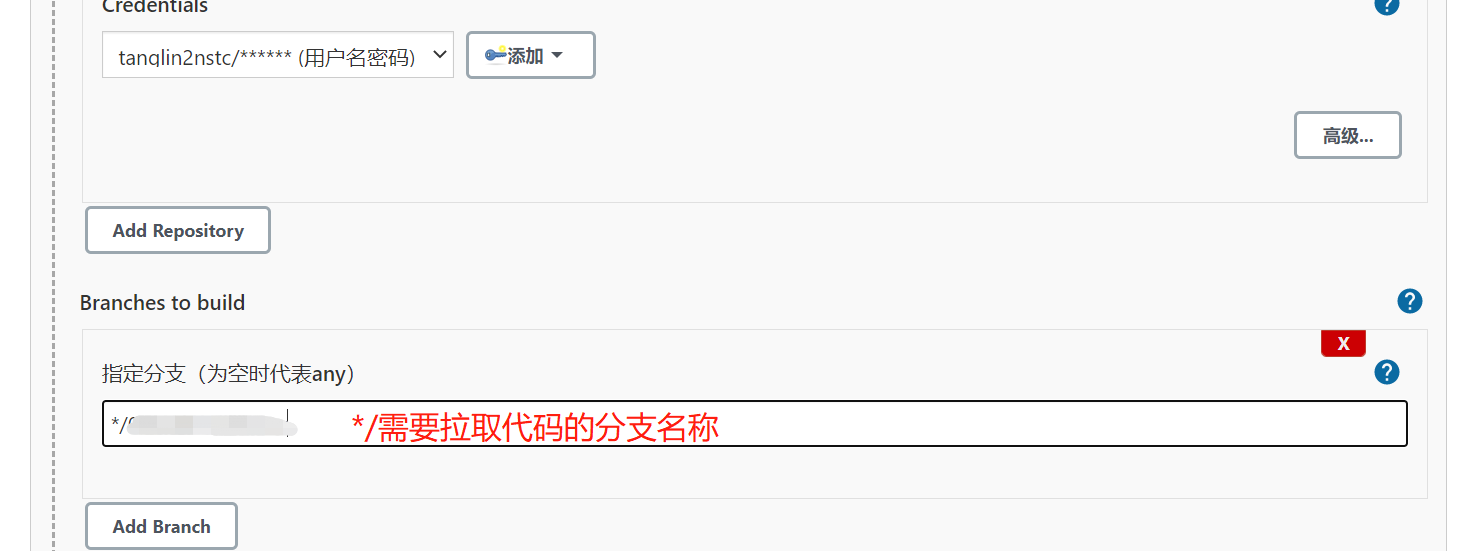
3、配置源码管理
这个地方需要注意的是,还得新建一个用户名密码的凭据源码才能配置成功

4、构建环境执行shell脚本
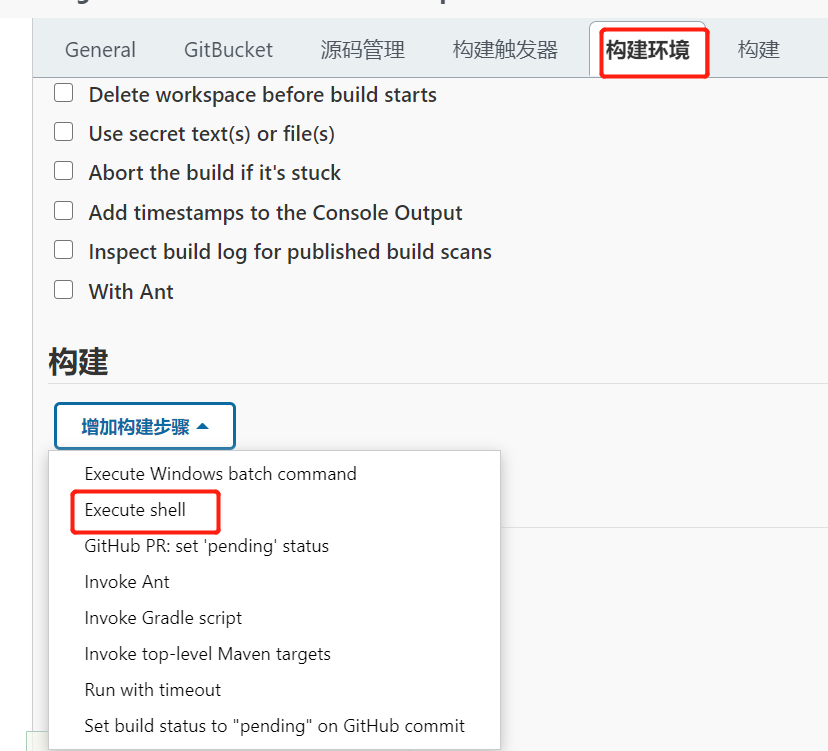
下面shell脚本为简单的打包并运行jar包

然后点击应用保存,会回到当前job界面
点击立即构建
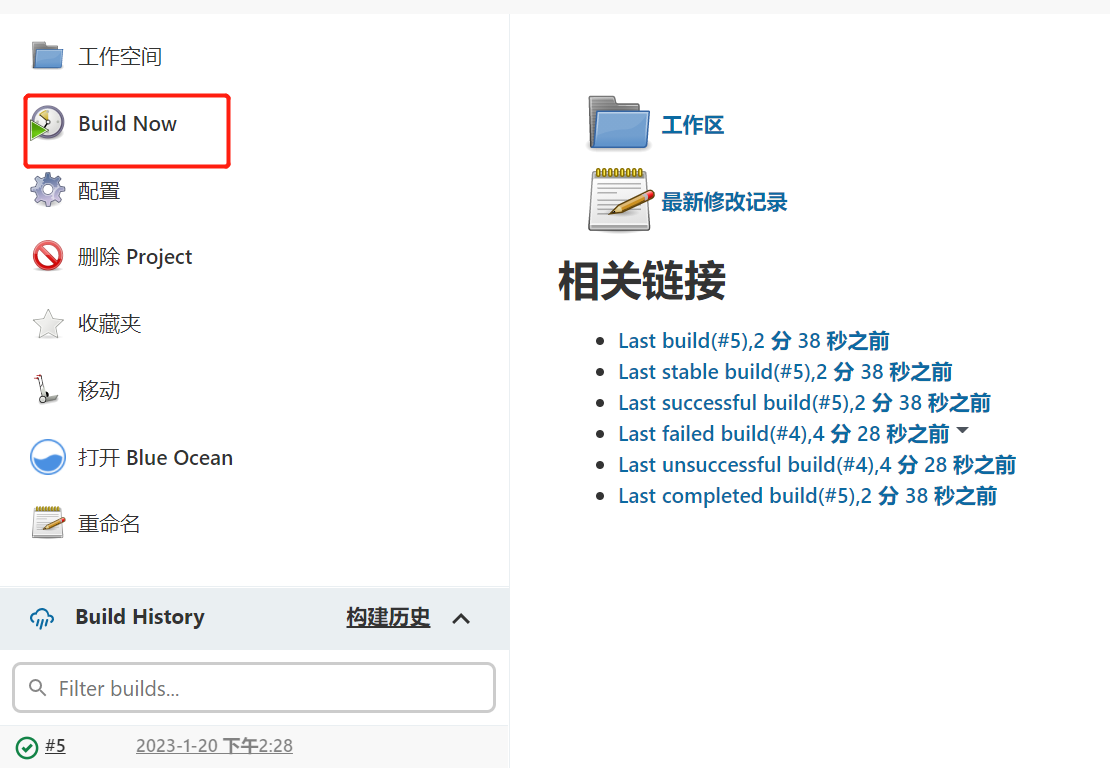
点击现目的绿色勾

即可查看控制台输出,红色框表示拉取的代码位置

至此,jenkins + git + mvn 打包部署完成,具体shell脚本的编写,每个公司不一样,请自行研究了。