参考:
https://switch.homebrew.guide/
https://switchbrew.org/wiki/Main_Page
https://www.bilibili.com/video/BV133411Q77X/?spm_id_from=333.788&vd_source=c5c272e9490d8bf475c8204462fc26e7
1.开发环境
开发机 -> 虚拟机 ubuntu22.04
设备 -> 破解switch + 大气层系统
2.开发环境搭建
2.1 pacman安装
wget https://apt.devkitpro.org/install-devkitpro-pacman
chmod +x ./install-devkitpro-pacman
sudo ./install-devkitpro-pacman
2.2 安装 switch-dev
sudo dkp-pacman -S switch-dev
安装完成后可以看到 /opt/devkitpro/ 多出来的文件
libnx : switch设备相关的接口 如按键等等操作
devkitA64 : switch的交叉编译环境
examples: switch开发的案例
tools : switch的工具 (elf执行文件转switch包,把switch包传输到switch等等工具)
2.3 环境变量配置
在自己配置的shell中加入下面几句 (bash对应.bashrc zsh对应.zshrc 等等)
export DEVKITPRO=/opt/devkitpro
export DEVKITARM=${DEVKITPRO}/devkitARM
export DEVKITPPC=${DEVKITPRO}/devkitPPC
export PATH=$PATH:${DEVKITPRO}/tools/bin
重启shell
3.hello world
3.1编译
git clone https://github.com/switchbrew/switch-examples.git
cd templates/application/
make
只要第二的步没什么问题应该是编译成功了可以看到输出的文件

.elf文件是交叉编译链编译出来的二进制执行文件
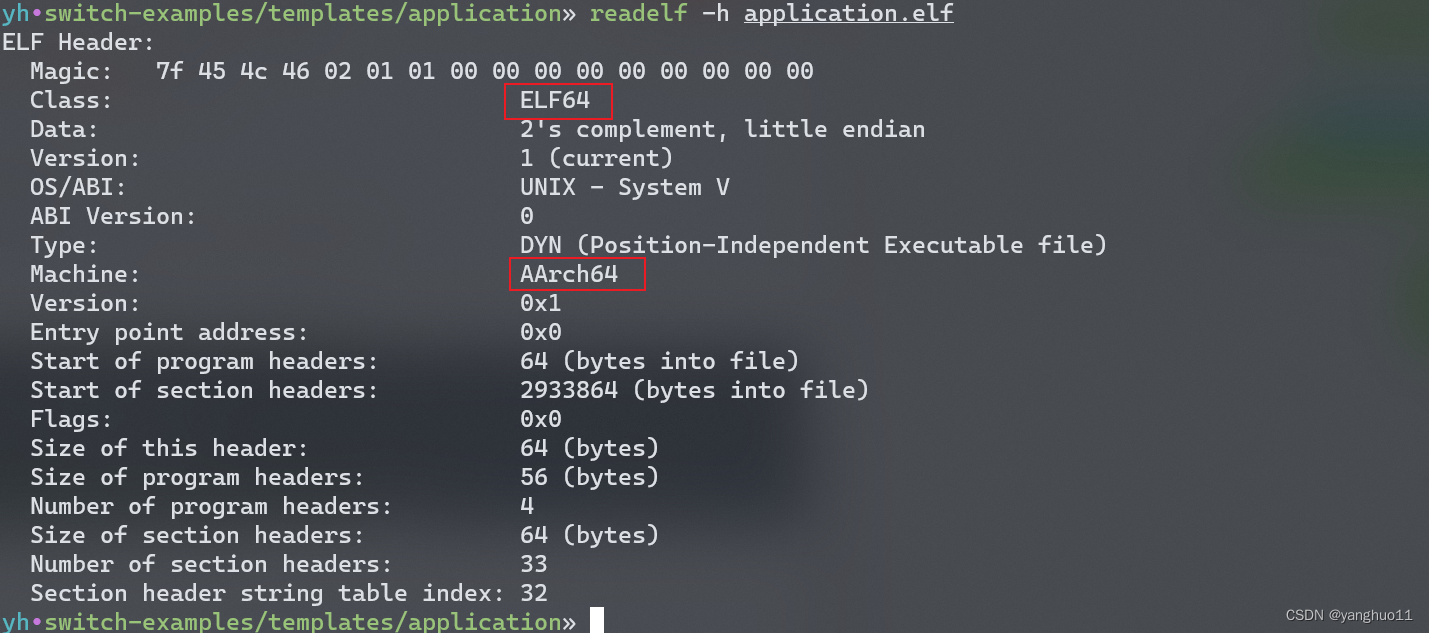
可以看到这个arm64的执行文件,但是这个文件不能这switch中执行。 .nro文件才是我们要的switch文件
3.2运行
switch启动hbmenu
R + A (不要松开R键,直到hbmenu启动)

然后按Y键,可以看到switch正在等待传输中,switch这边就准备完成
最后在ubuntu中执行
nxlink -s -a 192.168.163.199 application.nro
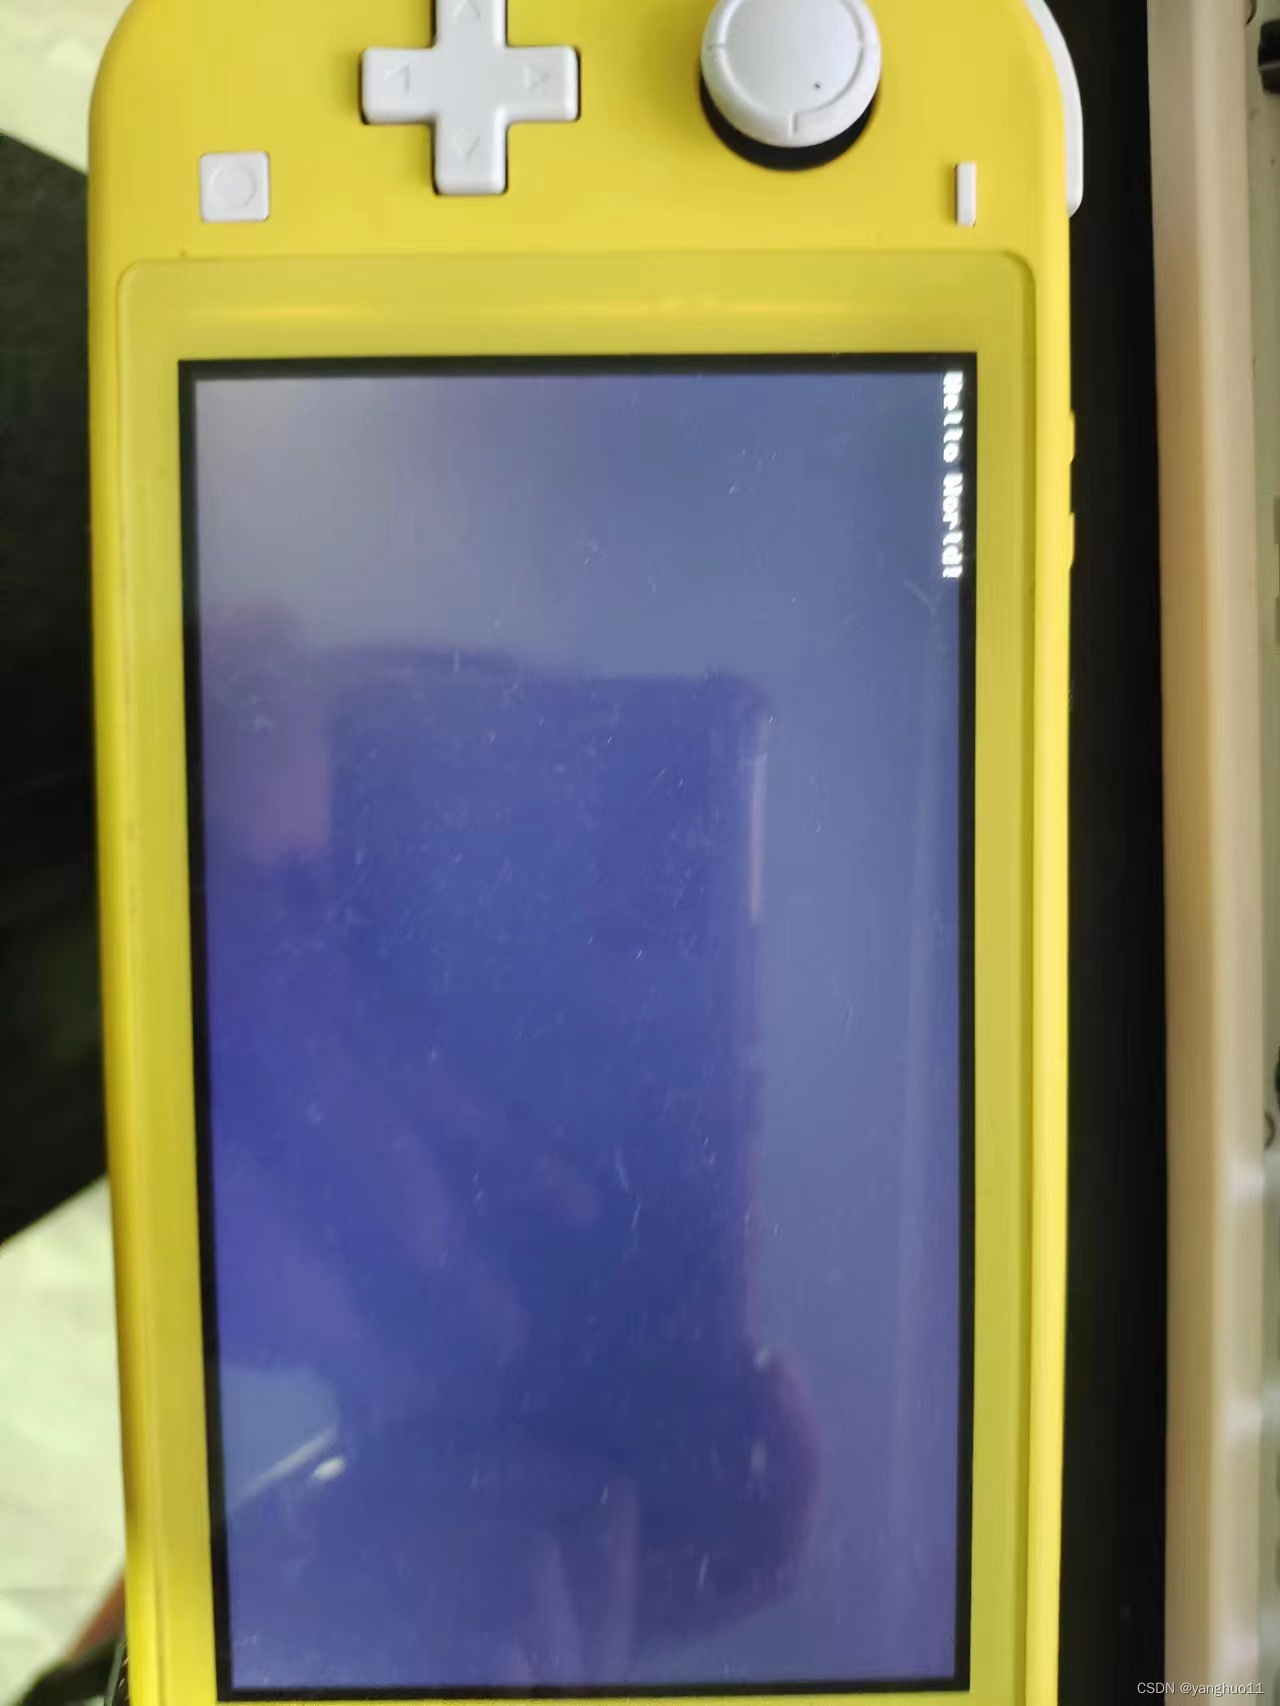
可以看到hello world执行成功
4.switch其他库
到目前为止的switch库应该只有 libc 相关的库 和 libnx switch库。
pacman包管理还有其他switch库,输入
dkp-pacman -Sl | grep switch
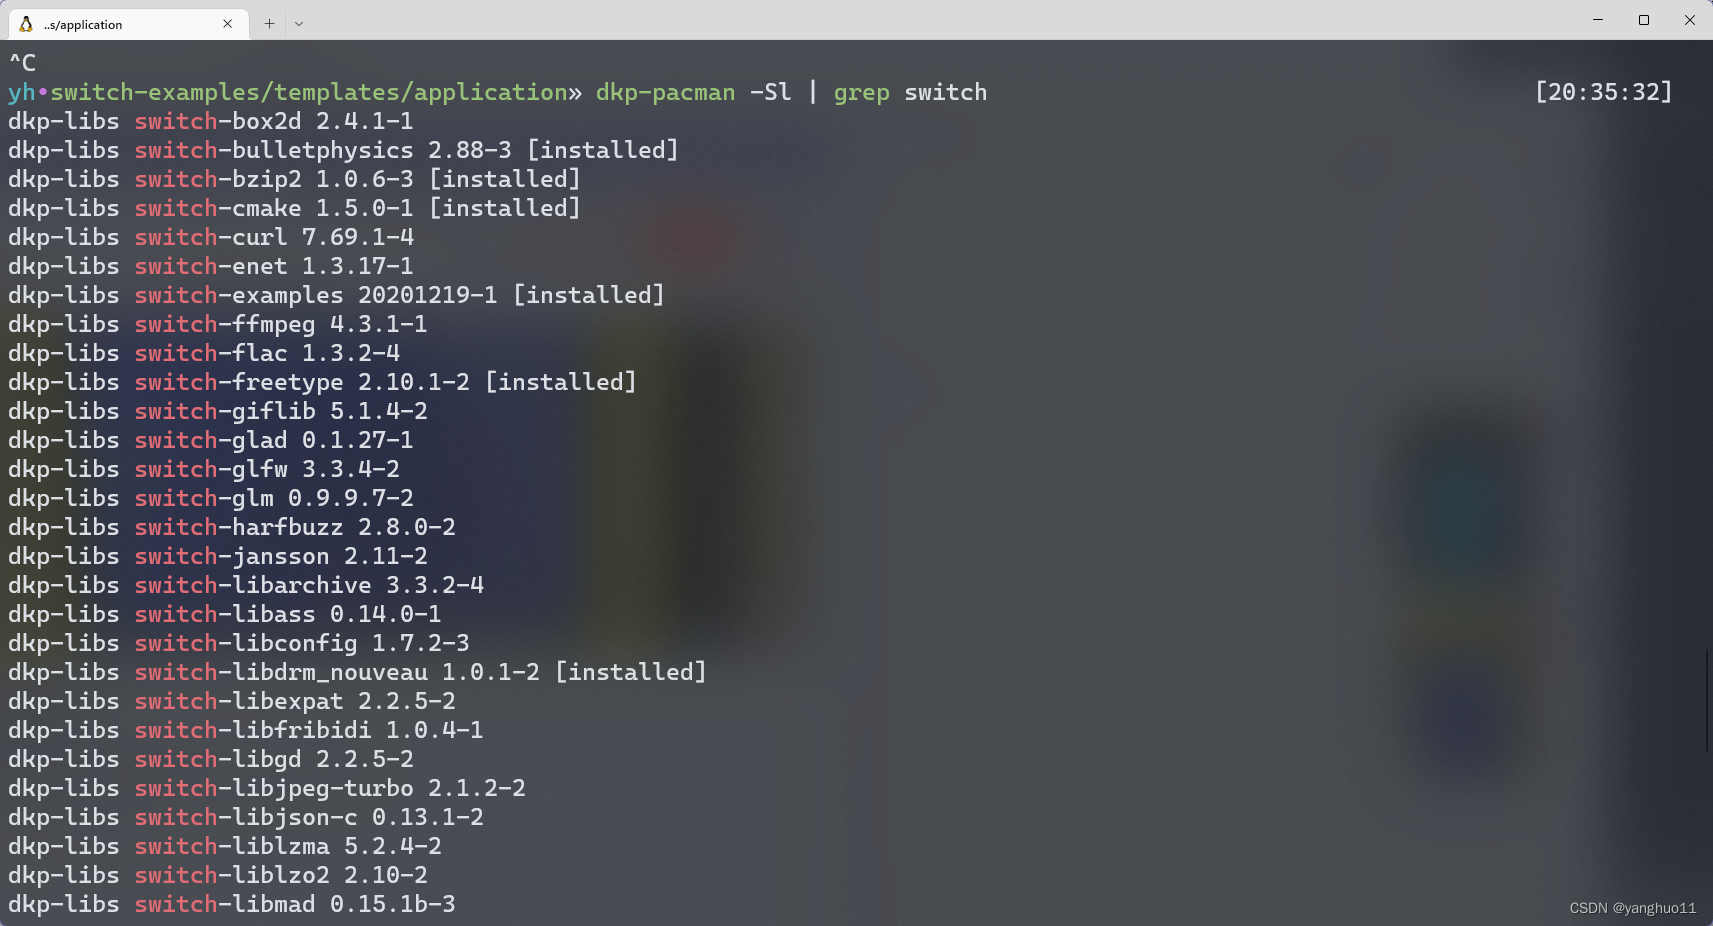
这些库都可以直接安装,如果没有你想要的库只能自己去编译
5.godot引擎导出switch包
5.1编译
godot官方版并不支持导出switch包,但是有大神做了一个支持导出的分支
https://github.com/Stary2001/godot.git
想自己编译源码可以看看godot的官方文档 https://docs.godotengine.org/zh_CN/stable/development/compiling/index.html
需要编译环境和pyhton环境就可以编译godot
5.2 直接下载编译好的版本
https://github.com/Stary2001/godot/releases
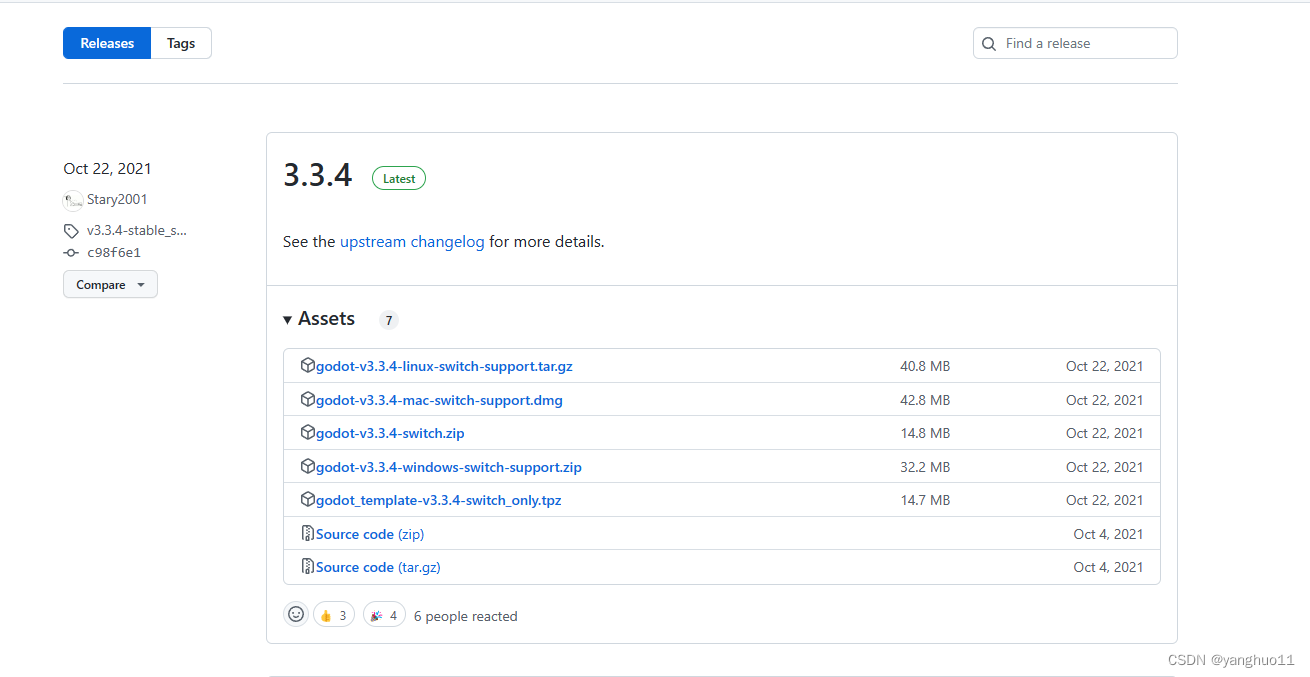
这里我们选择linux版本,下载完成后可以直接运行
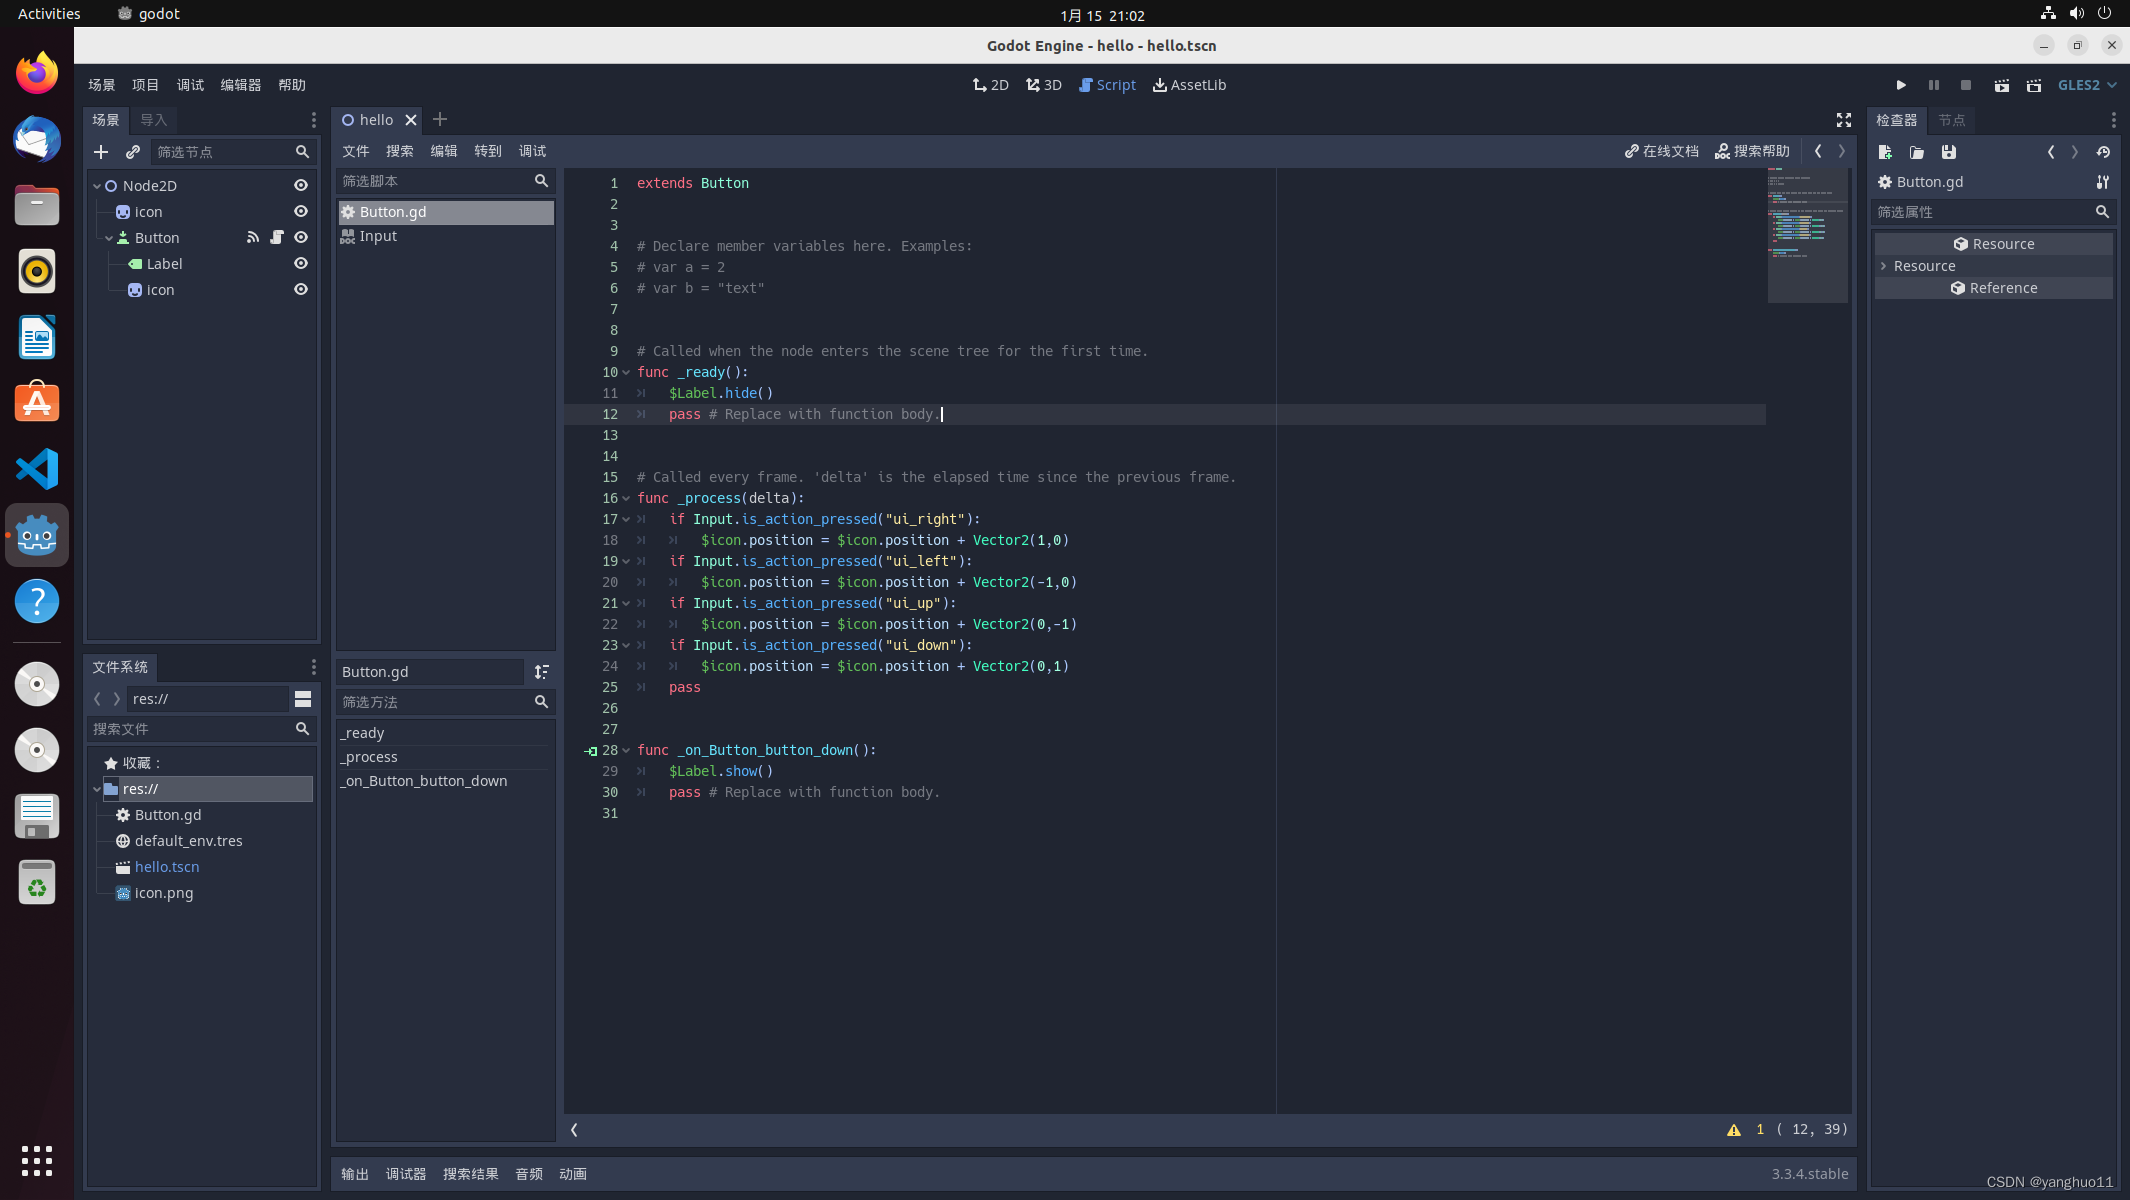
这里不介绍这个引擎怎么使用,可以看官网
5.3 导出
直接点击 项目->添加->switch 然后下载对应的构建包
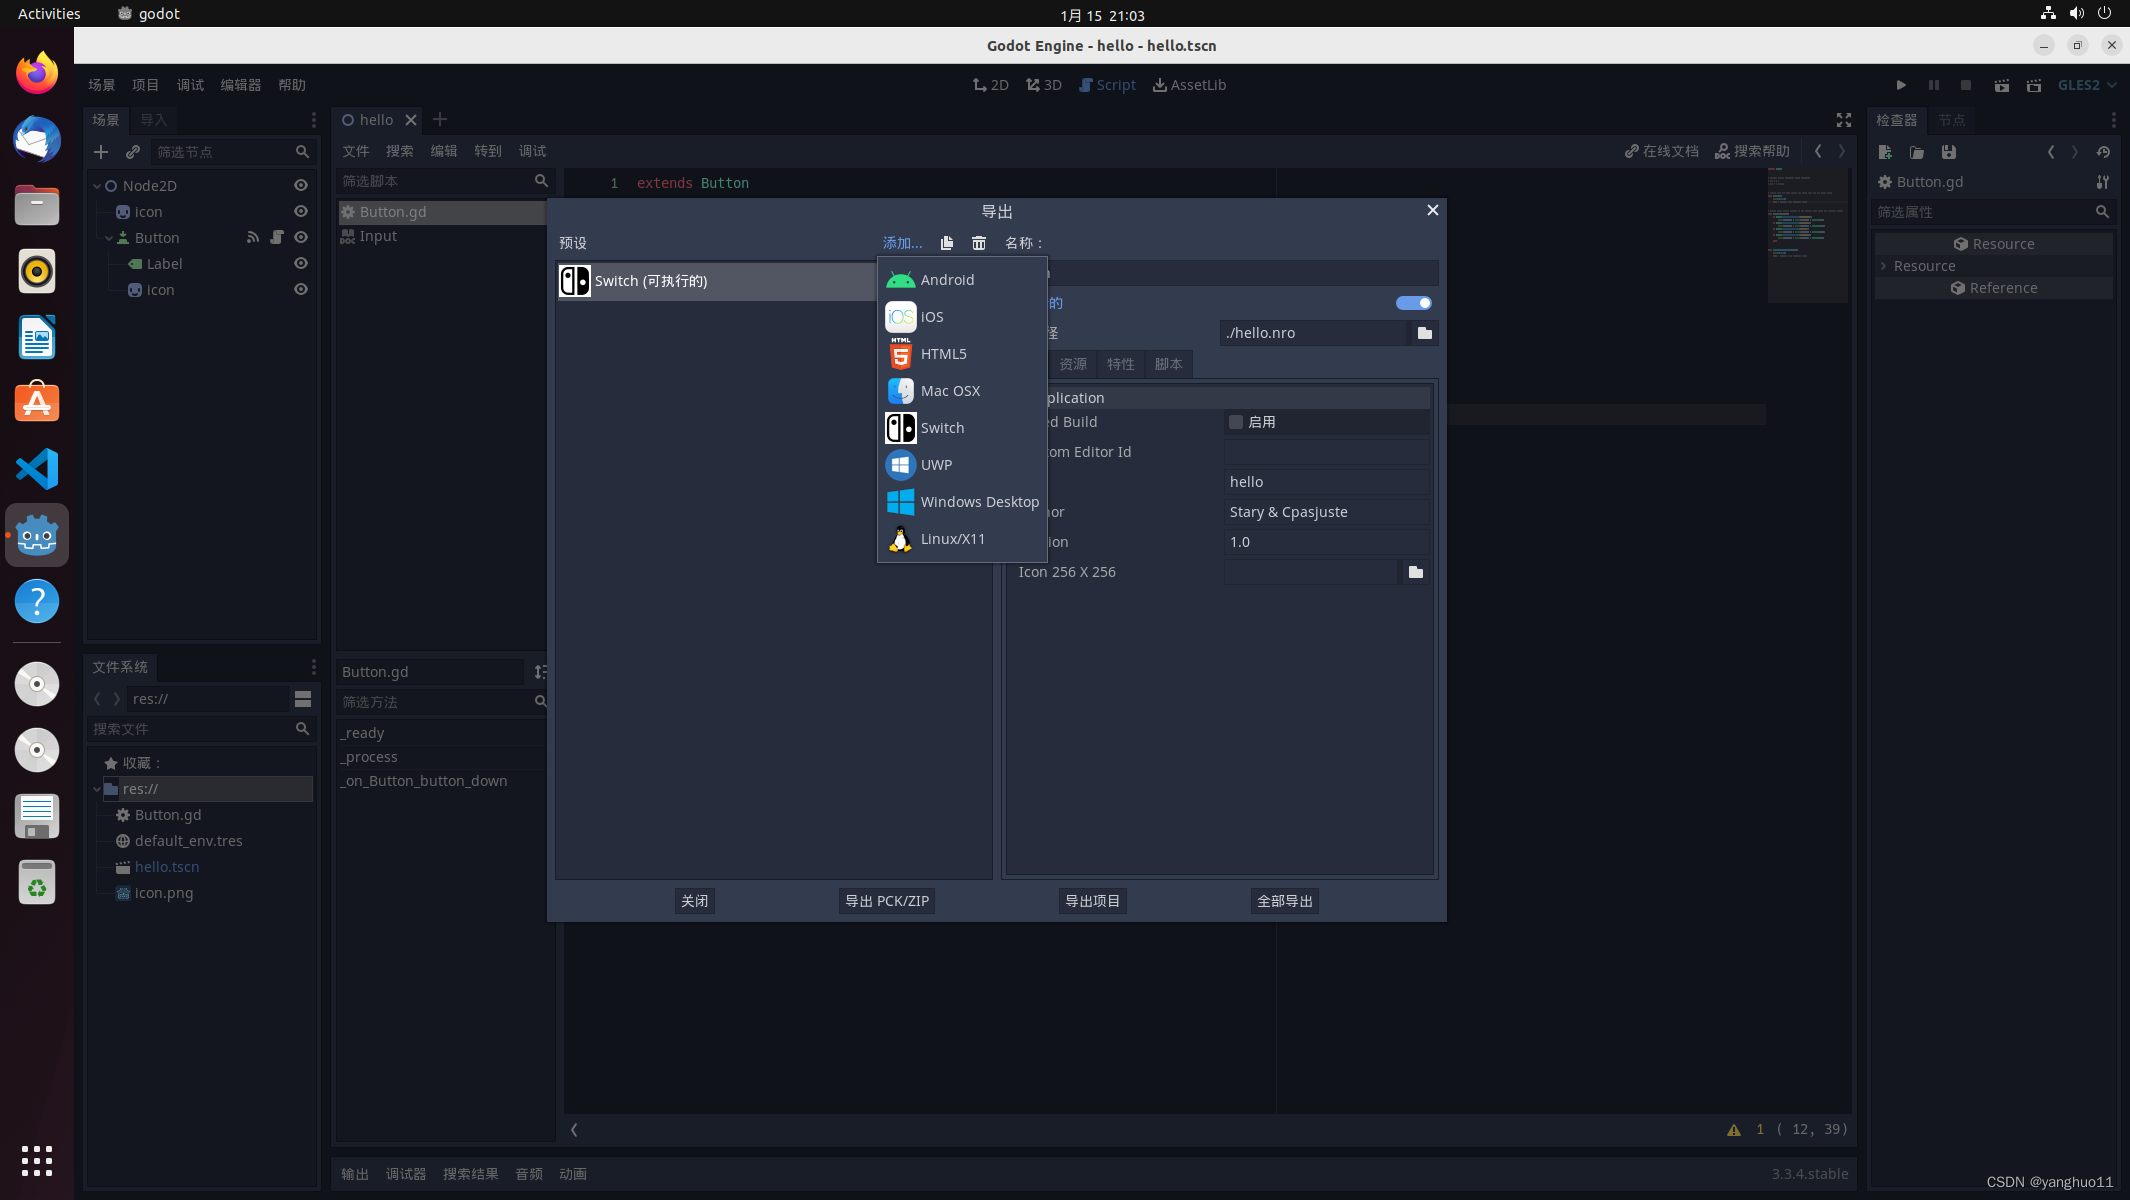
最后直接点导出即可
导出文件

把这两个文件传到switch就行
这里我们使用ftp工具上传
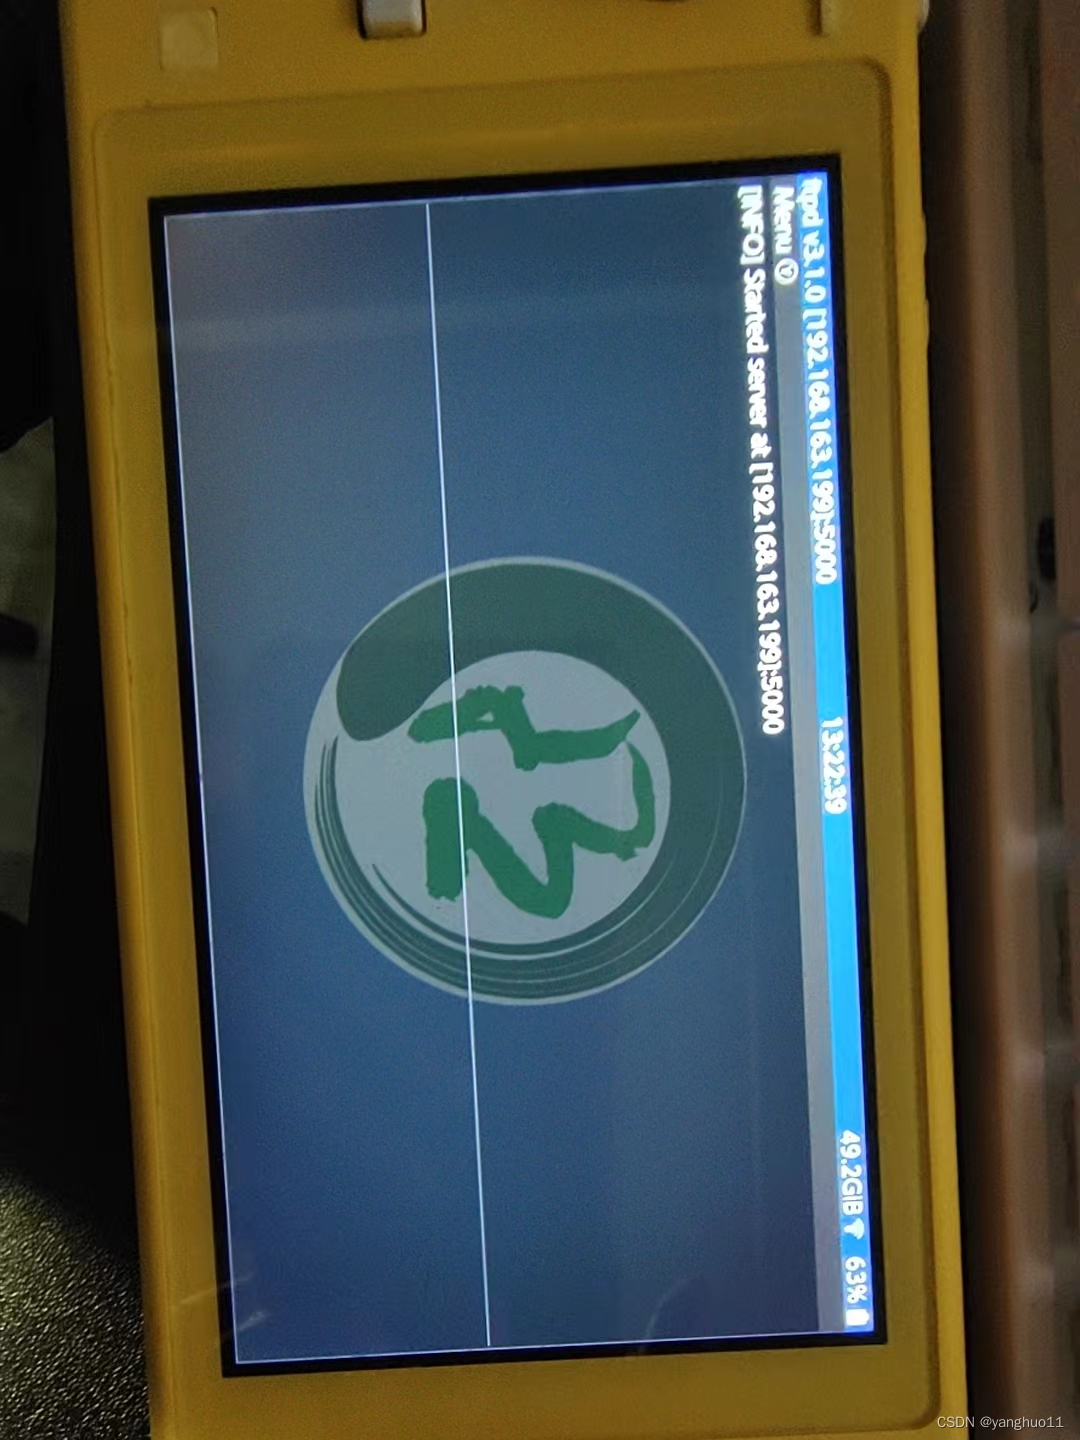
curl -T hello.pck ftp://192.168.163.199:5000/switch/
curl -T hello.nro ftp://192.168.163.199:5000/switch/
如果导出都使用的默认属性,可以看到switch有一个godot logo的程序
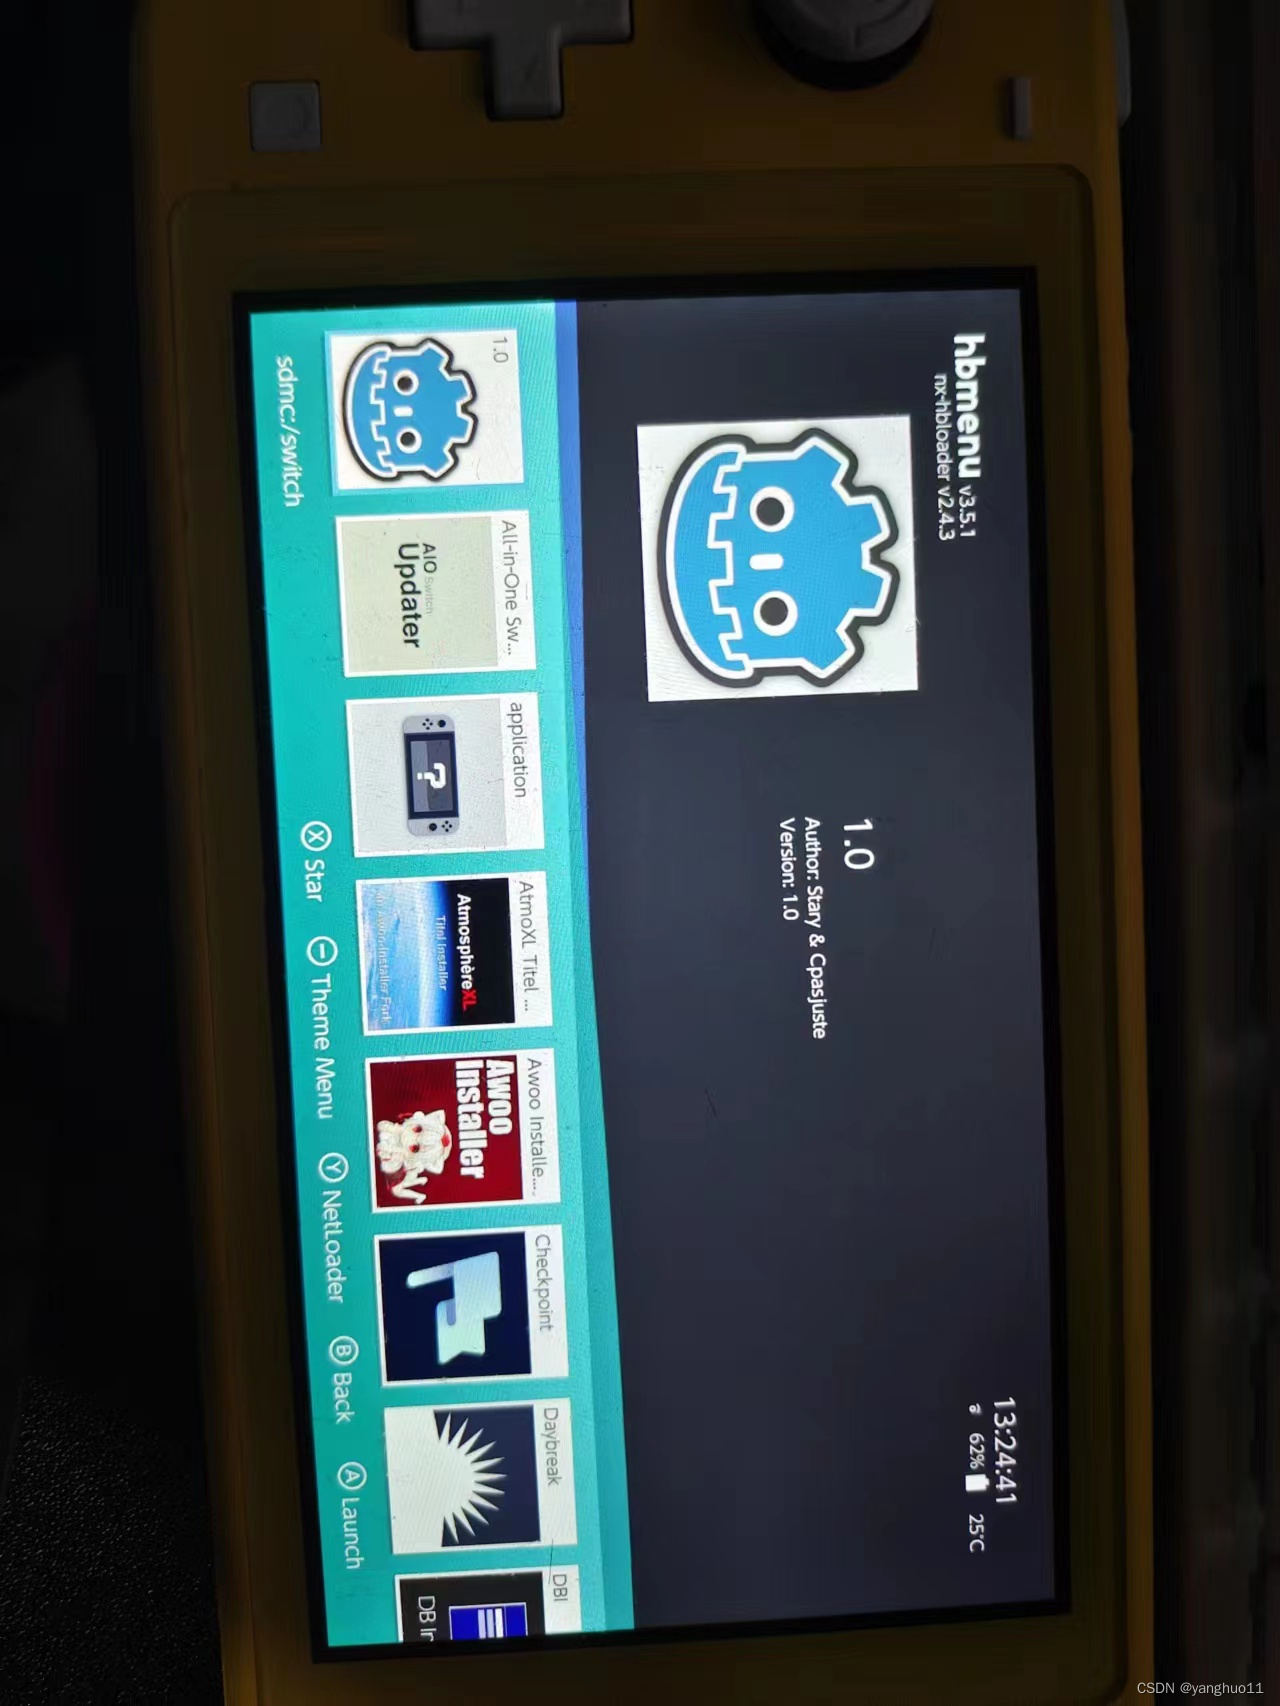
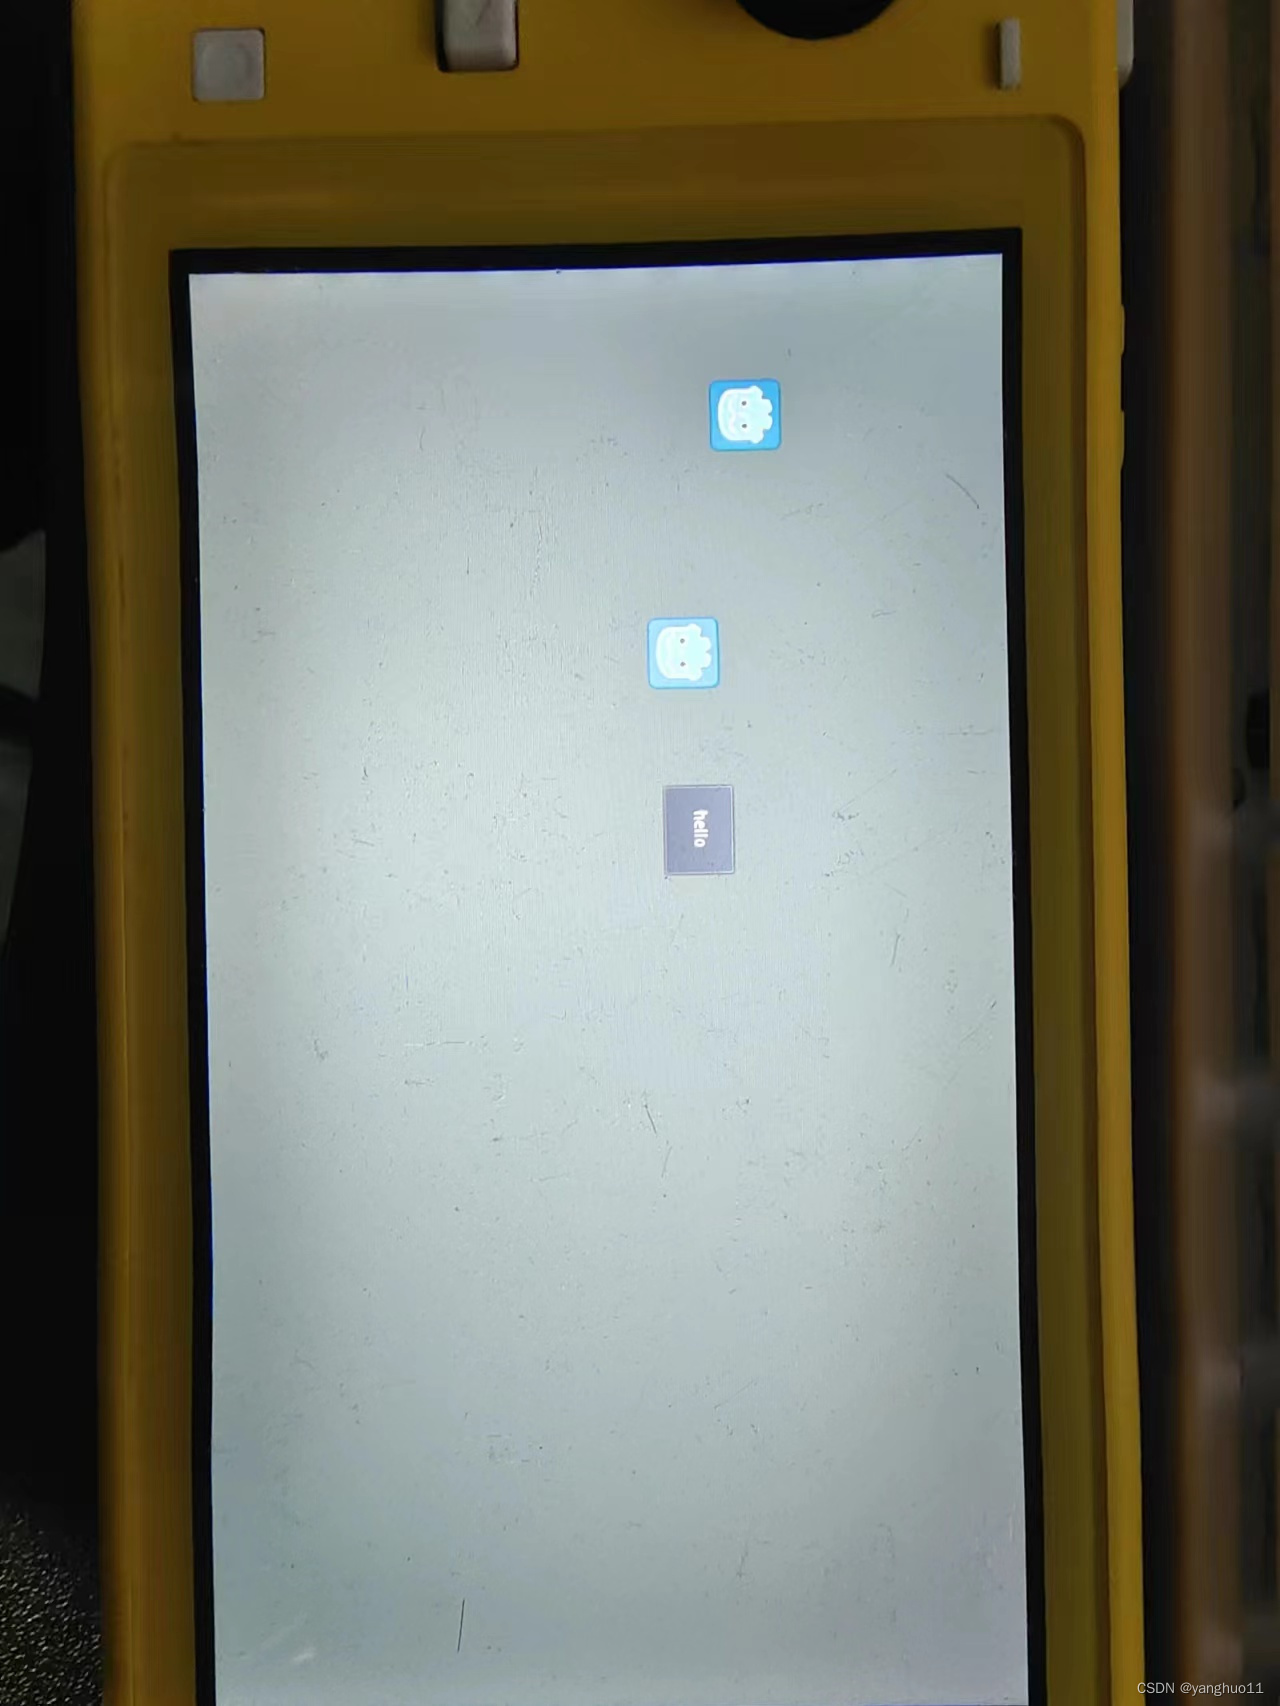
启动
6.twili工具
twili工具对标的是安卓的adb工具
6.1 下载
源码路径 :https://github.com/misson20000/twili
可以选择直接构建,但是还是建议使用编译好的版本https://github.com/misson20000/twili/releases
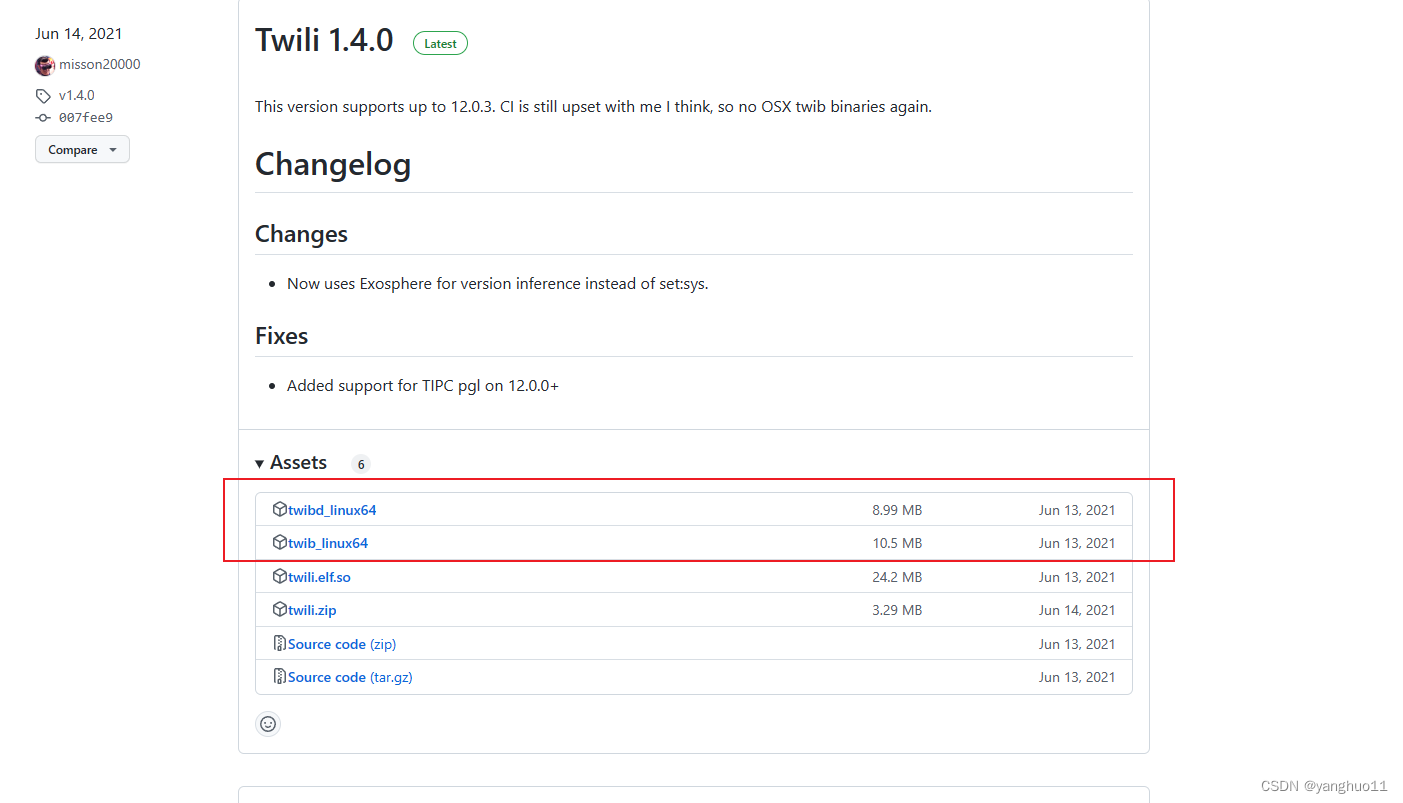
我们选择这两个执行文件,这两个执行文件依赖的glibc版本比较高,如果你用的是ubuntu22.04就没有这个问题。
把这两个文件的_linux后缀去掉
6.2 链接switch
首先运行 twibd
sudo apt install libasan6
sudo ./twibd
这个是这个工具的后台进程
使用type-C链接pc和switch
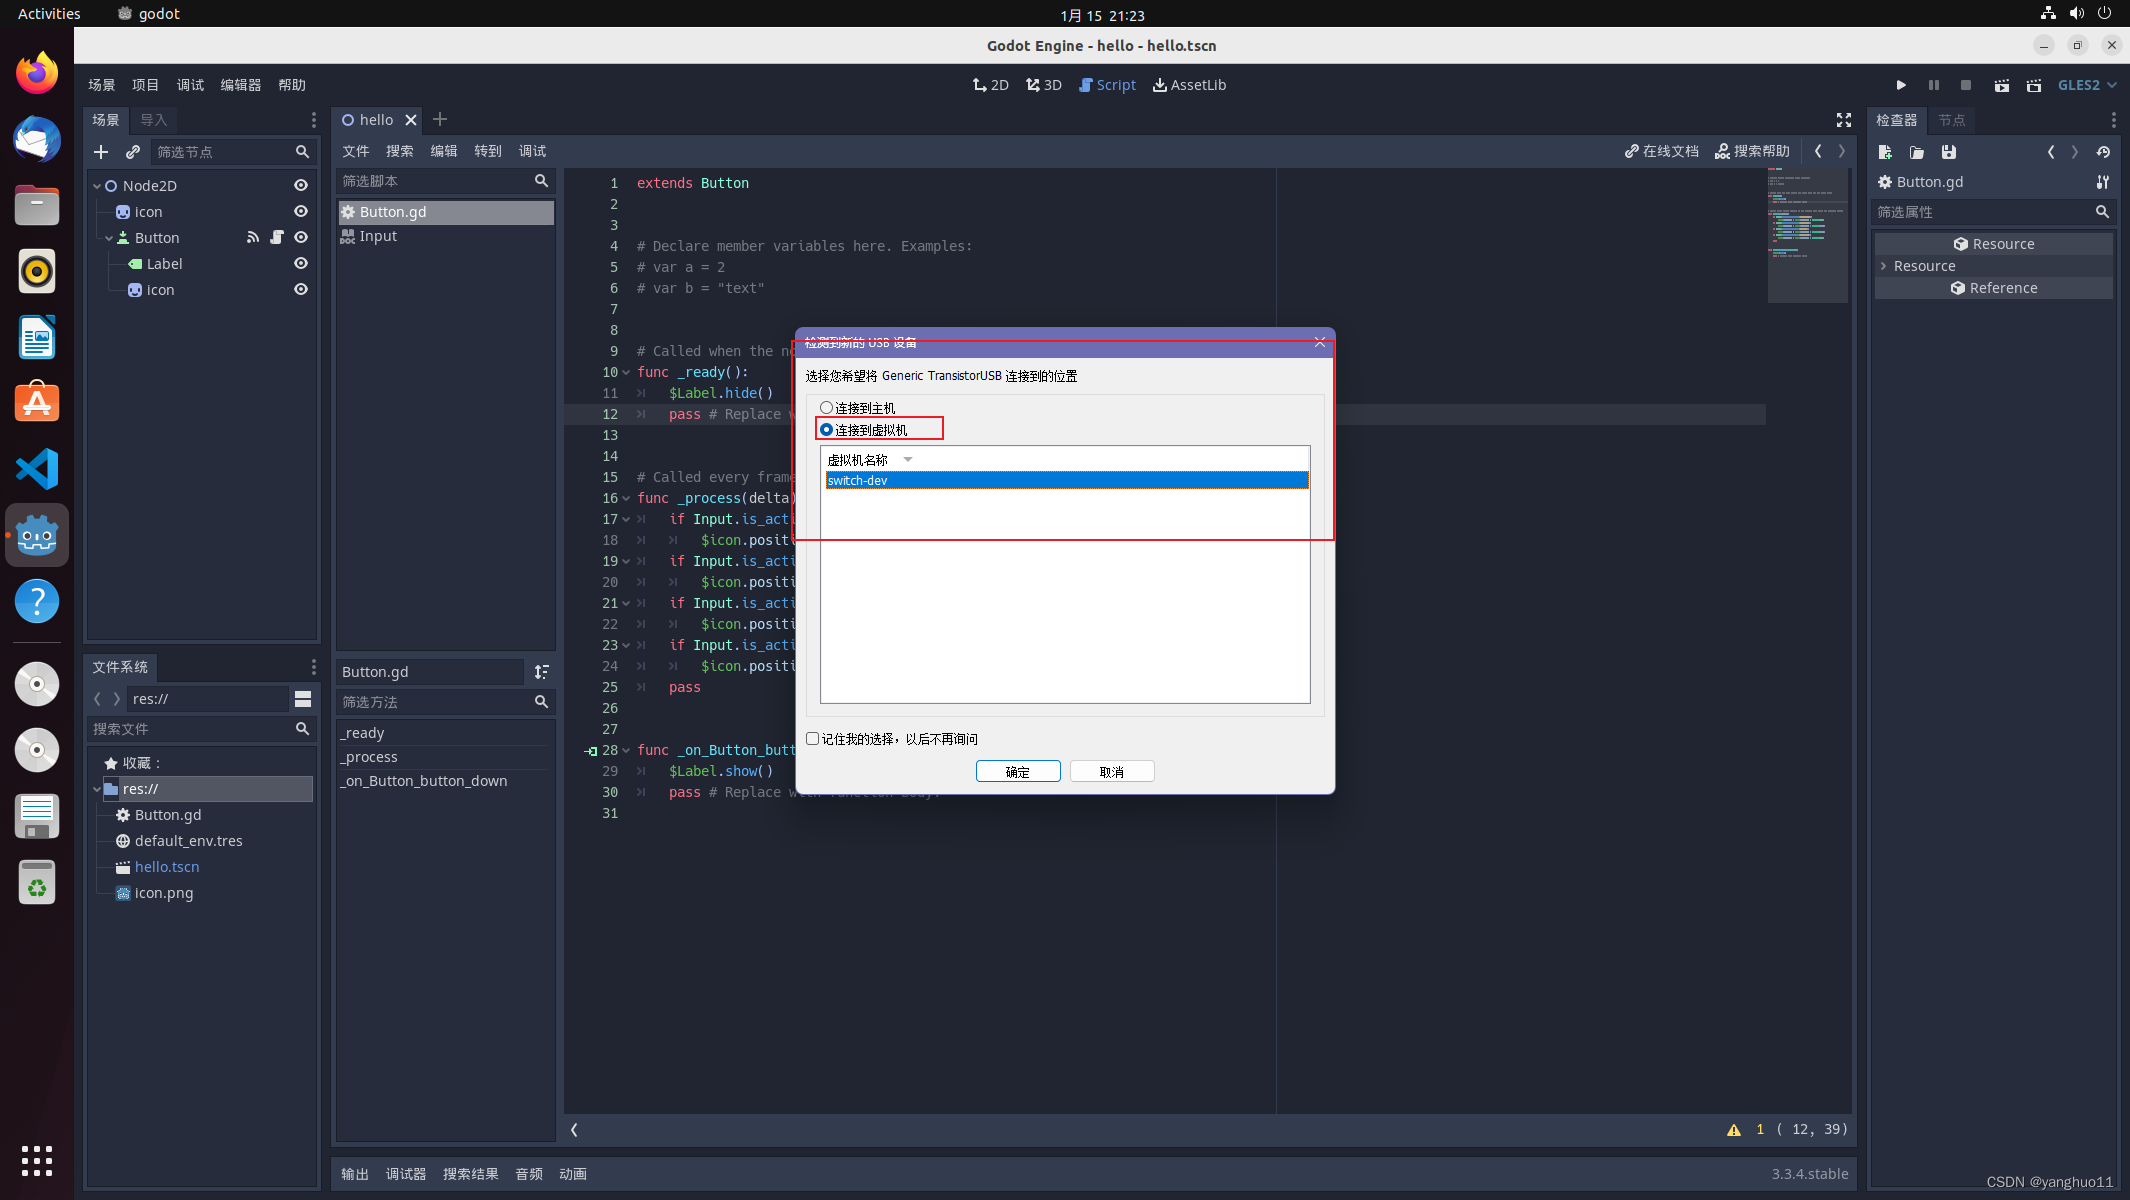
这里设备选择链接虚拟机
查看设备
sudo ./twib list-devices

使用ps查看进程
sudo ./twib ps
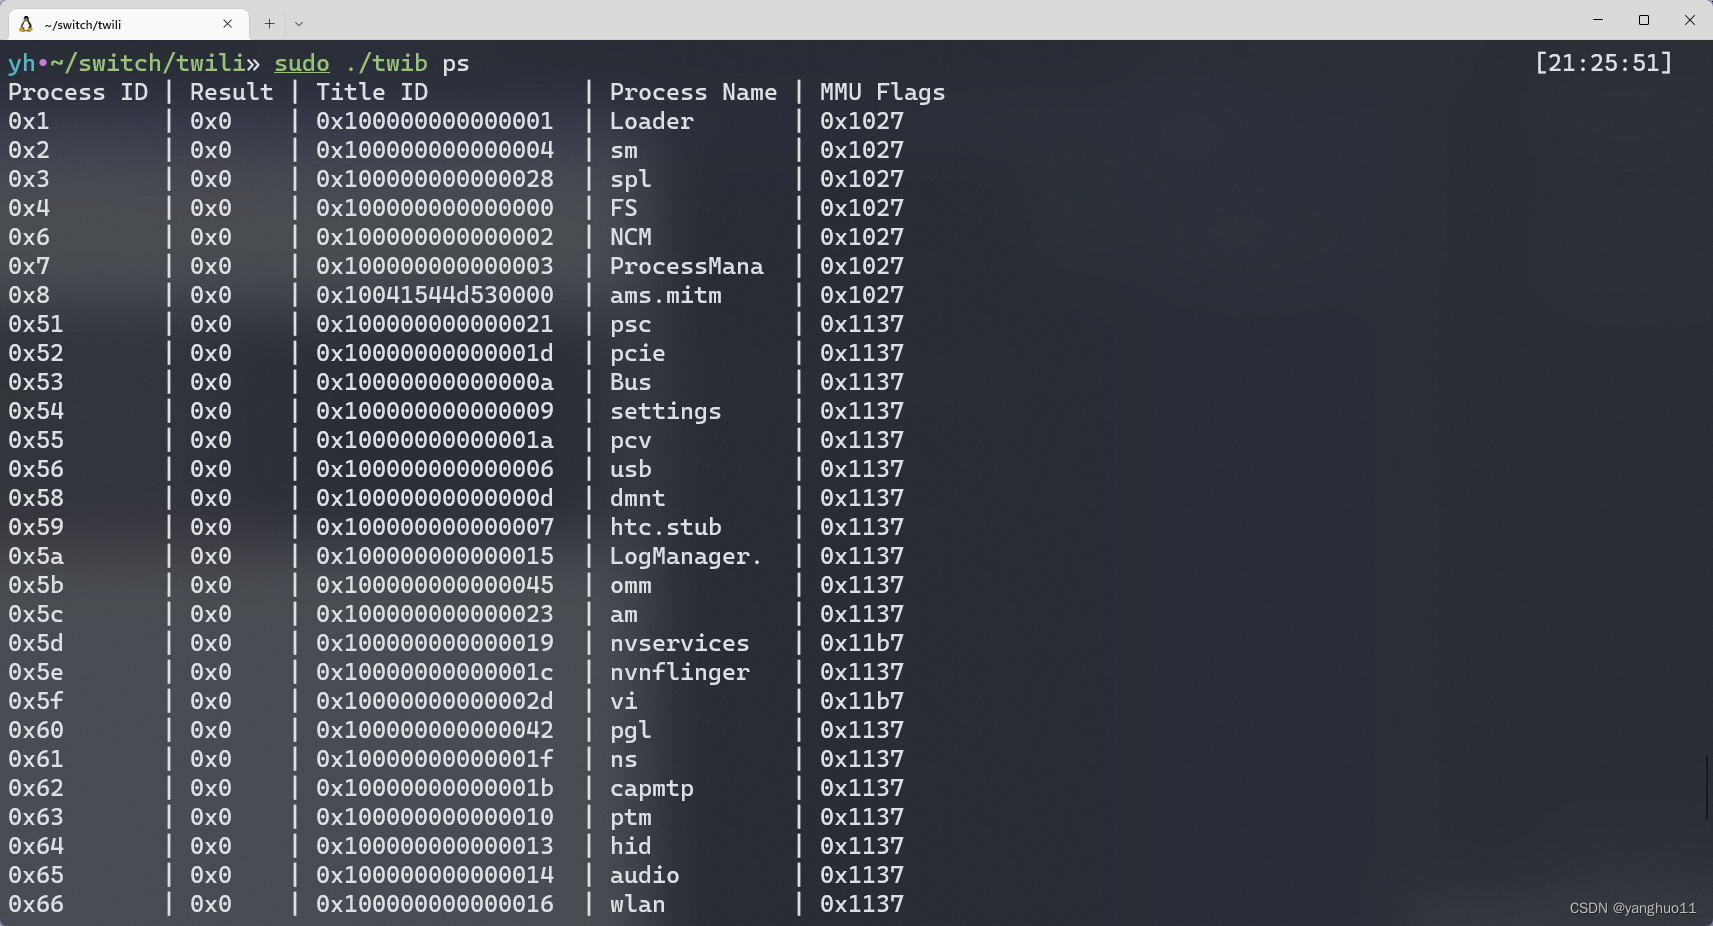
如果这里成功说明twili已经正常工作了
后续可以使用tcp替换掉usb,连接成功就可以拔掉usb线了
6.3 twili-gdb 编译
上面的一些东西我们都是用的编译好的版本,这个gdb没办法只能自己编译了,这次博客也是主要记录一下这个玩意的编译。这个玩意依赖很多,编译过程遇到的问题已经无法重现,主要是看history文件。
6.3.1 下载
git clone https://github.com/misson20000/twili-gdb.git
6.3.2 安装依赖
sudo apt install texinfo binutils-dev bison flex
6.3.3 编译
vim gdb/Makefile
把是警告为错误关闭 (-Werror相关的删除掉)
mkdir build
cd build
../configure --target=twili --enable-targets=twili --prefix=/usr --disable-sim
make
如果顺利的化可以看到生成的gdb
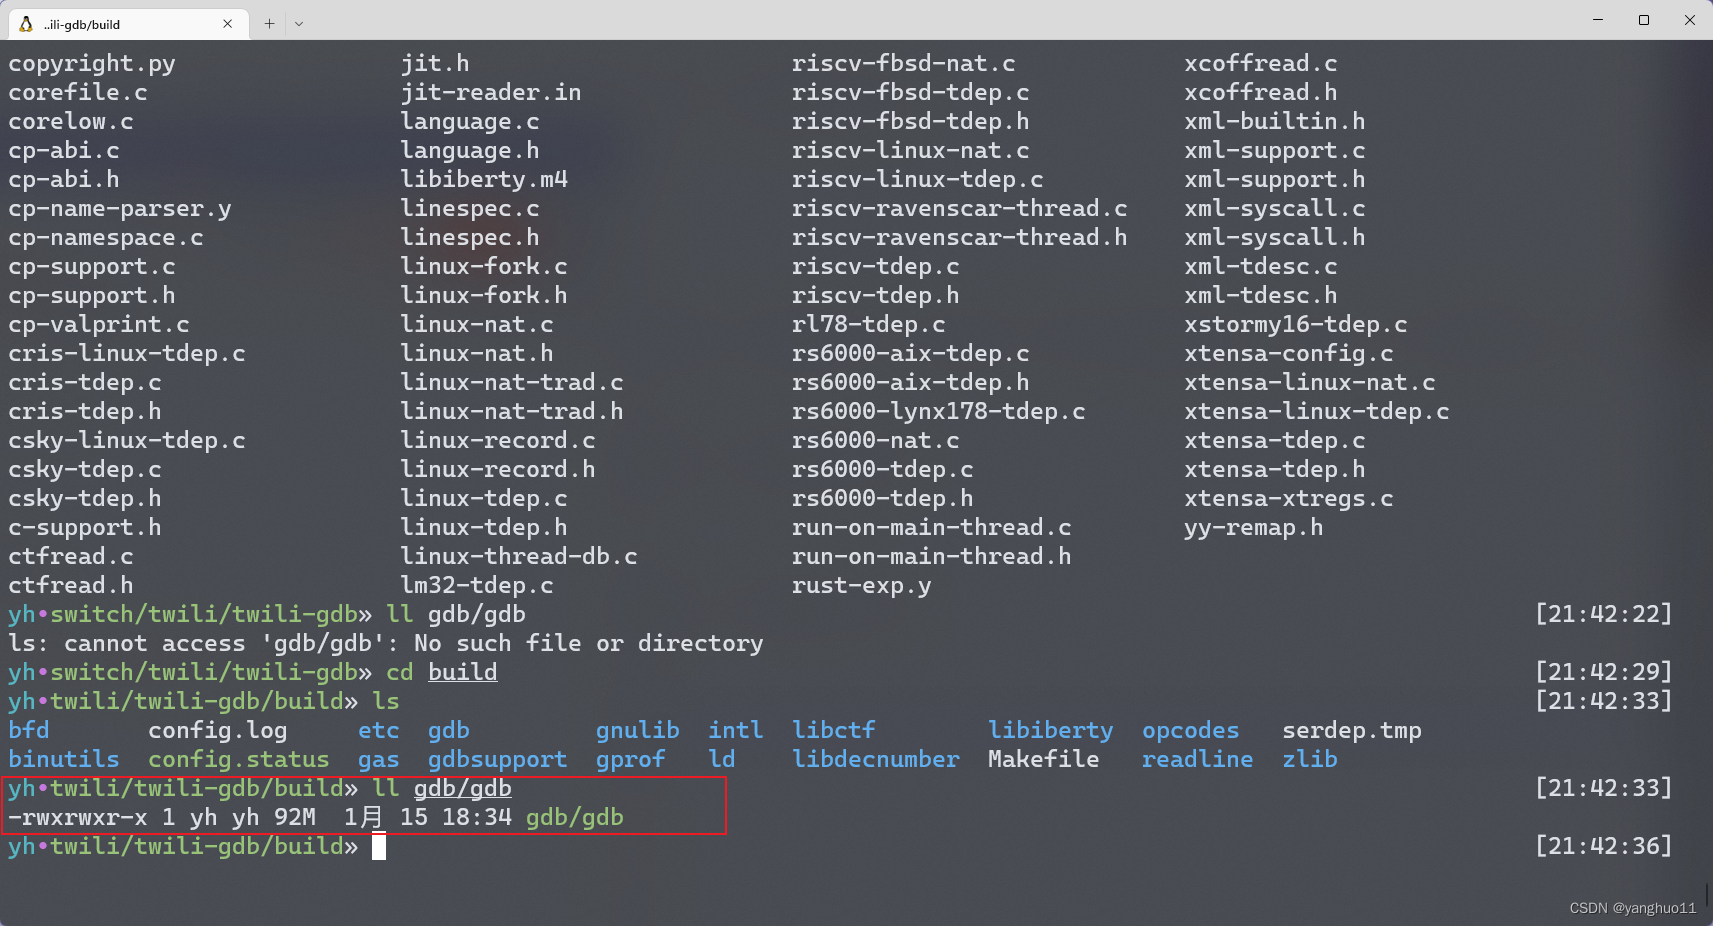
6.3.4 简单使用
$ twili-gdb
GNU gdb (GDB) 8.3.50.20190328-git
Copyright (C) 2019 Free Software Foundation, Inc.
License GPLv3+: GNU GPL version 3 or later <http://gnu.org/licenses/gpl.html>
This is free software: you are free to change and redistribute it.
There is NO WARRANTY, to the extent permitted by law.
Type "show copying" and "show warranty" for details.
This GDB was configured as "--host=x86_64-pc-linux-gnu --target=twili".
Type "show configuration" for configuration details.
For bug reporting instructions, please see:
<http://www.gnu.org/software/gdb/bugs/>.
Find the GDB manual and other documentation resources online at:
    <http://www.gnu.org/software/gdb/documentation/>.

For help, type "help".
Type "apropos word" to search for commands related to "word".
(gdb) target extended-remote | twib gdb
Remote debugging using | twib gdb
(gdb)
进入gdb直接执行target extended-remote | twib gdb。这指令猜测是输入输出重定向用的
之后直接attach pid就行,pid就是 twib ps 第一列的参数。当然这种方法只能调试sysmodule的进程,我们的hello world调试不了,官方给的方法我没有运行成功,而且容易死机
7.总结
- 如果只是搭建开发环境看标题2就行
- 如果是想开发游戏,又不想用openGL或者SDL,可以看看godot引擎的使用
- 最后的twili工具和gdb我还是实验性的阶段,这玩意容易死机,github上的教程没有完全跑通,有什么进展后续更新
![[电商实时数仓] 数据仓库建模过程分析](https://img-blog.csdnimg.cn/4fe95d469dce49a9affb4b2f74ae7c73.png)
![[前端笔记——HTML 表格] 8.HTML 表格](https://img-blog.csdnimg.cn/b330ff0e83c5413ea1d75617b889ed2e.png)


