参考:https://neo4j.com/docs/operations-manual/current/docker/introduction/
运行:
docker run --publish=7474:7474 --publish=7687:7687 neo4j
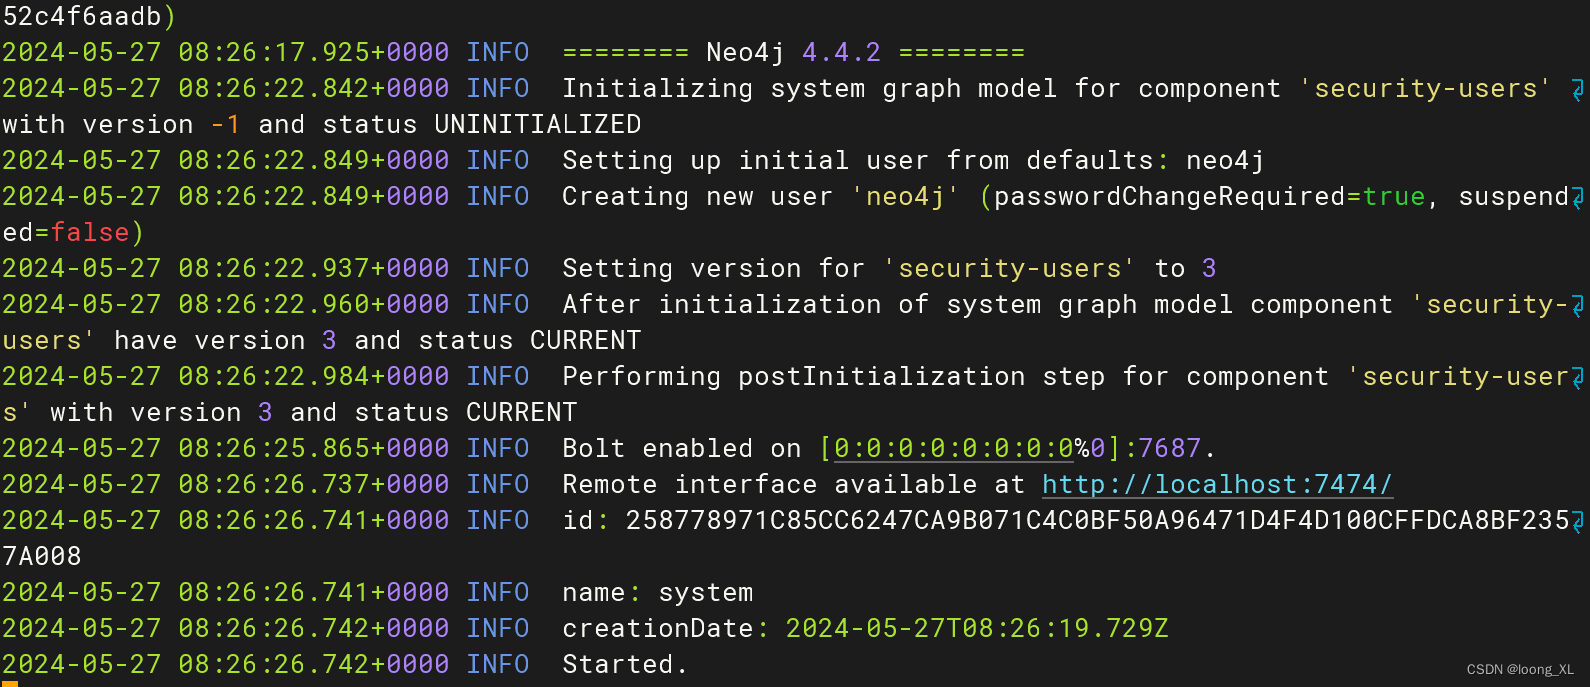
查看:
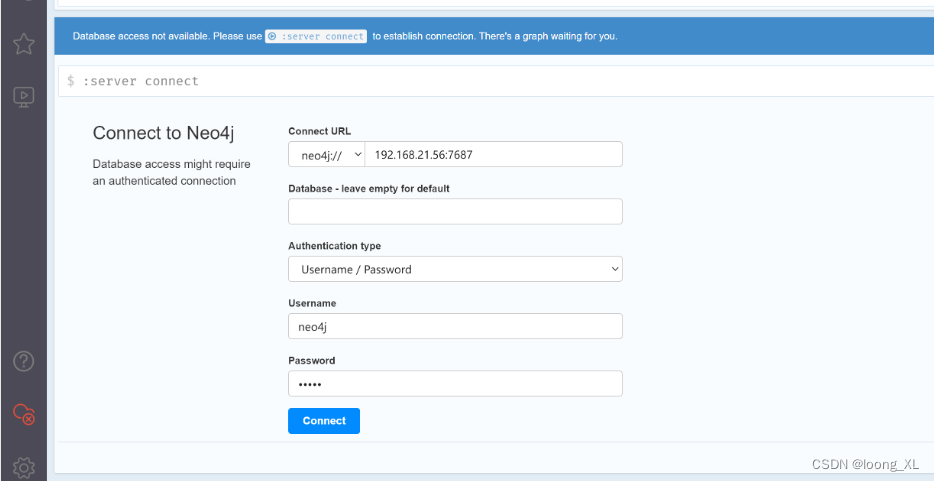
http://192***ip:7474
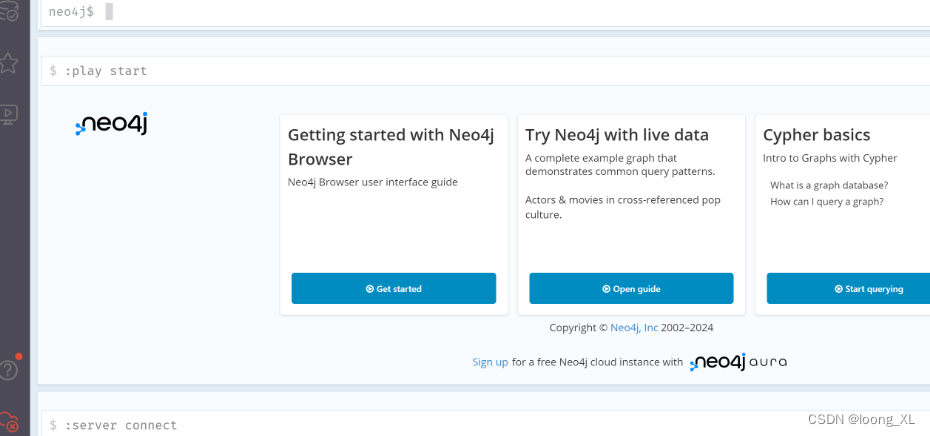
username/password 都是 neo4j/neo4j
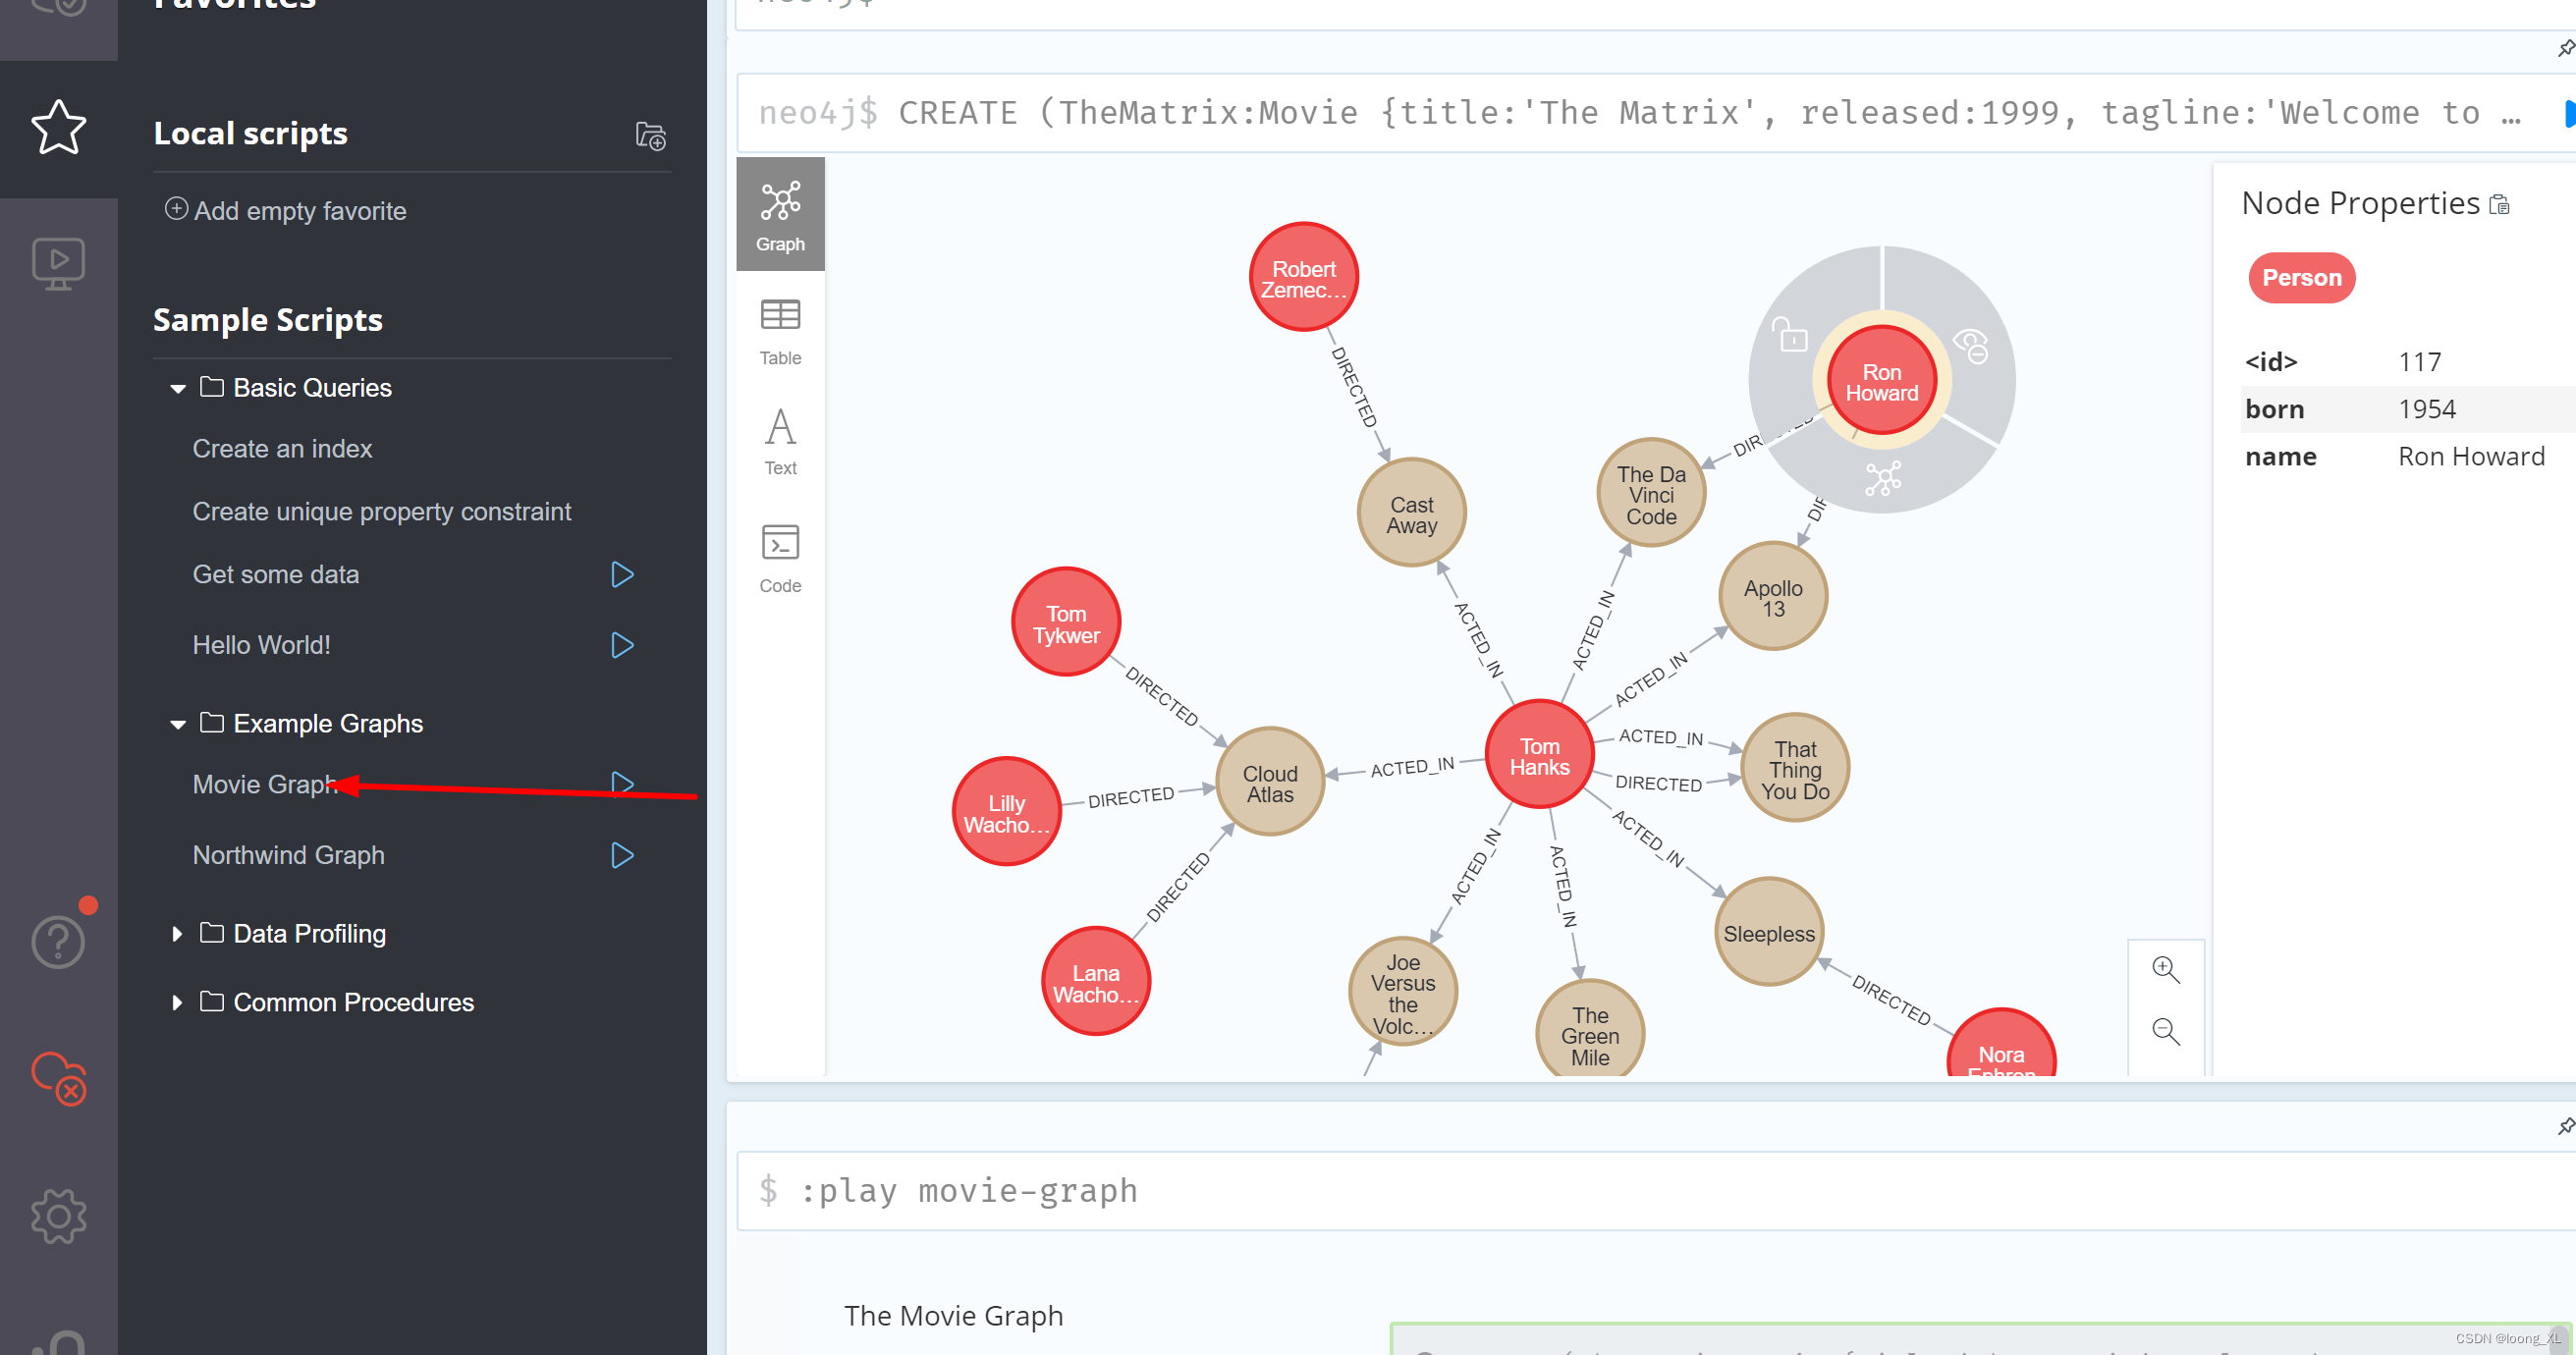
简单案例
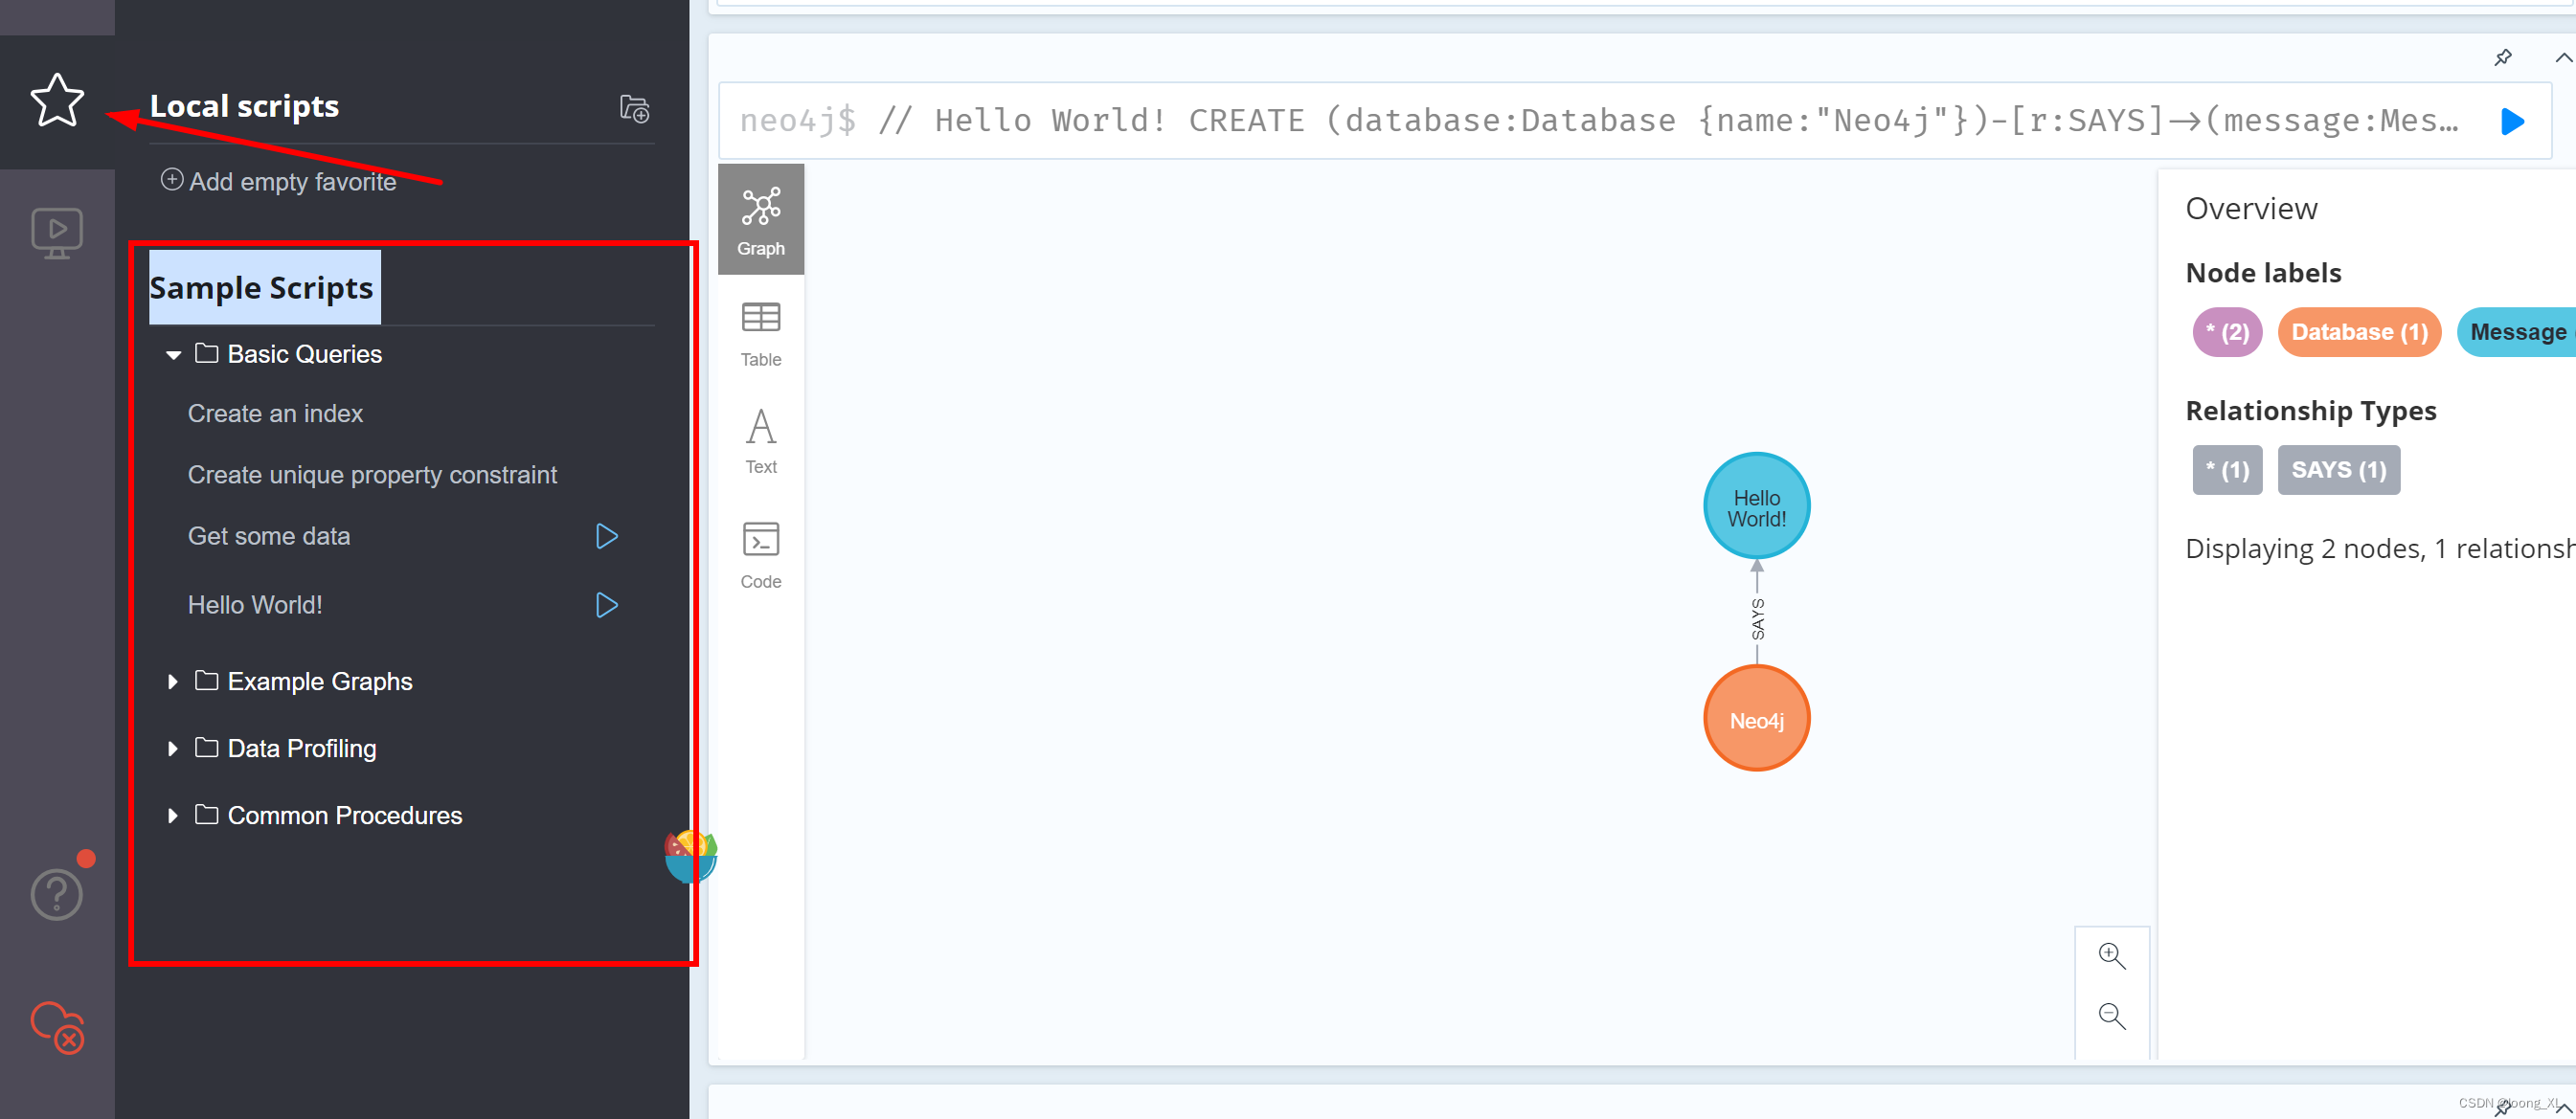
创建例子:
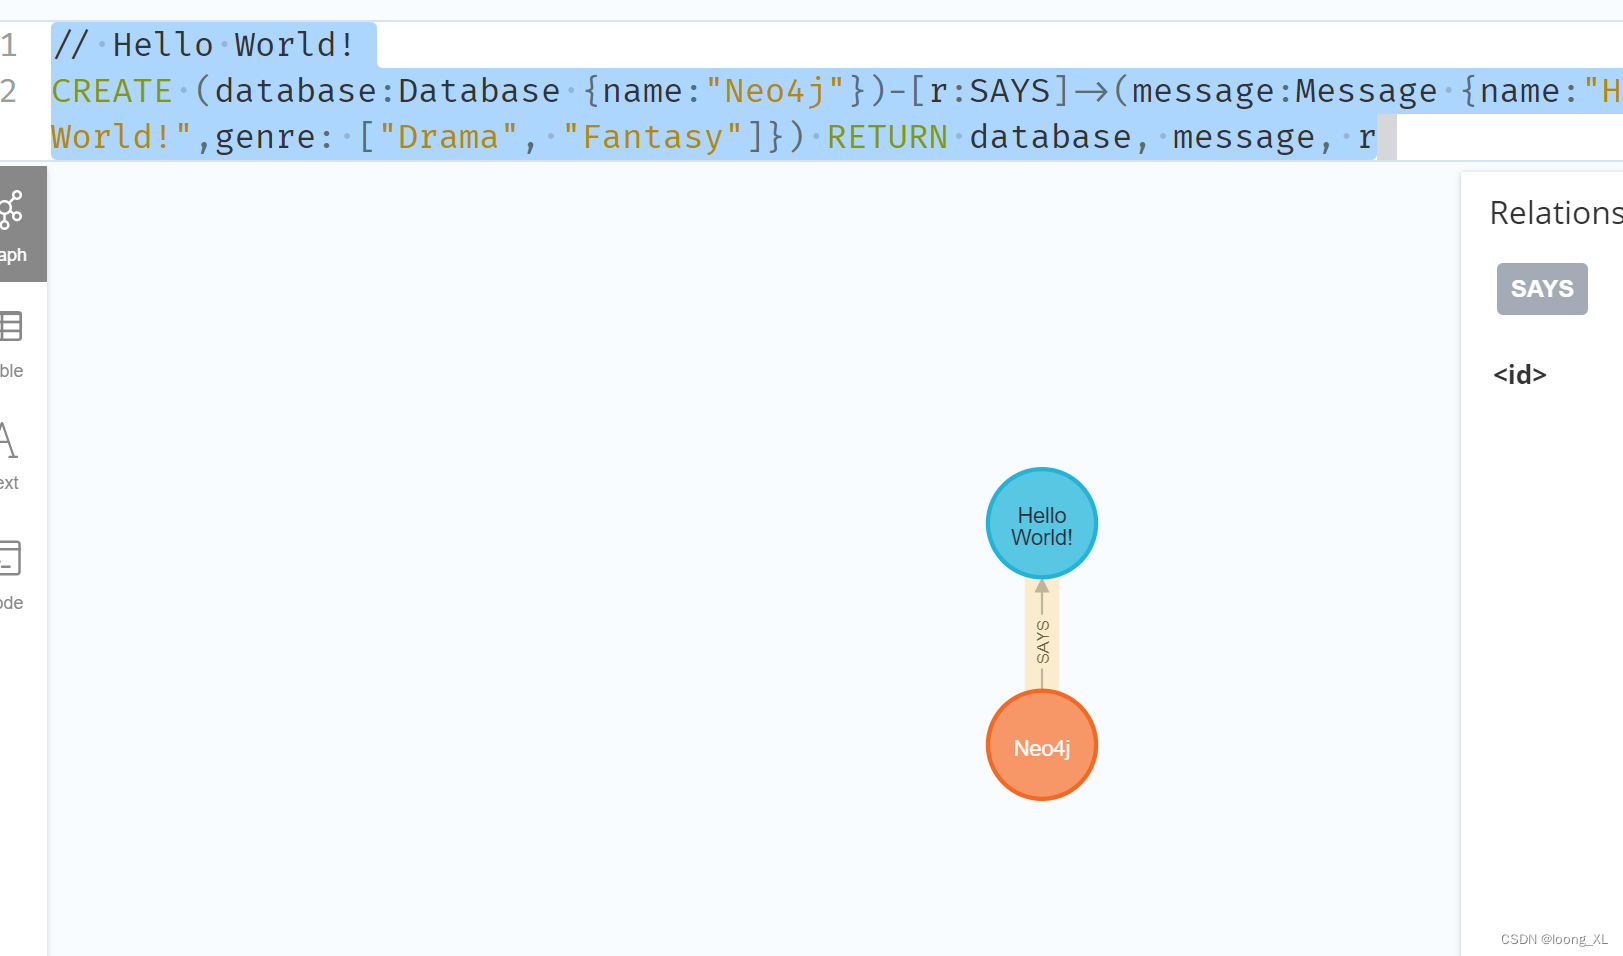
关系:SAYS
节点:database、message
数学可以存列表,好像字典存不了
// Hello World!
CREATE (database:Database {name:"Neo4j"})-[r:SAYS]->(message:Message {name:"Hello World!",genre: ["Drama", "Fantasy"]}) RETURN database, message, r
修改节点:
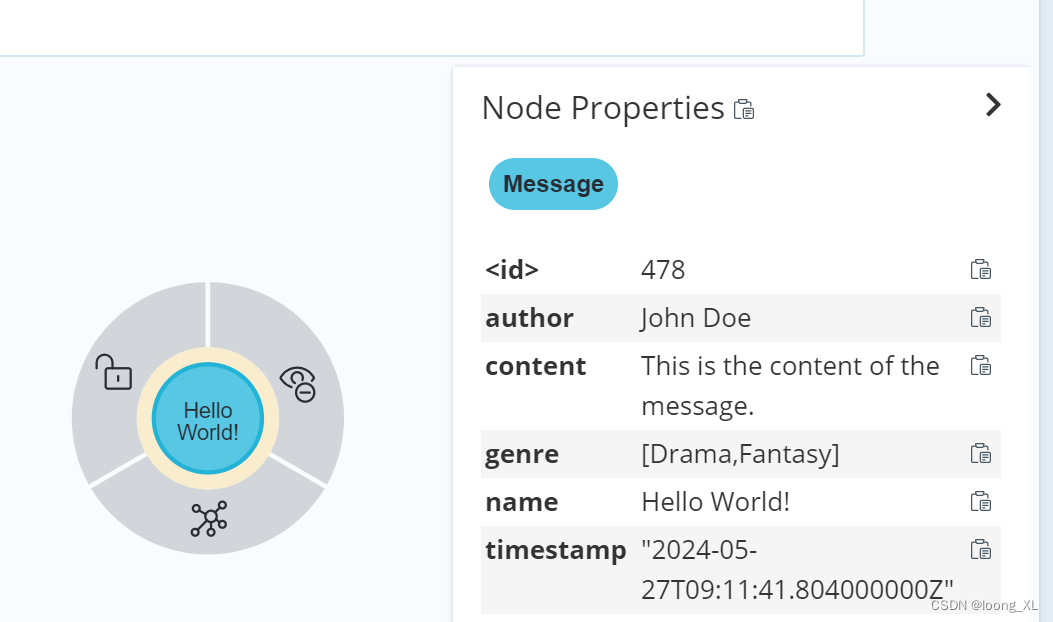
// 首先找到想要更新的 Message 节点
MATCH (m:Message {name:"Hello World!"})

// 然后使用 SET 语句添加新的属性
SET m.content = "This is the content of the message."
SET m.timestamp =DateTime()
SET m.author = "John Doe"

RETURN m
py2neo插入
安装:pip install py2neo
使用Node语句:
每个节点关系后都需要graph.create()
from py2neo import Graph, Node, Relationship

# 连接到Neo4j数据库
graph = Graph("bolt://192.168**:7687", auth=("neo4j", "neo4j1"))


# 创建 Database 节点和 Message 节点
database = Node("Database", name="Neo4j")
graph.create(database)
message = Node("message", name="Hello World!", genre=["Drama", "Fantasy"])
graph.create(database)
# 创建 SAYS 关系
relationship = Relationship(database, "SAYS", message)

# 一次性提交节点和关系到数据库
graph.create(relationship)
修改
import datetime

# 更新 Message 节点的属性
message["content"] = "This is the content of the message."
message["timestamp"] = datetime.datetime.now().isoformat()
message["author"] = "John Doe"
message["read"] = False
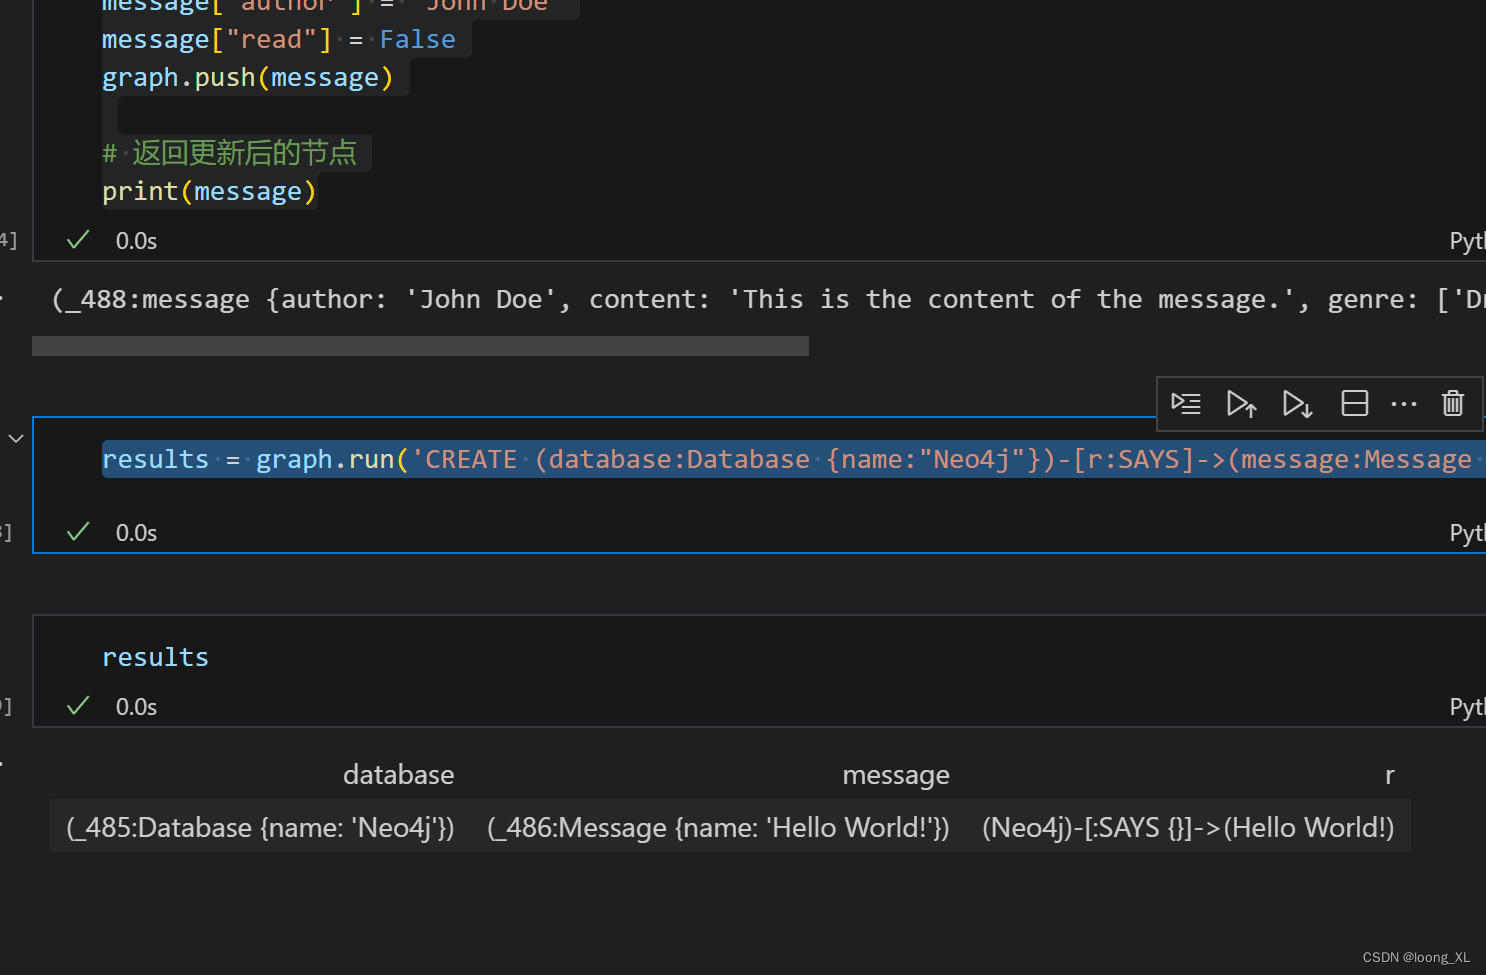
graph.push(message)

# 返回更新后的节点
print(message)
使用Cypher预警:
results = graph.run('CREATE (database:Database {name:"Neo4j"})-[r:SAYS]->(message:Message {name:"Hello World!"}) RETURN database, message, r')
