目录
一、实验
1.环境
2. 启动Redis服务
3.Predixy 升级代理 Redis-cluster 集群
二、问题
1. Predixy进行set操作报错
2.如何创建脚本启动predixy
3.Redis代理对比
一、实验
1.环境
(1)主机
表1 主机
| 系统 | 版本 | 节点 | 软件 | IP | 备注 |
| CentOS | 7.9 | Redis0 | Predixy | 192.168.204.40 | Redis代理 |
| Redis | 第一个Redis实例 | ||||
| Redis1 | Redis | 192.168.204.41 | 第二个Redis实例 | ||
| Redis2 | Redis | 192.168.204.42 | 第三个Redis实例 | ||
| Redis3 | Redis | 192.168.204.43 | 第四个Redis实例 | ||
| Redis4 | Redis | 192.168.204.44 | 第五个Redis实例 | ||
| Redis5 | Redis | 192.168.204.45 | 第六个Redis实例 |
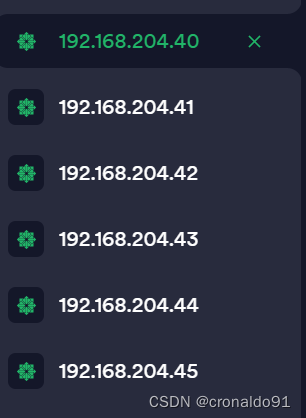
(2)Termius连接
主机
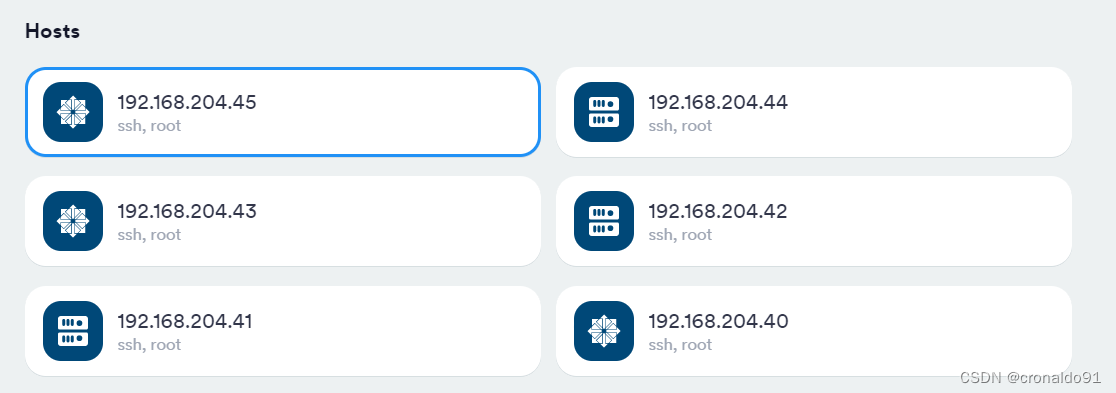
列表
2. 启动Redis服务
(1)Redis集群部署
可以参考本人博客:
数据库应用:Redis主从复制、哨兵、cluster集群-CSDN博客
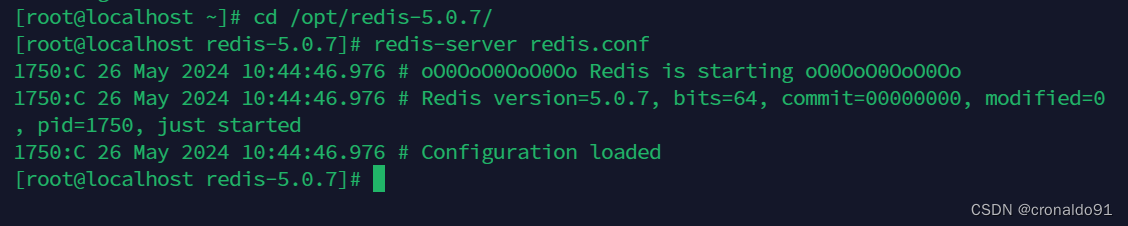
(2)所有节点启动Redis服务
cd /opt/redis-5.0.7/
redis-server redis.conf   #启动redis节点
Redis0

Redis1

Redis2

Redis3

Redis4
Redis5

(3)策略
Redis0部署Predixy,以下操作均在Redis0上操作。
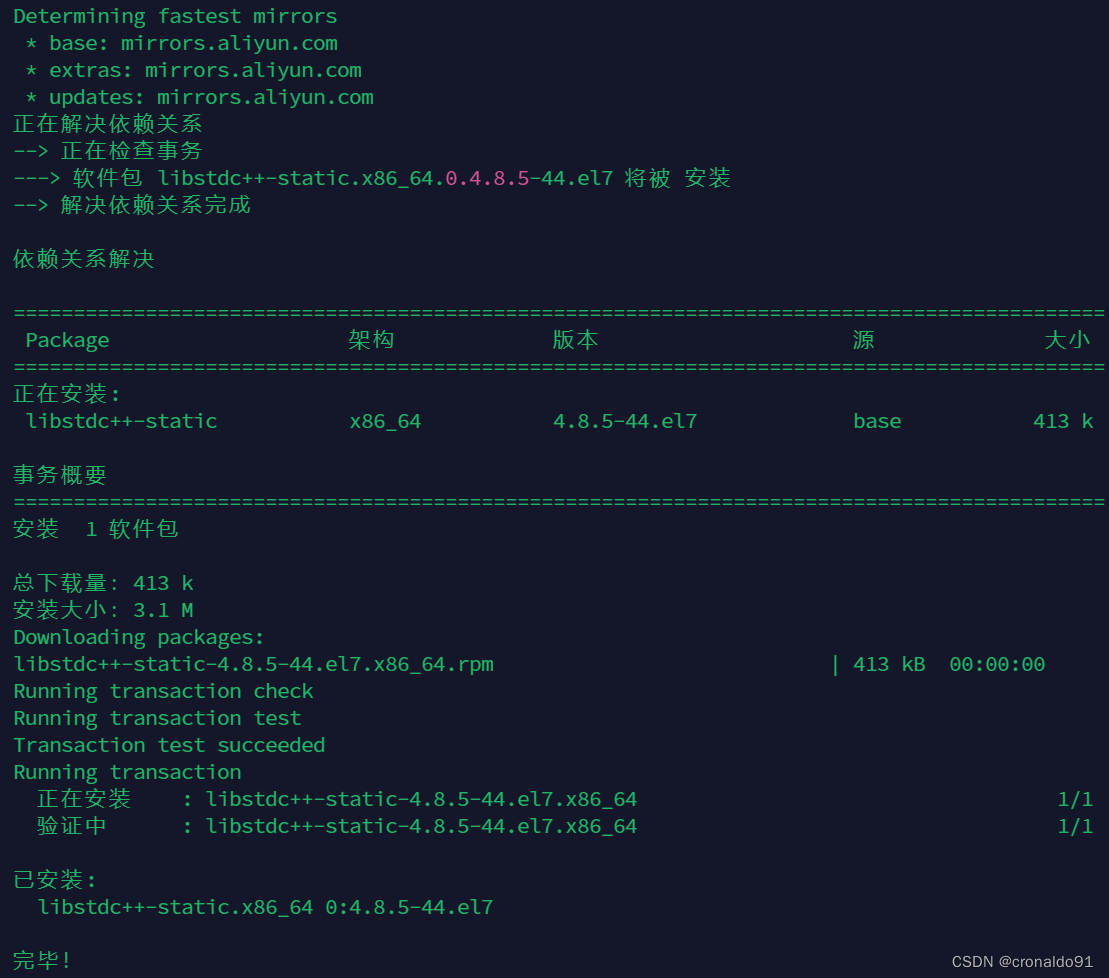
(4)配置编译环境
yum install libstdc++-static -y
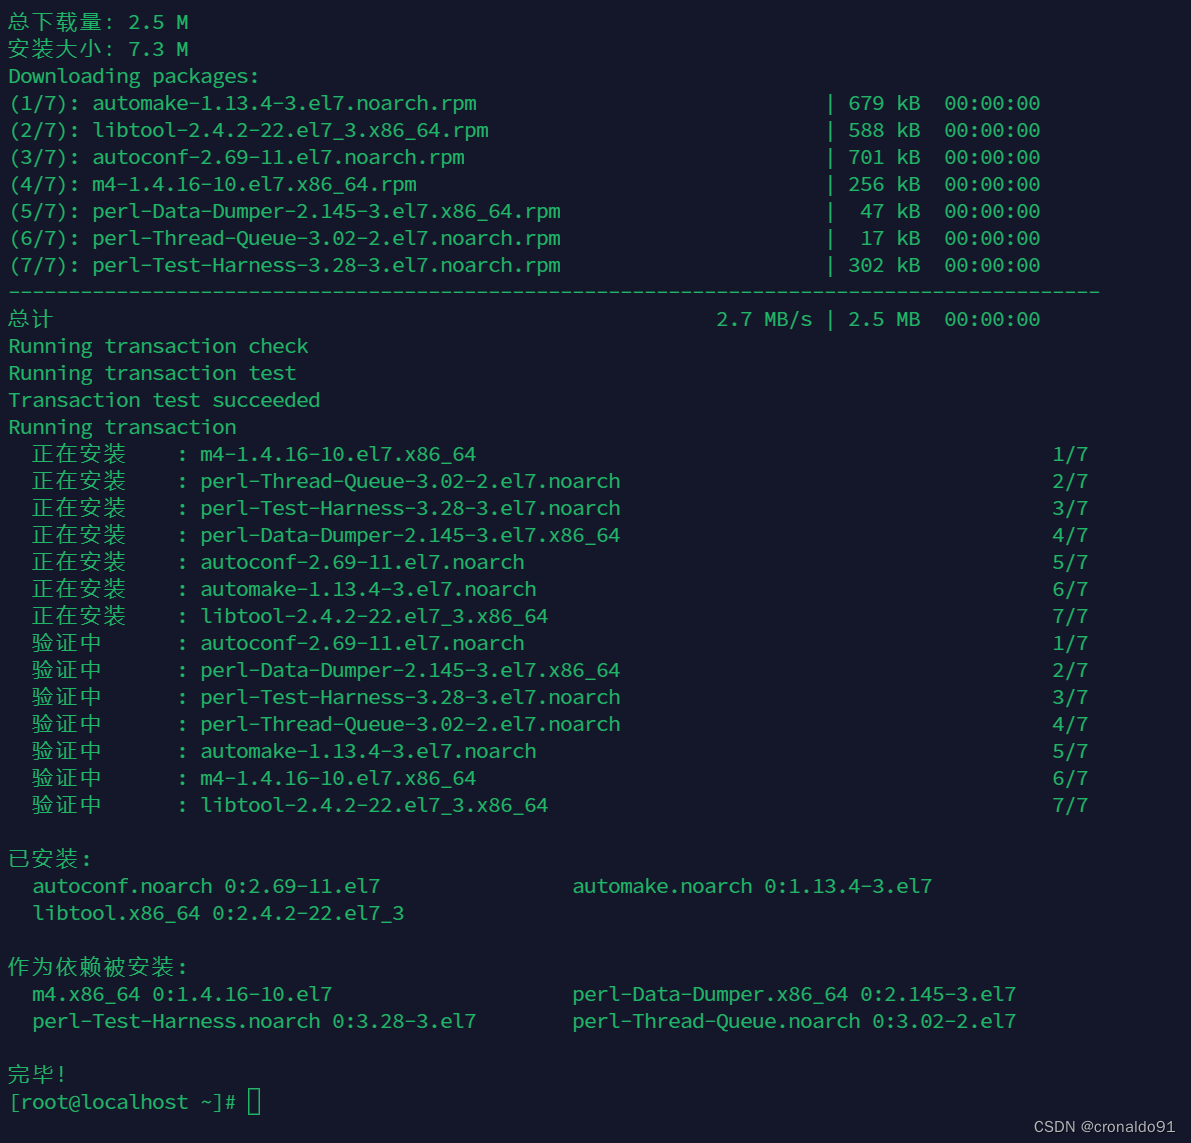
yum -y install gcc automake autoconf libtool make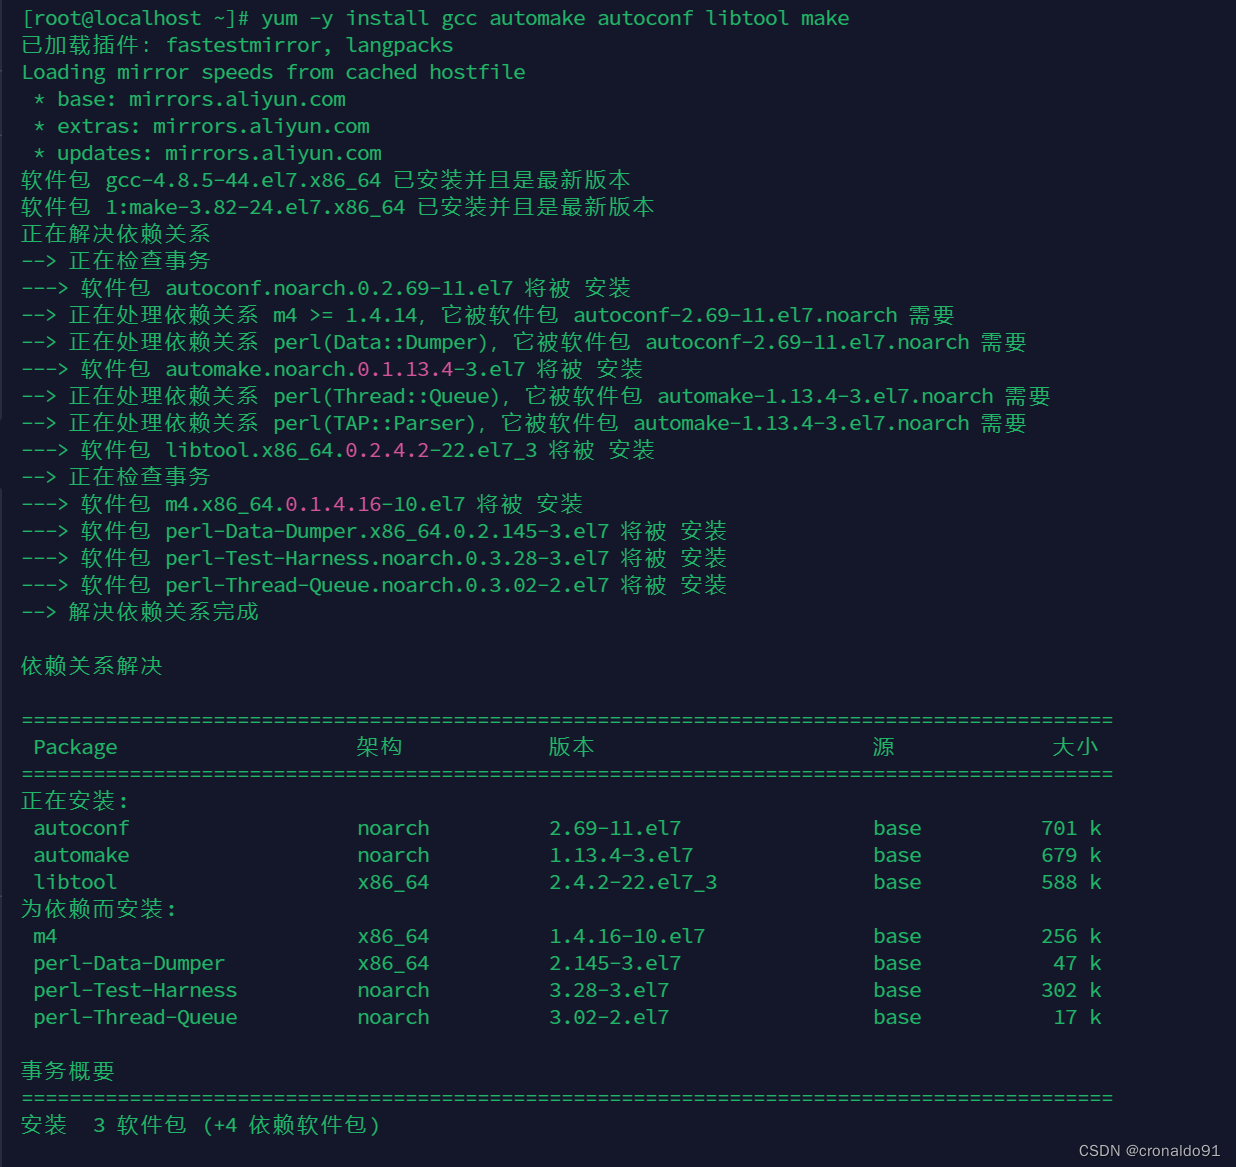
yum install gcc gcc-c++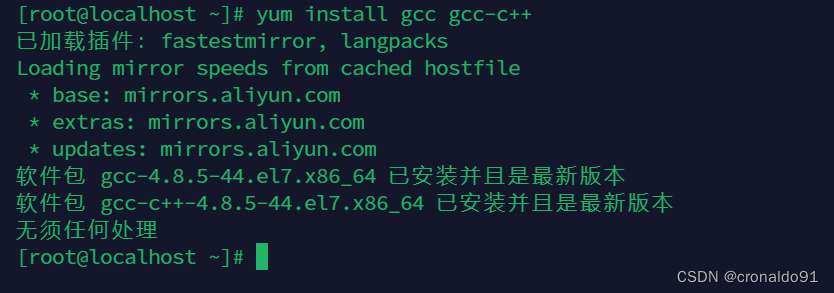
(4)下载wget工具
yum install wget -y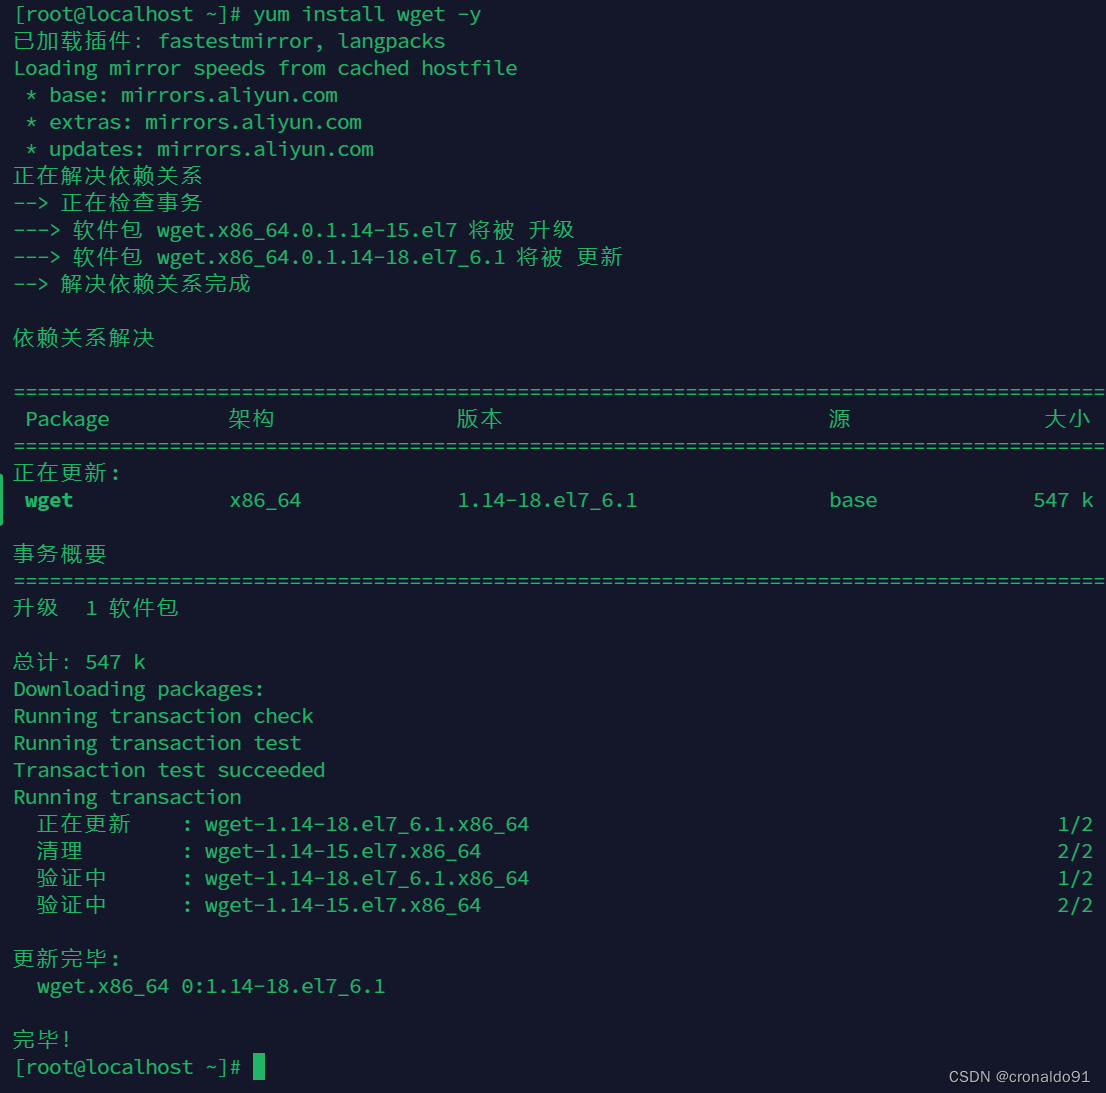
3.Predixy 升级代理 Redis-cluster 集群
(1) 查阅
https://github.com/joyieldInc/predixy最新版为7.0.1

https://github.com/joyieldInc/predixy/releases/download/7.0.1/predixyFreeEdition-7.0.1-amd64-linux.tar.gz1.0.5版本:

https://github.com/joyieldInc/predixy/releases/download/1.0.5/predixy-1.0.5-bin-amd64-linux.tar.gz(3)下载
wget https://github.com/joyieldInc/predixy/archive/1.0.5.tar.gz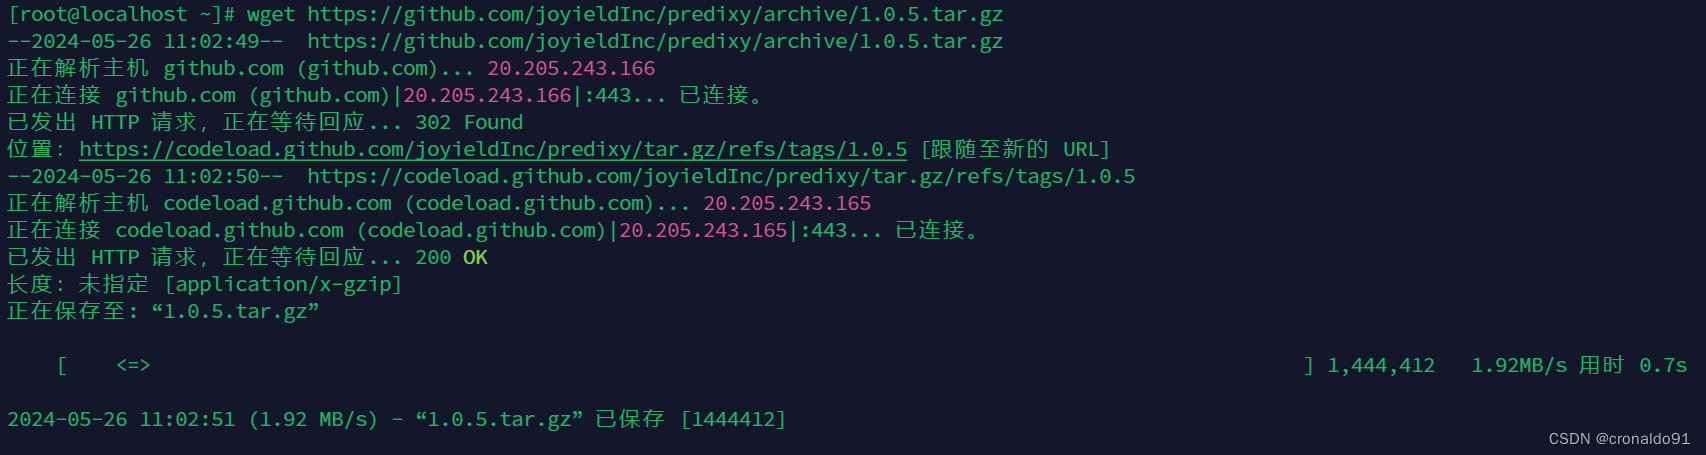
(4)解压
tar -zxvf 1.0.5.tar.gz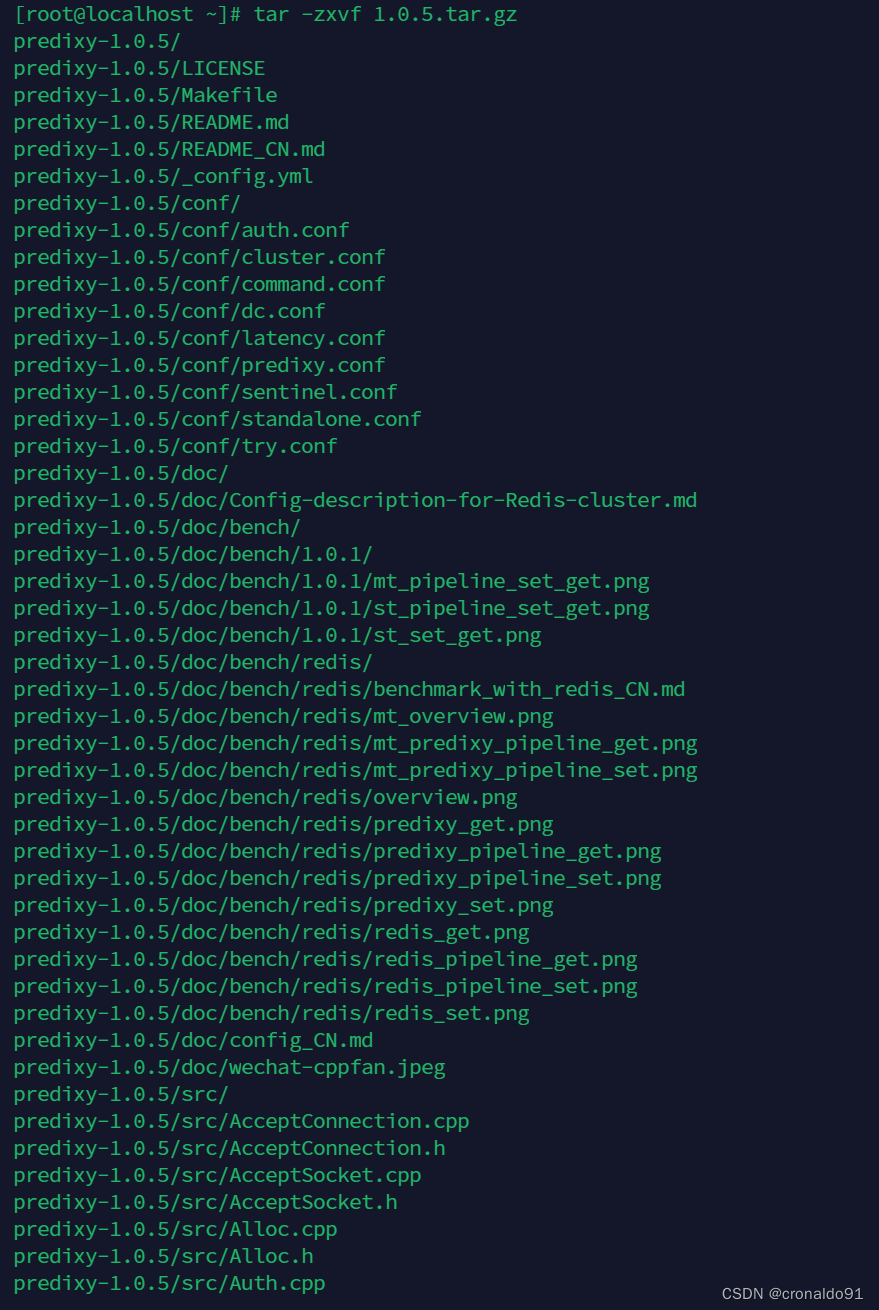
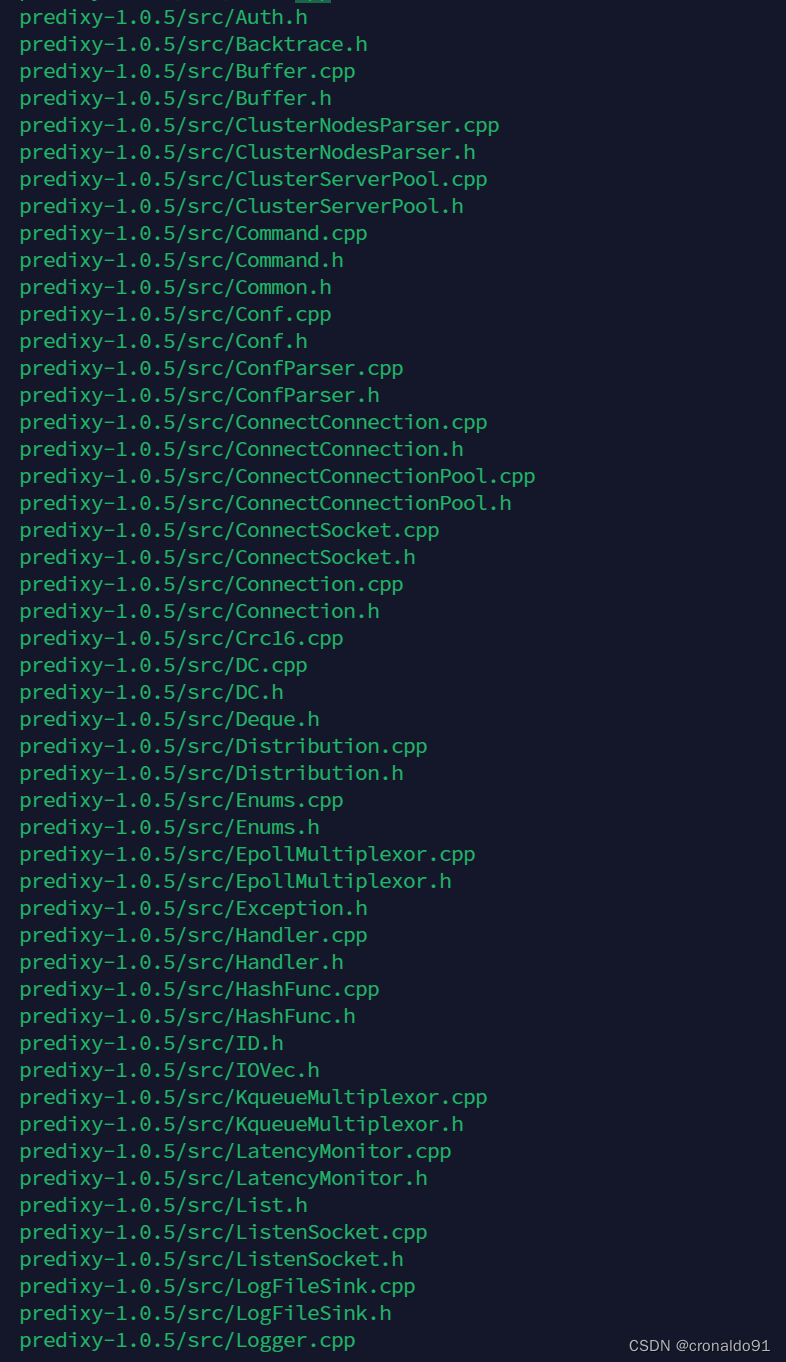
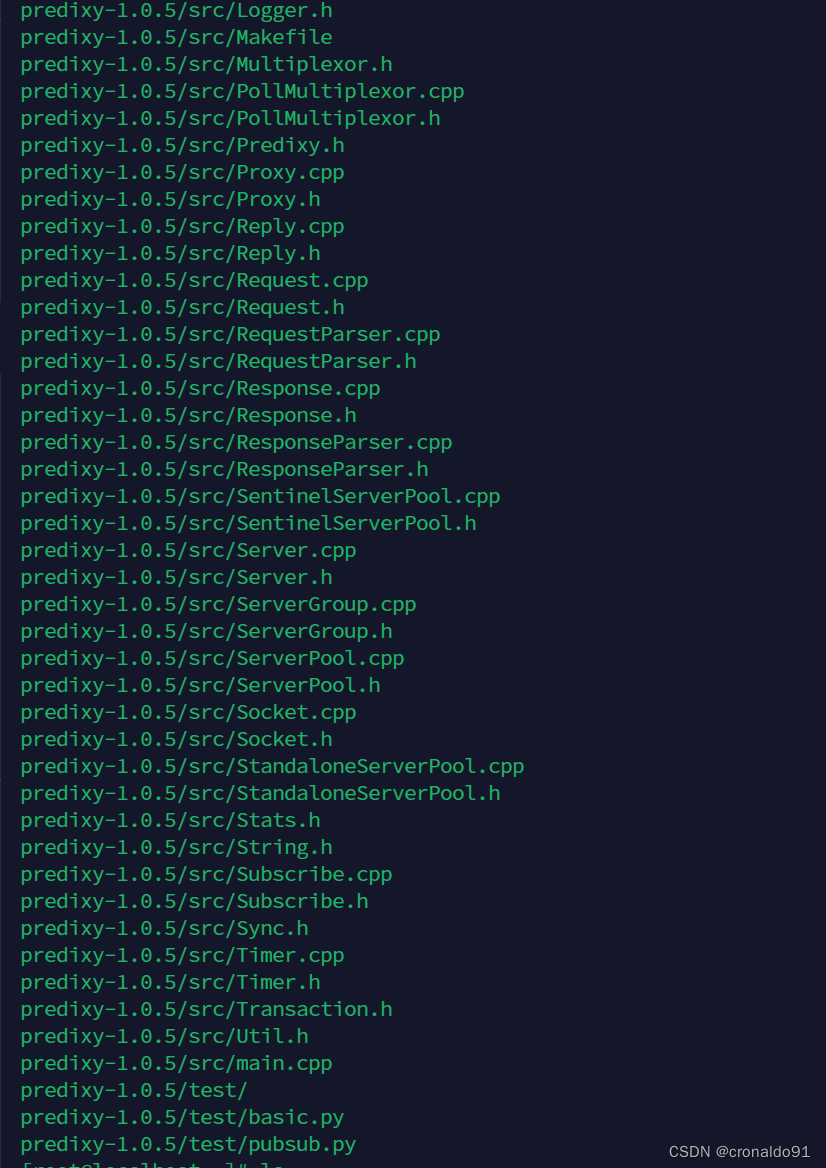
(5)查看
cd predixy-1.0.5/
ls
(6)移动目录
mv predixy-1.0.5/ /usr/local/src
查看
cd /usr/local/src;ls
(7) 编译
cd predixy-1.0.5/
make -j4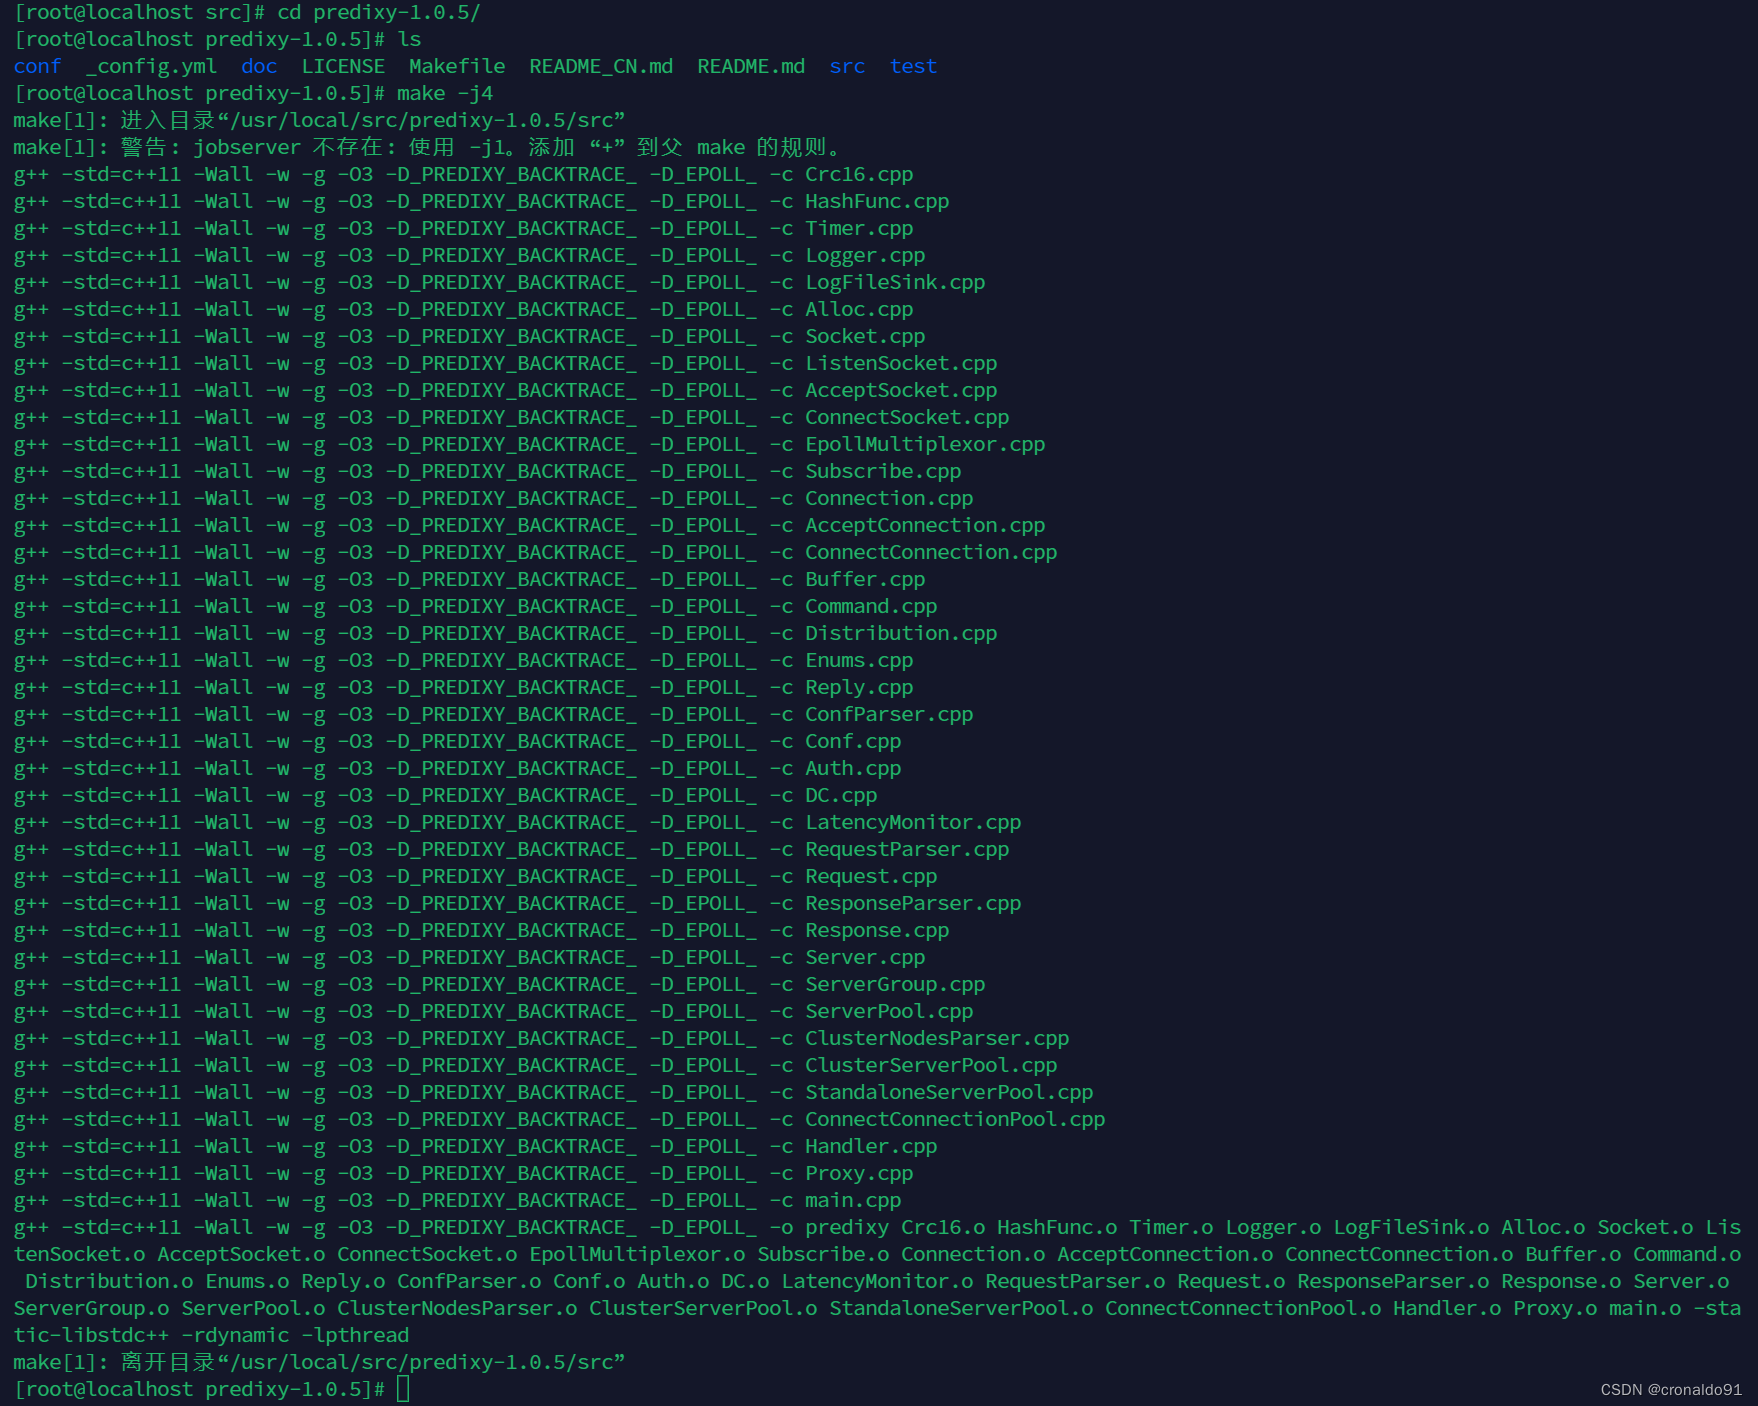
(8)复制编译文件
进入src目录,把编译好的predixy拷贝到/usr/local/bin下
cd src && cp predixy /usr/local/bin/
查看
ls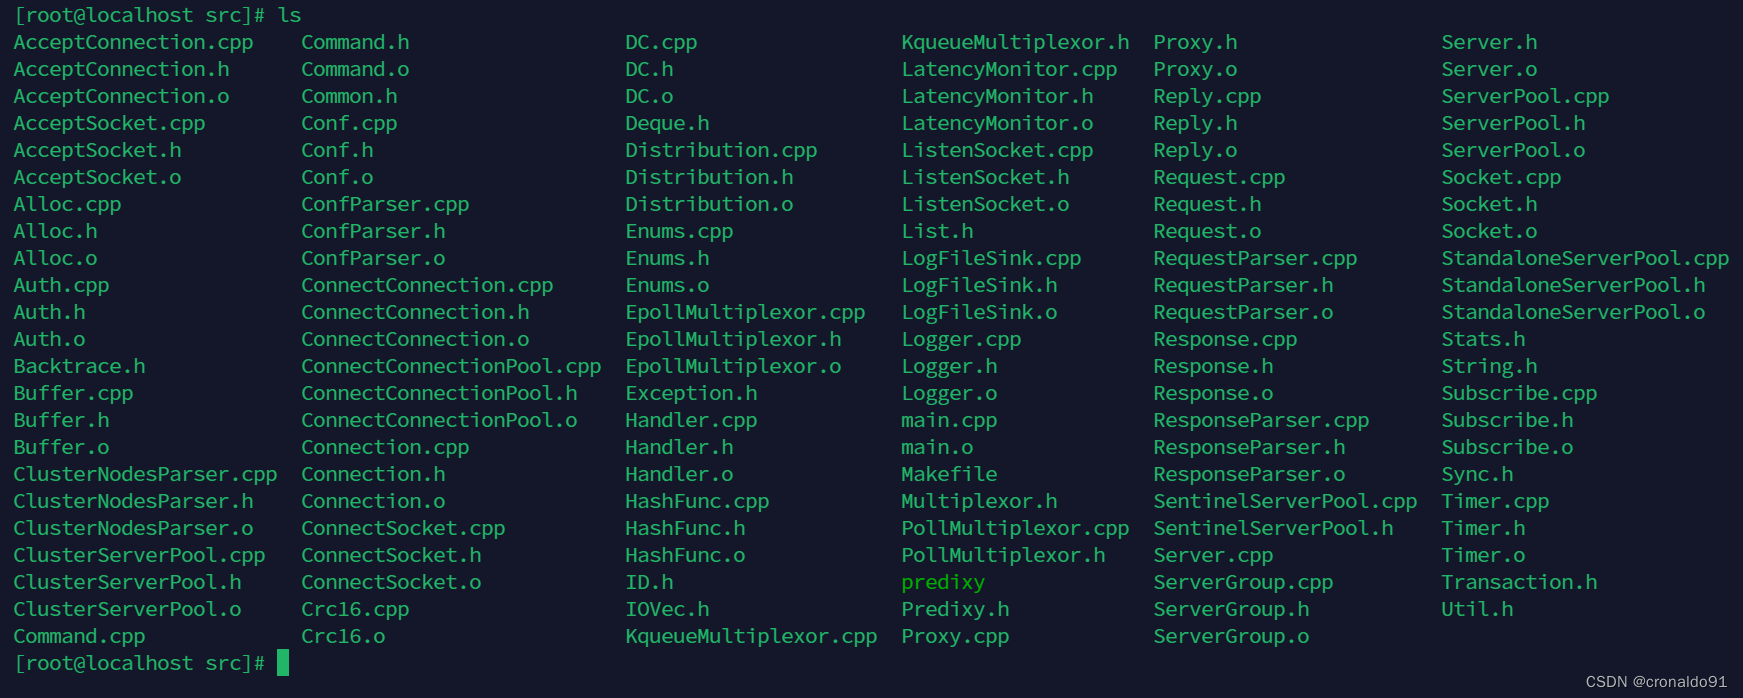
(9)复制配置文件
把src下的predixy-1.0.5/conf/下的所有配置文件拷贝/usr/local/bin下
cp /usr/local/src/predixy-1.0.5/conf/* /usr/local/bin
(10)修改cluster.conf 配置文件
修改 /usr/local/bin 目录下cluster.conf
vim /usr/local/bin/cluster.conf![]()
修改前:

修改后:
ClusterServerPool {
	# 连接集群中redis的密码
	Password 123456789
    MasterReadPriority 60
    StaticSlaveReadPriority 50
    DynamicSlaveReadPriority 50
    RefreshInterval 1
    ServerTimeout 1
    ServerFailureLimit 10
    ServerRetryTimeout 1
    KeepAlive 120
    Servers {
        + 192.168.204.40:6379
        + 192.168.204.41:6379
        + 192.168.204.42:6379
        + 192.168.204.43:6379
        + 192.168.204.44:6379
        + 192.168.204.45:6379
    }
}

(11)修改predixy.conf 配置文件
修改 /usr/local/bin 目录下predixy.conf 文件
vim /usr/local/bin/predixy.conf![]()
修改前:(默认predixy代理连接端口号7617)

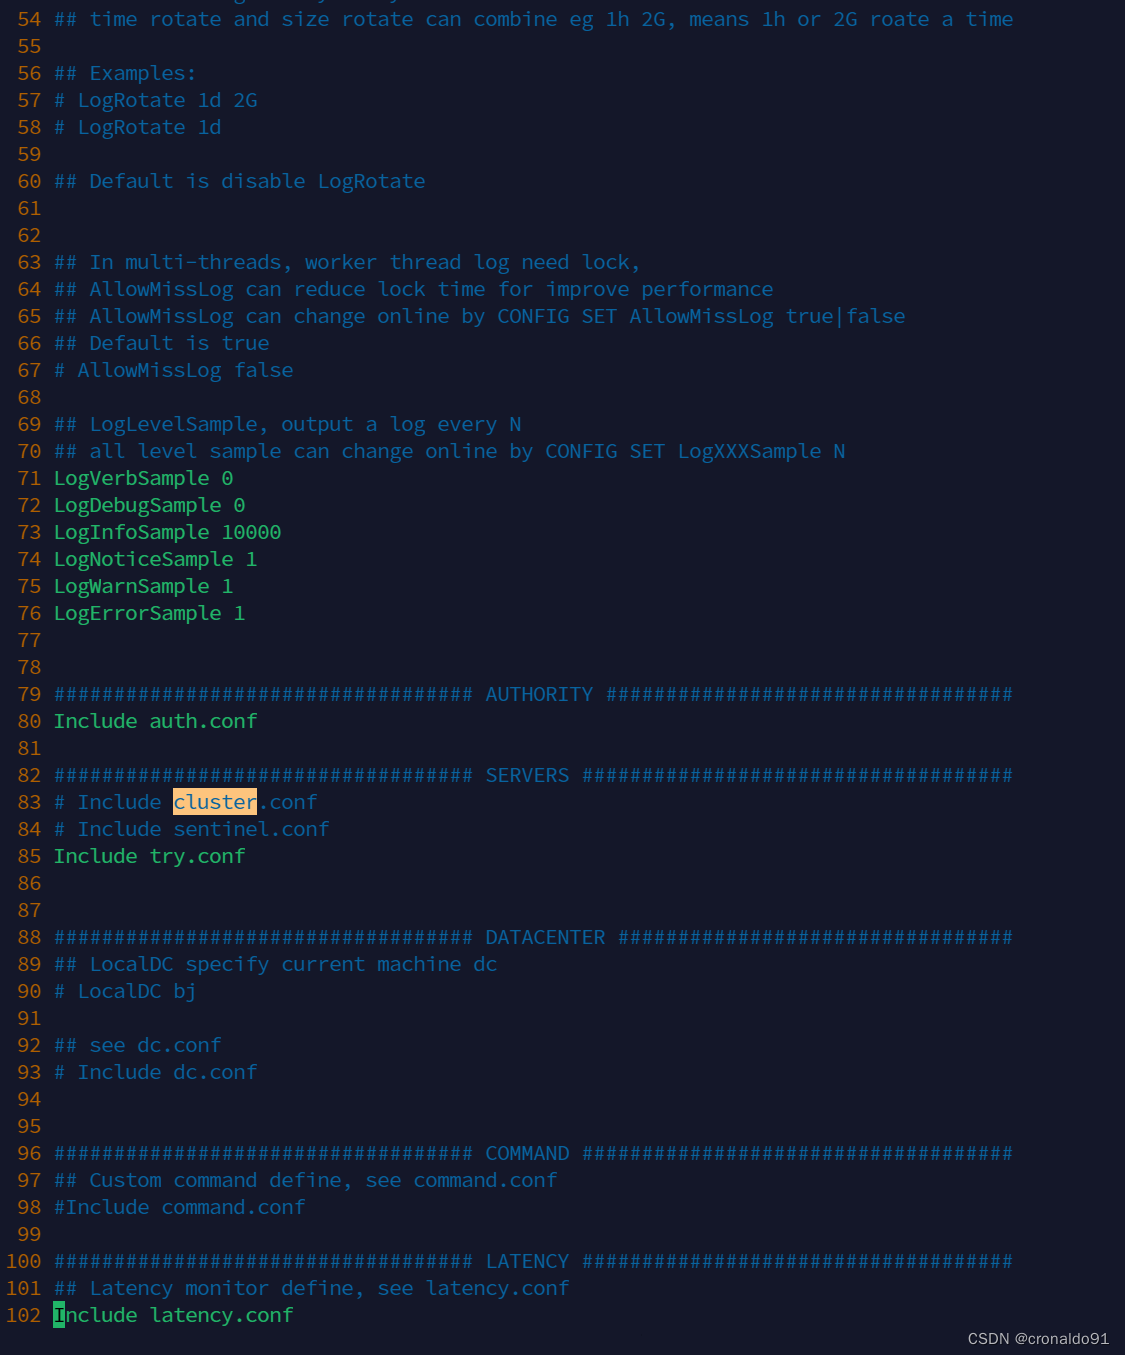
修改后:(放开Cluster注释)
找到SERVERS模块,选用其中一种放开注释(Sentinel和Cluster只能选其一),放开sentinel的同时还要注释掉try
(12)修改auth.conf配置文件
修改 /usr/local/bin 目录下auth.conf 文件,predixy代理连接密码为 123456789
vim /usr/local/bin/auth.conf ![]()
修改前:
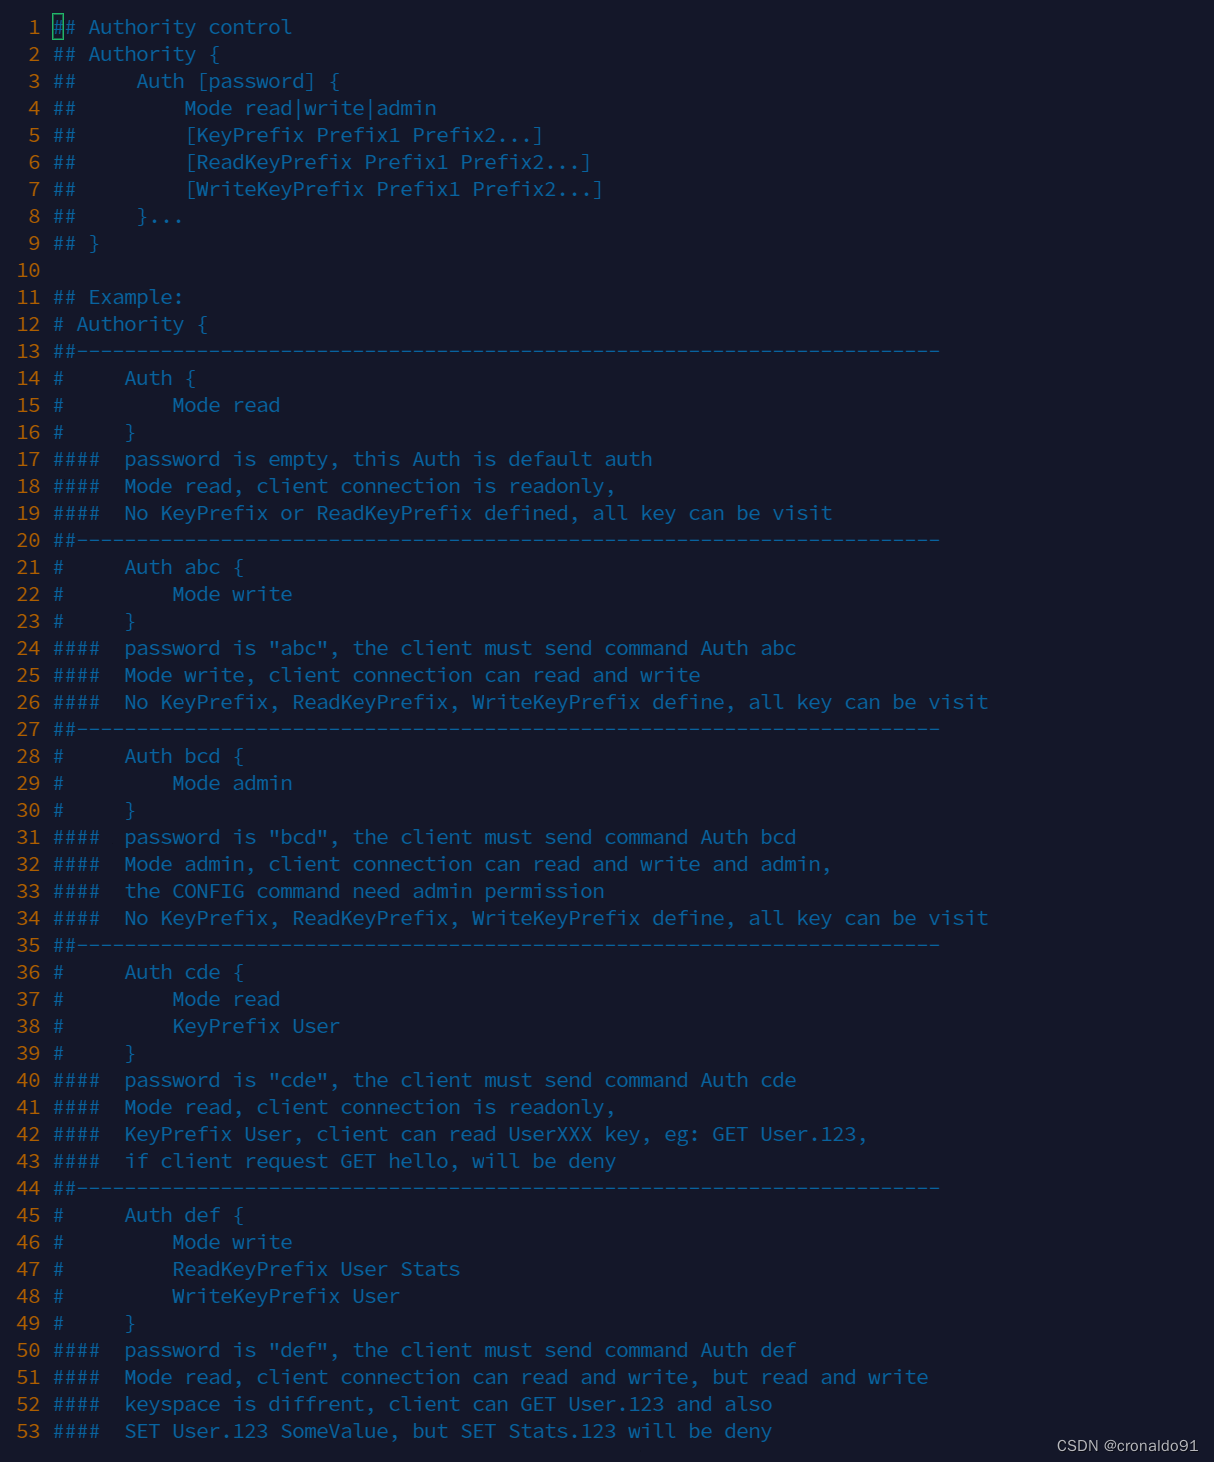
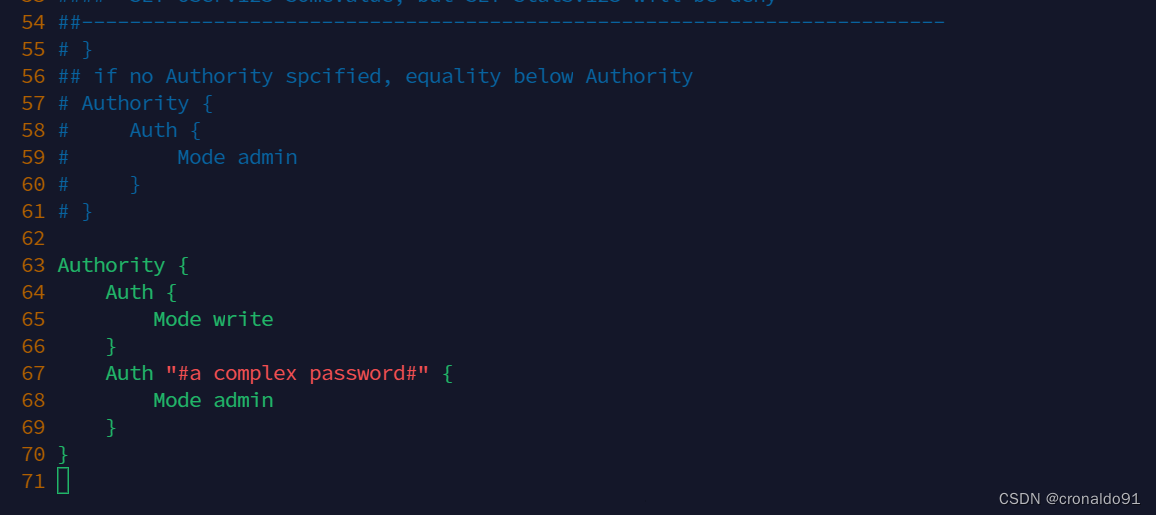
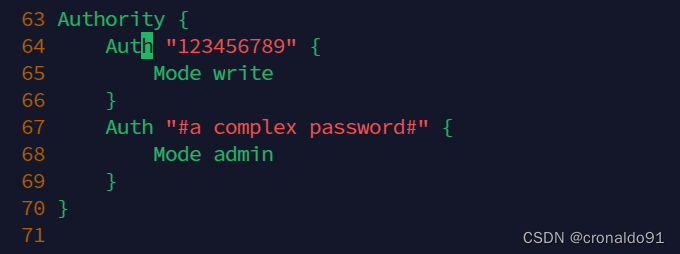
修改后:
Authority {
	  # 连接代理的密码
      Auth "123456789" {
        Mode write
    }
}
(13)启动predixy
1)首先进入目录
cd /usr/local/bin
2)启动
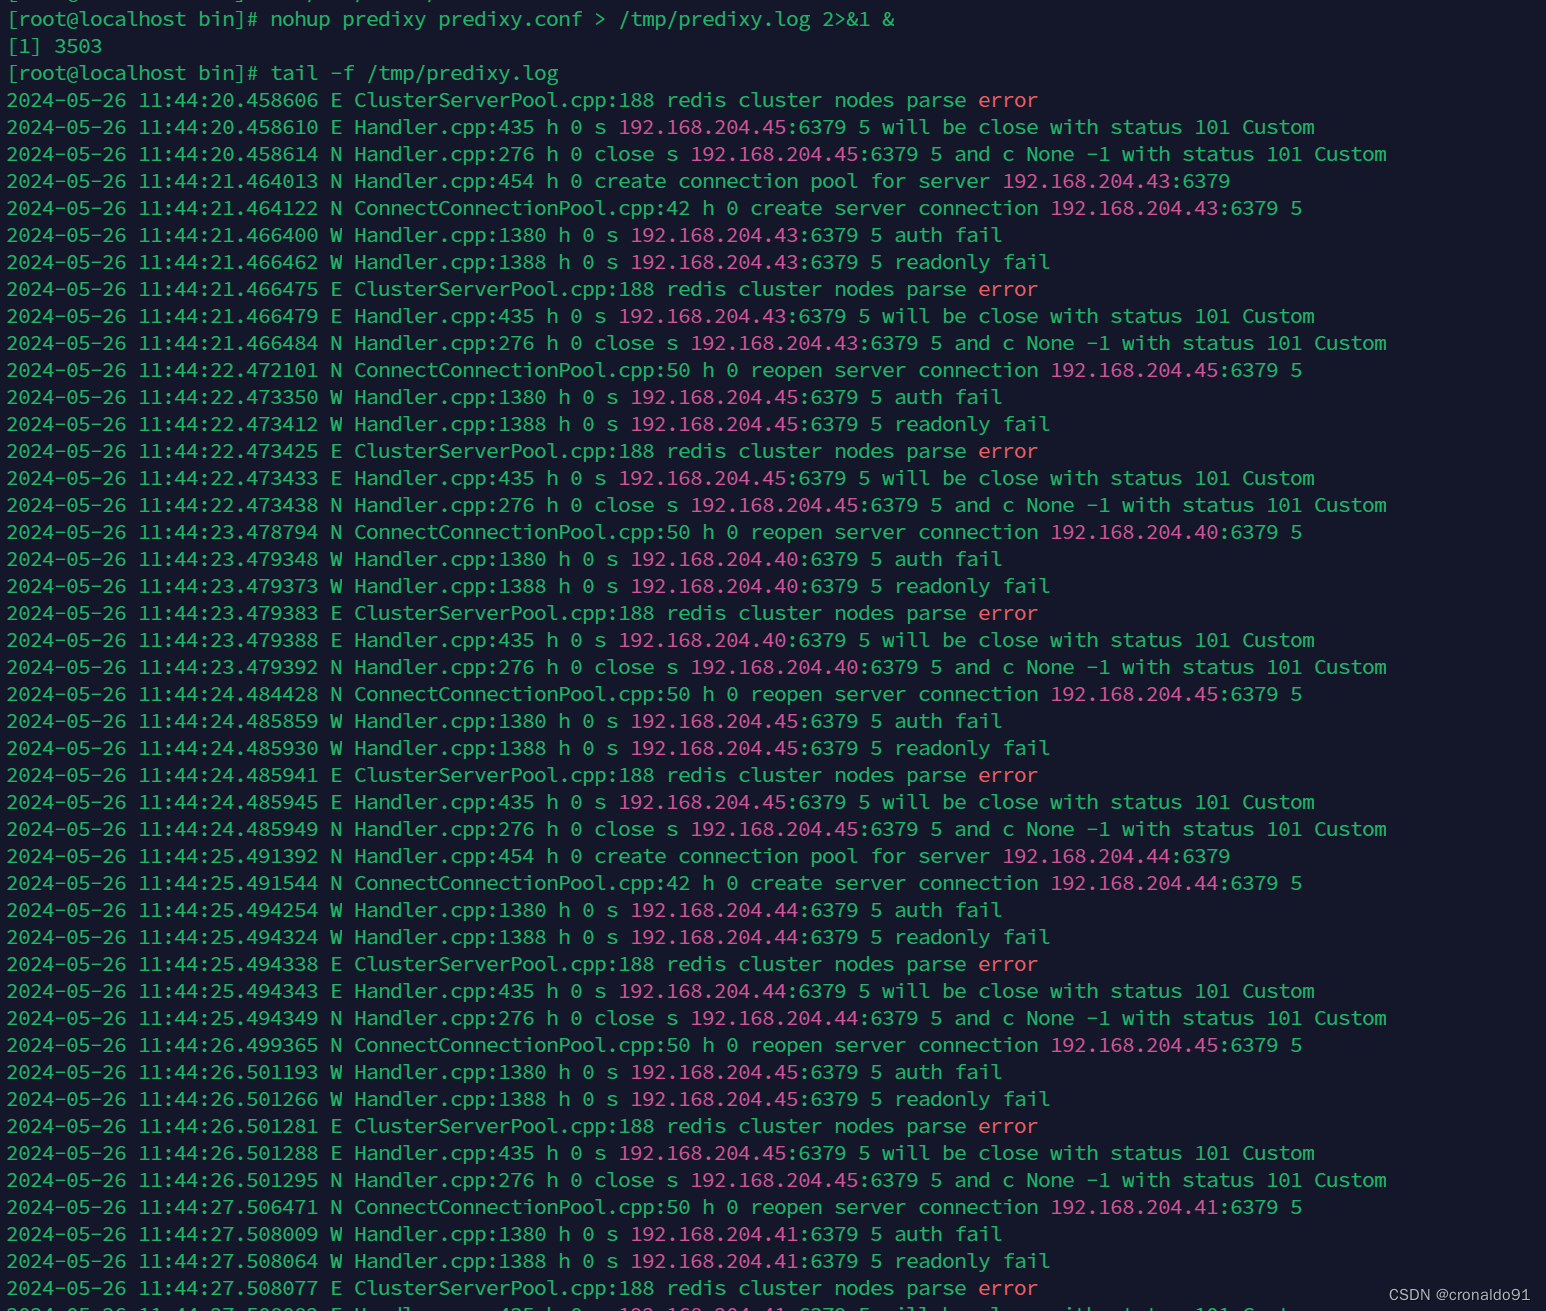
nohup predixy predixy.conf > /tmp/predixy.log 2>&1 &;
3)查看日志:tail -f /tmp/predixy.log
进入目录启动

连接代理

(14)连接predixy 代理,进行第一批次操作redis数据
redis-cli -h 192.168.204.40 -p 7617 -a 123456789

#执行set操作(写入键值对)
127.0.0.1:7617> set cicd 123
OK
127.0.0.1:7617> set devops 123
OK
127.0.0.1:7617> set kubernetes 123
OK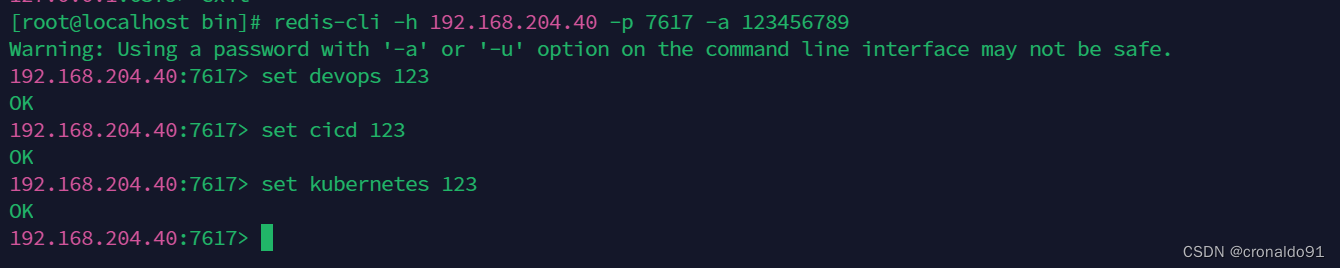
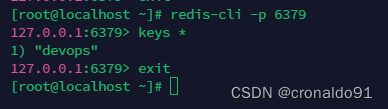
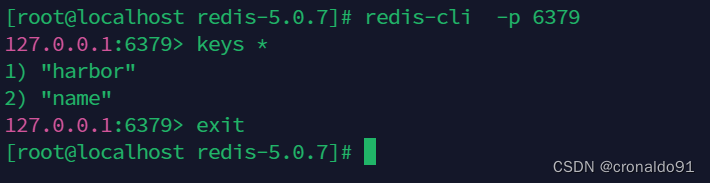
(15)分别进入Redis实例
redis-cli  -p 6379
keys *
exit
Redis0

Redis1 (name为之前数据,后续出现可忽略)

Redis2

Redis3

Redis4

Redis5

(16)连接predixy 代理,进行第二批次操作redis数据
redis-cli -h 192.168.204.40 -p 7617 -a 123456789

#执行set操作(写入键值对)
127.0.0.1:7617> set jenkins 123
OK
127.0.0.1:7617> set gitlab 123
OK
127.0.0.1:7617> set nexus 123
OK
127.0.0.1:7617> set sonarqube 123
OK
127.0.0.1:7617> set harbor 123
OK
127.0.0.1:7617> set argocd 123
OK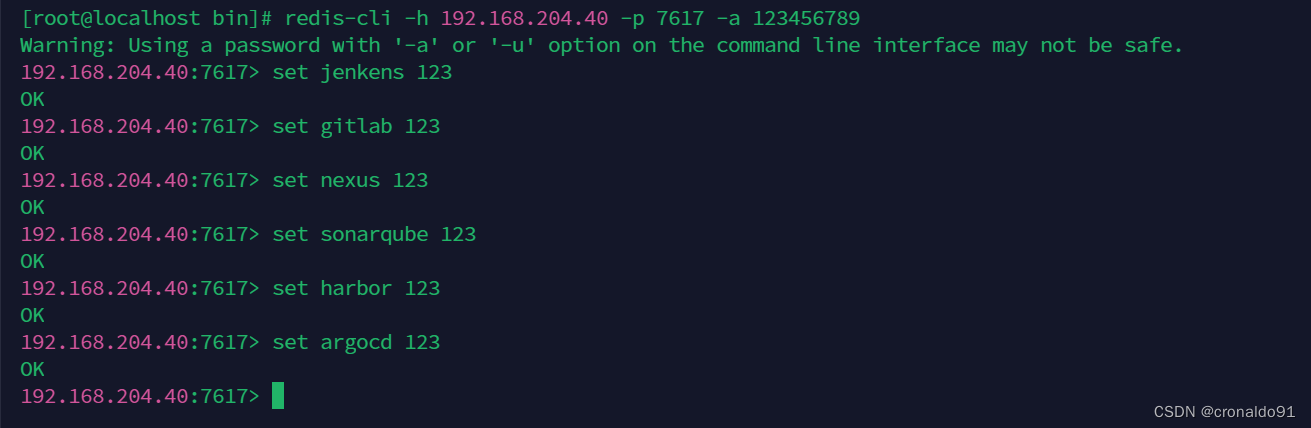
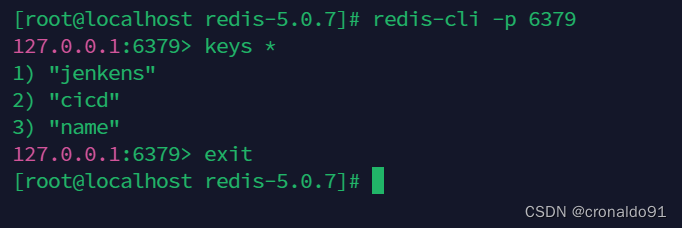
(17)分别进入Redis实例
redis-cli  -p 6379
keys *
exit
Redis0
Redis1
Redis2
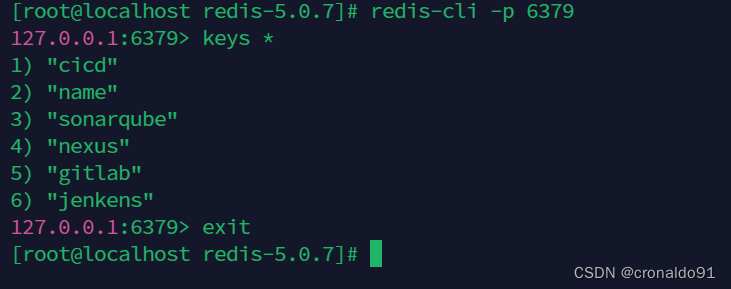
Redis3

Redis4
Redis5
(17)连接predixy 代理,进行第三批次操作redis数据
redis-cli -h 192.168.204.40 -p 7617 -a 123456789

#执行set操作(写入键值对)
127.0.0.1:7617> set one 1
OK
127.0.0.1:7617> set two 2
OK
127.0.0.1:7617> set three 3
OK
127.0.0.1:7617> set four 4
OK
127.0.0.1:7617> set five 5
OK
127.0.0.1:7617> set six 6
OK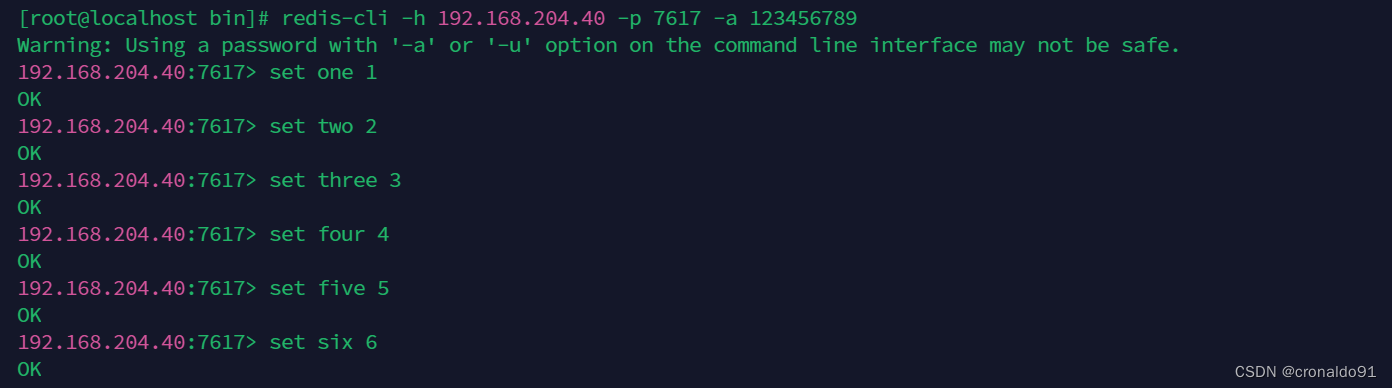
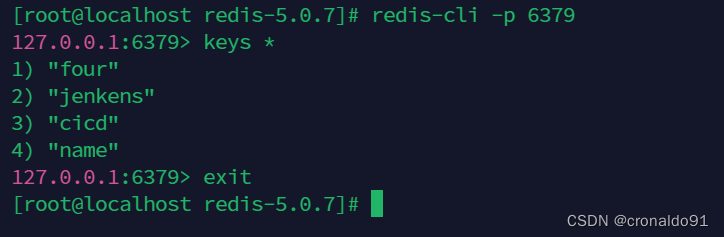
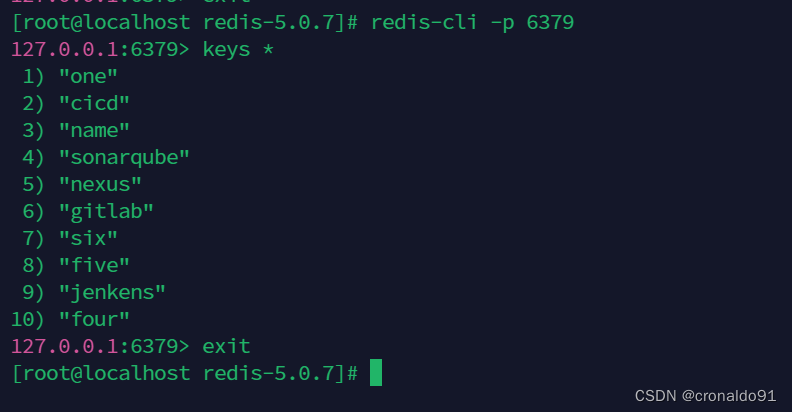
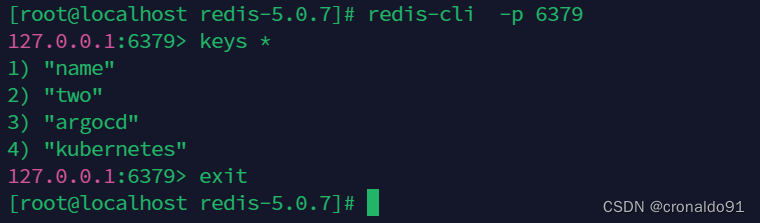
(18)分别进入Redis实例
redis-cli -p 6379
keys *
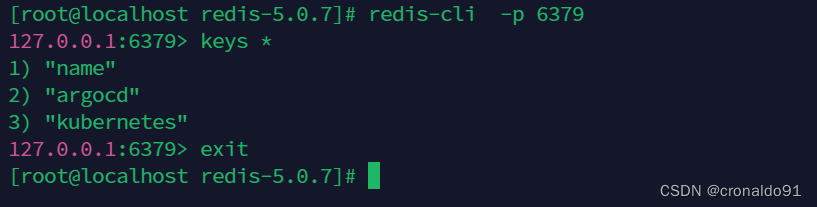
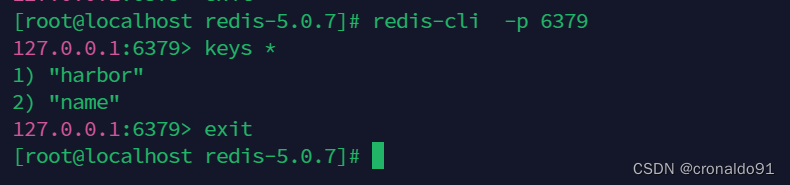
exitRedis0
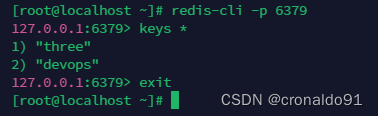
Redis1
Redis2
Redis3

Redis4
Redis5
(19)统计
表2 写入键值对分布情况统计
| 批次 | Redis0 | Redis1 | Redis2 | Redis3 | Redis4 | Redis5 |
| 第一批次 (分布) | devops | cicd | cicd | kubernetes | ||
| 第二批次 (分布) | jenkins | jenkins gitlab nexus sonarqube | arogcd | harbor | ||
| 第三批次 (分布) | three | four | one four five six | two |
二、问题
1. Predixy进行set操作报错
(1)报错
READONLY You can't write against a read only replica
(2)原因分析
查看日志
(3)解决方法
1)第一种方法:修改 redis.conf 配置文件(永久生效)
修改 redis.conf 配置文件中的参数  slave-read-only  yes ,将 yes 修改为 no ;
然后保存并重启 redis 服务,此刻从服务器就具备了 读写权限。(注意:此方法必须重启 Redis 服务,才能使配置生效。)

2)第二种方法:redis-cli 命令行中使用 config set 命令修改
在从Redis从服务器客户端命令行中 (redis-cli),通过 config set slave-read-only no 进行设置,立即生效,不需要重启 Redis 服务。(注意:若Redis从服务器重新启动,之前的设置参数就会失效,又会出现 redis 从服务器只有读权限。)
这里采用第二种方法:
redis-cli -p 6379

127.0.0.1:6379> config get slave-read-only
1) "slave-read-only"
2) "yes"
127.0.0.1:6379> config set slave-read-only no
OK
127.0.0.1:6379> config get slave-read-only
1) "slave-read-only"
2) "no"
127.0.0.1:6379>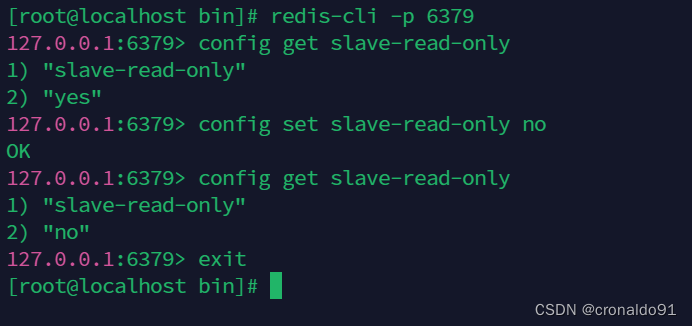
2.如何创建脚本启动predixy
(1)命令
#!/bin/bash
cd /usr/local/bin
nohup predixy predixy.conf   > /tmp/predixy.log 2>&1 &
echo "======== success  ========"
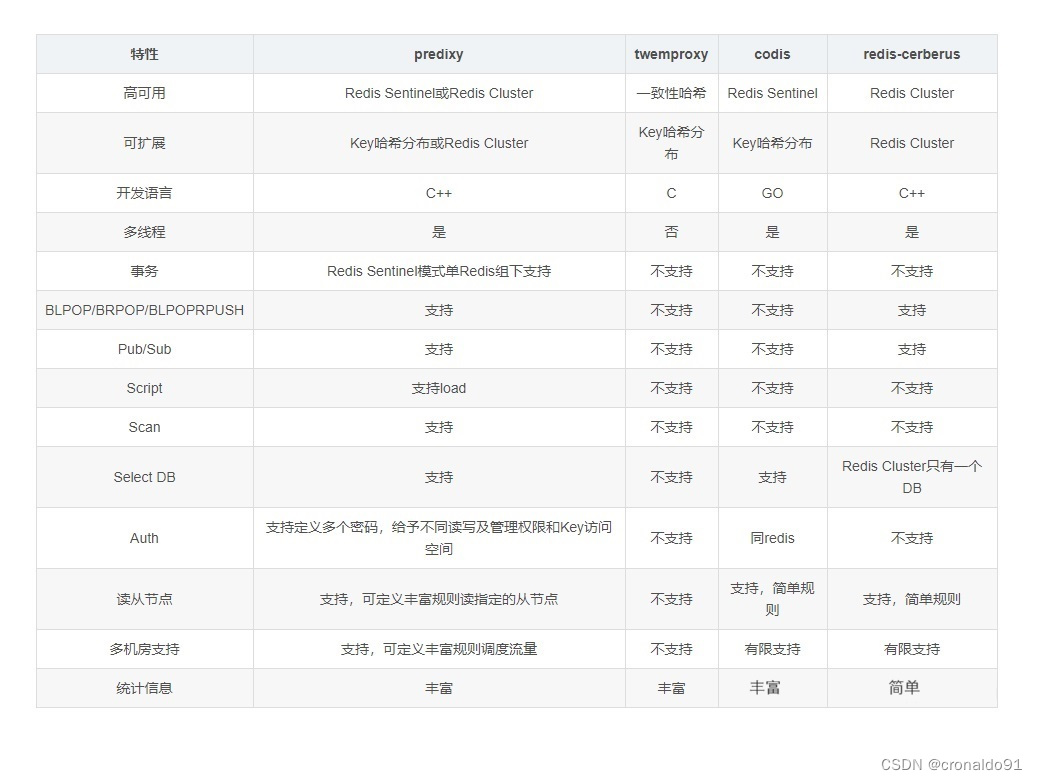
3.Redis代理对比
(1)对比