1、调用拍照 / 选择图片
// 修改头像
const onAvatarChange = () => {
// 调用拍照 / 选择图片
uni.chooseMedia({
// 文件个数
count: 1,
// 文件类型
mediaType: ['image'],
success: (res) => {
console.log(res)
// 本地临时文件路径 (本地路径)
const { tempFilePath } = res.tempFiles[0]
},
})
}
2、获取图片路径

3、上传文件
// 文件上传
uni.uploadFile({
url: '/member/profile/avatar',
name: 'file',
filePath: tempFilePath,
success: (res) => {
if (res.statusCode === 200) {
const avatar = JSON.parse(res.data).result.avatar
profile.value.avatar = avatar
}
},
})
4、更新头像
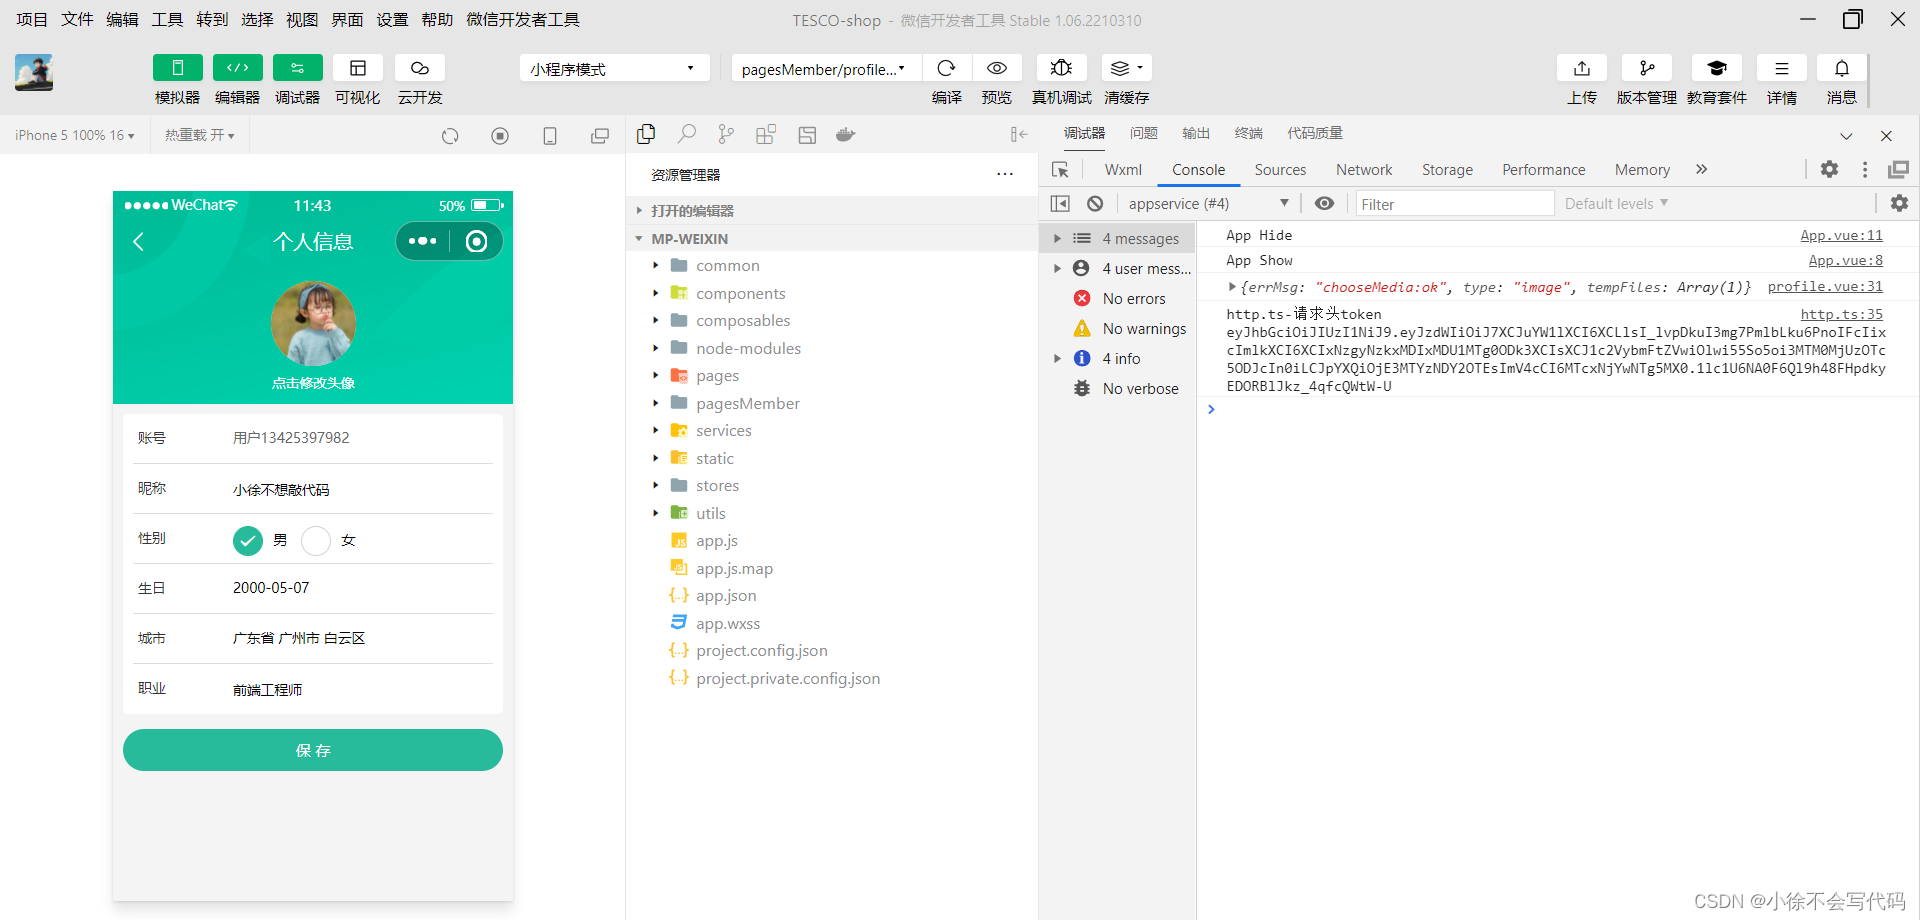
5、完整代码实现
<template>
<!-- 头像 -->
  <view class="avatar">
     <view class="avatar-content" @tap="onAvatarChange">
       <image class="image" :src="profile?.avatar" mode="aspectFill" />
       <text class="text">点击修改头像</text>
     </view>
  </view>
</template>

<script setup lang="ts">
import { onLoad } from '@dcloudio/uni-app'
import { ref } from 'vue'
import { getMemberProfileAPI } from '@/services/profile'
import type { ProfileDetail } from '@/types/member'

// 获取屏幕边界到安全区域距离
const { safeAreaInsets } = uni.getSystemInfoSync()

// 获取个人信息
const profile = ref<ProfileDetail>()
const getMemberProfileData = async () => {
  const res = await getMemberProfileAPI()
  console.log('获取个人信息', res)
  profile.value = res.result
}
// 页面加载
onLoad(() => {
  getMemberProfileData()
})

// 修改头像
const onAvatarChange = () => {
  // 调用拍照 / 选择图片
  uni.chooseMedia({
    // 文件个数
    count: 1,
    // 文件类型
    mediaType: ['image'],
    success: (res) => {
      console.log(res)
      // 本地临时文件路径 (本地路径)
      const { tempFilePath } = res.tempFiles[0]
      // 文件上传
      uni.uploadFile({
        url: '/member/profile/avatar',
        name: 'file',
        filePath: tempFilePath,
        success: (res) => {
          if (res.statusCode === 200) {
            const avatar = JSON.parse(res.data).result.avatar
            profile.value.avatar = avatar
          }
        },
      })
    },
  })
}
</script>




![正点原子[第二期]Linux之ARM(MX6U)裸机篇学习笔记-23.3,4,5,6 讲 I2C驱动-读取AP3216C传感器](https://img-blog.csdnimg.cn/direct/1b32965dd5fe484a9f9f9ad63e4d088e.png)
