前言
搞了多年的SPARC 最近接触了VSCODE插件感觉好用。想想看不是能方便调试和编译SPARC,决定使用开源的SPARC仿真环境和编译器来试试。感觉的却不错,借此献给使用SPARC的朋友们。
安装
1.找微软官方的下载VSCODE.
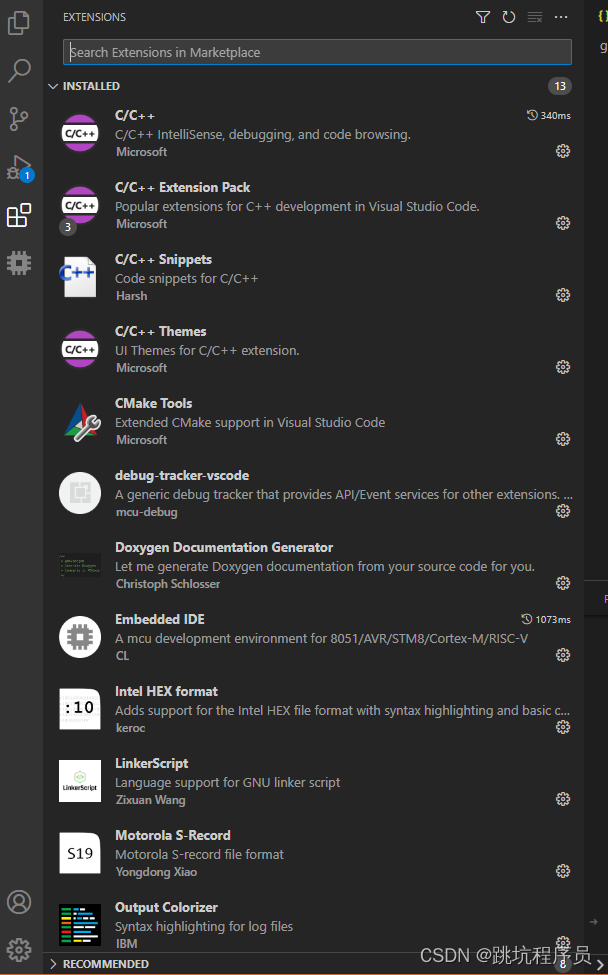
2.电机左边的方块形状的图标,搜索下面的插件点击安装即可在线安装。有的插件是安装插件时附带安装的。必须安装C/C++的插件和Embedded IDE。
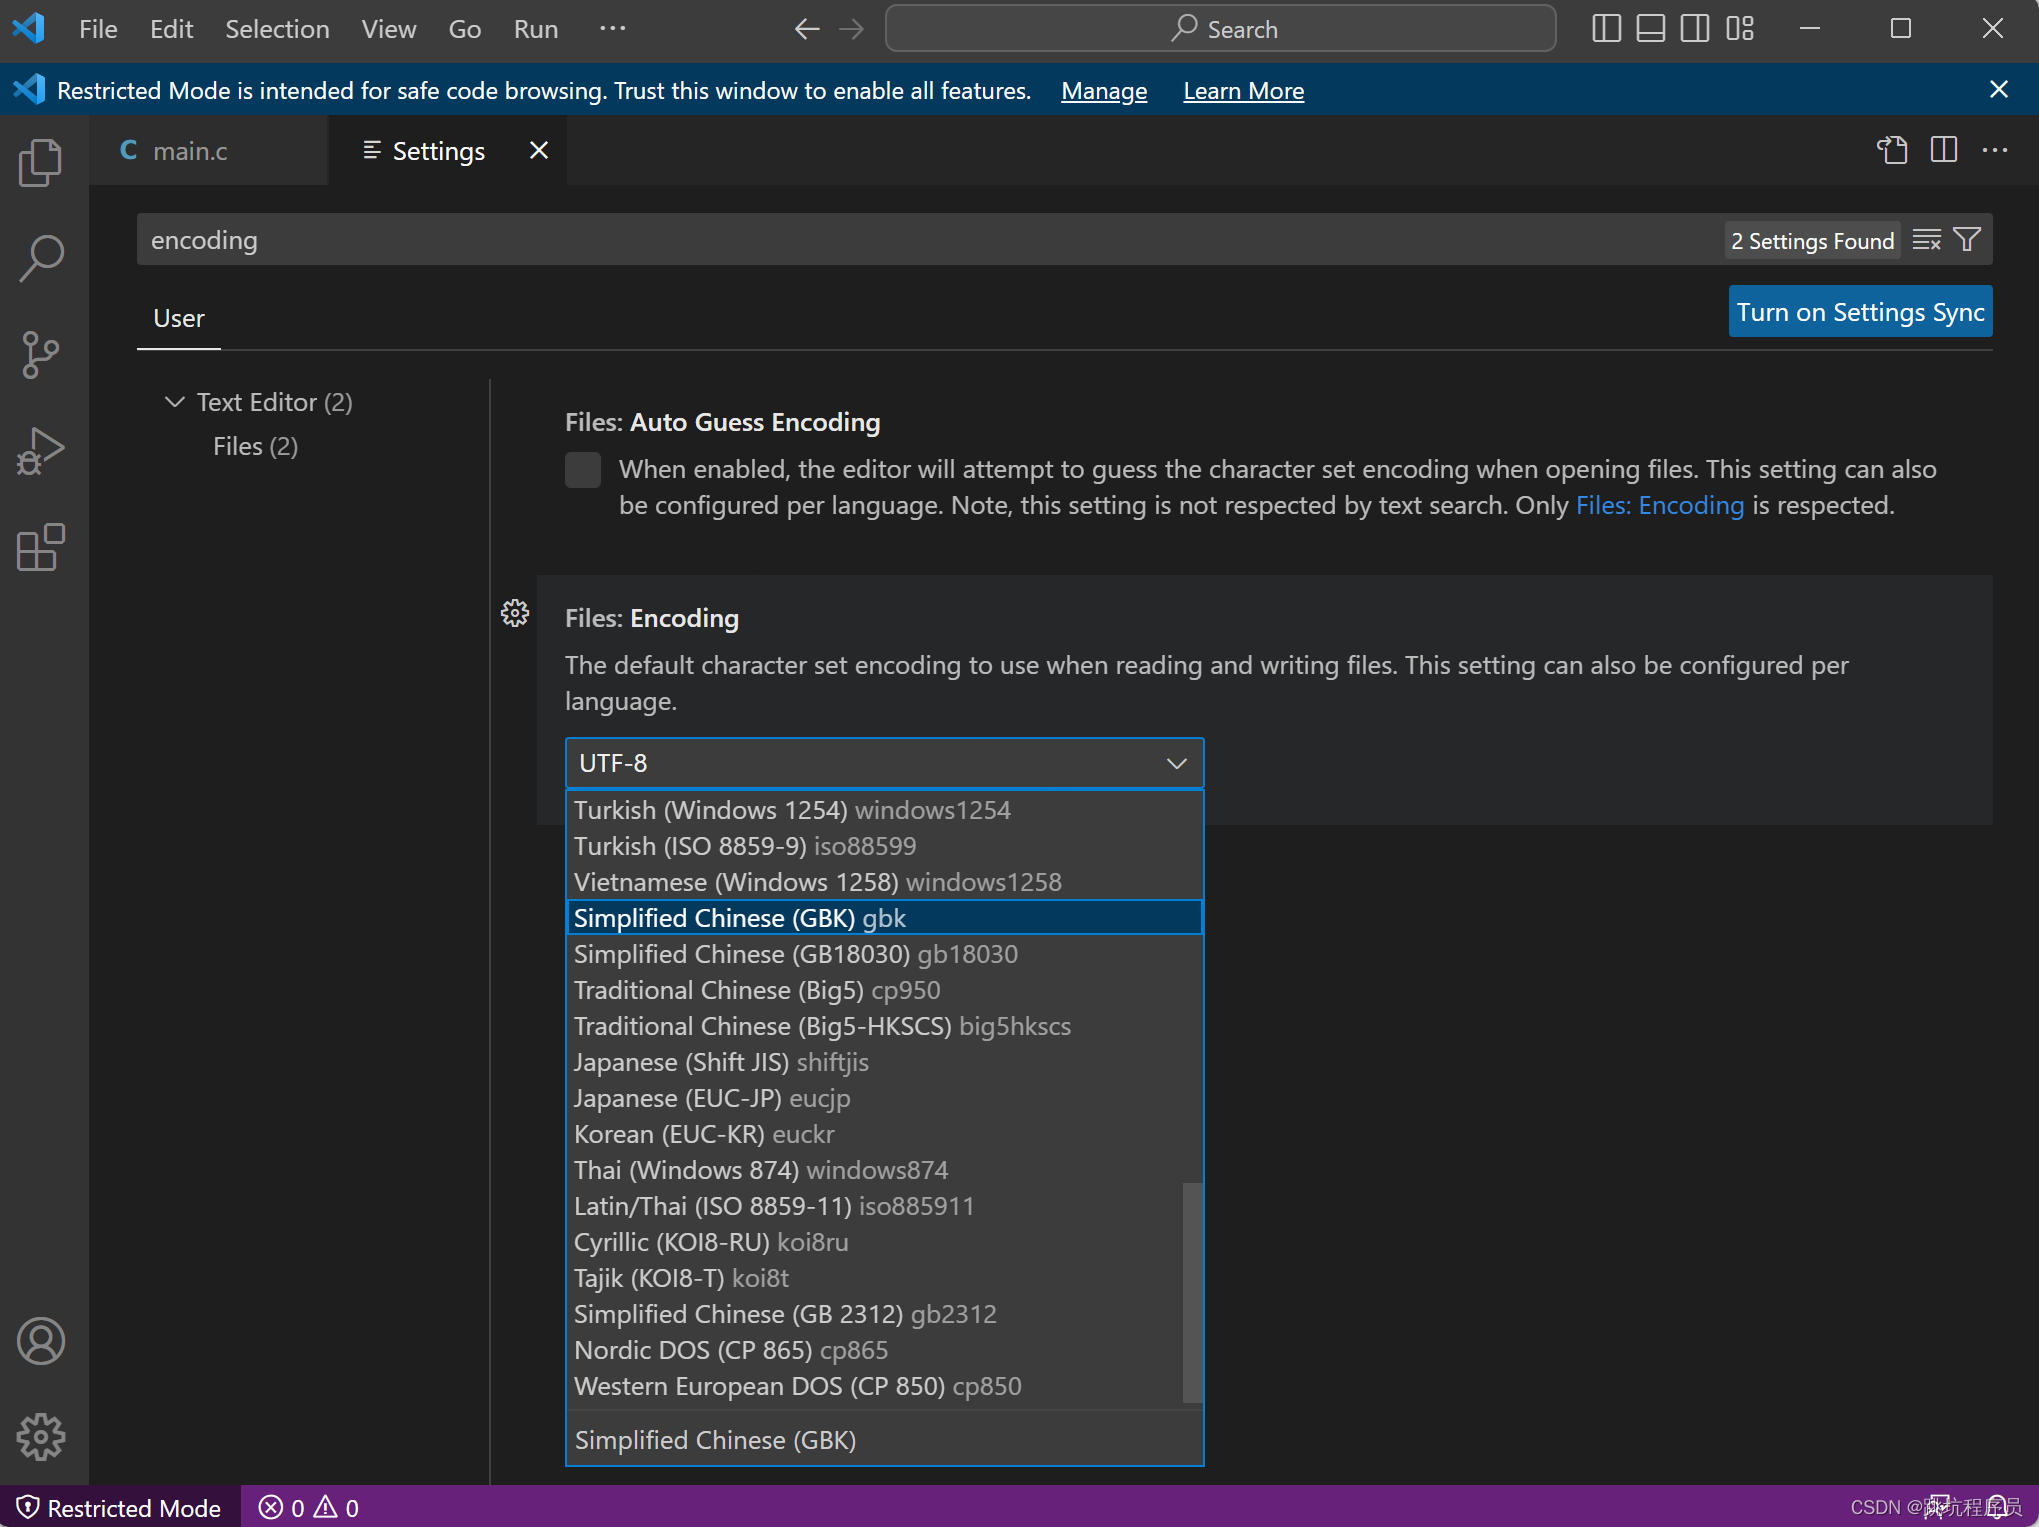
设置编码格式
设置EIDE嵌入式开发环境的编译器相关内容
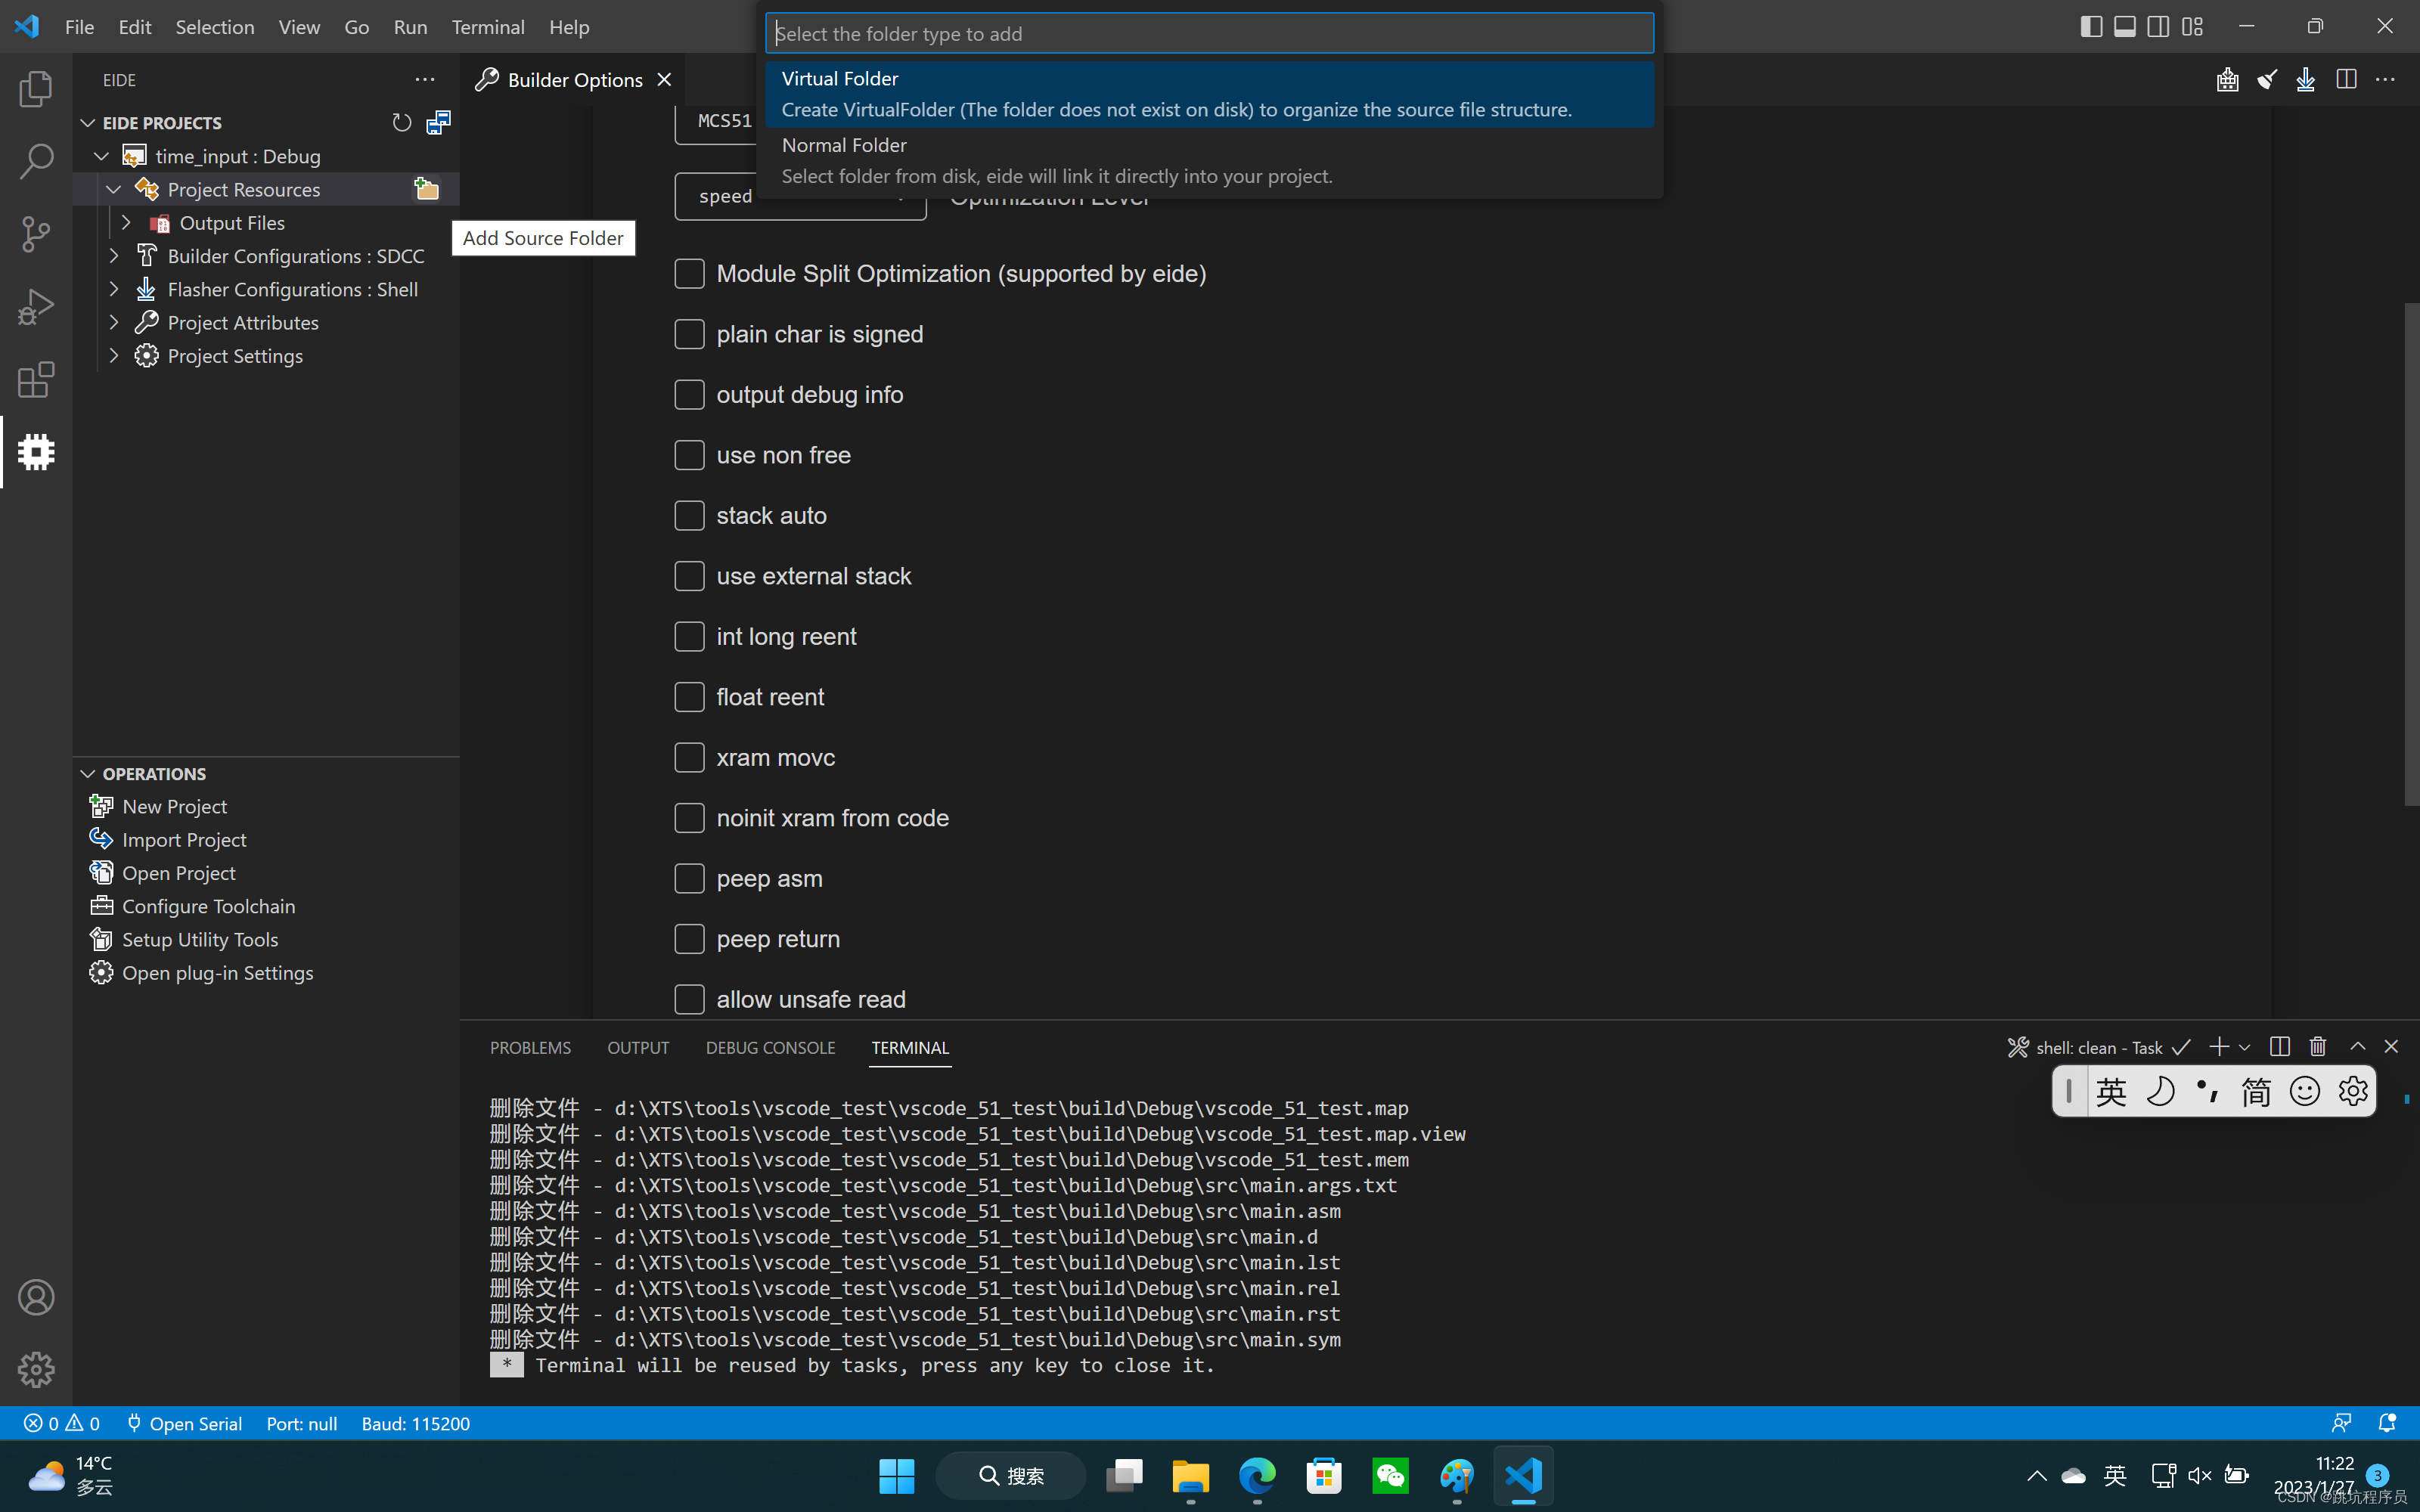
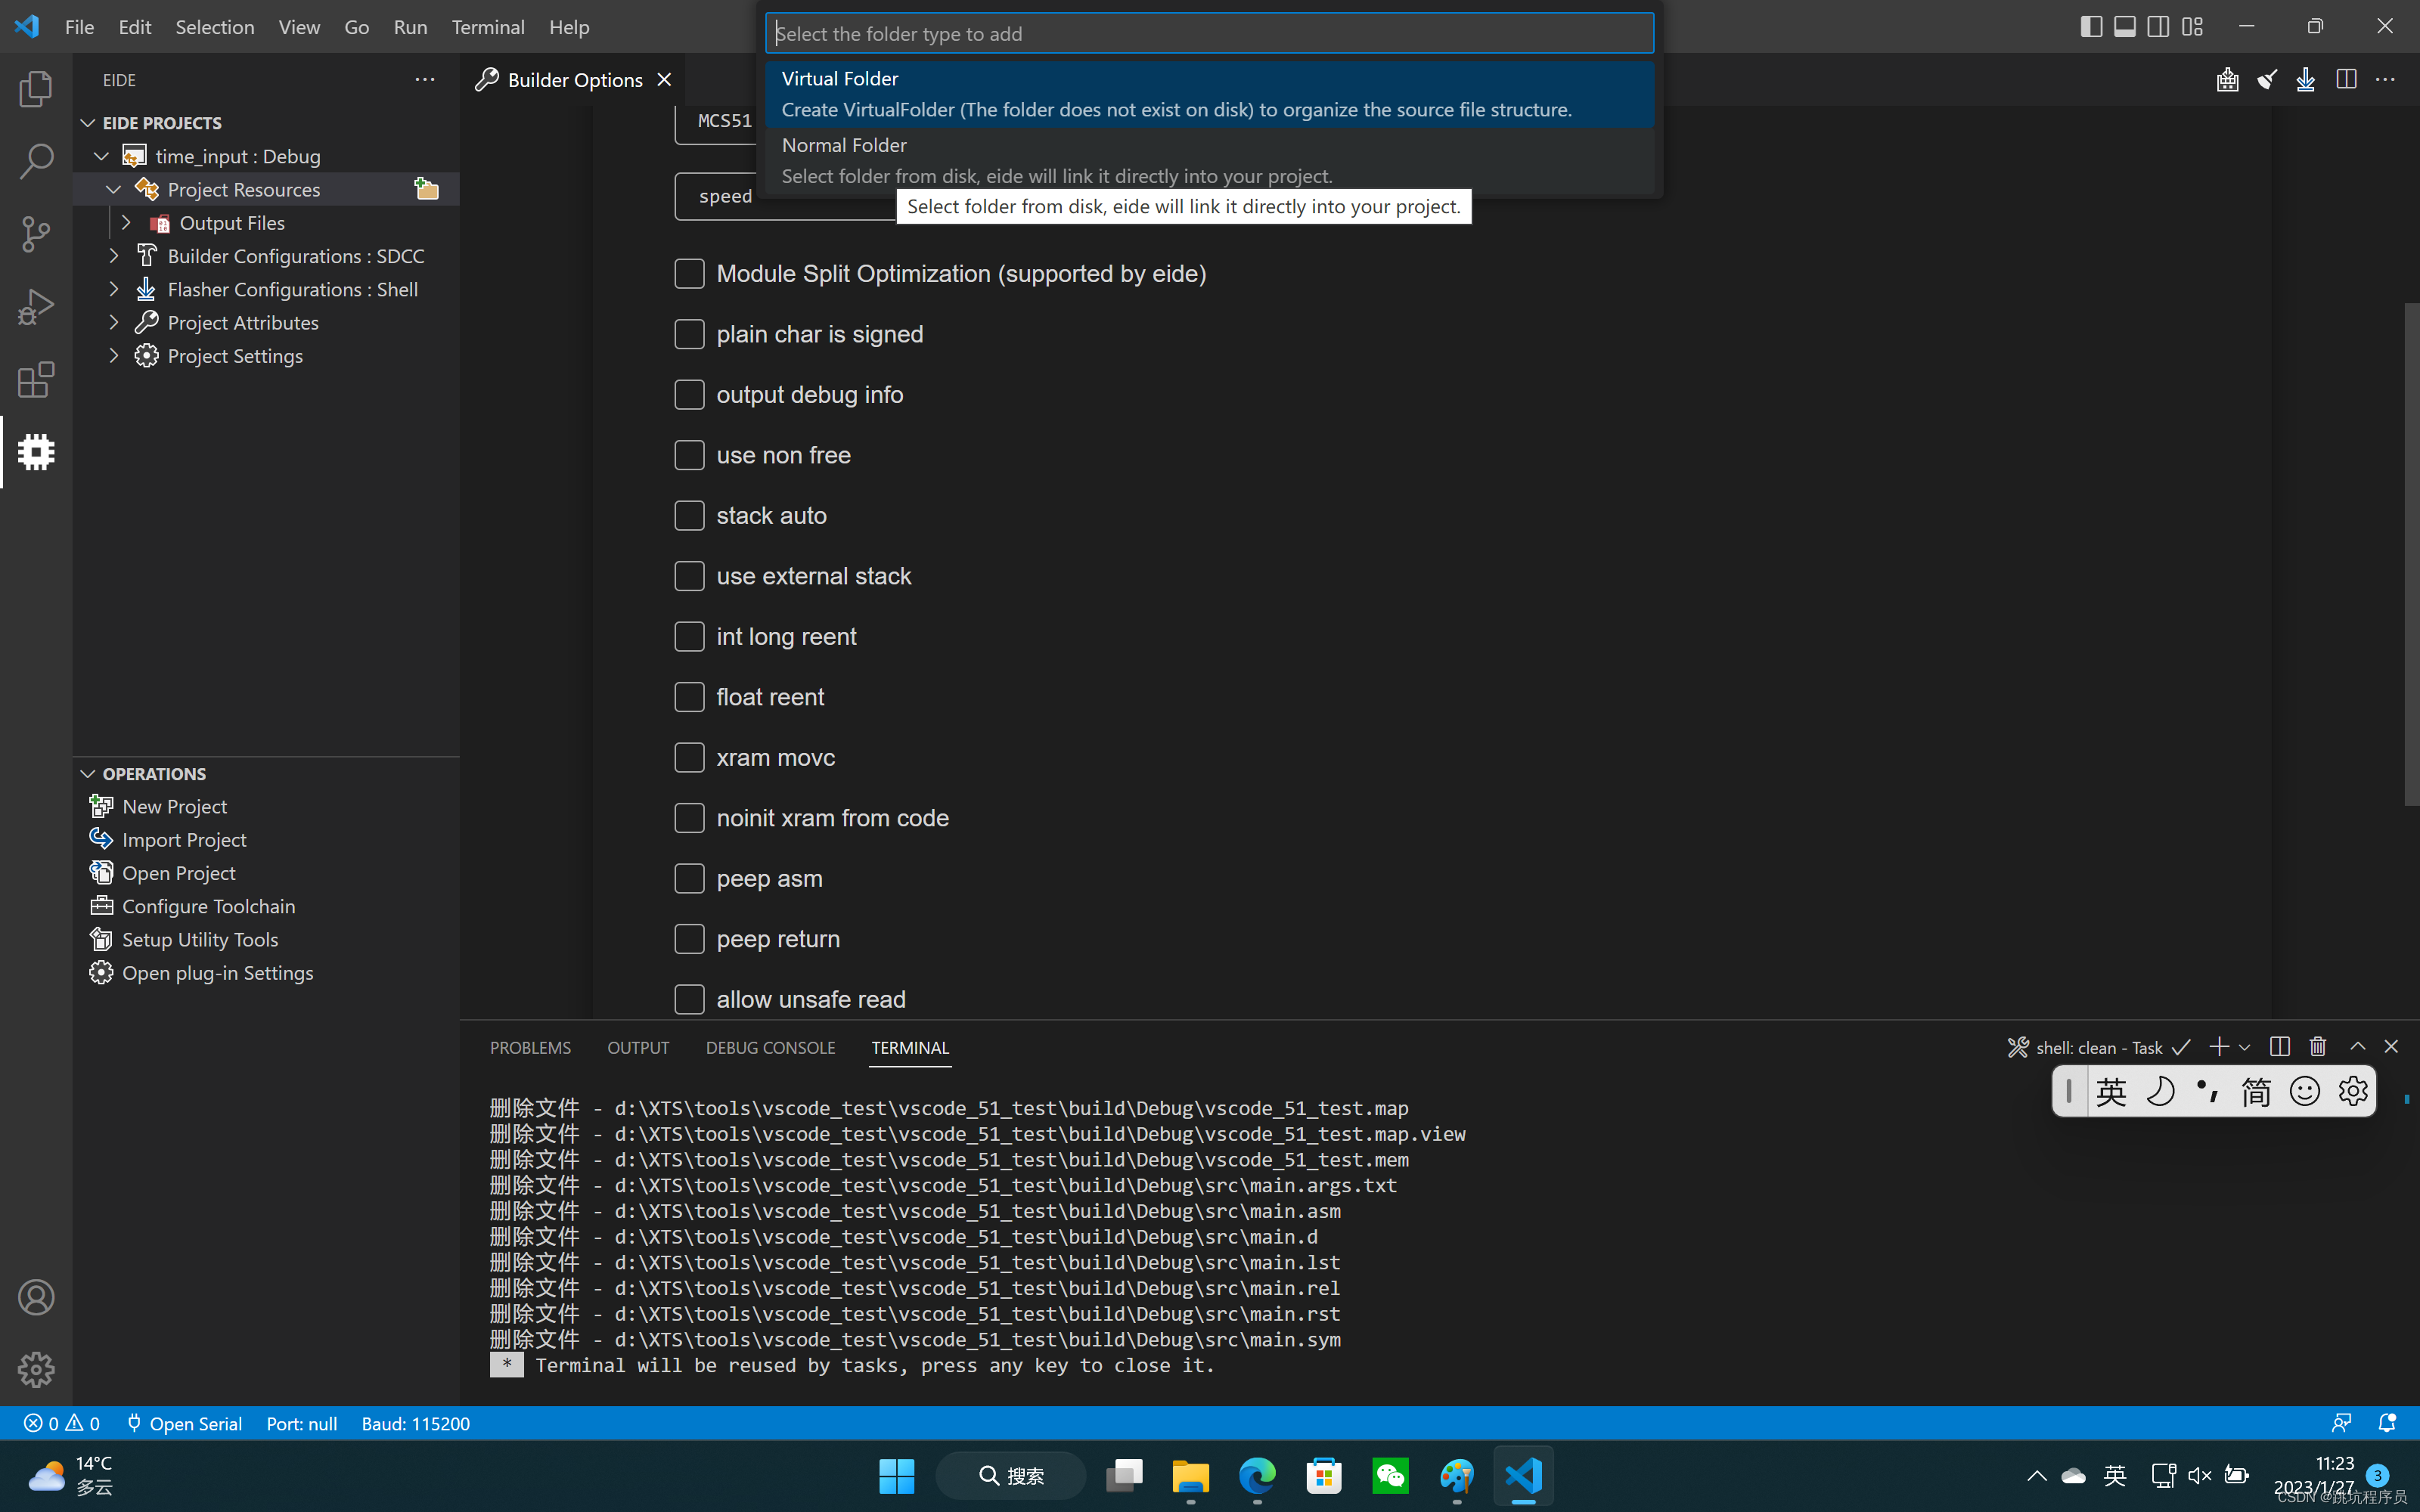
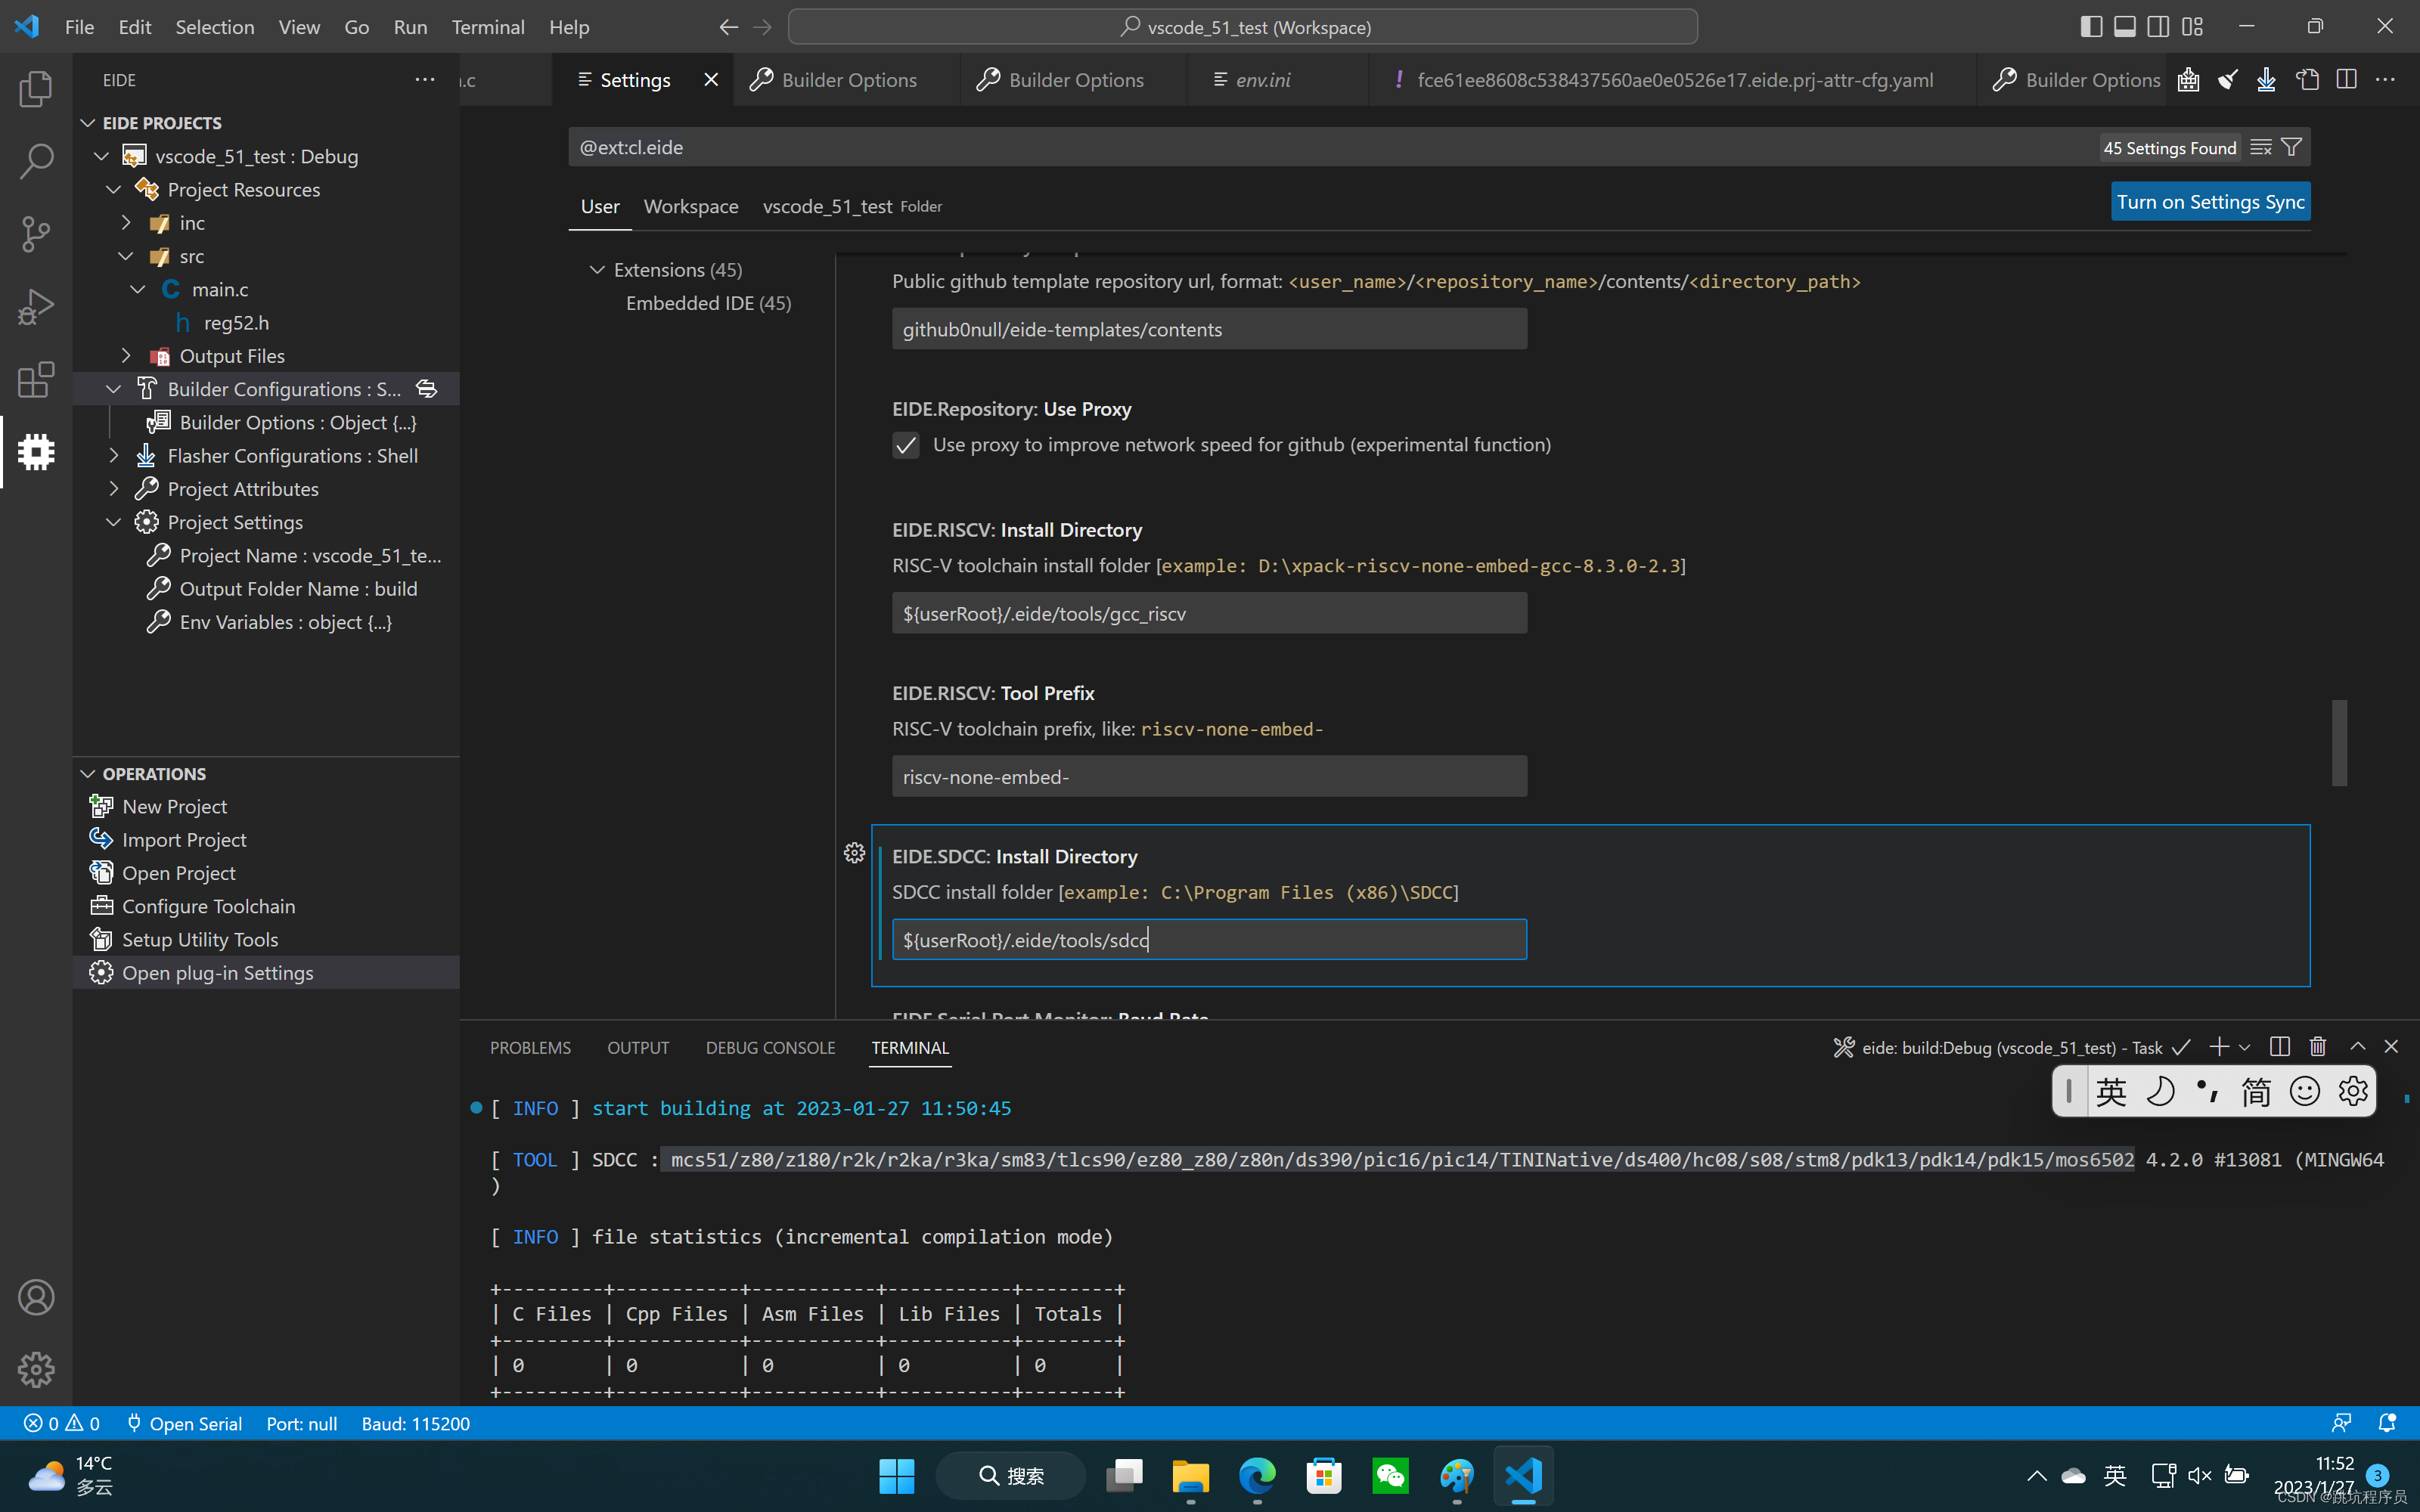
${userRoot}/.eide/tools/sdcc
#EIDE的配置可以在这修改
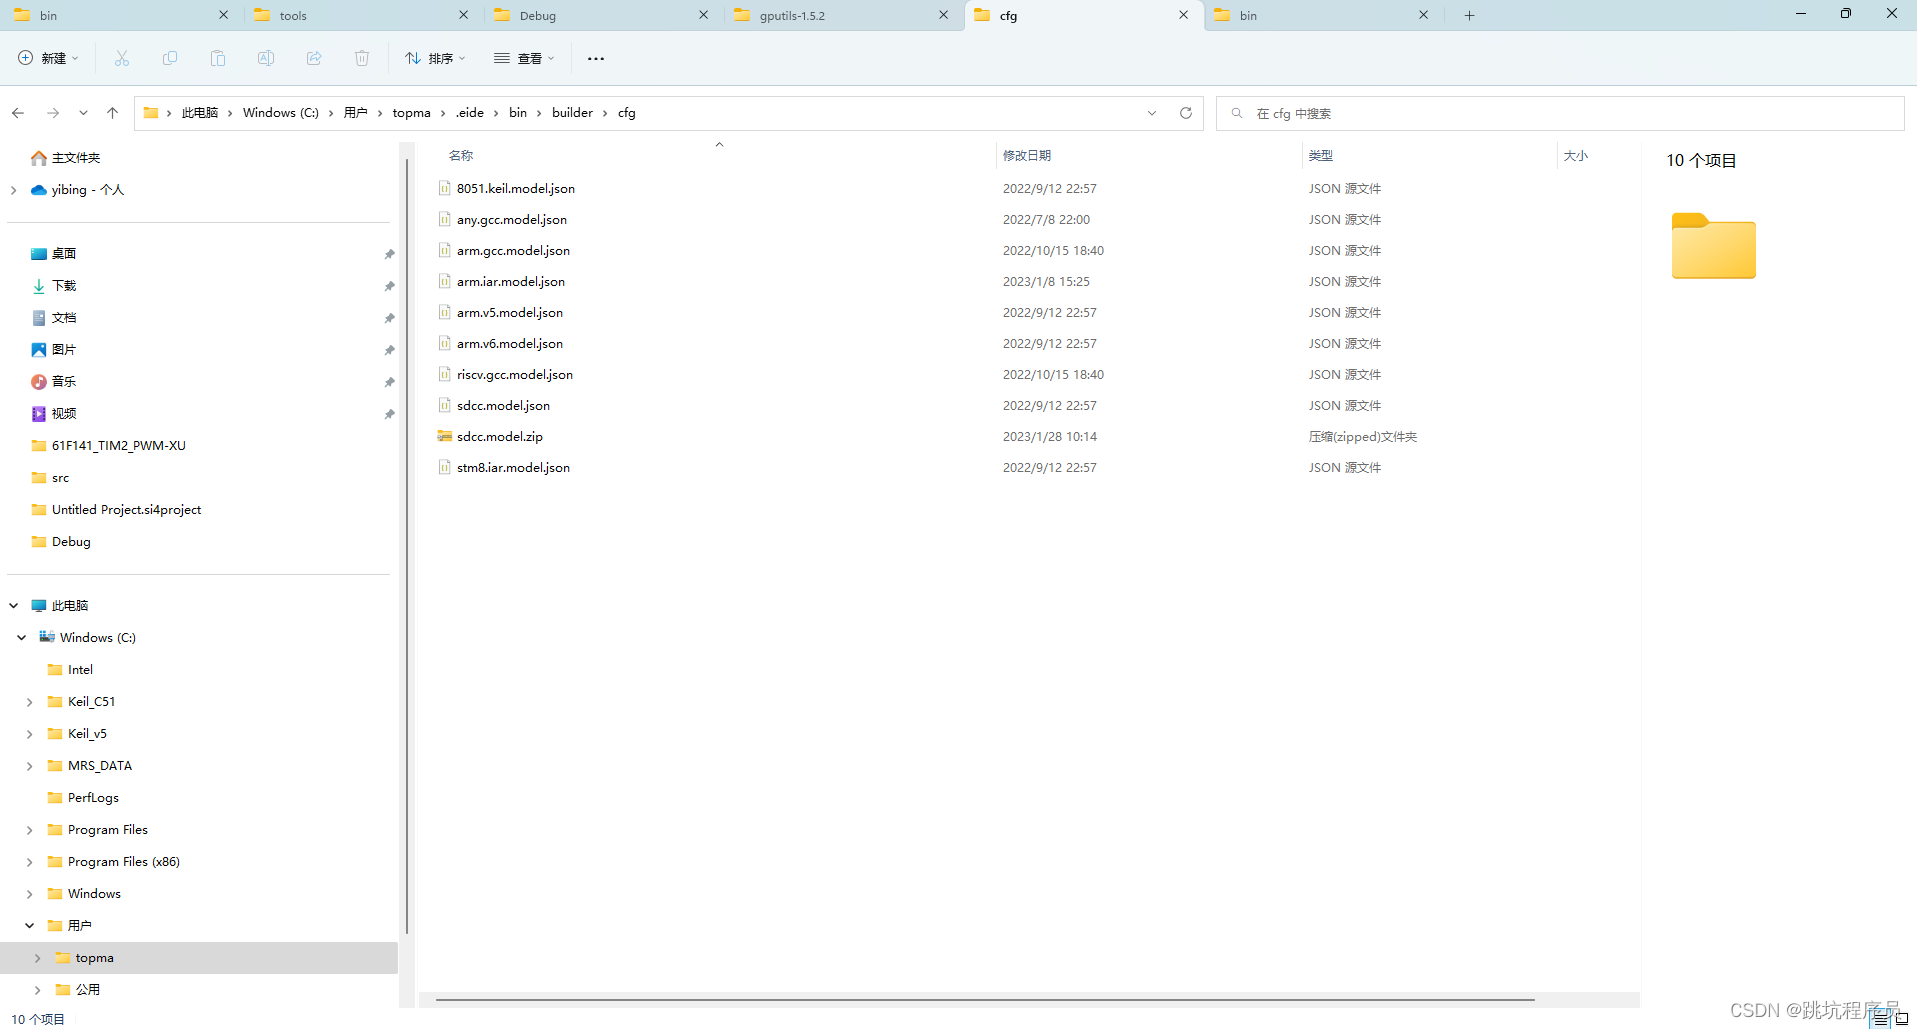
任意其他处理器的编译器设置
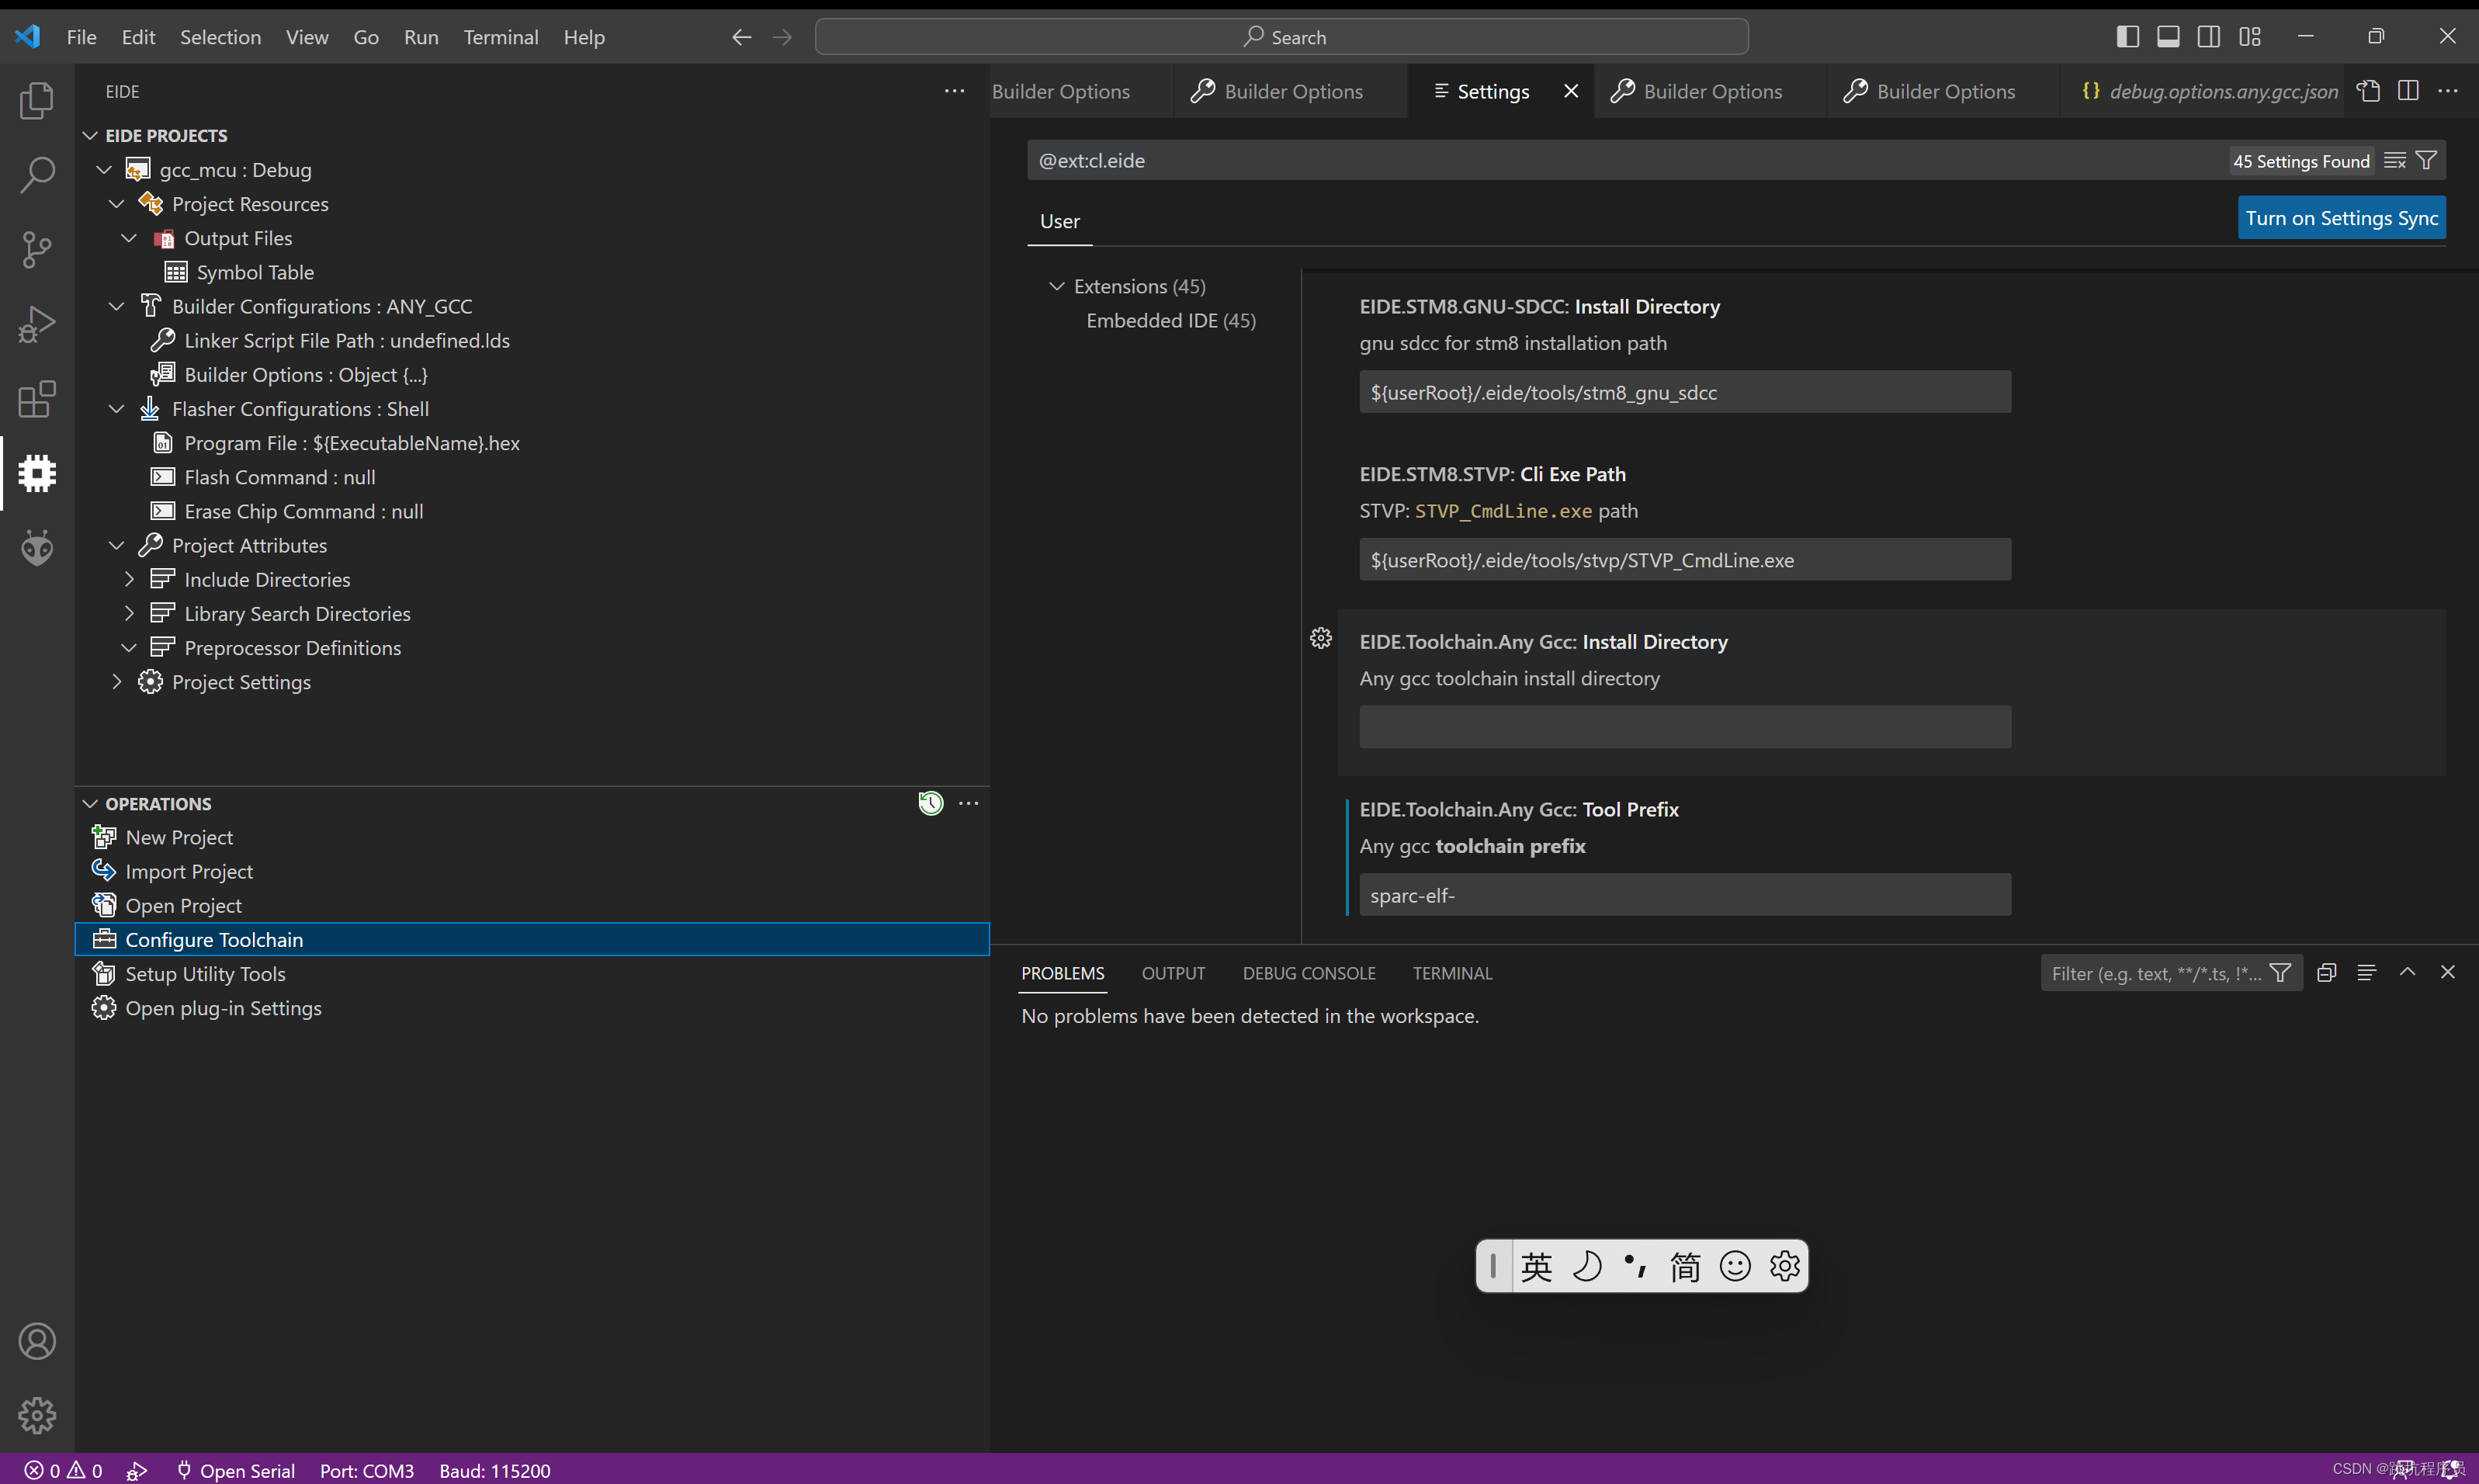
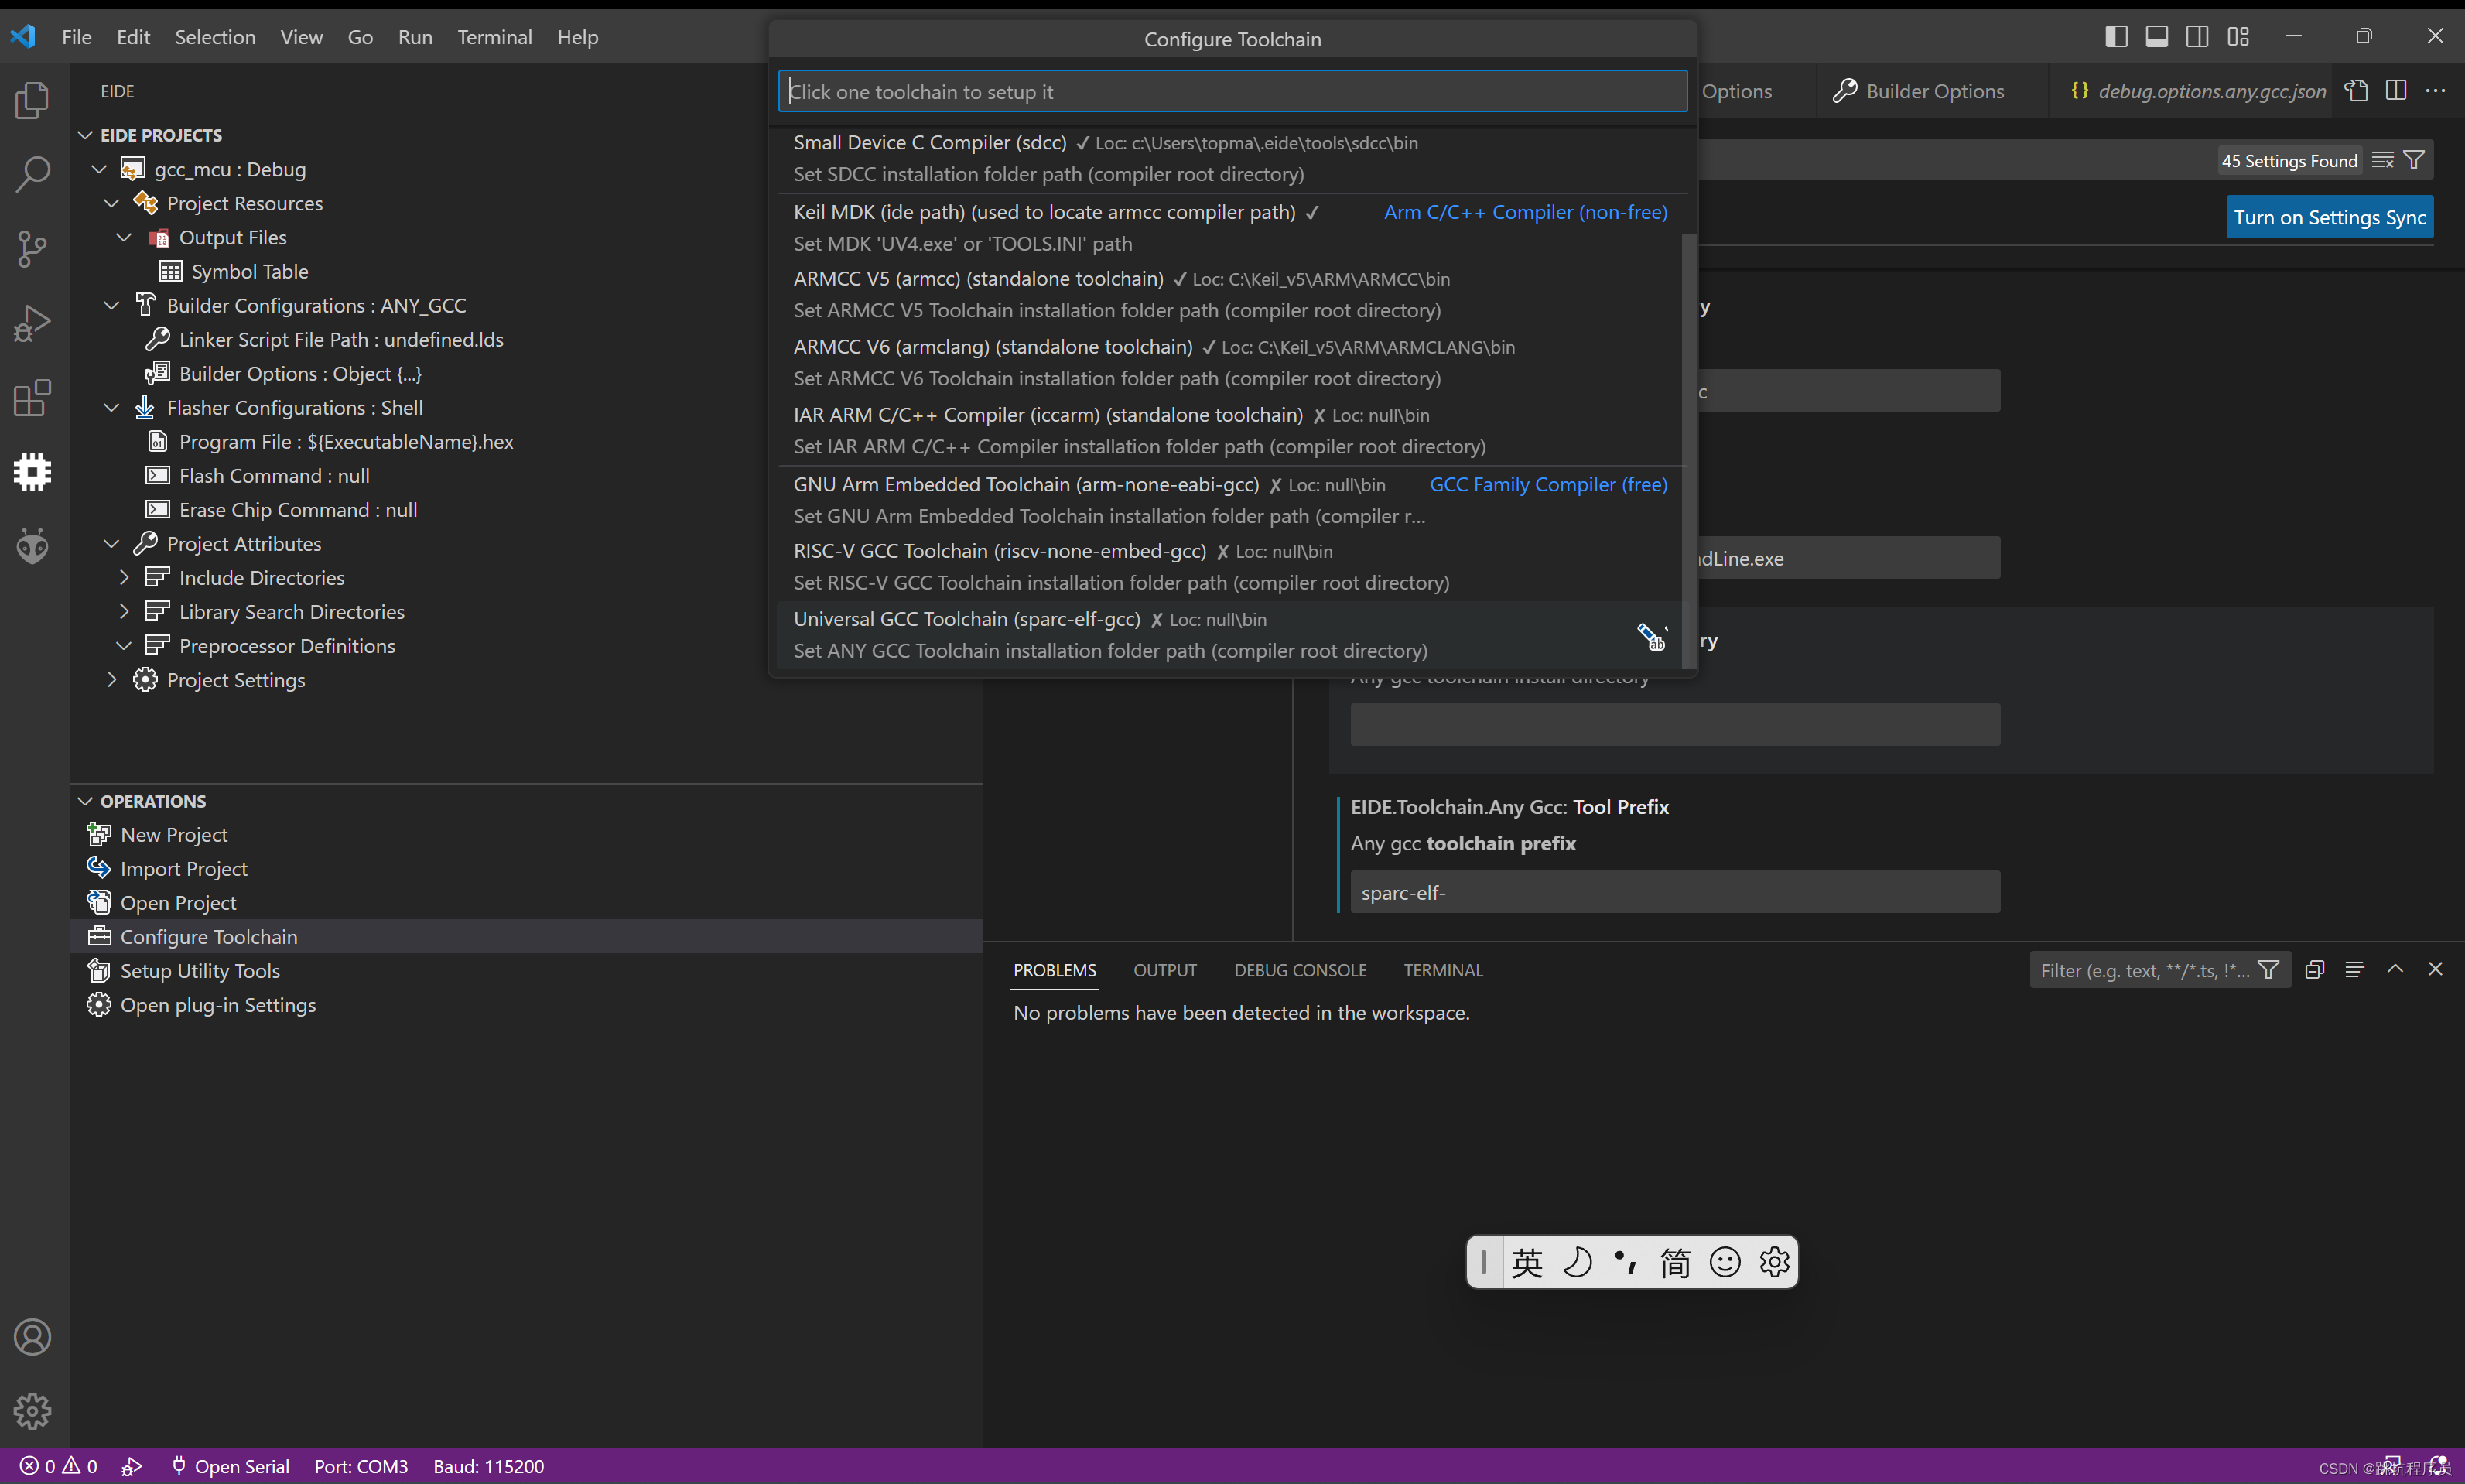
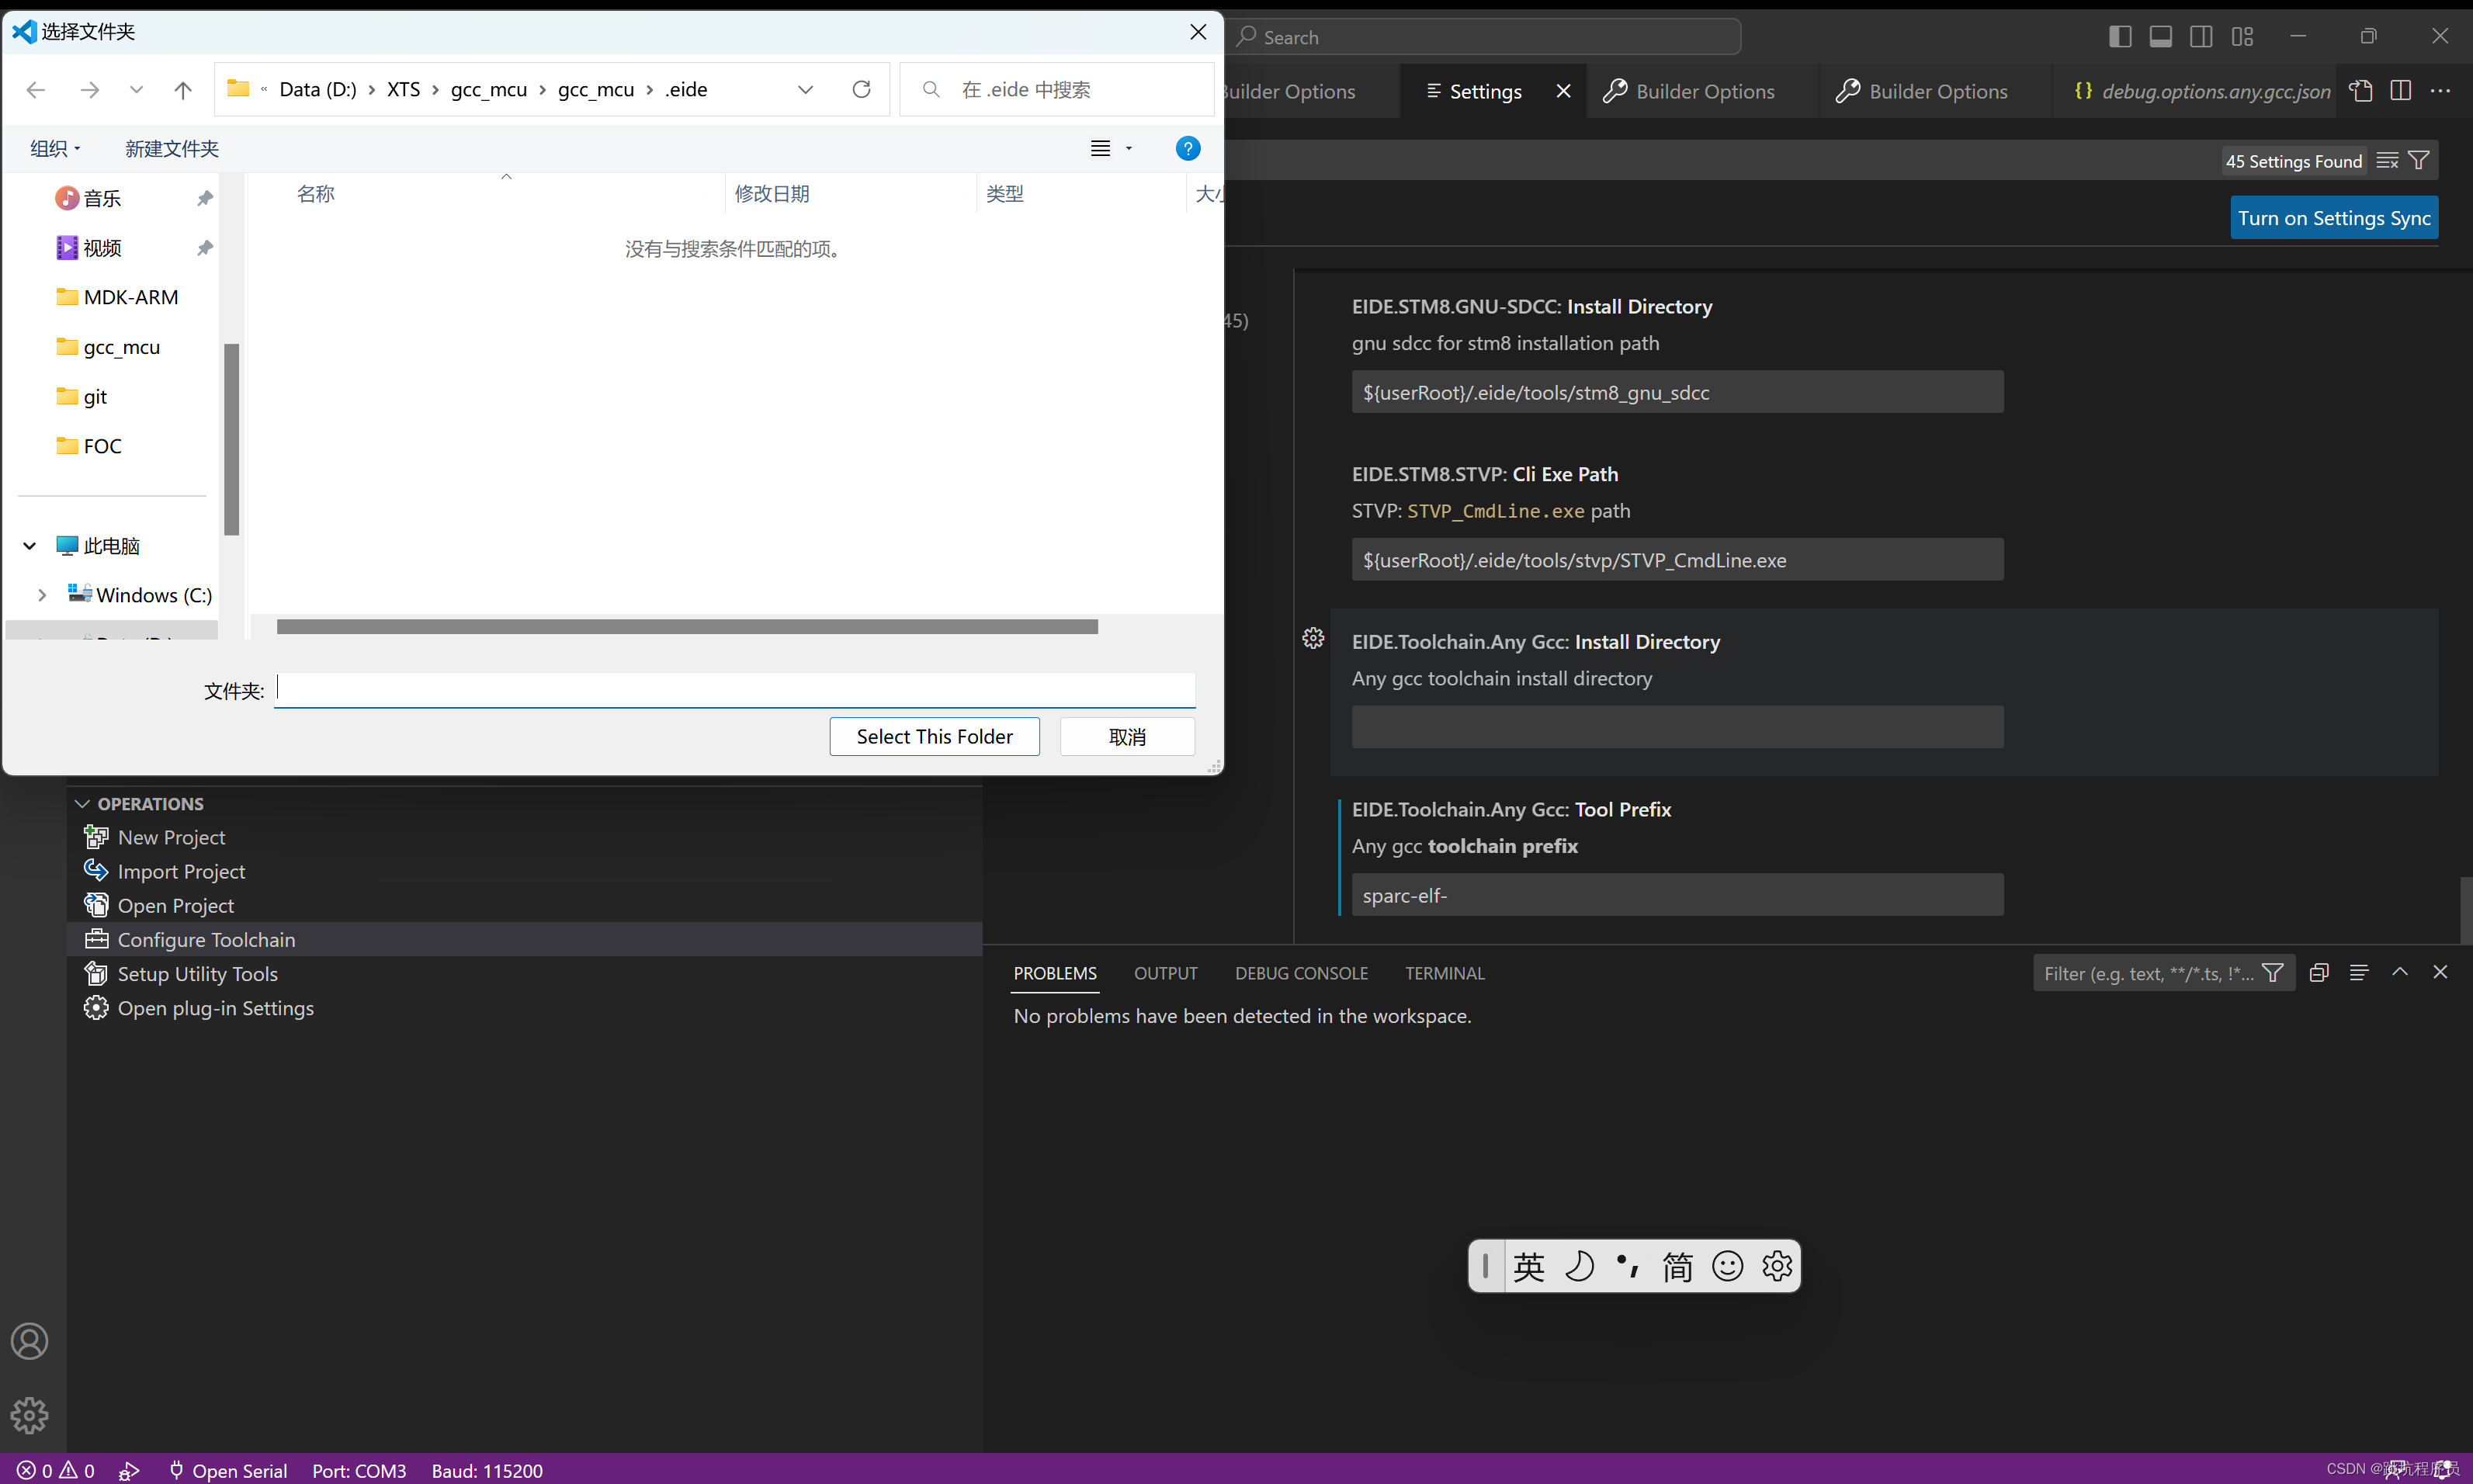
选择编译器和编译器的前缀:
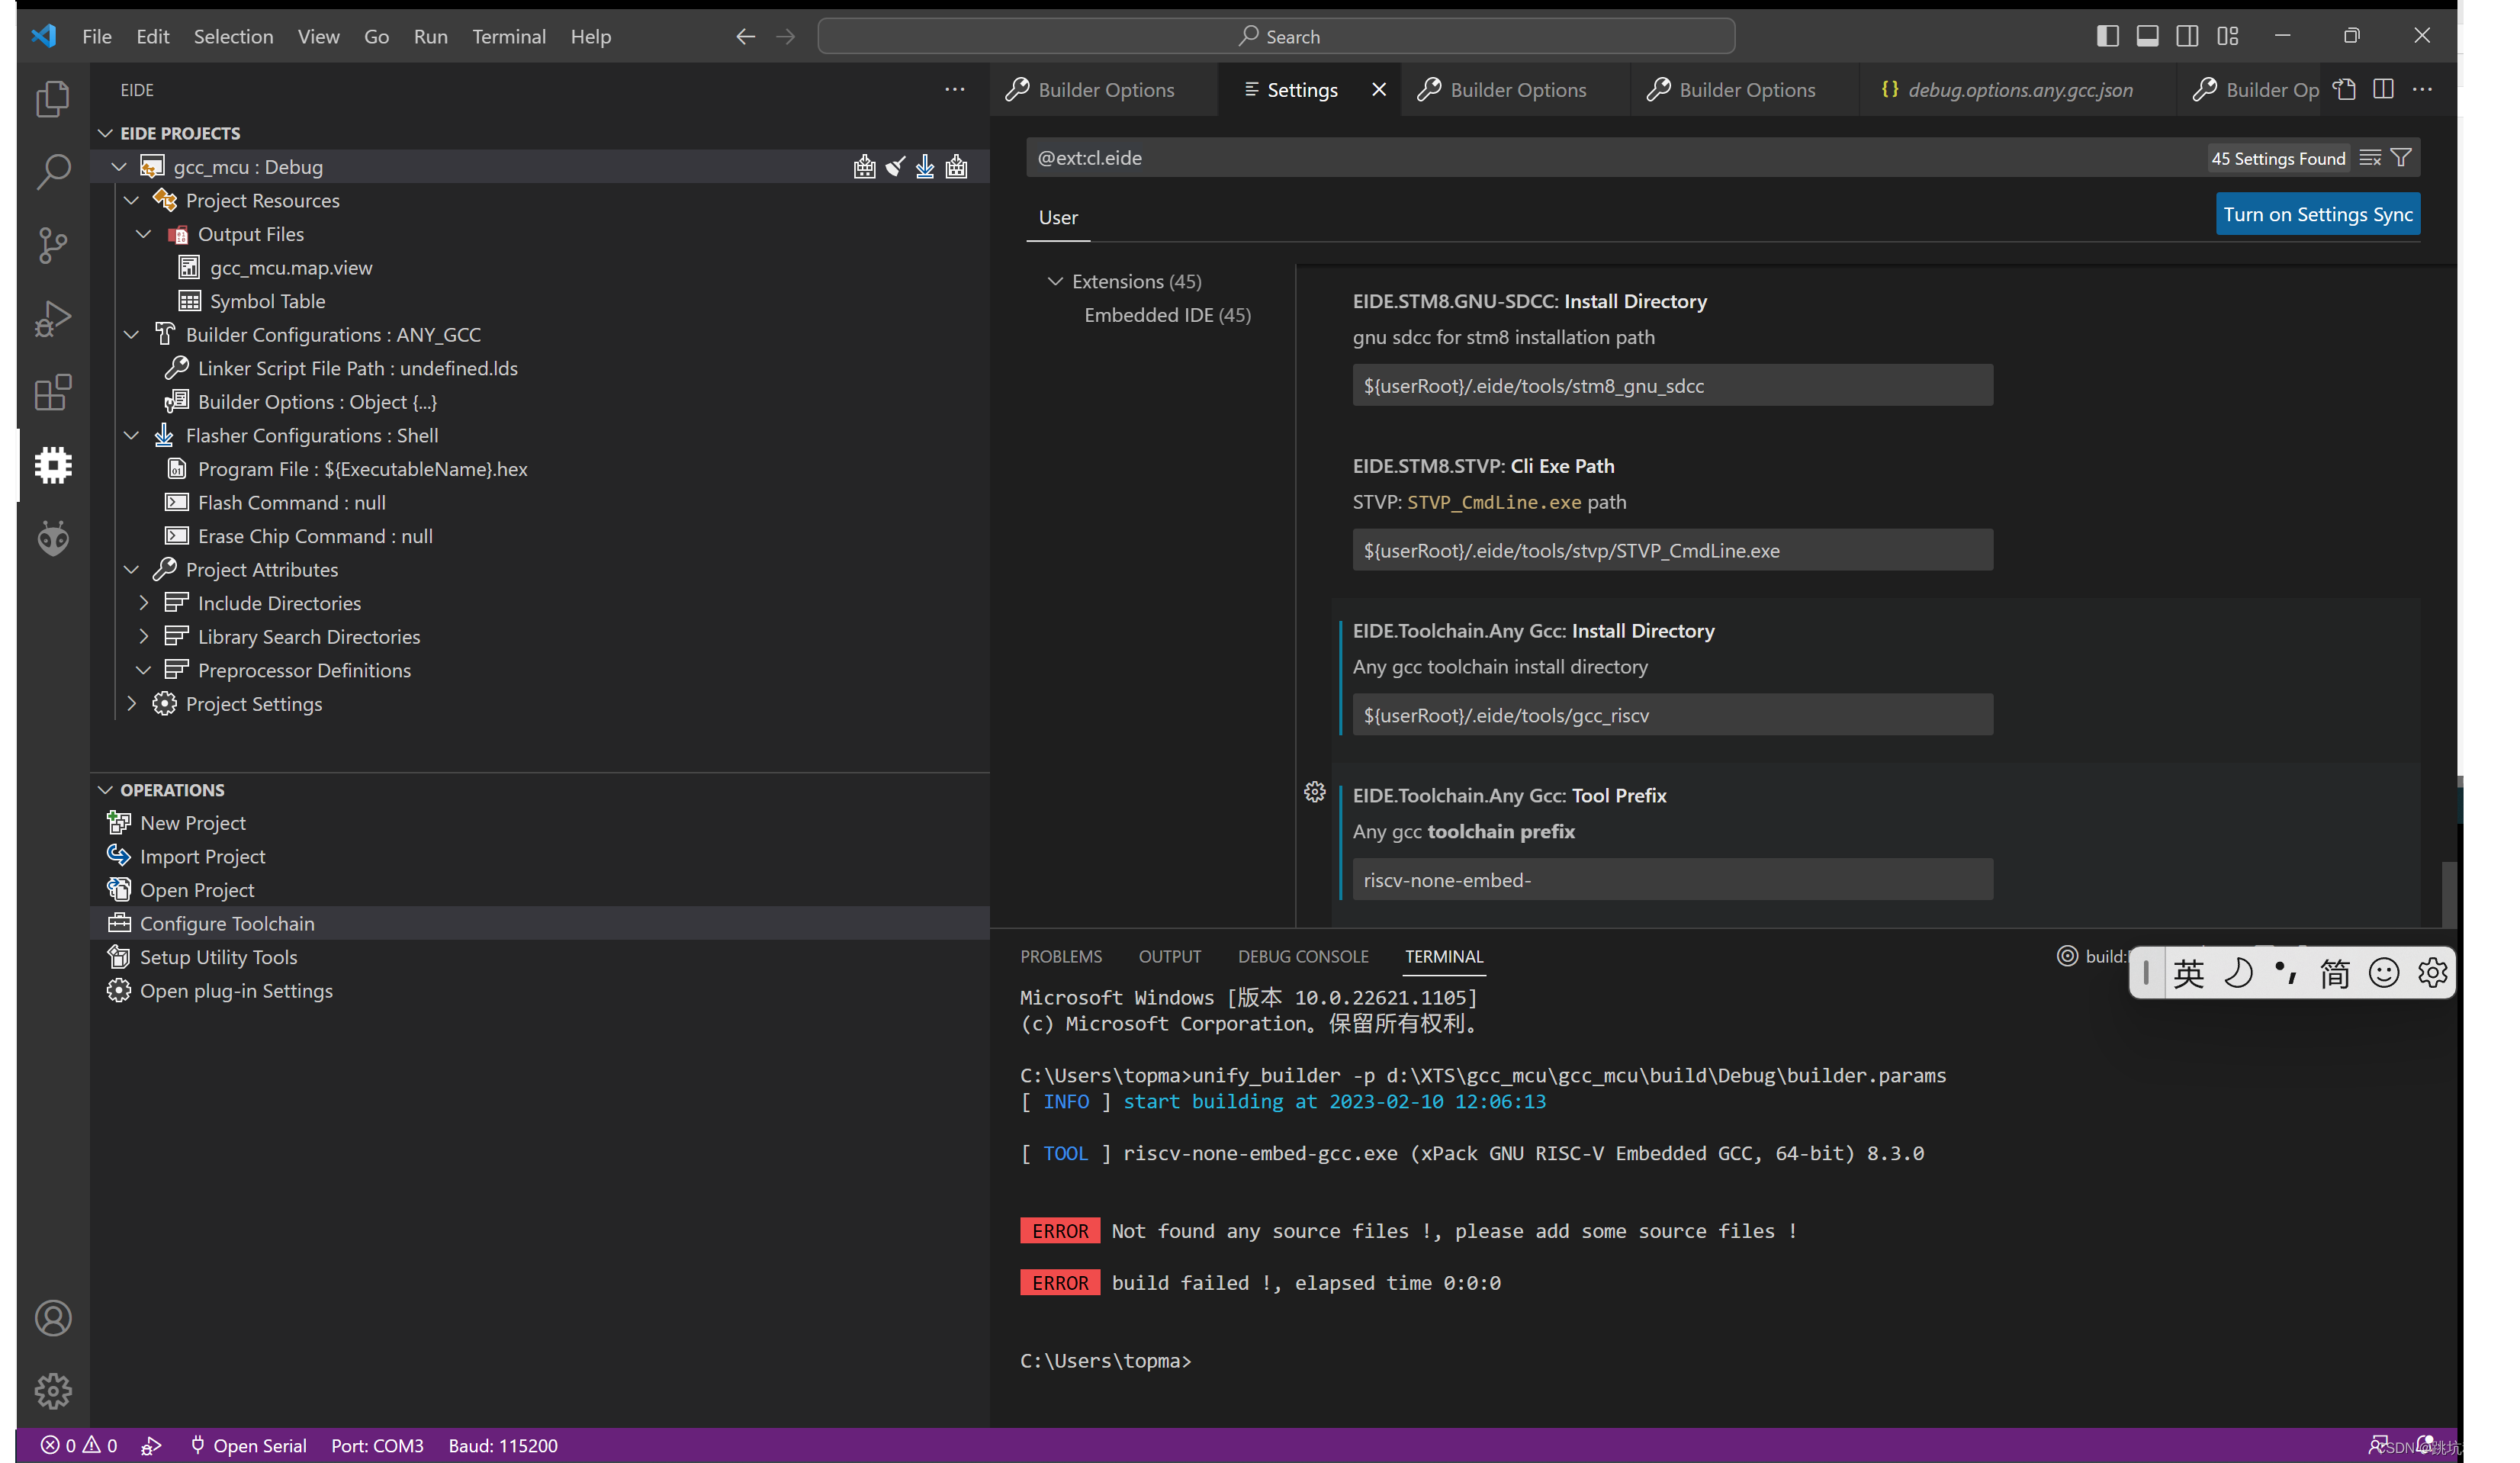
修改Link Script file .

GDB调试需要在编译时添加 -g 参数加入符号表
D:***\gcc_mcu\gcc_mcu\ldscripts\sparcleon.x
添加头文件和库文件和编译的宏定义

DEBUG 配置可以修改
网上有个“Debugging Guide for GDB and VS Code”的文档可以参考
vscode介绍链接
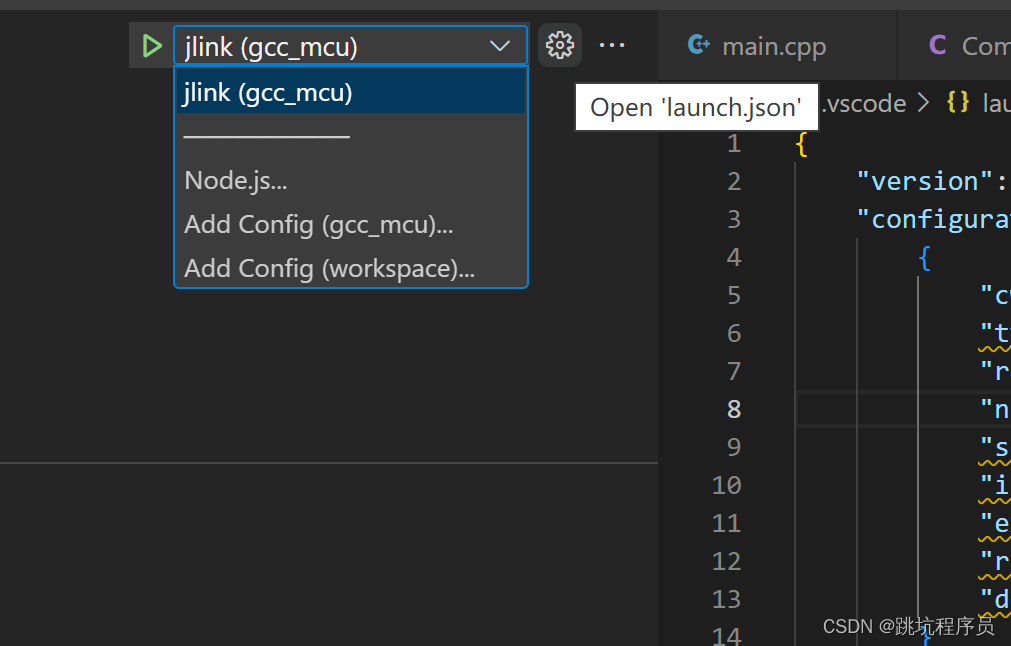
可以添加自定义的链接工具
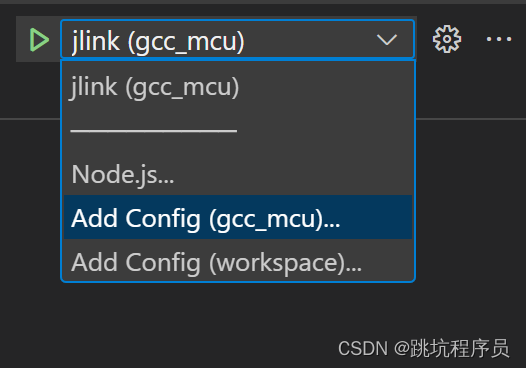
上面是标准JTAG的
    "configurations": [
        {
            "cwd": "${workspaceRoot}",
            "type": "cortex-debug",
            "request": "launch",
            "name": "jlink",
            "servertype": "jlink",
            "interface": "swd",
            "executable": "build\\Debug\\gcc_mcu.elf",
            "runToEntryPoint": "main",
            "device": "null"
        }
    ]
添加的标准模板,
 "configurations": [
        {
            "name": "(gdb) Windows 上的 Bash 启动",
            "type": "cppdbg",
            "request": "launch",
            "program": "输入程序名称,例如 ${workspaceFolder}/a.exe",
            "args": [],
            "stopAtEntry": false,
           "cwd": "${workspaceRoot}",
            "environment": [],
            "externalConsole": false,
            "pipeTransport": {
                "debuggerPath": "/usr/bin/gdb",
                "pipeProgram": "${env:windir}\\system32\\bash.exe",
                "pipeArgs": ["-c"],
                "pipeCwd": ""
            },
            "setupCommands": [
                {
                    "description": "为 gdb 启用整齐打印",
                    "text": "-enable-pretty-printing",
                    "ignoreFailures": true
                },
                {
                    "description": "将反汇编风格设置为 Intel",
                    "text": "-gdb-set disassembly-flavor intel",
                    "ignoreFailures": true
                }
            ]
        }
        {
            "cwd": "${workspaceRoot}",
            "type": "cortex-debug",
            "request": "launch",
            "name": "jlink",
            "servertype": "jlink",
            "interface": "swd",
            "executable": "build\\Debug\\gcc_mcu.elf",
            "runToEntryPoint": "main",
            "device": "null"
        }
    ]
我使用的模板,
{
    "version": "0.2.0",
    "configurations": [
        {
            "name": "GCC Debug ",
            "type": "cppdbg",//使用C/C++的调试,如果是JTAG 可以选择其他的 ,比如微软的“cppdbg” 或者是直接使用“gdb”,不同类型下面参数不一样
            "request": "launch",
            "program": "${workspaceRoot}/build/Debug/gcc3.elf",//工程编译的程序
            "args": [],//调用type 功能 运行的参数,gdb用不上其他调试可以用的上
            "stopAtEntry": true,
            "cwd": "${workspaceFolder}",
            "targetArchitecture": "arm",//可以用arm 其实没有关系,屏蔽也行
            "environment": [],
            "externalConsole": true,//内置控制台或外置控制台输出externalTerminal
            "MIMode": "gdb",//MIMode:指示VS代码将连接到的调试器。必须设置为gdb或lldb。
            "miDebuggerPath": "C:\\Users\\topma\\.eide\\tools\\bcc-2.2.3-gcc\\bin\\sparc-gaisler-elf-gdb.exe",//gdb版不能过低,会出现步匹配建议6以上
            //"miDebuggerServerAddress": "localhost:12345",//setupCommands运行后连接gdb 服务器的IP和端口 ,不是本地localhost 直接换成IP地址

             "setupCommands": [
                {//如果是要下载使用命令手动连接需要用miDebuggerServerAddress
                "text": "target remote :12345"
                },
                {
                "text": "file 'D:/**/gcc_mcu/mcu-gcc3/gcc3/build/Debug/gcc3.elf'"
                },

                {
                 "description": "下载",
                 "text": "load",
                 "ignoreFailures": false
                }

            ],


            //"preLaunchTask": "make",//launch 前的操作
            "launchCompleteCommand": "None"
        },
    ]
}
GDB 模板
{
    "version": "0.4.2",
    "configurations": [
        {
            "name": "Debug gdb",
            "type": "gdb",
            "request": "attach",
            "executable": "${workspaceRoot}\\LPCProject\\bin\\Debug\\LPCProject.elf",
            "target": "localhost:2331",
            "cwd": "${workspaceRoot}",
            "gdbpath": "C:/gccarm/bin/arm-none-eabi-gdb.exe",
            "remote": true,
            "autorun": [
                "load ./LPCProject/bin/Debug/LPCProject.elf",
                "break main",
                "monitor reset"
            ]
        }
    ]
}
多个操作一起处理
    "compounds": [
        {
          "name": "Server/Client",
          "configurations": ["Debug gdb", "GCC Debug"],//前面两个调用的名字
          "preLaunchTask": "make",
        }
      ]
点击绿箭头开始GDB调试

链接上后找到这个浮动的控制TAB可以运行,单步,退出等操作。

碰到的问题
当前不能通过 “setupCommands” 直接“load”下程序,只能连上后通过再DEBUG CONSOLE 输入下面命令下载后再点击运行。不清楚问什么自动处理不行。报告 vscode gdb -interpreter-exec **错误。
Error: You can’t do that when your target is `exec’ (ExcaliburTM, GDB) ,是没有连接上gdbserver 需要下载必须用命令连接服务器,不能用miDebuggerServerAddress参数。他比较靠后。
-exec monitor gdb reset //有时候傻了可以用改方式复位再连接
-exec load
Monitor 后的命令是server的,需要server 支持’
有时候sh
PostBuild Task 编译后做的处理
O
u
t
D
i
r
/
{OutDir}/
OutDir/{ProjectName}.hex

![正点原子[第二期]Linux之ARM(MX6U)裸机篇学习笔记-12-蜂鸣器](https://img-blog.csdnimg.cn/direct/72cfe6557d7d46efa1d2f9325911bfbc.png)

![[stm32-1]LED闪烁LED流水灯蜂鸣器](https://img-blog.csdnimg.cn/direct/1c7e983252184295bff2ae7a084dbd7b.gif)


