Python包发布
- 1、背景概述
- 2、操作指南
1、背景概述
为什么我们要发布自己的Python库?如果你想让你的Python代码,通过pip install xxx的方式供所有人下载,那就需要将代码上传到PyPi上,这样才能让所有人使用
那么,如何发布一个Python库呢?本文将通过具体实践为你提供一份简明的指南
首先,发布一个Python库需要做以下准备:
- 注册一个PyPi账号:https://pypi.org/account/register/
- 更新pip到最新版本:
py -m pip install --upgrade pip - 安装编译工具:
pip install --upgrade build - 安装PyPi上传工具:
pip install twine
2、操作指南
2.1、创建项目结构
a、 创建本地目录结构
mypro/
 └── src/
     └── module/
         ├── __init__.py
         └── core.py
以上除了src和__init__.py固定外其他都可自定义;目录结构需保持一致
其中__init__.py用于将目录作为包导入,默认可为空;core.py是包中的一个模块,用于提供功能供下载者调用
b、 创建上传所需文件
mypro/
 ├── src/
 │   └── module/
 │       ├── __init__.py
 │       └── core.py
 ├── LICENSE
 ├── README.md
 ├── requirements.txt
 └── setup.py/pyproject.toml
LICENSE:许可文件:
Copyright (c) 2018 The Python Packaging Authority

Permission is hereby granted, free of charge, to any person obtaining a copy
of this software and associated documentation files (the "Software"), to deal
in the Software without restriction, including without limitation the rights
to use, copy, modify, merge, publish, distribute, sublicense, and/or sell
copies of the Software, and to permit persons to whom the Software is
furnished to do so, subject to the following conditions:

The above copyright notice and this permission notice shall be included in all
copies or substantial portions of the Software.

THE SOFTWARE IS PROVIDED "AS IS", WITHOUT WARRANTY OF ANY KIND, EXPRESS OR
IMPLIED, INCLUDING BUT NOT LIMITED TO THE WARRANTIES OF MERCHANTABILITY,
FITNESS FOR A PARTICULAR PURPOSE AND NONINFRINGEMENT. IN NO EVENT SHALL THE
AUTHORS OR COPYRIGHT HOLDERS BE LIABLE FOR ANY CLAIM, DAMAGES OR OTHER
LIABILITY, WHETHER IN AN ACTION OF CONTRACT, TORT OR OTHERWISE, ARISING FROM,
OUT OF OR IN CONNECTION WITH THE SOFTWARE OR THE USE OR OTHER DEALINGS IN THE
SOFTWARE.
README.md:包的详细描述
requirements.txt:包的依赖库
setup.py/pyproject.toml:Python项目打包的核心配置文件
setup.py的示例如下:
from setuptools import setup, find_packages

with open("README.md", "r", encoding="utf-8") as f:
    long_description = f.read()

# with open('requirements.txt', "r", encoding="utf-8") as f:
#     required = f.read().splitlines()

setup(
    name="cc_package",                               # 包名
    version="0.0.1",                                 # 版本号
    author="cc",                                     # 作者
    author_email="cc@qq.com",                        # 邮箱
    description="package test",                      # 简短描述
    long_description=long_description,               # 详细说明
    long_description_content_type="text/markdown",   # 详细说明使用标记类型
    # url="https://github.com/",                     # 项目主页
    packages=find_packages(where="src"),             # 需要打包的部分
    package_dir={"": "src"},                         # 设置src目录为根目录
    python_requires=">=3.6",                         # 项目支持的Python版本
    # install_requires=required,                     # 项目必须的依赖
    include_package_data=False                       # 是否包含非Python文件(如资源文件)
)

2.2、编写核心功能
编写包的核心功能,这里以core.py为例:
def hello():
    print("Hello World!")
2.3、编译打包
打开终端命令行,执行(与setup.py/pyproject.toml同级):
python -m build
打包完成后,会生成dist文件和打包文件


2.4、源码上传
执行检查:
twine check dist/*

检查是否存在问题,若提示存在问题,先解决;若无问题,执行命令上传:
twine upload dist/*

API Token的获取:
a、 登录PyPi官网,找到账户设置

b、 找到API Token

c、 创建API Token

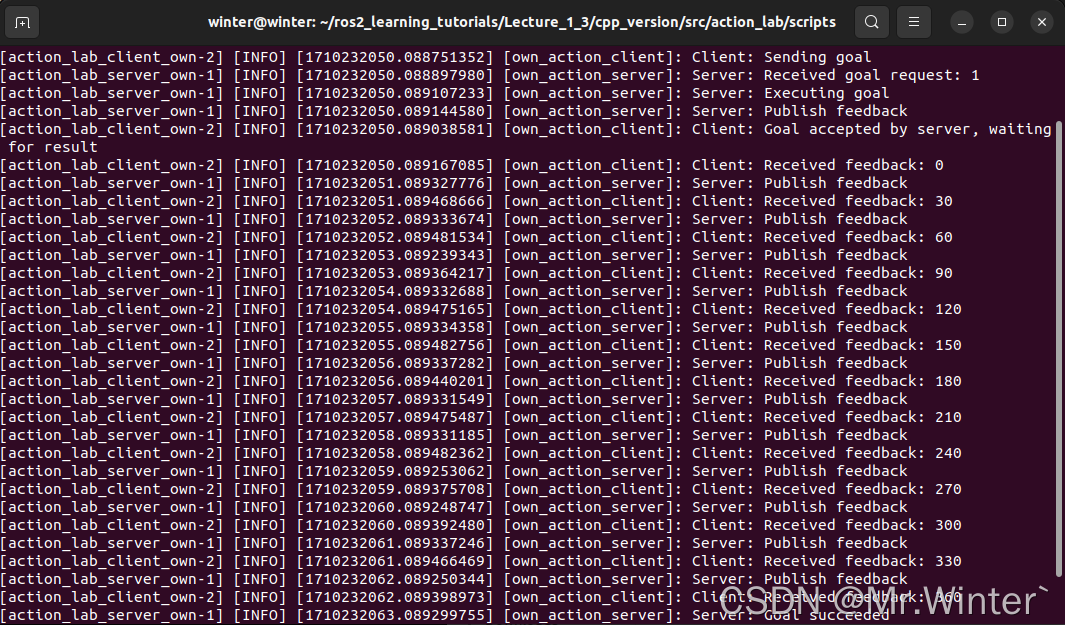
如下表示上传成功:

2.5、验证
a、 访问上传成功的地址,是否存在刚才上传的包


b、 使用pip install xxx验证是否可安装
注意:如果使用的镜像不是官网,例如国内使用最多的清华镜像,可能需要等5分钟以上才能安装,镜像同步需要时间

参考文章:
https://www.cnblogs.com/meet/p/18057112
https://zhuanlan.zhihu.com/p/666369946
https://www.zhihu.com/question/585934803/answer/3451136762


