1.解压缩
sudo tar zxvf bochs-2.6.8.tar.gz
2.进入到bochs目录
cd /home/xiongzhuo/bochs-2.6.83.安装bochs
sudo ./configure --enable-debugger --enable-disasm
遇到问题:解决第一个的时候卡在第二个上
configure: error: C++ preprocessor "/lib/cpp" fails sanity check
Ubuntu 无法打开锁文件 /var/lib/dpkg/lock - open (13: 权限不够) 无法获取 dpkg 前端锁 (/var/lib/dpkg/lock-frontend)
解决办法
权限不够
在终端输入:sudo passwd root
然后输入两次密码
再输入:su
再输入一次密码,就完成root提升
解决C++:
apt-get install build-essential
configure指令无误执行后会生成一个makefile文件
sudo make
出现错误:
x.cc:37:22: error: X11/Xlib.h: No such file or directory
x.cc:38:23: error: X11/Xutil.h: No such file or directory
x.cc:39:21: error: X11/Xos.h: No such file or directory
x.cc:40:23: error: X11/Xatom.h: No such file or directory
x.cc:41:24: error: X11/keysym.h: No such file or directory
解决办法:
cd /home
sudo apt-get install libx11-dev
遇到问题:
x.cc:42:35: error: X11/extensions/Xrandr.h: No such file or directory
解决办法:
sudo apt-get install libxrandr-dev
得到:

sudo make install得到:

4.启动bochs
bochs出现问题:
Bochs is exiting with the following message:
[ ] .bochsrc:186: cpu directive malformed.
解决办法:
在终端输入:bochs -help cpu
会出现:
Supported CPU models:
bx_generic
pentium
pentium_mmx
amd_k6_2_chomper
p2_klamath
p3_katmai
p4_willamette
core_duo_t2400_yonah
atom_n270由报错可知在186行会找到cpu: model=
将 cpu: model= 后面的部分修改为以上支持的cpu models中的一个
(建议注释原来的而不是删除原来的)例如:
cpu: model=bx_generic
出现问题:
Bochs is exiting with the following message:
[ ] .bochsrc:908: Bochs is not compiled with lowlevel sound support
解决办法:
在终端输入
sudo gedit .bochsrc
由上可得,在908行,
注释掉文件中的sound: driver=default, waveout=/dev/dsp. wavein=, midiout=
输入bochs
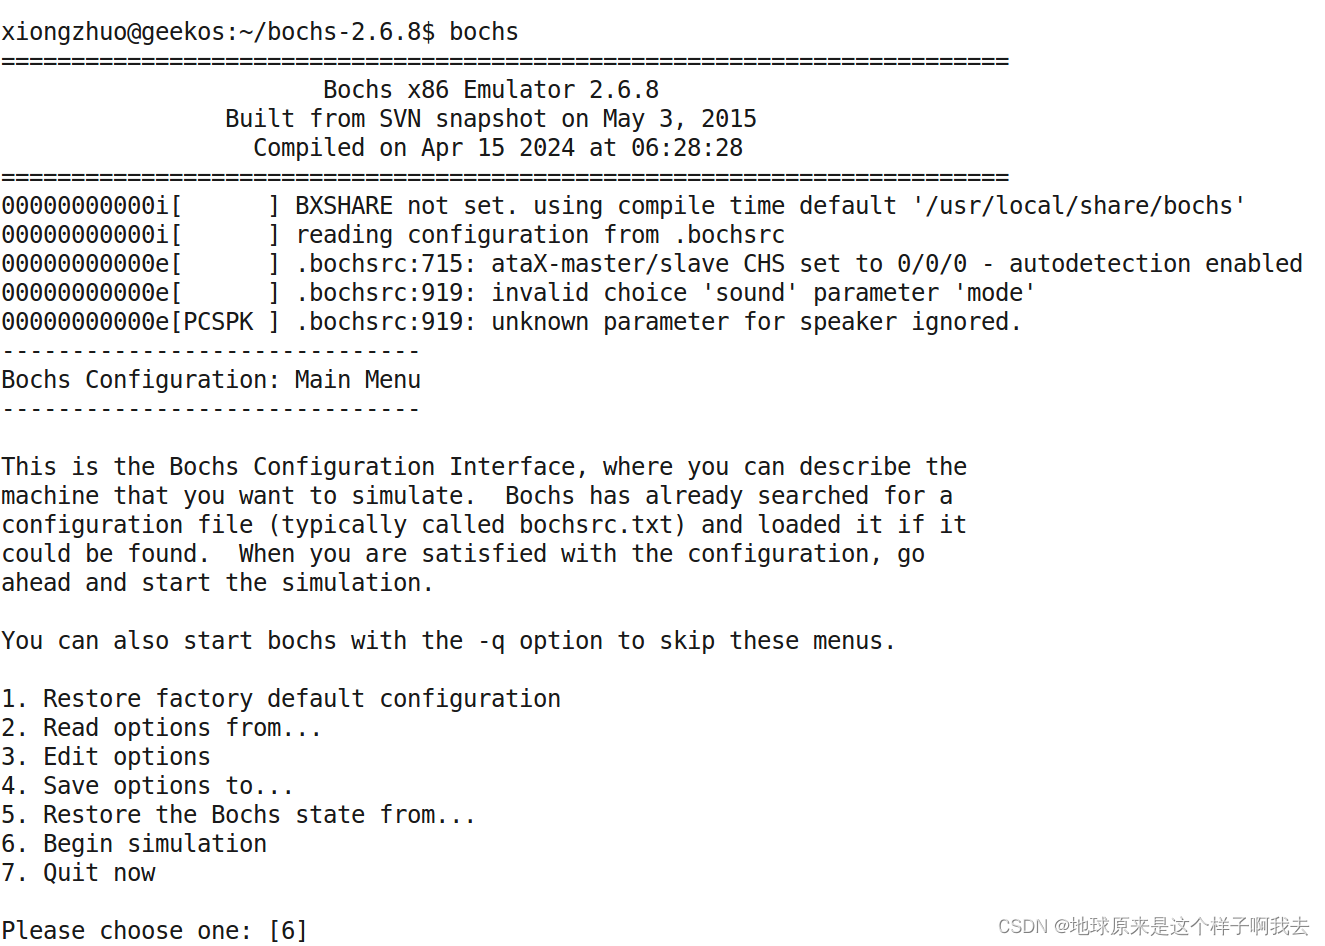
输入7 回车 先配置
5.配置bochs
sudo gedit bochsrc
确保romimage和vgaromimage这两项的路径是正确的,不然虚拟机启动时会提示couldn’t open ROM image file的错误
#################################################################
# Bochs的配置文件
# Configuration file for Bochs
#################################################################

# how much memory the emulated machine will have
megs: 32

# filenameof ROM images
romimage:file=/usr/local/share/bochs/BIOS-bochs-latest
vgaromimage:file=/usr/local/share/bochs/VGABIOS-lgpl-latest

# which disk image will be used 这个是启动软盘
floppya:1_44=a.img, status=inserted
#后面我们会在运行GeekOS时将它改成fd.img

# choose the boot disk 确定启动方式
boot: floppy

# where do we send log messages?
log: bochsout.txt

# disable the mouse
mouse: enabled=0

# enable key mapping ,using US layout as default
keyboard:keymap=/usr/local/share/bochs/keymaps/x11-pc-us.map

