文章目录
- 项目介绍
- 项目搭建
- 1.项目创建
- 2.新增tabbar
- 3引入字体图标
- uni-ui
- 介绍
- 使用
- uni-api
- 介绍
- 首页模块
- 功能分析
- 搭建子页面
- 分段器介绍
- 封装自己的异步请求
- 为什么要封装
- 封装的思路
- 编写首页-推荐页面
- 分页功能
- 专辑列表
- 获取专辑详情数据
项目介绍
微信小程序,提供图片、视频的浏览、下载功能。
项目搭建
1.项目创建
创建项目 vue create -p dcloudio/uni-preset-vue my-project
安装sass依赖npm install sass-loader node-sass
2.新增tabbar
(创建页面放在src下面)
页面名称 路径
首页 home/index.vue
横屏 horizontal/index.vue
精美视频 vedio/index.vue
搜索 search/index.vue
我的 mine/index.vue
page.json:
{
	"pages": [ //pages数组中第一项表示应用启动页,参考:https://uniapp.dcloud.io/collocation/pages
		{
			"path": "pages/home/index",
			"style": {
				"navigationBarTitleText": "首页"
			}
		},
		{
			"path": "pages/horizontal/index",
			"style": {
				"navigationBarTitleText": "横屏"
			}
		},
		{
			"path": "pages/video/index",
			"style": {
				"navigationBarTitleText": "精美视频"
			}
		},
		{
			"path": "pages/search/index",
			"style": {
				"navigationBarTitleText": "搜索"
			}
		},
		{
			"path": "pages/mine/index",
			"style": {
				"navigationBarTitleText": "我的"
			}
		}
	],
	"globalStyle": {
		"navigationBarTextStyle": "black",
		"navigationBarTitleText": "uni-app",
		"navigationBarBackgroundColor": "#F8F8F8",
		"backgroundColor": "#F8F8F8"
	},
	"tabBar": {
		//如果应用是一个多 tab 应用,可以通过 tabBar 配置项指定 tab 栏的表现,以及 tab 切换时显示的对应页。
		    "color":"#8a8a8a",//tab 上的文字默认颜色
			"selectedColor":"#d4237a",//tab 上的文字选中时的颜色
			"backgroundColor":"#fff",//tab 的背景色
			"position":"bottom",//可选值 bottom、top,top 值仅微信小程序支持
			"borderStyle":"black",//tabbar 上边框的颜色,可选值 black/white
			"list": [{//tab 的列表,
			  "pagePath": "pages/home/index",//	页面路径,必须在 pages 中先定义
			  "text": "首页",//tab 上按钮文字,在 App 和 H5 平台为非必填。例如中间可放一个没有文字的+号图标
			  "iconPath":"./static/item/home1.png",//图片路径,icon 大小限制为40kb,建议尺寸为 81px * 81px,当 postion 为 top 时,此参数无效,不支持网络图片,不支持字体图标
			  "selectedIconPath":"static/item/home.png"//选中时的图片路径,icon 大小限制为40kb,建议尺寸为 81px * 81px ,当 postion 为 top 时,此参数无效
			},{
			  "pagePath": "pages/horizontal/index",
			  "text": "横屏",
			  "iconPath":"./static/item/img1.png",
			  "selectedIconPath":"static/item/img.png"
			}, {
			  "pagePath": "pages/video/index",
			  "text": "精美视频",
			  "iconPath":"./static/item/vedio1.png",
			  "selectedIconPath":"static/item/vedio.png"
			}, {
			  "pagePath": "pages/search/index",
			  "text": "搜索",
			  "iconPath":"./static/item/search1.png",
			  "selectedIconPath":"static/item/search.png"
			}, {
			  "pagePath": "pages/mine/index",
			  "text": "我的",
			  "iconPath":"./static/item/mine1.png",
			  "selectedIconPath":"static/item/mine.png"
			}
		]
	}
}
3引入字体图标
使用阿里矢量图标库:
选择图标,加入购物车->添加至项目->点击下载至本地
:
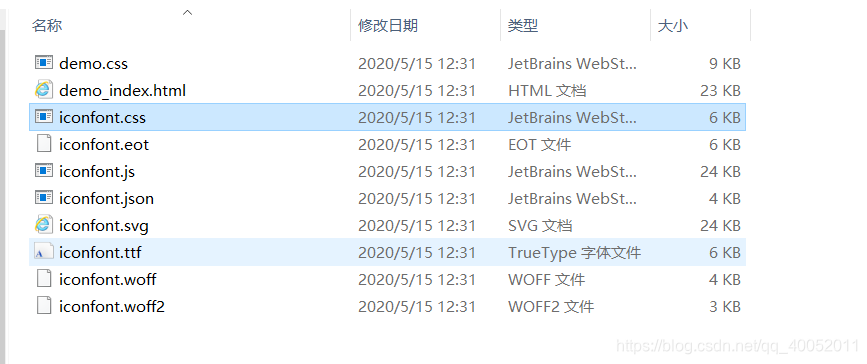
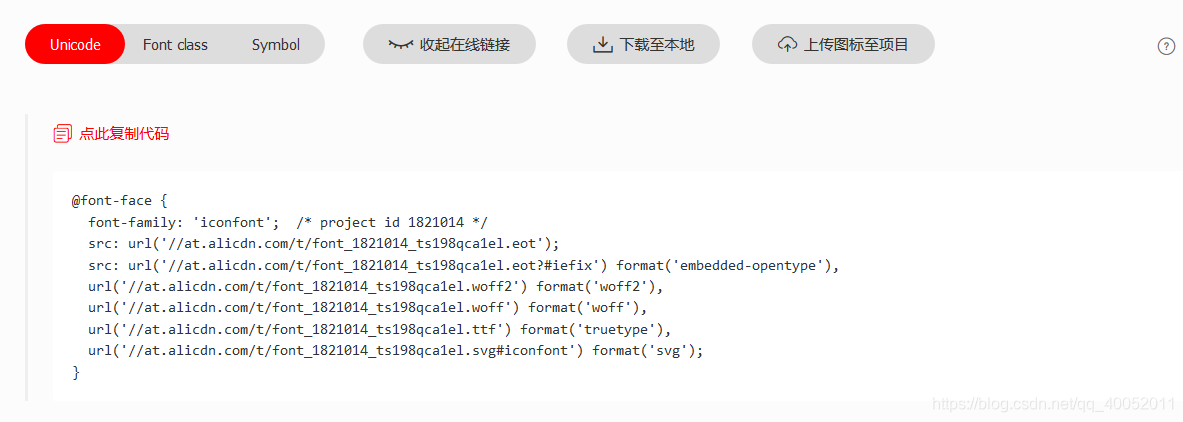
将iconfont.css打开将文件路径换成外网的
另存为wxss文件,复制粘贴至项目->在App.vue文件中引入,
@import url("./styles/iconfont.wxss");
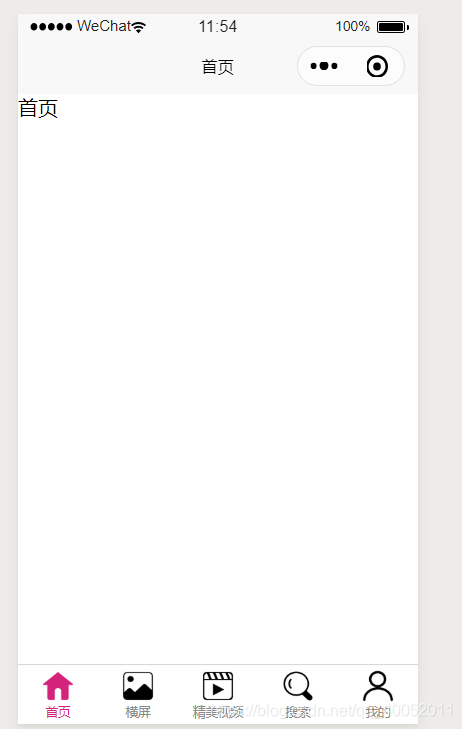
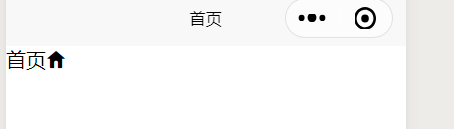
就可以通过class使用
<view>首页
	<text class="iconfont icon-shouye"></text>
	</view>
uni-ui
介绍
- https://uniapp.dcloud.io/component/README
- uni-ui是DClound提供的一个跨端ui库,它基于vue组件、flex布局、无dom的跨全端ui框架
- uni-ui不包括基础组件,它是基础组件的补充
- 数字角标、日历、卡片、折叠面板、倒计时、抽屉、悬浮按钮、收藏按钮、底部购物导航、宫格、图标、索引列表、列表、加载更多、自定义导航、通告栏、数字输入框、分页器、弹出层、评分、搜索栏、分段器、步骤条、滑动操作、轮播图指示点、标签
使用
- https://github.com/dcloudio/uni-ui
- 安装uni-ui
npm install @dcloudio/uni-ui
- 局部引入组件
- 注册组件
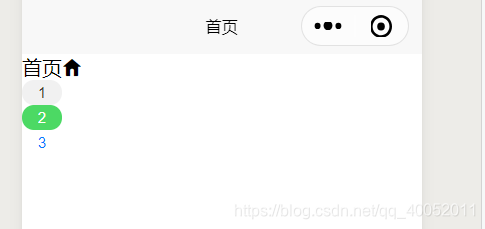
- 使用组件
<template>
	<view>首页
	<text class="iconfont icon-shouye"></text>
	<!--使用组件-->
	<uni-badge text="1"></uni-badge>
	<uni-badge text="2" type="success" ></uni-badge>
	<uni-badge text="3" type="primary" :inverted="true"></uni-badge>
	</view>

</template>

<script>
	import {uniBadge} from '@dcloudio/uni-ui'//局部引入组件
	export default {//注册组件
	    components: {uniBadge}
	}
</script>

<style>
</style>
uni-api
介绍
- https://uniapp.dcloud.io/api/
- 原生的微信小程序的api不支持promise ,uni-app对大部分的小程序的原生api做了封装,使之支持promise
- 使用方式:
- 原生微信小程序wx.request
- uniapi方式uni.request
- 其他api使用方式类似
//页面加载完毕
		onLoad(){
			//1原生微信小程序的方式、
			wx.request({
				url:"http://jsonplaceholder.typicode.com/posts",
				success(res) {
					console.log(res);
				}
			})
			//2uni-api
			uni.request({
				url:"http://jsonplaceholder.typicode.com/posts"
			}).then(res=>{
				console.log(res)
			})

		}
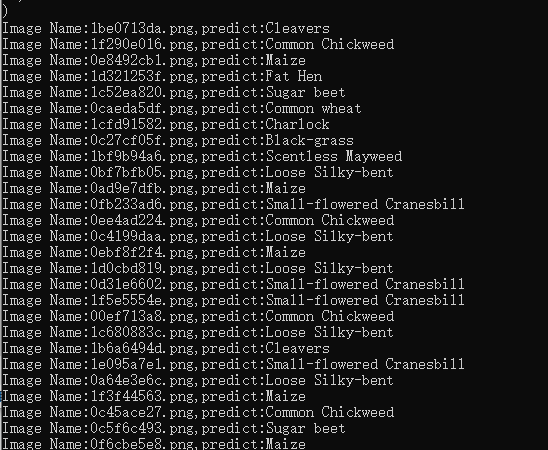
结果:
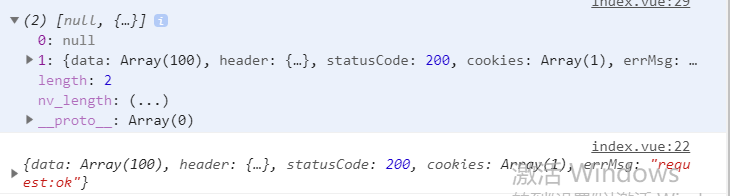 第一个是uniapi的请求结果:一个数组,第一个值表示成功还是失败(没有失败就是null),第二个表示返回的数据
第二个是微信小程序的请求结果
首页模块
功能分析
-
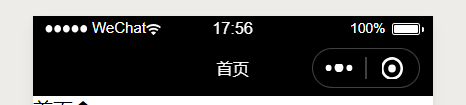
修改导航栏外观
-
使用分段器搭建子页面
-
封装自己的异步请求(发送请求的时候想要显示一个等待中的效果,所以封装)
pages.json中修改全局样式
"globalStyle": {
		"navigationBarTextStyle": "white",//只有white/black
		"navigationBarTitleText": "懂你找图",
		"navigationBarBackgroundColor": "#000"
		//"backgroundColor": "#F8F8F8"
	},
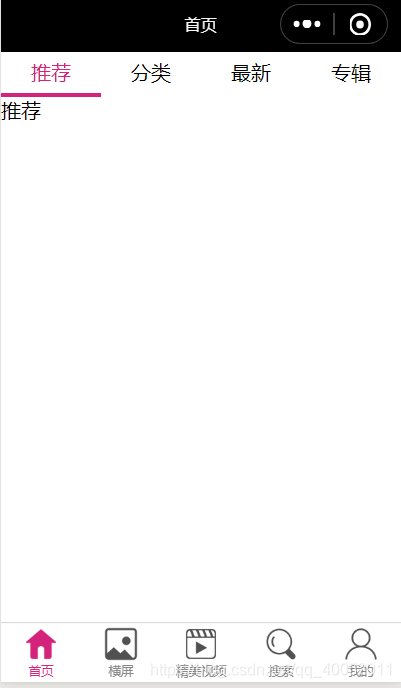
搭建子页面
- 首页分为四个模块:推荐、分类、最新、专辑
- 新建自定义组件代替上述四个页面
home-recommend
home-category
home-new
home-album
分段器介绍
分段器指的是uni-ui的一个组件,其实就是我们俗称的标签页,tab栏。
<template>
	<view>
	    <uni-segmented-control :current="current" :values="items" @clickItem="onClickItem" style-type="text" active-color="#d4237a"></uni-segmented-control>
		<view class="content">
				<view v-show="current === 0">
					<home-recommend></home-recommend>
				</view>
				<view v-show="current === 1">
					<home-category></home-category>
				</view>
				<view v-show="current === 2">
					<home-new></home-new>
				</view>
				<view v-show="current === 3">
					<home-album></home-album>
				</view>
		</view>
	</view>

</template>

<script>

	import homeRecommend from "./home-recommend";
	import homeCategory from "./home-category";
	import homeNew from "./home-new";
	import homeAlbum from "./home-album"
	import {uniSegmentedControl} from '@dcloudio/uni-ui'//局部引入分段器组件
	export default {
		components:{
			homeRecommend,
			homeCategory,
			homeNew,
			homeAlbum,
			uniSegmentedControl
		},
		 data() {
		        return {
		            items: ['推荐','分类','最新','专辑'],
		            current: 0
		        }
		    },
		    methods: {
		        onClickItem(e) {
		            if (this.current !== e.currentIndex) {
		                this.current = e.currentIndex;
		            }
		        }
		    }
	}
</script>

<style>
</style>
封装自己的异步请求
为什么要封装
- 原生微信小程序的请求不支持promise
- uni-api的请求不能够方便添加请求中的效果
- uni-api请求返回值是个数组,用起来不方便
封装的思路
- 基于原生promise封装
- 挂载到vue原型上
- 通过this.request方式来使用
pages下新建utils文件夹,新建request.js文件
//es6
export default (params)=>{
	//加载中
	uni.showLoading({
		title:"加载中"
	})

	return new Promise((resolve,reject)=>{
		wx.request({
			...params,
			success(res) {
				resolve(res)
			},
			fail(error) {
				reject(error)
			},
			complete() {
				uni.hideLoading()
			}

		})
	})
}
main.js中引入并挂载到原型上
import request from './utils/request'
Vue.prototype.request=request
页面中使用this.reques
onLoad() {
	this.request({
			url:"http://jsonplaceholder.typicode.com/posts"
		})
		.then(res=>{
			console.log(res)
		})
}
拿到数据

把请求中成功返回改为res.data,拿到数据就更加简单了。
加载中效果

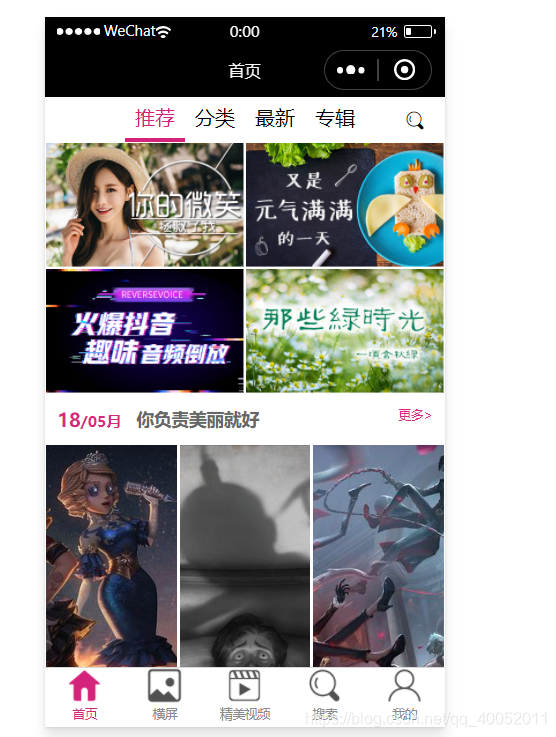
编写首页-推荐页面
- 接口文档https://www.showdoc.cc/414855720281749?page_id=3678621017219602
- 数据动态渲染
- JavaScript 日期处理类库moment.js使用
- “热门”列表基于(原生小程序的)scroll-view的分页加载
uni.scss新增主题色
/*主题颜色*/

$color:#d52a7e;
安装moment.js
npm install moment --sav
homepage_recommands/index.vue
<template>
	<view v-if="recommends.length>0"><!--recommends有数据才显示里面的标签,否则会先显示undefined一闪而过-->
		<!--推荐开始-->
		<view class="recommend_wrap">
			<view class="recommend_item"
			v-for="item in recommends"
			:key="item.id"
			>

			  <image  :src="item.thumb" mode="widthFix"></image>  <!--mode设置为widthFix高度自适应-->

			</view>

		</view>
		<!--推荐结束-->
		<!--月份开始-->
		<view class="month-wrap">
			<view class="month_title">
				<view class="month_title_info">
					<view class="month_info">
						<text>{{monthes.DD}}</text>
						/{{monthes.MM}}月
					</view>
					<view class="month_text">
						你负责美丽就好
					</view>
				</view>
				<view class="month_title_more">
					更多>
				</view>
			</view>
			<view class="month_content">
				<view  class="month_item"
				 v-for="item in monthes.items"
				 :key="item.id">
					 <image  :src="item.thumb+item.rule.replace('$<Height>',360)" mode="aspectFill"></image><!--缩略图-->
				</view>

			</view>
		</view>
		<!--月份结束-->
		<!--热门开始-->
		<view class="hot_wrap">
			<view class="hot_title">
				<text>热门</text>
			</view>
			<view class="hot_content">
				<view class="hot_item"
				v-for="item in hots"
				:key="item.id"
				>
				<image :src="item.thumb" mode="widthFix"></image>
				</view>
			</view>
		</view>
		<!--热门结束-->


	</view>
</template>

<script>
	import moment from 'moment'
	export default {
		data(){
			return{
				//推荐列表
				recommends:[],
				//月份列表
				monthes:{},
				//热门列表
				hots:[]

			}
		},
		mounted(){
			this.request({
				url:"http://service.picasso.adesk.com/v3/homepage/vertical",
				data:{
					limit:30,//获取多少条数据
					order:"hot",//关键字 “hot”
					skip:0//跳过多少条
				}
			})
			.then(result=>{
				console.log(result)
				this.recommends = result.res.homepage[1].items
				this.monthes=result.res.homepage[2]
				//将时间戳改为 xx号/xx月 moment.js
				this.monthes.MM=moment(this.monthes.stime).format("MM")
				this.monthes.DD=moment(this.monthes.stime).format("DD")
				//获取热门列表
				this.hots=result.res.vertical
			})
		}
	}
</script>

<style lang="scss" scoped>
	.recommend_wrap{
		//flex布局
		display: flex;
		flex-wrap: wrap;//让弹性盒元素在必要的时候拆行
		.recommend_item{
			width: 50%;
			border: 3rpx solid white;
		}
	}
	.month-wrap{

		.month_title{
			display: flex;
			justify-content: space-between;
			color: $color;
			padding: 10px;
			.month_title_info{
				font-weight: 600;
				font-size: 30rpx;
				display: flex;
				.month_info{
					text{
						font-size: 36rpx;

					}

				}
				.month_text{
					font-size: 34rpx;
					color: #666;
					padding-left: 30rpx;
				}
			}
			.month_title_more{
				font-size: 24rpx;

			}

		}
		.month_content{
			display: flex;
			flex-wrap: wrap;
			.month_item{
				width: 33.33%;
				border: 3rpx solid white;
			}

		}
	}

	.hot_wrap{
		.hot_title{
			padding: 10rpx;
			text{
				border-left: 15rpx solid $color;
				padding-left: 10px;
				font-size: 26rpx;
				font-weight: 600;
			}
		}
		.hot_content{
			display: flex;
			flex-wrap: wrap;
			.hot_item{
				width: 33.33%;
				border:3rpx solid white ;
			}
		}
	}

</style>
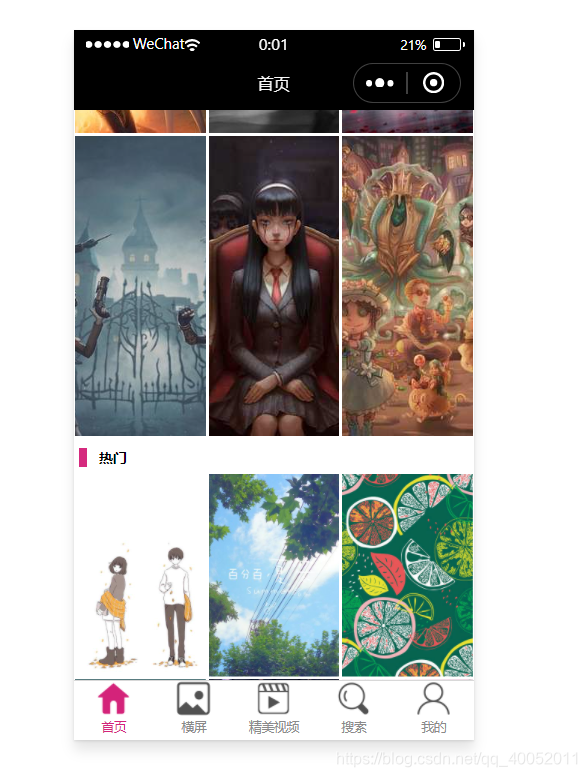
分页功能
使用scroll-view标签充当分页的容器
绑定滚动条触底事件scrolltolower
实现分页逻辑
<template>
	<!--可滚动视图区域  @scrolltolower="handleToLower" 滚动触底事件-->
	<scroll-view  @scrolltolower="handleToLower" class="recommend_view" scroll-y v-if="recommends.length>0"><!--recommends有数据才显示里面的标签,否则会先显示undefined一闪而过-->
		<!--推荐开始-->
		<view class="recommend_wrap">
			<view class="recommend_item"
			v-for="item in recommends"
			:key="item.id"
			>

			  <image  :src="item.thumb" mode="widthFix"></image>  <!--mode设置为widthFix高度自适应-->

			</view>

		</view>
		<!--推荐结束-->
		<!--月份开始-->
		<view class="month-wrap">
			<view class="month_title">
				<view class="month_title_info">
					<view class="month_info">
						<text>{{monthes.DD}}</text>
						/{{monthes.MM}}月
					</view>
					<view class="month_text">
						你负责美丽就好
					</view>
				</view>
				<view class="month_title_more">
					更多>
				</view>
			</view>
			<view class="month_content">
				<view  class="month_item"
				 v-for="item in monthes.items"
				 :key="item.id">
					 <image  :src="item.thumb+item.rule.replace('$<Height>',360)" mode="aspectFill"></image><!--缩略图-->
				</view>

			</view>
		</view>
		<!--月份结束-->
		<!--热门开始-->
		<view class="hot_wrap">
			<view class="hot_title">
				<text>热门</text>
			</view>
			<view class="hot_content">
				<view class="hot_item"
				v-for="item in hots"
				:key="item.id"
				>
				<image :src="item.thumb" mode="widthFix"></image>
				</view>
			</view>
		</view>
		<!--热门结束-->


	</scroll-view>
</template>

<script>
	import moment from 'moment'
	export default {
		data(){
			return{
				//推荐列表
				recommends:[],
				//月份列表
				monthes:{},
				//热门列表
				hots:[],
				//请求参数
				params:{
					limit:30,//获取多少条数据
					order:"hot",//关键字 “hot”
					skip:0//跳过多少条
				},
				hasMore:true//是否还有下一页

			}
		},
		mounted(){
			this.getList()
		},
		methods:{
			//获取接口数据
			getList(){
				this.request({
					url:"http://service.picasso.adesk.com/v3/homepage/vertical",
					data:this.params
				})
				.then(result=>{
					//判断还有没有下一页数据
					if(result===0){
						this.hasMore=false
						return
					}
					//console.log(result)
					if(this.recommends.length==0){//第一次发送请求
						this.recommends = result.res.homepage[1].items
						this.monthes=result.res.homepage[2]
						//将时间戳改为 xx号/xx月 moment.js
						this.monthes.MM=moment(this.monthes.stime).format("MM")
						this.monthes.DD=moment(this.monthes.stime).format("DD")
					}
					//获取热门列表
					//数组拼接
					this.hots=[...this.hots,...result.res.vertical]
				})
			},
			//滚动条触底事件
			handleToLower(){
				//修改参数,重新发送请求,请求成功后数据叠加
				if(this.hasMore){
					this.params.skip+=this.params.limit
					this.getList()
				}else{
					//弹窗提示没有下一页
					uni.showToast({
						title:"没有数据了",
						icon:"none"
					})
				}


			}

		}
	}
</script>

<style lang="scss" scoped>
	.recommend_view{
		//height:屏幕高度-头部标题高度(tabbar完全不用考虑)
		height:calc(100vh - 46px);//css3中cals()给元素左计算,表达式中有“+”和“-”时,其前后必须要有空格

	}
	.recommend_wrap{
		//flex布局
		display: flex;
		flex-wrap: wrap;//让弹性盒元素在必要的时候拆行
		.recommend_item{
			width: 50%;
			border: 3rpx solid white;
		}
	}
	.month-wrap{

		.month_title{
			display: flex;
			justify-content: space-between;
			color: $color;
			padding: 10px;
			.month_title_info{
				font-weight: 600;
				font-size: 30rpx;
				display: flex;
				.month_info{
					text{
						font-size: 36rpx;

					}

				}
				.month_text{
					font-size: 34rpx;
					color: #666;
					padding-left: 30rpx;
				}
			}
			.month_title_more{
				font-size: 24rpx;

			}

		}
		.month_content{
			display: flex;
			flex-wrap: wrap;
			.month_item{
				width: 33.33%;
				border: 3rpx solid white;
			}

		}
	}

	.hot_wrap{
		.hot_title{
			padding: 10rpx;
			text{
				border-left: 15rpx solid $color;
				padding-left: 10px;
				font-size: 26rpx;
				font-weight: 600;
			}
		}
		.hot_content{
			display: flex;
			flex-wrap: wrap;
			.hot_item{
				width: 33.33%;
				border:3rpx solid white ;
			}
		}
	}

</style>
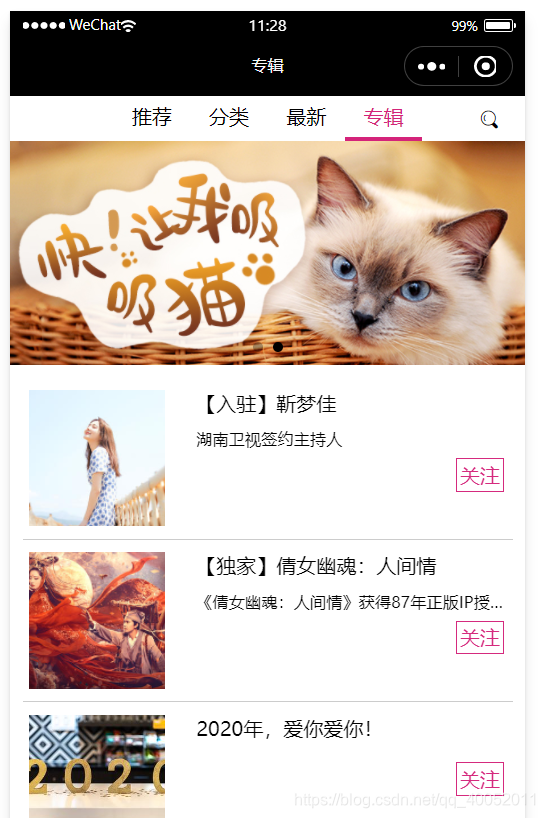
专辑列表
使用setNavigationBarTitle修改页面标题
uni.setNavigationBarTitle({
				title:"最新"
			})
发送请求获取数据、使用 Swiper轮播图组件
使用scroll-view组件实现分页
点击跳转到专辑详情页
–home-album.vue
<template>
	<scroll-view class="album_scroll_view" scroll-y @scrolltolower="handleToLower">
		<!--
		轮播图开始
		swiper滑块视图容器
		1.自动轮播autoplay是否自动切换
		2.显示器indicator-dots是否显示面板指示点
		3.衔接轮播circular是否采用衔接滑动

		4.swiper高度默认150px(不能实现由内容撑开),swiper-item标签默认高度100%
		5.image默认高度320px  基本样式中修改成了100%
		宽度240px
		6.计算图片高宽比例,写到swiper样式

		-->
		<view class="album_swiper">
			<swiper
			autoplay
			indicator-dots
			circular
			>
				<swiper-item
				v-for="item in banner"
				:key="item.id"
				>
					<image  :src="item.thumb" mode="widthFix"></image>
				</swiper-item>
			</swiper>
		</view>

		<!--轮播图结束-->

		<!--列表开始-->
		<view class="album_list">
			<navigator class="album_item"
			v-for="item in album"
			:key="item.id"
			url="/pages/album/index?id=123"
			>
				<view class="album_img">
					<image :src="item.cover" mode="aspectFill"></image><!--aspectFill整张图片拉伸的效果-->
				</view>
				<view class="album_info">
					<view class="album_name">
						{{item.name}}
					</view>
					<view class="album_desc">
						{{item.desc}}
					</view>
					<view class="album_btn">
						<view class="album_attention">
							关注
						</view>
					</view>

				</view>
			</navigator>

		</view>
		<!--列表结束-->
	</scroll-view>
</template>

<script>
	export default{
		data(){
			return{
				params:{//请求参数
					limit:30,
					order:"new",
					skip:0
				},
				//轮播图数组
				banner:[],
				//列表数组
				album:[],
				//是否还有数据
				hasMore:true
			}
		},
		mounted(){
			uni.setNavigationBarTitle({
				title:"专辑"
			})
			this.getList()
		},
		methods:{
			getList(){//获取接口数据
			  this.request({
				  url:"https://service.picasso.adesk.com/v1/wallpaper/album",
				  data:this.params
			  }).then(result=>{
				  console.log(result)
				  if(this.banner.length===0){
					  this.banner=result.res.banner
				  }
				  //
				  if(result.res.album.length===0){
				  	this.hasMore=false
					return
				  }
				  this.album=[...this.album,...result.res.album]
			  })
		    },
			handleToLower(){
				if(this.hasMore){
					this.params.skip+=this.params.limit
					this.getList()
				}else{
					uni.showToast({
						title:"没有数据了",
						icon:"null"
					})
				}
			}

		}
	}
</script>

<style lang="scss" scoped>
	.album_scroll_view{
		height: calc(100vh - 46px);
	}

	.album_swiper{
		swiper{
			height:calc(750rpx / 2.3);
			image{
				height: 100%;
			}
		}
	}
	.album_list{
		padding: 20rpx;
		.album_item{
			padding: 10rpx 0;
			display: flex;
			border-bottom: 1rpx solid #ccc;
			.album_img{
				flex: 1;//左边占一份。右边占两份
				padding: 10rpx;
				image{
					width: 200rpx;
					height: 200rpx;
				}
			}
			.album_info{
				flex: 2;
				padding:0 10rpx;
				overflow: hidden;//若不设置的话,文字溢出不会有省略号,原因在于flex会按照内容来撑大盒子
				.album_name{
					font-size: 30rpx;
					color: #000;
					padding:  10rpx 0;
				}
				.album_desc{
					padding: 10rpx 0;
					font-size: 24rpx;

					//文字溢出显示省略号
					text-overflow: ellipsis;
					overflow: hidden;
					white-space: nowrap;
				}
				.album_btn{
					padding: 5rpx;
					display: flex;
					justify-content: flex-end;
					.album_attention{
						color:$color;
						border: 2rpx solid $color;
						padding: 5rpx;
					}

				}

			}
		}
	}
</style>
获取专辑详情数据
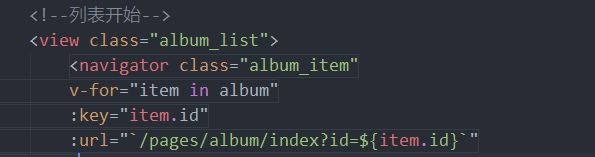
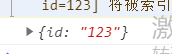
专辑组件通过在url上拼接参数
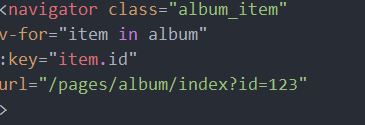
专辑详情组件通过options接收参数
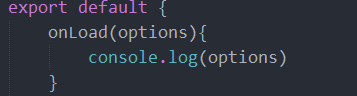
子组件就可以得到数据
将属性名变成一个变量:在前面加上冒号