ubuntu下载使用
官网下载Ubuntu 22.04.4 LTS (Jammy Jellyfish) Daily Build
打开后根据电脑的架构选择安装包,想要下载其他版本也可在官网中自行搜索。
我安装时舍友说他安装的是22.04这个版本,我也就跟着他安装了

注意:下载的版本最好有对应版本的国内镜像源(阿里,清华等),否则以后使用时可能很麻烦。
链接:阿里云 Ubuntu Ports镜像
点击链接,往下找看到阿里的ubuntu镜像源有22.04版本的,稳啦
由于之前安装过win11和centos7,所以虚拟机软件的安装流程已经没什么印象,对ubuntu的安装在此也不赘述了,有需要的可以前往下面链接,我也是根据下面大佬的步骤完成安装的。
在M1芯片的MacBook安装ubuntu
复制粘贴功能
1.更改终端中的复制粘贴命令(根据个人习惯决定)
终端->点击三条横线图标->配置文件首选项->快捷键->更改复制粘贴为ctrl + c,ctrl + v
(例如:双击Shift+Ctrl+c,然后在键盘上同时按下ctrl和c,快捷键就发生改变了)
注意:mac上使用command+c和control+c效果一样,ctrl+v也是如此
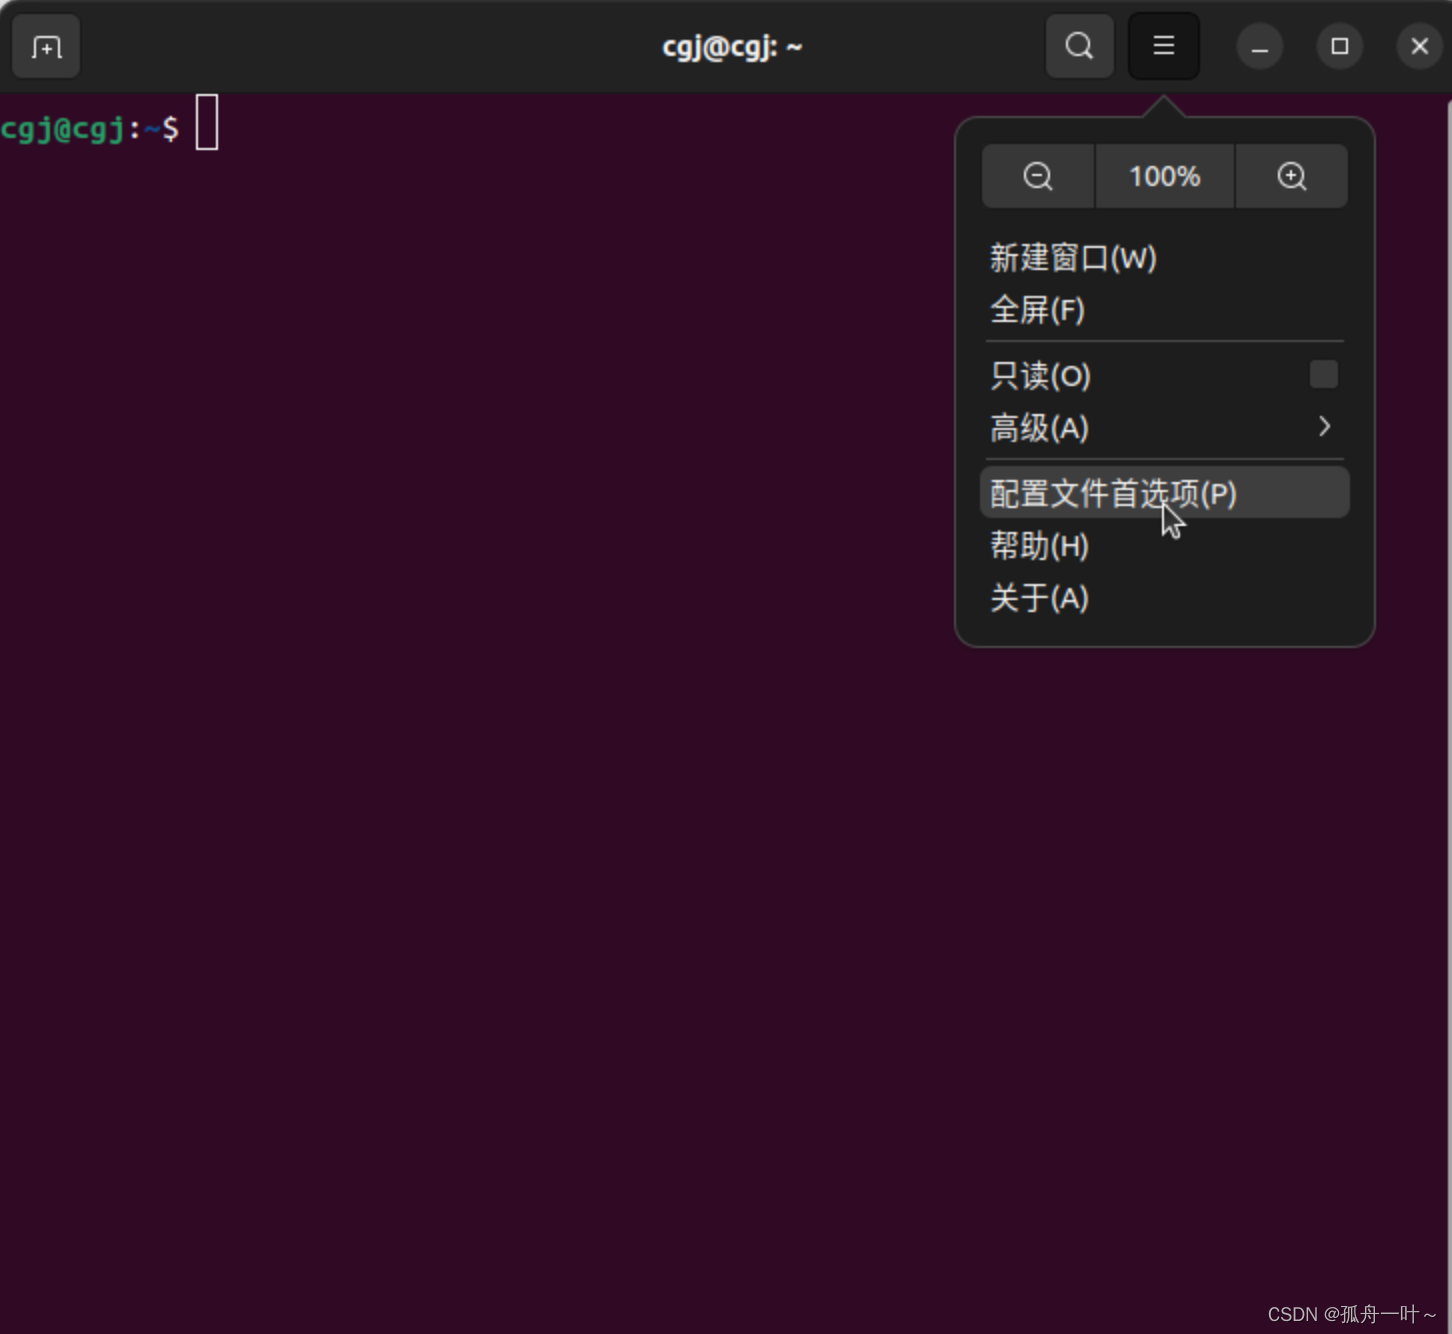
更改前:

更改后:
2.虚拟机和物理机的复制粘贴交互
(1)先更新软件列表
sudo apt-get update
(2)安装VMware tools
sudo apt-get autoremove open-vm-tools			#卸载已有的工具
sudo apt-get install open-vm-tools				#安装open-vm-tools
sudo apt-get install open-vm-tools-desktop  	#安装open-vm-tools-desktop
(3)重启ubuntu(必须的)
reboot
注意:如果第二步安装发生错误,则是因为镜像源的问题,可以直接移到下面换镜像源的步骤,换完正确的镜像源再重新运行这些代码即可成功。
换镜像源(以阿里云为例)
我的电脑架构是ARM64,使用的是ubuntu ports镜像
阿里云 Ubuntu Ports镜像
注意:ubuntu系统的架构不同,配置的内容略有不同,x86架构的可以在上面的网页里的配置方法部分切换到ubuntu源。后续的配置方法是一模一样的。

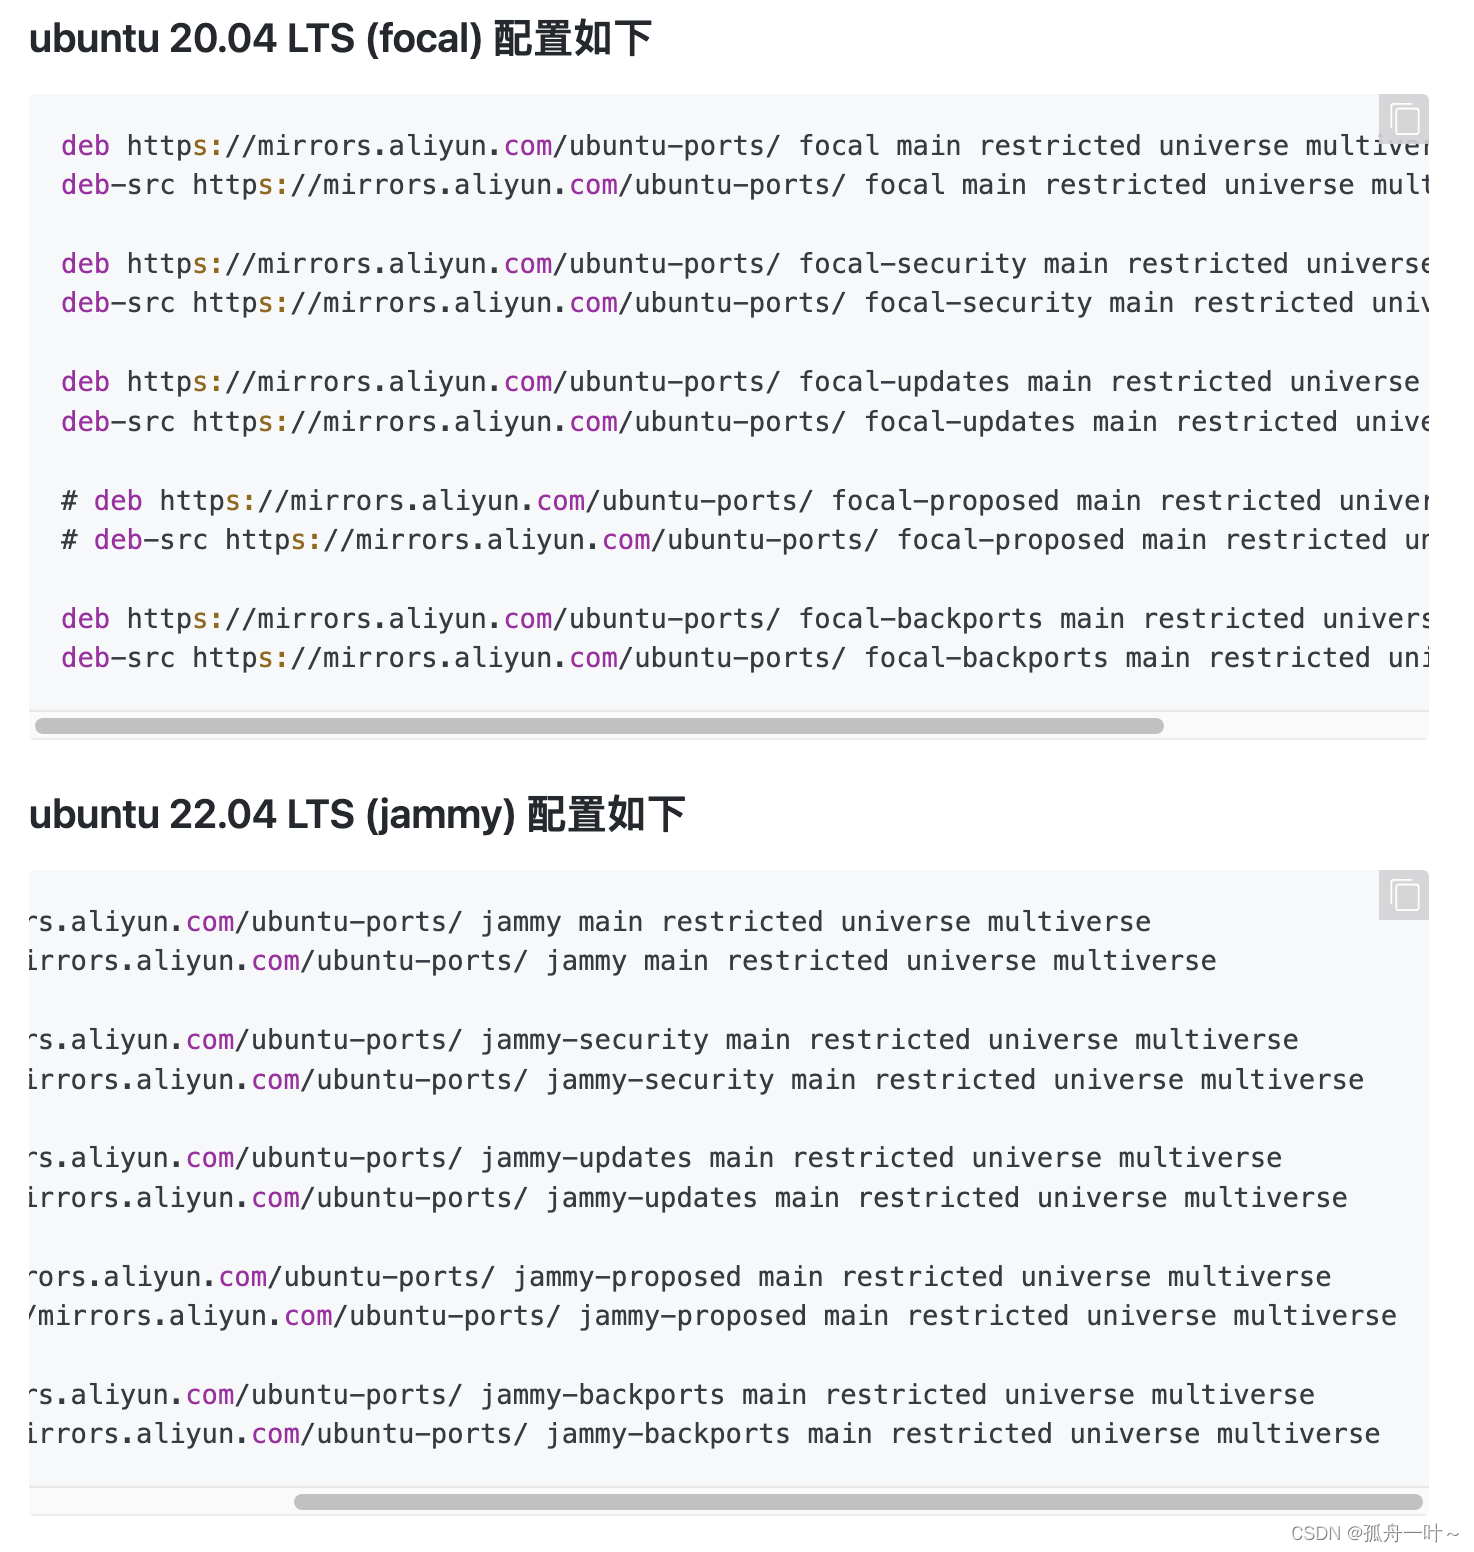
目前我看到了7个版本的镜像源,找到属于自己的版本,每个版本的镜像源其实只有一个单词不同,比如下面两个源,只有focal和jammy的区别。

例如我是ubuntu22.04版本的,就使用jammy的镜像源
deb https://mirrors.aliyun.com/ubuntu-ports/ jammy main restricted universe multiverse
deb-src https://mirrors.aliyun.com/ubuntu-ports/ jammy main restricted universe multiverse

deb https://mirrors.aliyun.com/ubuntu-ports/ jammy-security main restricted universe multiverse
deb-src https://mirrors.aliyun.com/ubuntu-ports/ jammy-security main restricted universe multiverse

deb https://mirrors.aliyun.com/ubuntu-ports/ jammy-updates main restricted universe multiverse
deb-src https://mirrors.aliyun.com/ubuntu-ports/ jammy-updates main restricted universe multiverse

# deb https://mirrors.aliyun.com/ubuntu-ports/ jammy-proposed main restricted universe multiverse
# deb-src https://mirrors.aliyun.com/ubuntu-ports/ jammy-proposed main restricted universe multiverse

deb https://mirrors.aliyun.com/ubuntu-ports/ jammy-backports main restricted universe multiverse
deb-src https://mirrors.aliyun.com/ubuntu-ports/ jammy-backports main restricted universe multiverse
找好镜像后,开始在终端进行操作
1.备份源文件
sudo cp /etc/apt/sources.list /etc/apt/sources.list.bak
2.打开源文件
sudo gedit /etc/apt/sources.list
3.修改文件
打开文件,把里面的内容全部删除,然后换成上面找到的镜像源。如果前面的复制粘贴功能可以实现,那就直接粘贴过来,没办法就手敲。
其实只要敲一行就行,你会发现之后的代码最多只会有两处不同,一处是开头,一行是deb,一行是deb-src;另一处是在jammy处。
注意,有#注释的两行要么不打,要么#记得加上

镜像源弄好后,记得点击保存,然后再关闭文件。
4.最后通过两行代码完成更新
sudo apt-get update
sudo apt-get upgrade


![练习 17 Web [极客大挑战 2019]PHP](https://img-blog.csdnimg.cn/direct/2ca1741a82434f4a994791762229bea2.png)

