1、修改dataease 所在的服务器nginx配置
server {
    listen 80;
    server_name dataease.ibaiqiu.cn;
    return 307 https://$host$request_uri;
}
server {
    listen       443 ssl;
    server_name  dataease.ibaiqiu.cn;
    client_max_body_size 30M;
    ssl_certificate      /usr/local/nginx/conf/vhost/ibaiqiu.cn.pem;
    ssl_certificate_key  /usr/local/nginx/conf/vhost/ibaiqiu.cn.key;
    ssl_session_timeout 5m;
    ssl_ciphers ECDHE-RSA-AES128-GCM-SHA256:ECDHE:ECDH:AES:HIGH:!NULL:!aNULL:!MD5:!ADH:!RC4;
    ssl_protocols TLSv1.2;
    ssl_prefer_server_ciphers on;
    proxy_set_header Host               $host;
    proxy_set_header X-Real-IP          $remote_addr;
    proxy_set_header X-Forwarded-For $remote_addr;
    proxy_set_header X-Forwarded-Proto  $scheme;
    proxy_http_version 1.1;
    proxy_connect_timeout 500s;
    proxy_read_timeout 500s;
    proxy_send_timeout 500s;
    proxy_redirect http:// https://;

    proxy_set_header Upgrade $http_upgrade;
    proxy_set_header Connection "upgrade";
    proxy_request_buffering off;

    error_page 497 https://$host:$server_port$uri$is_args$args;

    location / {
        proxy_pass http://127.0.0.1:8081;
        proxy_pass_header Server;
        access_log  logs/dataease.ibaiqiu.cn.access.log;
        error_log   logs/dataease.ibaiqiu.cn.error.log;
    }
}
如果是docker 安装, web默认端口是80,可以在挂载目录的.env 文件中修改 DE_PORT=8081
2、dataease 上创建公共连接

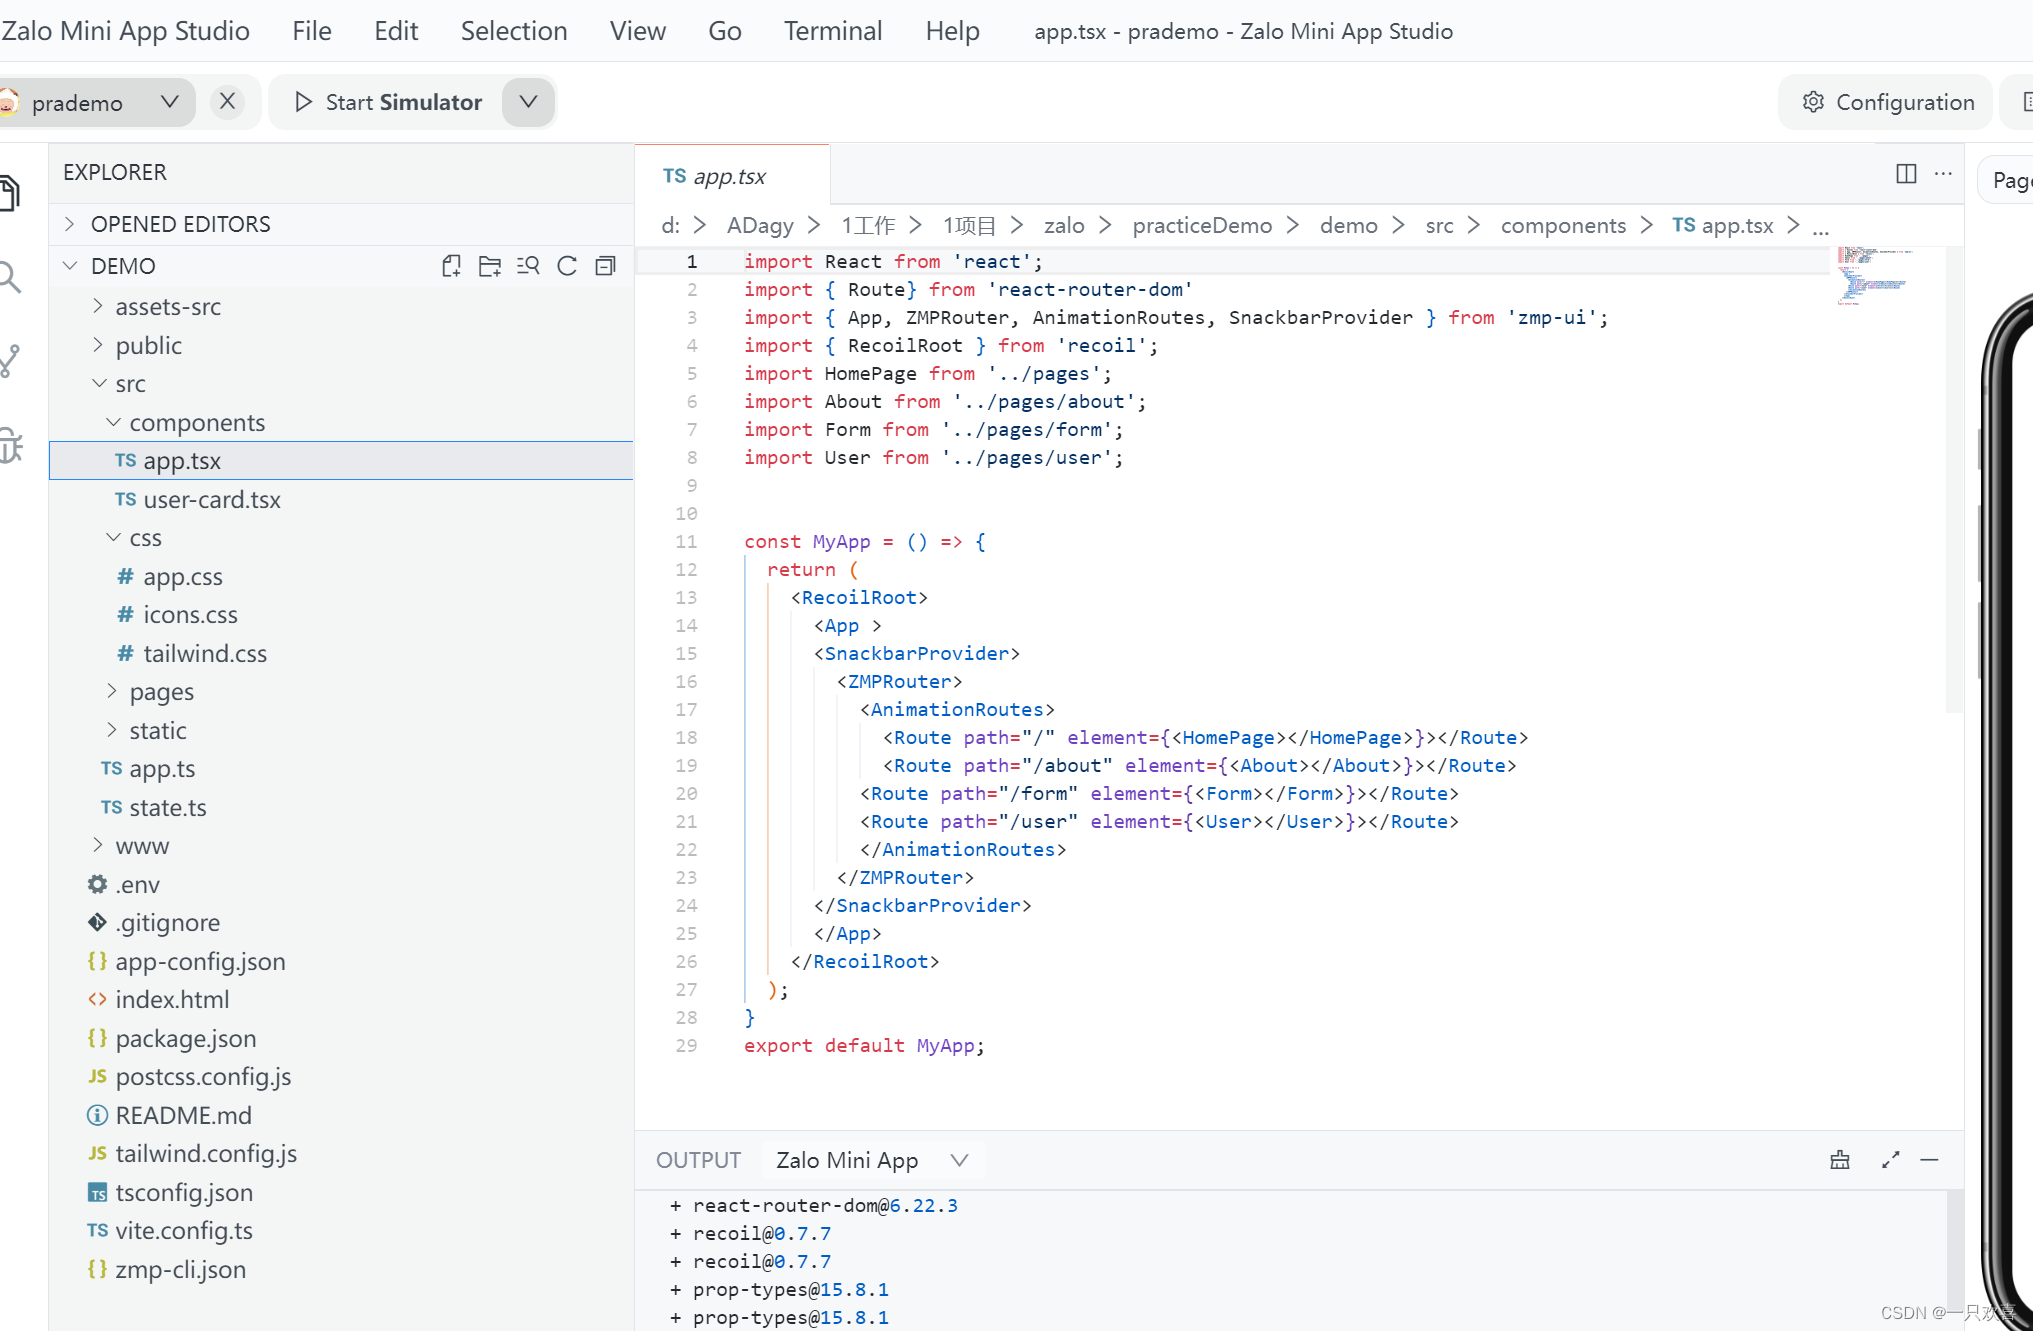
3、前端代码
import React, {useEffect, useRef} from "react";

const Welcome = () => {

    return (
        <iframe
            src={"https://xxxx.baiqiu.cn/link/WRRi2i6W"}
            width={"100%"}
            height={"100%"}
            style={{
                "border": "none",
                overflow: "auto",
            }}
            sandbox="allow-scripts allow-forms allow-same-origin"
        />
    );
};

export default Welcome;
完成以上步骤,就可以在自建网站中展示dataease 大屏了,非常好用!!!


