(未完成,待补充)
获取Faster RCNN源码
(开源的很多,论文里也有,在这里不多赘述)
替换自己的数据集(图片+标签文件)
(需要使用labeling生成标签文件)
打开终端,进入gpupytorch环境
运行voc_annotation.py文件生成与训练文件
E:\DeepLearningModel\Model01>activate gpupytorch
(gpupytorch) E:\DeepLearningModel\Model01>python voc_annotation.py
D:\Anaconda\envs\gpupytorch\lib\site-packages\numpy\_distributor_init.py:30: UserWarning: loaded more than 1 DLL from .libs:
D:\Anaconda\envs\gpupytorch\lib\site-packages\numpy\.libs\libopenblas.PYQHXLVVQ7VESDPUVUADXEVJOBGHJPAY.gfortran-win_amd64.dll
D:\Anaconda\envs\gpupytorch\lib\site-packages\numpy\.libs\libopenblas64__v0.3.21-gcc_10_3_0.dll
warnings.warn("loaded more than 1 DLL from .libs:\n%s" %
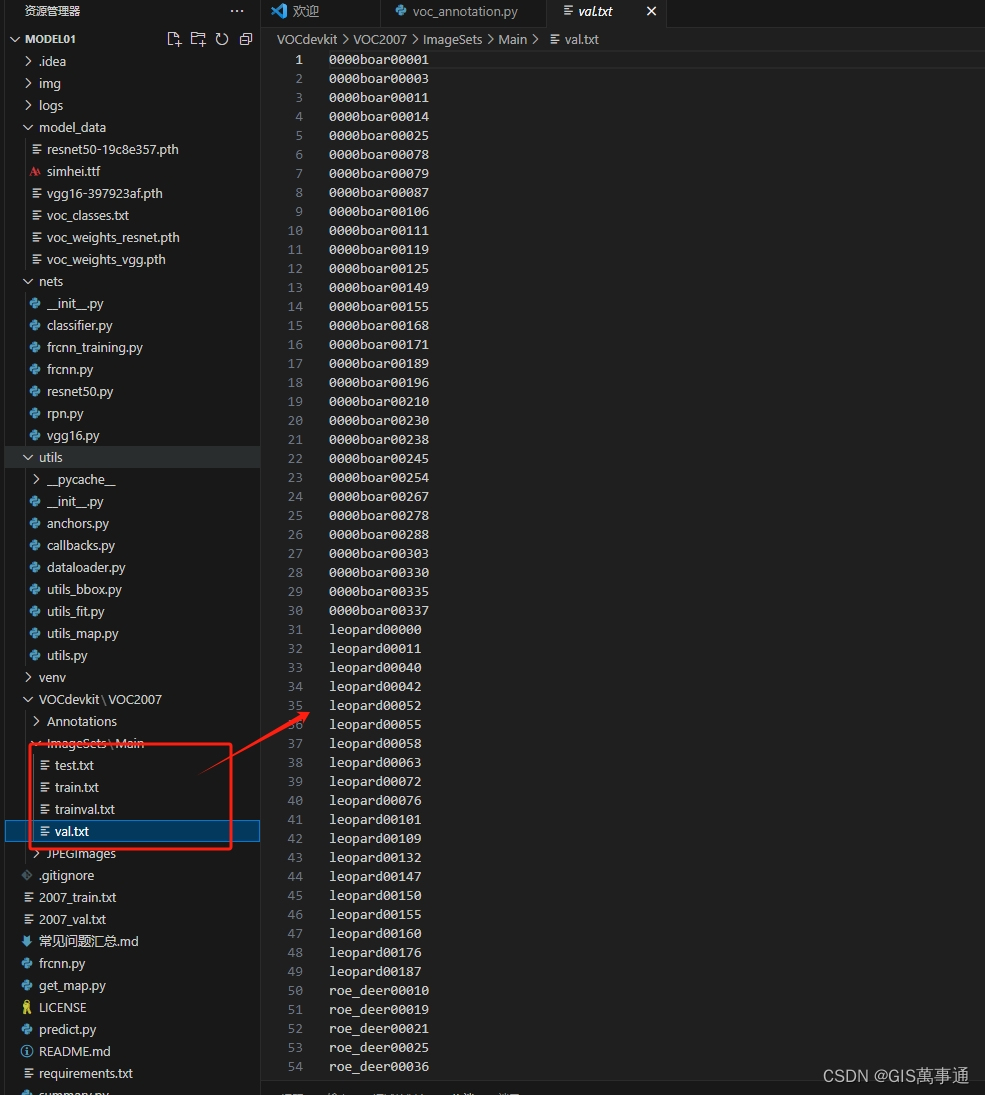
Generate txt in ImageSets.
train and val size 777
train size 699
Generate txt in ImageSets done.
Generate 2007_train.txt and 2007_val.txt for train.结果所示:
(gpupytorch) E:\DeepLearningModel\Model01>python voc_annotation.py
D:\Anaconda\envs\gpupytorch\lib\site-packages\numpy\_distributor_init.py:30: UserWarning: loaded more than 1 DLL from .libs:
D:\Anaconda\envs\gpupytorch\lib\site-packages\numpy\.libs\libopenblas.PYQHXLVVQ7VESDPUVUADXEVJOBGHJPAY.gfortran-win_amd64.dll
D:\Anaconda\envs\gpupytorch\lib\site-packages\numpy\.libs\libopenblas64__v0.3.21-gcc_10_3_0.dll
  warnings.warn("loaded more than 1 DLL from .libs:\n%s" %
Generate txt in ImageSets.
train and val size 777
train size 699
Generate txt in ImageSets done.
Generate 2007_train.txt and 2007_val.txt for train.
Generate 2007_train.txt and 2007_val.txt for train done.
|  leopard | 174 |
|     boar | 491 |
| roe_deer | 352 |

(gpupytorch) E:\DeepLearningModel\Model01>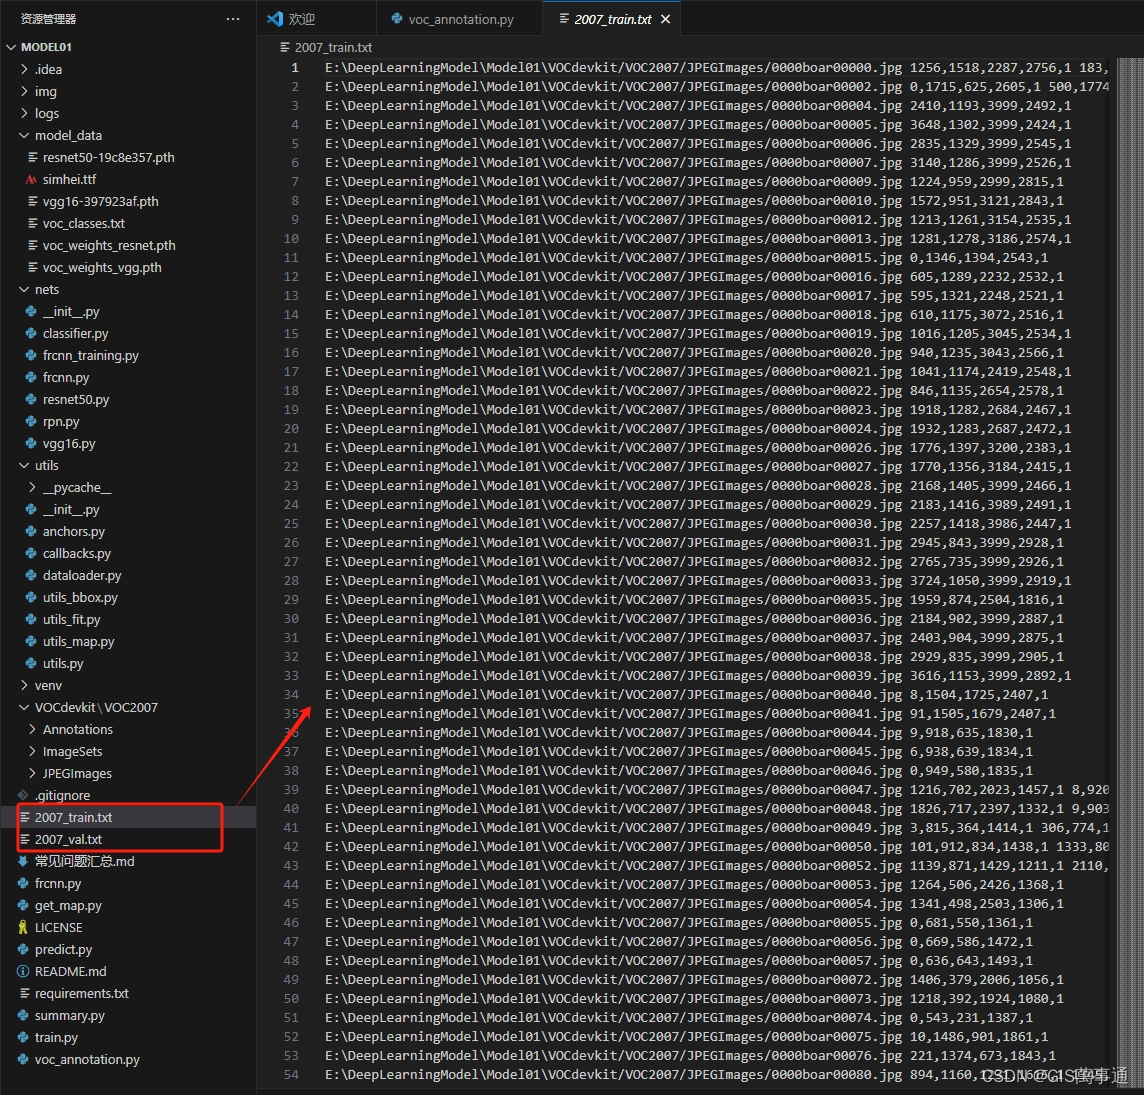
运行:train.py文件
import colorsys
import os
import time

import numpy as np
import torch
import torch.nn as nn
from PIL import Image, ImageDraw, ImageFont

from nets.frcnn import FasterRCNN
from utils.utils import (cvtColor, get_classes, get_new_img_size, resize_image,
                         preprocess_input, show_config)
from utils.utils_bbox import DecodeBox


class FRCNN(object):
    _defaults = {

        "model_path"    : 'logs/loss_2024_03_05_22_26_24.pth',
        "classes_path"  : 'model_data/voc_classes.txt',
        "backbone"      : "resnet50",
        "confidence"    : 0.5,
        "nms_iou"       : 0.3,
        'anchors_size'  : [8, 16, 32],
        "cuda"          : True,
    }

    @classmethod
    def get_defaults(cls, n):
        if n in cls._defaults:
            return cls._defaults[n]
        else:
            return "Unrecognized attribute name '" + n + "'"
    def __init__(self, **kwargs):
        self.__dict__.update(self._defaults)
        for name, value in kwargs.items():
            setattr(self, name, value)
            self._defaults[name] = value
        self.class_names, self.num_classes  = get_classes(self.classes_path)

        self.std    = torch.Tensor([0.1, 0.1, 0.2, 0.2]).repeat(self.num_classes + 1)[None]
        if self.cuda:
            self.std    = self.std.cuda()
        self.bbox_util  = DecodeBox(self.std, self.num_classes)
        #---------------------------------------------------#
        hsv_tuples = [(x / self.num_classes, 1., 1.) for x in range(self.num_classes)]
        self.colors = list(map(lambda x: colorsys.hsv_to_rgb(*x), hsv_tuples))
        self.colors = list(map(lambda x: (int(x[0] * 255), int(x[1] * 255), int(x[2] * 255)), self.colors))
        self.generate()

        show_config(**self._defaults)

    #---------------------------------------------------#
    #   载入模型
    #---------------------------------------------------#
    def generate(self):
        self.net    = FasterRCNN(self.num_classes, "predict", anchor_scales = self.anchors_size, backbone = self.backbone)
        device      = torch.device('cuda' if torch.cuda.is_available() else 'cpu')
        self.net.load_state_dict(torch.load(self.model_path, map_location=device))
        self.net    = self.net.eval()
        print('{} model, anchors, and classes loaded.'.format(self.model_path))

        if self.cuda:
            self.net = nn.DataParallel(self.net)
            self.net = self.net.cuda()

    #---------------------------------------------------#
    #   检测图片
    #---------------------------------------------------#
    def detect_image(self, image, crop = False, count = False):
        #---------------------------------------------------#
        #   计算输入图片的高和宽
        #---------------------------------------------------#
        image_shape = np.array(np.shape(image)[0:2])
        #---------------------------------------------------#
        #   计算resize后的图片的大小,resize后的图片短边为600
        #---------------------------------------------------#
        input_shape = get_new_img_size(image_shape[0], image_shape[1])
        #---------------------------------------------------------#
        #   在这里将图像转换成RGB图像,防止灰度图在预测时报错。
        #   代码仅仅支持RGB图像的预测,所有其它类型的图像都会转化成RGB
        #---------------------------------------------------------#
        image       = cvtColor(image)
        #---------------------------------------------------------#
        #   给原图像进行resize,resize到短边为600的大小上
        #---------------------------------------------------------#
        image_data  = resize_image(image, [input_shape[1], input_shape[0]])
        #---------------------------------------------------------#
        #   添加上batch_size维度
        #---------------------------------------------------------#
        image_data  = np.expand_dims(np.transpose(preprocess_input(np.array(image_data, dtype='float32')), (2, 0, 1)), 0)

        with torch.no_grad():
            images = torch.from_numpy(image_data)
            if self.cuda:
                images = images.cuda()

            #-------------------------------------------------------------#
            #   roi_cls_locs  建议框的调整参数
            #   roi_scores    建议框的种类得分
            #   rois          建议框的坐标
            #-------------------------------------------------------------#
            roi_cls_locs, roi_scores, rois, _ = self.net(images)
            #-------------------------------------------------------------#
            #   利用classifier的预测结果对建议框进行解码,获得预测框
            #-------------------------------------------------------------#
            results = self.bbox_util.forward(roi_cls_locs, roi_scores, rois, image_shape, input_shape,
                                                    nms_iou = self.nms_iou, confidence = self.confidence)
            #---------------------------------------------------------#
            #   如果没有检测出物体,返回原图
            #---------------------------------------------------------#
            if len(results[0]) <= 0:
                return image

            top_label   = np.array(results[0][:, 5], dtype = 'int32')
            top_conf    = results[0][:, 4]
            top_boxes   = results[0][:, :4]

        #---------------------------------------------------------#
        #   设置字体与边框厚度
        #---------------------------------------------------------#
        font        = ImageFont.truetype(font='model_data/simhei.ttf', size=np.floor(3e-2 * image.size[1] + 0.5).astype('int32'))
        thickness   = int(max((image.size[0] + image.size[1]) // np.mean(input_shape), 1))
        #---------------------------------------------------------#
        #   计数
        #---------------------------------------------------------#
        if count:
            print("top_label:", top_label)
            classes_nums    = np.zeros([self.num_classes])
            for i in range(self.num_classes):
                num = np.sum(top_label == i)
                if num > 0:
                    print(self.class_names[i], " : ", num)
                classes_nums[i] = num
            print("classes_nums:", classes_nums)
        #---------------------------------------------------------#
        #   是否进行目标的裁剪
        #---------------------------------------------------------#
        if crop:
            for i, c in list(enumerate(top_label)):
                top, left, bottom, right = top_boxes[i]
                top     = max(0, np.floor(top).astype('int32'))
                left    = max(0, np.floor(left).astype('int32'))
                bottom  = min(image.size[1], np.floor(bottom).astype('int32'))
                right   = min(image.size[0], np.floor(right).astype('int32'))

                dir_save_path = "img_crop"
                if not os.path.exists(dir_save_path):
                    os.makedirs(dir_save_path)
                crop_image = image.crop([left, top, right, bottom])
                crop_image.save(os.path.join(dir_save_path, "crop_" + str(i) + ".png"), quality=95, subsampling=0)
                print("save crop_" + str(i) + ".png to " + dir_save_path)
        #---------------------------------------------------------#
        #   图像绘制
        #---------------------------------------------------------#
        for i, c in list(enumerate(top_label)):
            predicted_class = self.class_names[int(c)]
            box             = top_boxes[i]
            score           = top_conf[i]

            top, left, bottom, right = box

            top     = max(0, np.floor(top).astype('int32'))
            left    = max(0, np.floor(left).astype('int32'))
            bottom  = min(image.size[1], np.floor(bottom).astype('int32'))
            right   = min(image.size[0], np.floor(right).astype('int32'))

            label = '{} {:.2f}'.format(predicted_class, score)
            draw = ImageDraw.Draw(image)
            label_size = draw.textsize(label, font)
            label = label.encode('utf-8')
            # print(label, top, left, bottom, right)

            if top - label_size[1] >= 0:
                text_origin = np.array([left, top - label_size[1]])
            else:
                text_origin = np.array([left, top + 1])

            for i in range(thickness):
                draw.rectangle([left + i, top + i, right - i, bottom - i], outline=self.colors[c])
            draw.rectangle([tuple(text_origin), tuple(text_origin + label_size)], fill=self.colors[c])
            draw.text(text_origin, str(label,'UTF-8'), fill=(0, 0, 0), font=font)
            del draw

        return image

    def get_FPS(self, image, test_interval):
        #---------------------------------------------------#
        #   计算输入图片的高和宽
        #---------------------------------------------------#
        image_shape = np.array(np.shape(image)[0:2])
        input_shape = get_new_img_size(image_shape[0], image_shape[1])
        #---------------------------------------------------------#
        #   在这里将图像转换成RGB图像,防止灰度图在预测时报错。
        #   代码仅仅支持RGB图像的预测,所有其它类型的图像都会转化成RGB
        #---------------------------------------------------------#
        image       = cvtColor(image)

        #---------------------------------------------------------#
        #   给原图像进行resize,resize到短边为600的大小上
        #---------------------------------------------------------#
        image_data  = resize_image(image, [input_shape[1], input_shape[0]])
        #---------------------------------------------------------#
        #   添加上batch_size维度
        #---------------------------------------------------------#
        image_data  = np.expand_dims(np.transpose(preprocess_input(np.array(image_data, dtype='float32')), (2, 0, 1)), 0)

        with torch.no_grad():
            images = torch.from_numpy(image_data)
            if self.cuda:
                images = images.cuda()

            roi_cls_locs, roi_scores, rois, _ = self.net(images)
            #-------------------------------------------------------------#
            #   利用classifier的预测结果对建议框进行解码,获得预测框
            #-------------------------------------------------------------#
            results = self.bbox_util.forward(roi_cls_locs, roi_scores, rois, image_shape, input_shape,
                                                    nms_iou = self.nms_iou, confidence = self.confidence)
        t1 = time.time()
        for _ in range(test_interval):
            with torch.no_grad():
                roi_cls_locs, roi_scores, rois, _ = self.net(images)
                #-------------------------------------------------------------#
                #   利用classifier的预测结果对建议框进行解码,获得预测框
                #-------------------------------------------------------------#
                results = self.bbox_util.forward(roi_cls_locs, roi_scores, rois, image_shape, input_shape,
                                                        nms_iou = self.nms_iou, confidence = self.confidence)

        t2 = time.time()
        tact_time = (t2 - t1) / test_interval
        return tact_time

    #---------------------------------------------------#
    #   检测图片
    #---------------------------------------------------#
    def get_map_txt(self, image_id, image, class_names, map_out_path):
        f = open(os.path.join(map_out_path, "detection-results/"+image_id+".txt"),"w")
        #---------------------------------------------------#
        #   计算输入图片的高和宽
        #---------------------------------------------------#
        image_shape = np.array(np.shape(image)[0:2])
        input_shape = get_new_img_size(image_shape[0], image_shape[1])
        #---------------------------------------------------------#
        #   在这里将图像转换成RGB图像,防止灰度图在预测时报错。
        #   代码仅仅支持RGB图像的预测,所有其它类型的图像都会转化成RGB
        #---------------------------------------------------------#
        image       = cvtColor(image)

        #---------------------------------------------------------#
        #   给原图像进行resize,resize到短边为600的大小上
        #---------------------------------------------------------#
        image_data  = resize_image(image, [input_shape[1], input_shape[0]])
        #---------------------------------------------------------#
        #   添加上batch_size维度
        #---------------------------------------------------------#
        image_data  = np.expand_dims(np.transpose(preprocess_input(np.array(image_data, dtype='float32')), (2, 0, 1)), 0)

        with torch.no_grad():
            images = torch.from_numpy(image_data)
            if self.cuda:
                images = images.cuda()

            roi_cls_locs, roi_scores, rois, _ = self.net(images)
            #-------------------------------------------------------------#
            #   利用classifier的预测结果对建议框进行解码,获得预测框
            #-------------------------------------------------------------#
            results = self.bbox_util.forward(roi_cls_locs, roi_scores, rois, image_shape, input_shape,
                                                    nms_iou = self.nms_iou, confidence = self.confidence)
            #--------------------------------------#
            #   如果没有检测到物体,则返回原图
            #--------------------------------------#
            if len(results[0]) <= 0:
                return

            top_label   = np.array(results[0][:, 5], dtype = 'int32')
            top_conf    = results[0][:, 4]
            top_boxes   = results[0][:, :4]

        for i, c in list(enumerate(top_label)):
            predicted_class = self.class_names[int(c)]
            box             = top_boxes[i]
            score           = str(top_conf[i])

            top, left, bottom, right = box
            if predicted_class not in class_names:
                continue

            f.write("%s %s %s %s %s %s\n" % (predicted_class, score[:6], str(int(left)), str(int(top)), str(int(right)),str(int(bottom))))

        f.close()
        return
终端/编码器运行:
E:\DeepLearningModel\Model01>activate gpupytorch

(gpupytorch) E:\DeepLearningModel\Model01>python train.py
D:\Anaconda\envs\gpupytorch\lib\site-packages\numpy\_distributor_init.py:30: UserWarning: loaded more than 1 DLL from .libs:
D:\Anaconda\envs\gpupytorch\lib\site-packages\numpy\.libs\libopenblas.PYQHXLVVQ7VESDPUVUADXEVJOBGHJPAY.gfortran-win_amd64.dll
D:\Anaconda\envs\gpupytorch\lib\site-packages\numpy\.libs\libopenblas64__v0.3.21-gcc_10_3_0.dll
  warnings.warn("loaded more than 1 DLL from .libs:\n%s" %
Number of devices: 1
initialize network with normal type
Load weights model_data/voc_weights_resnet.pth.

Successful Load Key: ['extractor.0.weight', 'extractor.1.weight', 'extractor.1.bias', 'extractor.1.running_mean', 'extractor.1.running_var', 'extractor.1.num_batches_tracked', 'extractor.4.0.conv1.weight', 'extractor.4.0.bn1.weight', 'extractor.4.0.bn1.bias', 'extractor.4.0.bn1.running_mean', 'extractor.4.0.bn1.running_var', 'extractor.4.0.bn1.num_batches_tracked', 'extractor.4.0.conv2.weight', 'extractor.4.0.bn2.weight', 'extractor.4.0.bn2.bias', 'extractor.4.0.bn2.running_mean', 'extractor.4.0.bn2.running_var', 'e ……
Successful Load Key Num: 324

Fail To Load Key: ['head.cls_loc.weight', 'head.cls_loc.bias', 'head.score.weight', 'head.score.bias'] ……
Fail To Load Key num: 4

温馨提示,head部分没有载入是正常现象,Backbone部分没有载入是错误的。
Configurations:
----------------------------------------------------------------------
|                     keys |                                   values|
----------------------------------------------------------------------
|             classes_path |               model_data/voc_classes.txt|
|               model_path |        model_data/voc_weights_resnet.pth|
|              input_shape |                               [600, 600]|
|               Init_Epoch |                                        0|
|             Freeze_Epoch |                                       50|
|           UnFreeze_Epoch |                                      100|
|        Freeze_batch_size |                                        4|
|      Unfreeze_batch_size |                                        2|
|             Freeze_Train |                                     True|
|                  Init_lr |                                   0.0001|
|                   Min_lr |                   1.0000000000000002e-06|
|           optimizer_type |                                     adam|
|                 momentum |                                      0.9|
|            lr_decay_type |                                      cos|
|              save_period |                                        5|
|                 save_dir |                                     logs|
|              num_workers |                                        4|
|                num_train |                                      699|
|                  num_val |                                       78|
----------------------------------------------------------------------
Start Train
Epoch 1/100:   0%|                                                               | 0/174 [00:00<?, ?it/s<class 'dict'>]D:\Anaconda\envs\gpupytorch\lib\site-packages\numpy\_distributor_init.py:30: UserWarning: loaded more than 1 DLL from .libs:
D:\Anaconda\envs\gpupytorch\lib\site-packages\numpy\.libs\libopenblas.PYQHXLVVQ7VESDPUVUADXEVJOBGHJPAY.gfortran-win_amd64.dll
查看结果:
Calculate Map.
96.35% = boar AP        ||      score_threhold=0.5 : F1=0.81 ; Recall=97.92% ; Precision=69.12%
94.74% = leopard AP     ||      score_threhold=0.5 : F1=0.90 ; Recall=94.74% ; Precision=85.71%
94.97% = roe_deer AP    ||      score_threhold=0.5 : F1=0.86 ; Recall=96.88% ; Precision=77.50%
mAP = 95.35%
Get map done.
Epoch:100/100
Total Loss: 0.505 || Val Loss: 0.621
Save best model to best_epoch_weights.pth