文章目录
- 1. 实现效果
- 2. 签到设置7天布局
- 2.1 实现代码
- 3 签到设置15天布局
- 3.1 思路分享
- 4 完整demo代码
- 5. 总结
1. 实现效果
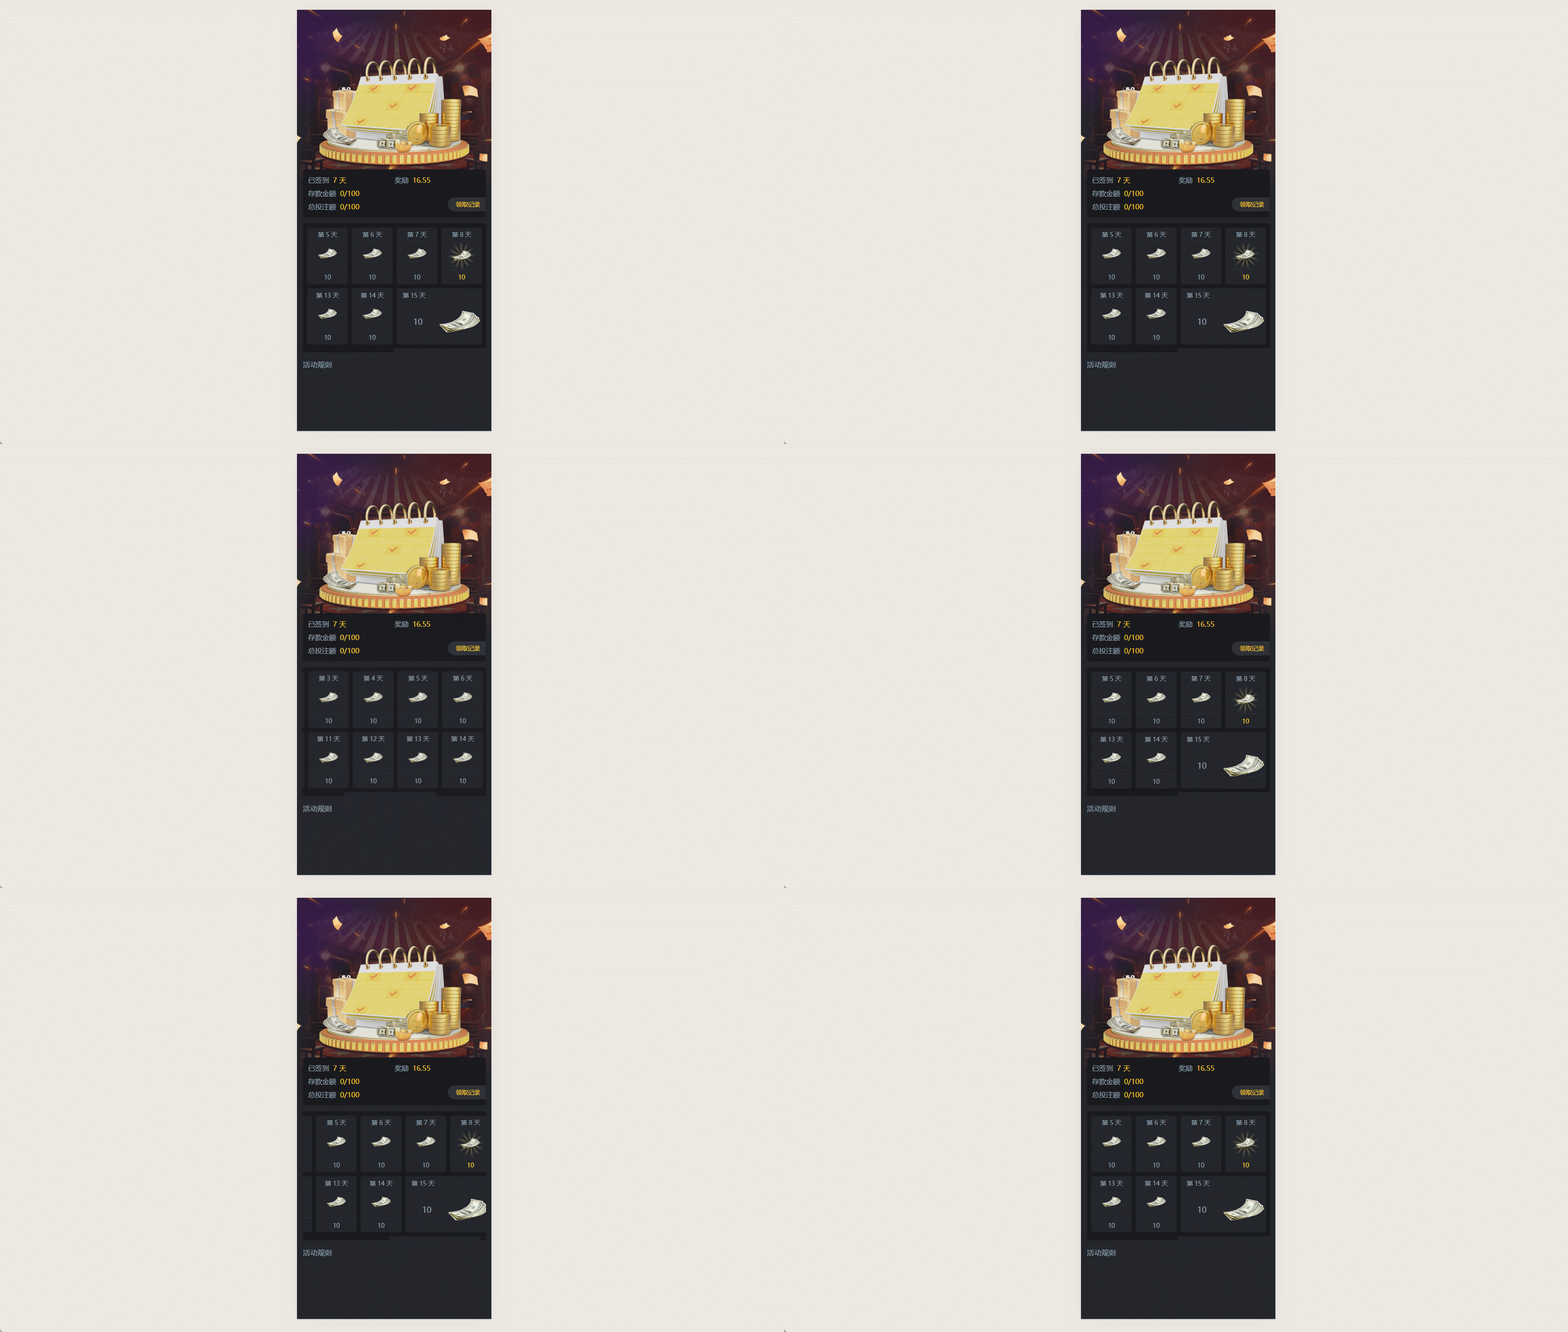
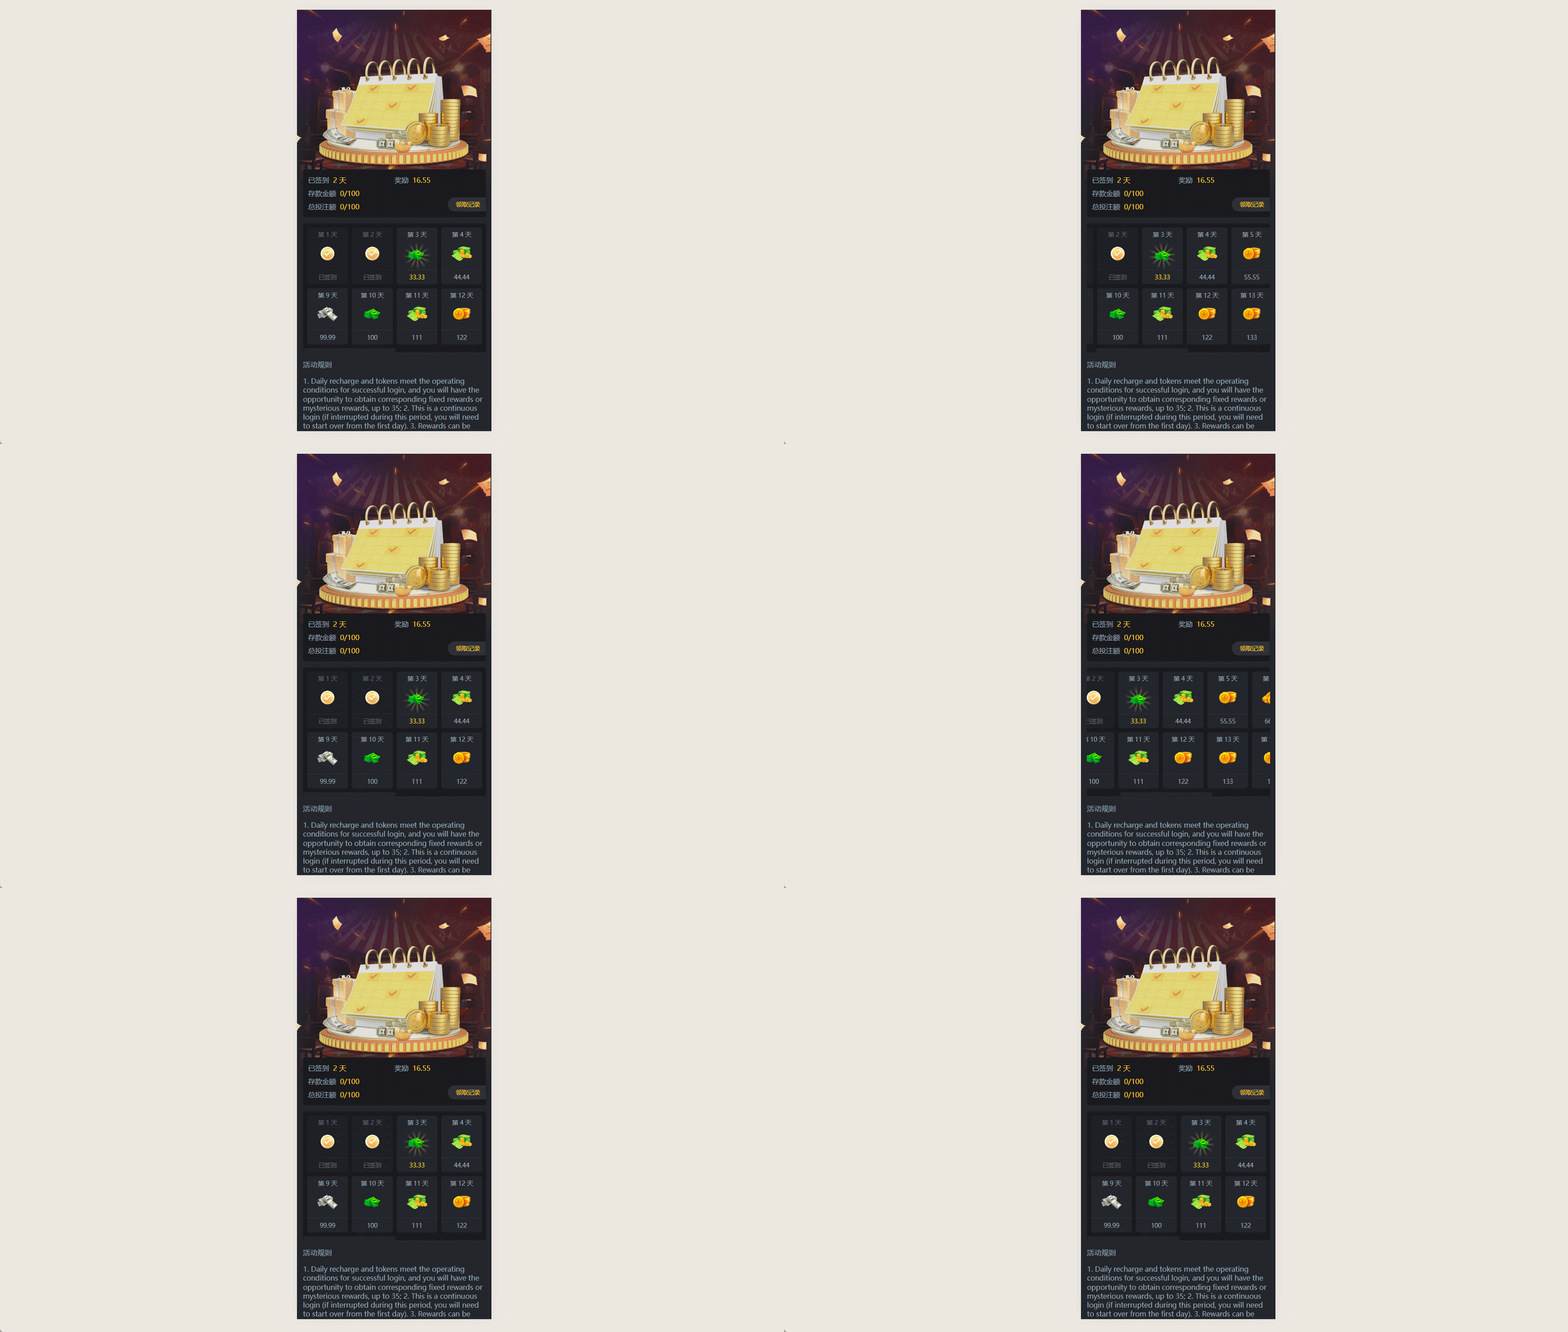
实现一个签到活动的h5页面布局,需求如下
- 签到活动天数可配置,可配置7天,15天,30天等默认天数
- 要求展示2行进行展示,天数过多的时候进行横向滚动展示
- 要求默认第一版页面,首屏展示4个
- 要求比如是最后一个签到日期,最后一天签到日期的盒子默认占据两行进行展示
2. 签到设置7天布局
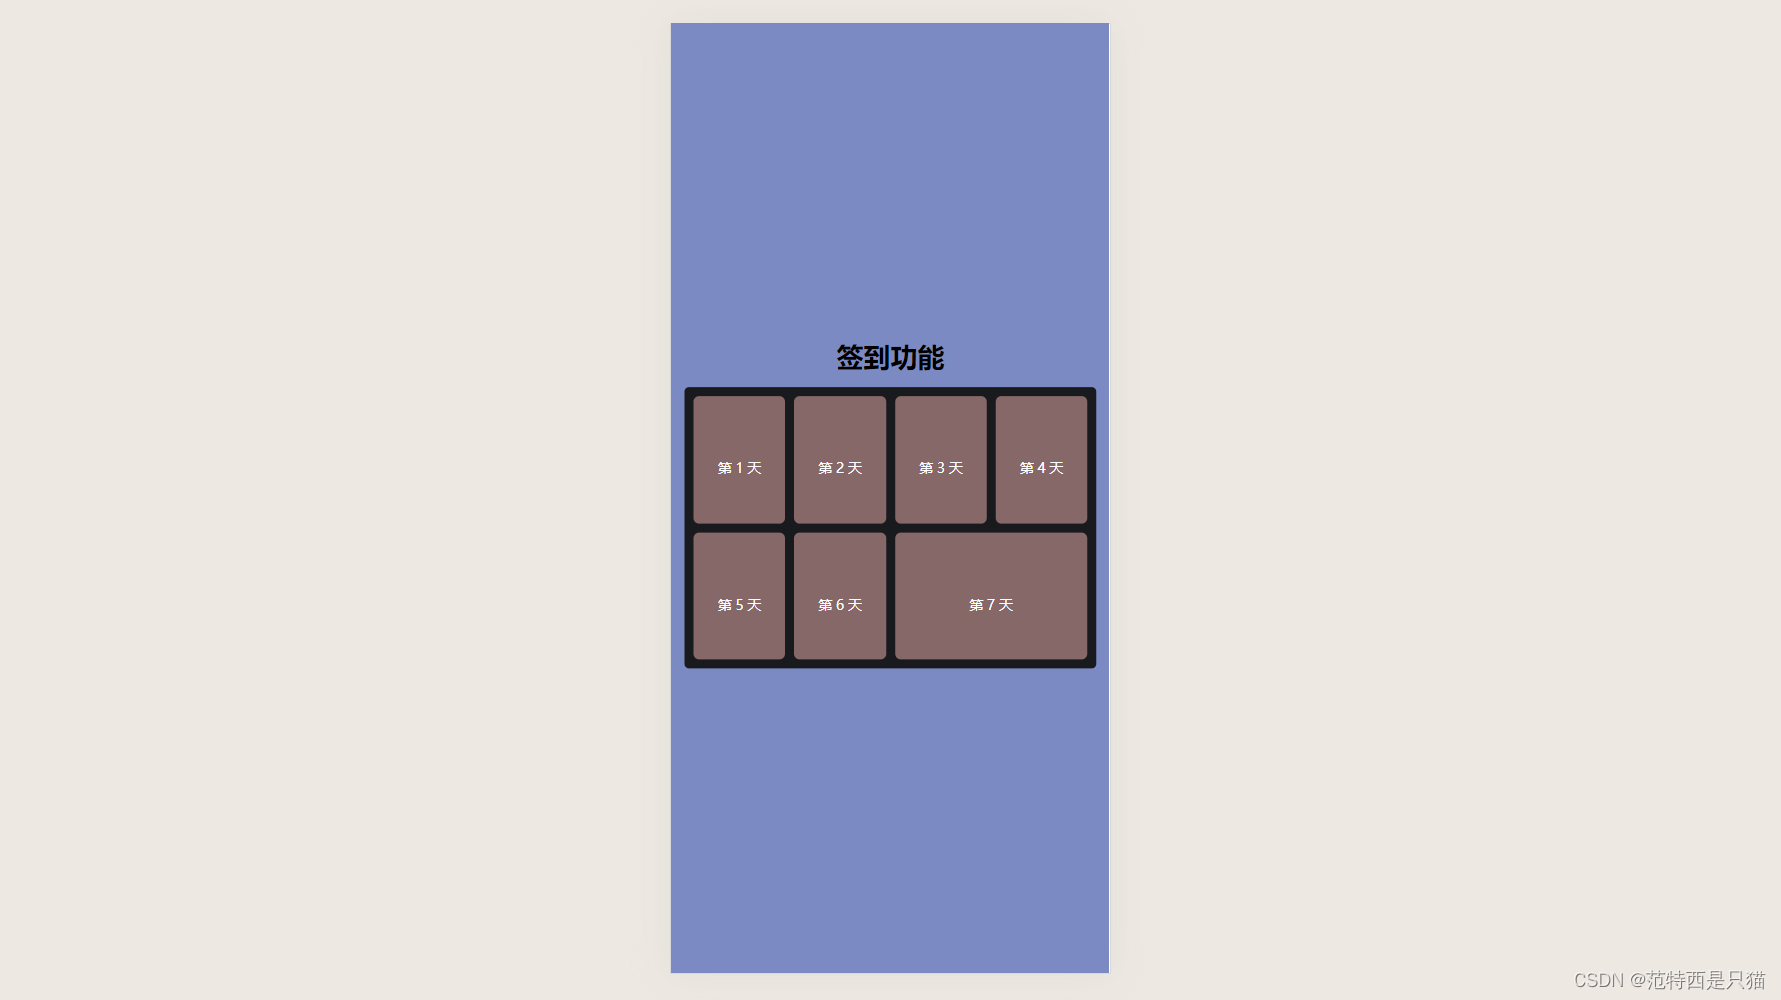
1.设置签到日期一共为7天,第一排展示4个,第二排展示3个,最后一个占两列布局
这个比较简单
2.1 实现代码
<div class="sign">
  <div
    v-for="(item, index) in arrLength"
    :class="[
      'item',
      index + 1 == arrLength && 'large'
    ]"
  >
    <div class="day">第 {{ index + 1 }} 天</div>
  </div>
</div>
<script setup lang="ts">
const arrLength = ref(7);
</script>
.sign {
	display: grid;
	grid-template-columns: repeat(4, 1fr);
	grid-gap: 8px;
	.item {
	  /* 最后一个占两行 */
	  &.large {
	    grid-column: span 2;
	  }
	}
}
3 签到设置15天布局
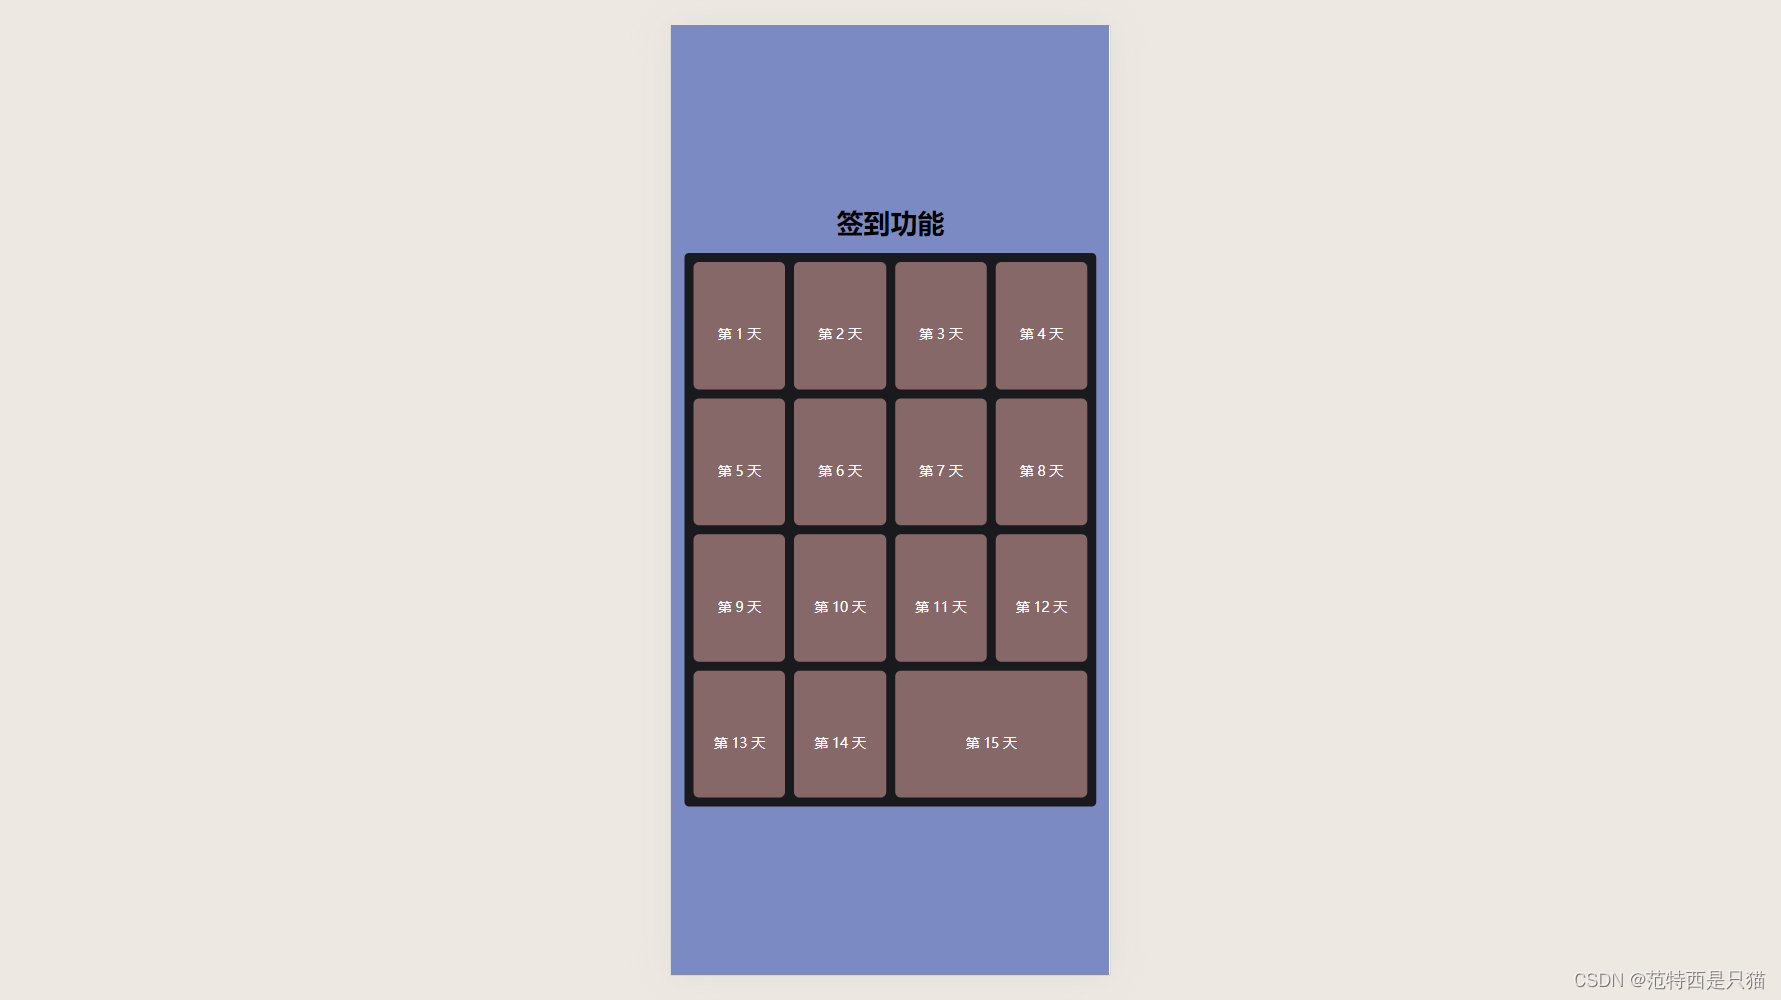
问题:当我们设置天数为15天时候,grid布局因为自适应问题,导致并没有横向滚动
const arrLength = ref(15);
3.1 思路分享
想要两排布局,超出横向滚动,其实就是需要动态计算 grid-template-columns 的值
比如是7天,那么 grid-template-columns 的值就应该是 repeat(4, 1fr)
比如是15天,那么 grid-template-columns 的值就应该是 repeat(8, 1fr)
so,通过一个 gridColumns 去计算值根据 Math.ceil(arrLength.value / 2) 获取
<script setup lang="ts">
const arrLength = ref(15);
const gridColumns = ref("");

onMounted(async () => {
  // 设置一排分为多少列
  // Math.ceil([15/2]) = 8 结果,就是每列8个 repeat(8, 1fr)
  gridColumns.value = `repeat(${Math.ceil(arrLength.value / 2)}, 1fr)`;
});
</script>
<div class="sign" :style="{ gridTemplateColumns: gridColumns }">
</div>
好,在看看效果
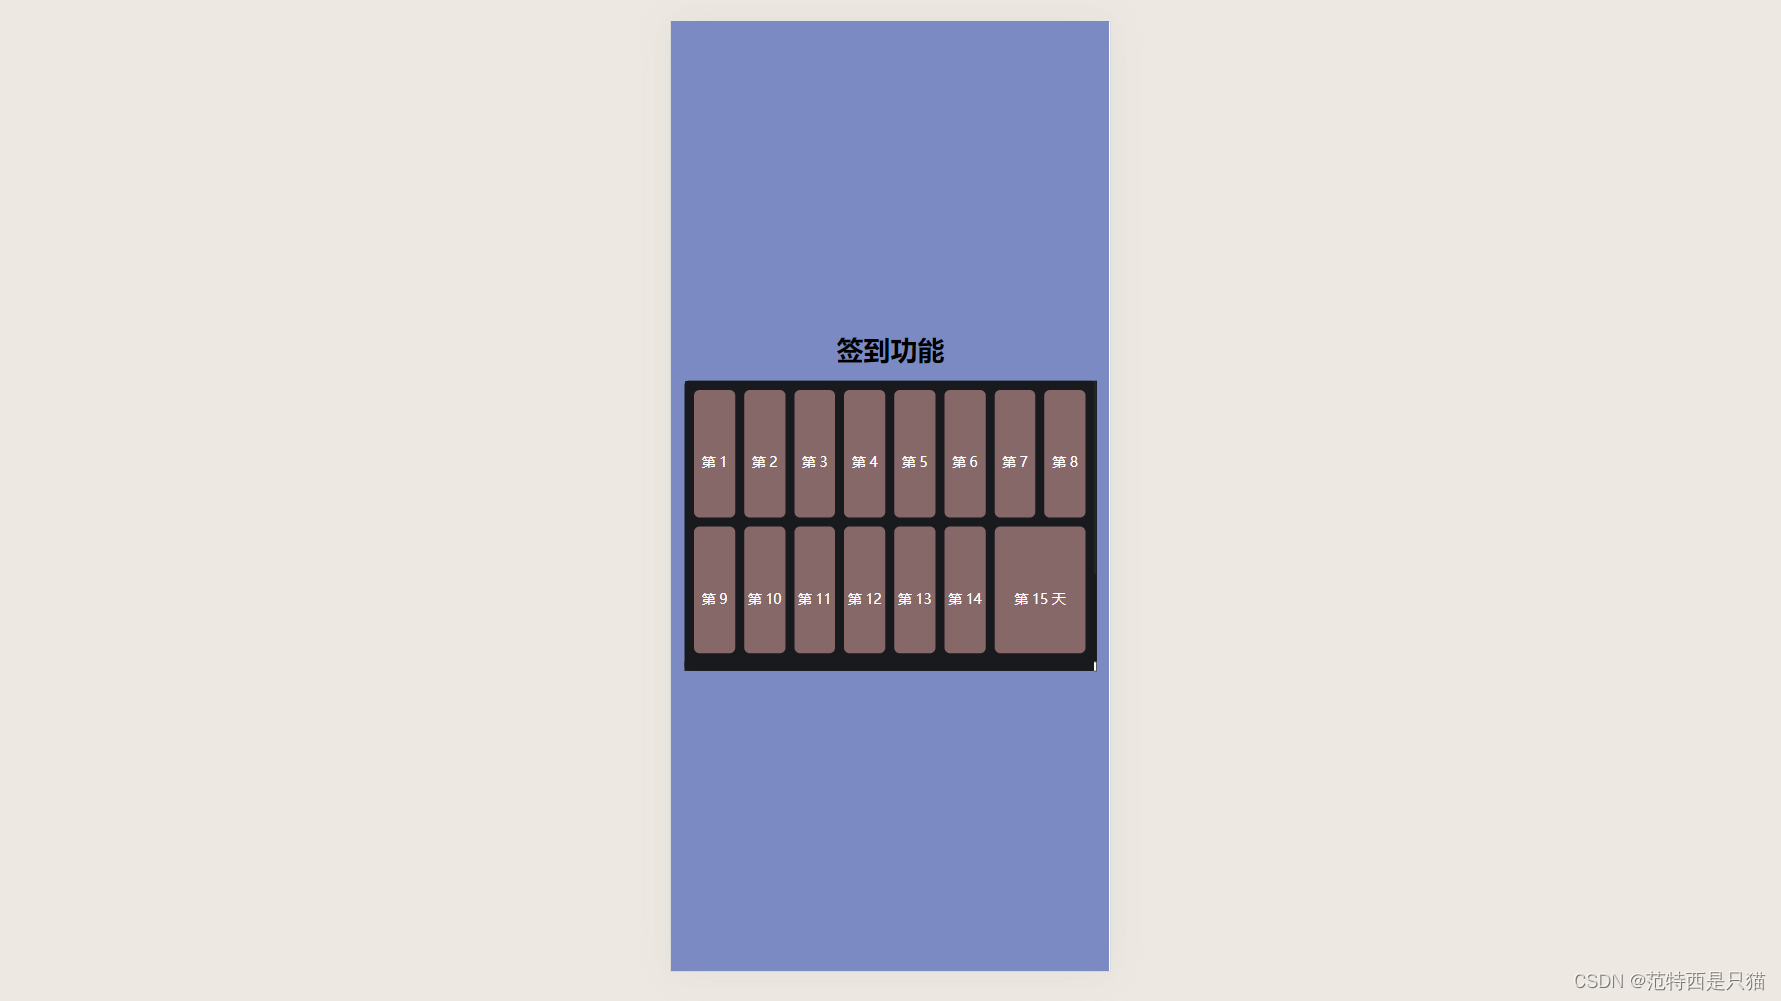
嗯,虽然设置了两排布局了,但是并没用滚动,grid布局因为自适应问题,导致并没有横向滚动,所以必须也控制每个盒子的宽度
每个盒子的宽度 = 容器的宽度 / 4
so,继续撸代码,style 动态设置每个盒子的宽度
<div
  :style="{
    width:
      arrLength == index + 1 &&
      arrLength % 2 == 1
        ? `${(signContainerWidth / 4 - 16) * 2 + 8}px`
        : `${signContainerWidth / 4 - 16}px`
  }"
>
  <div class="day">第 {{ index + 1 }} 天</div>
</div>
<script setup lang="ts">
const signContainerRef = ref<DIVElement>(null);
const signContainerWidth = ref(0);

onMounted(async () => {
  // 获取容器宽度
  signContainerWidth.value = signContainerRef.value
    ? signContainerRef.value.offsetWidth
    : 0;
});
</script>
好,在看看效果,终于可以了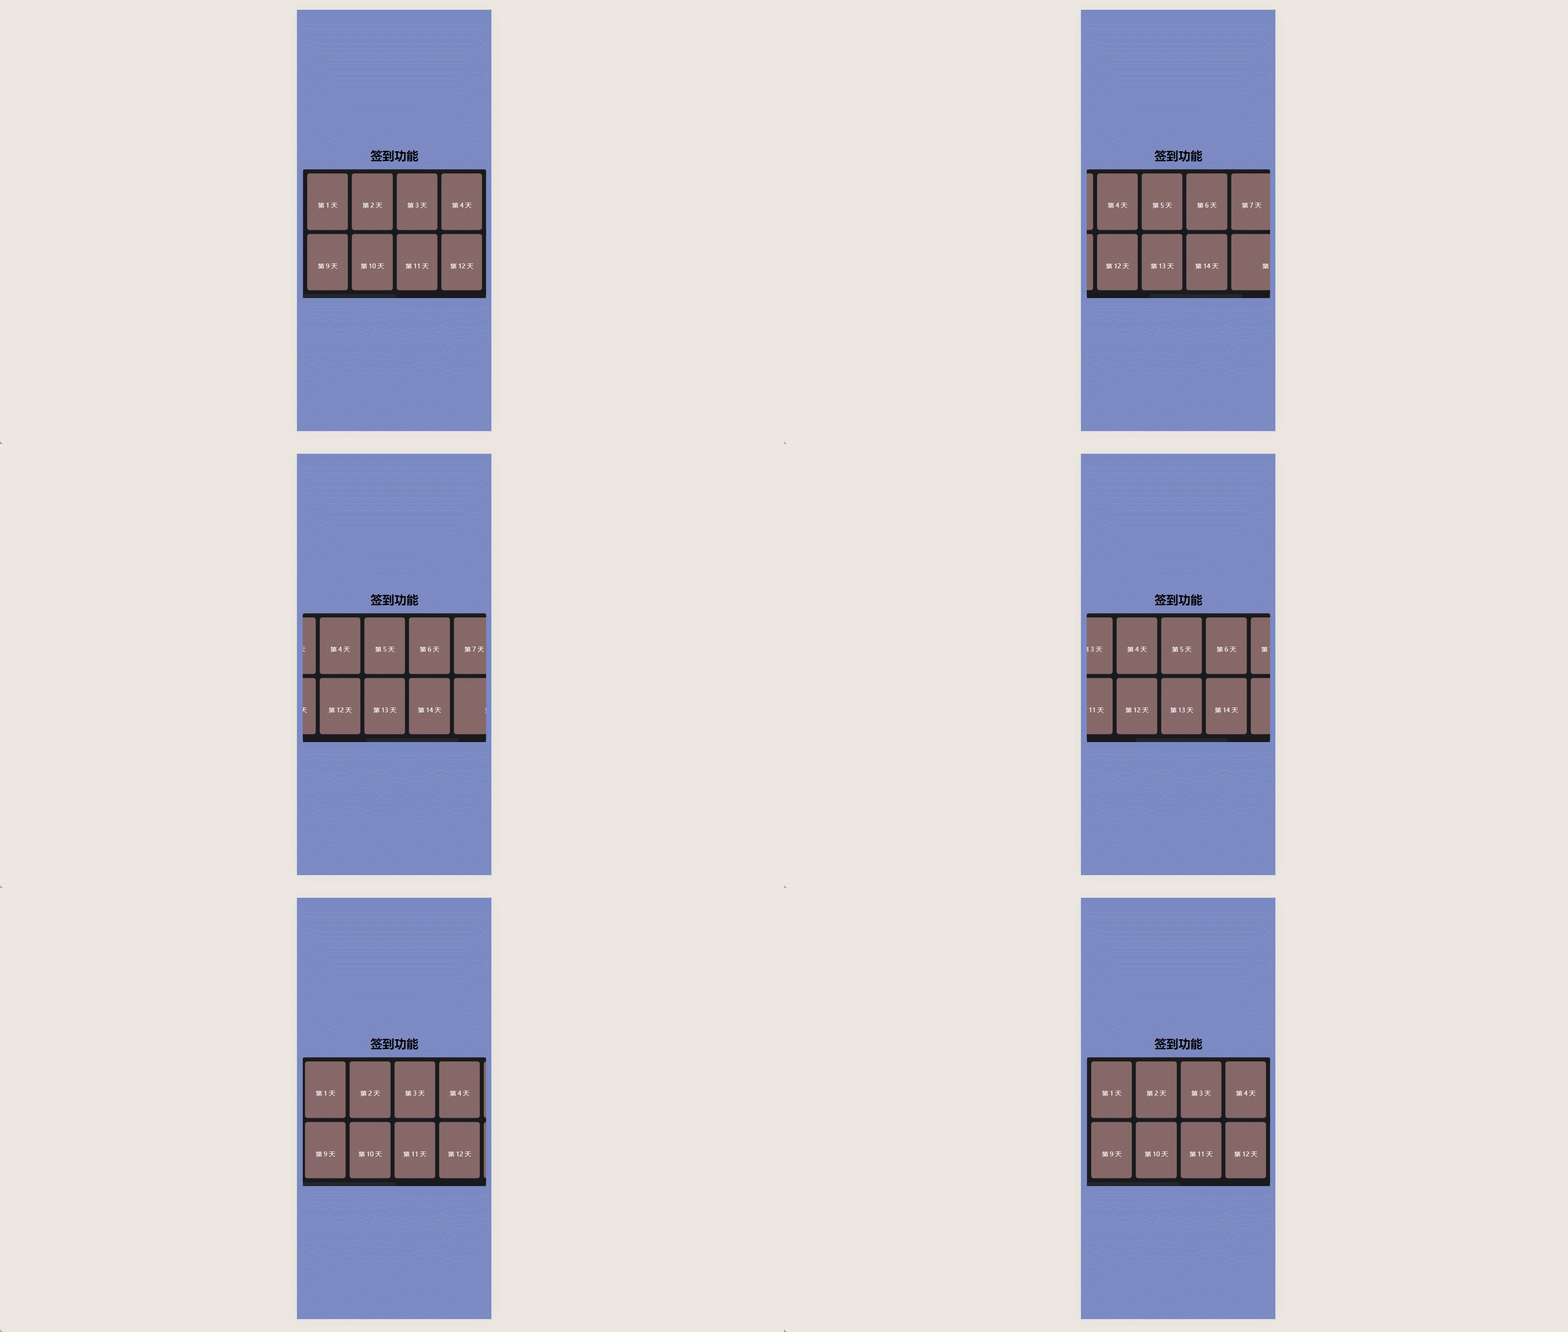
4 完整demo代码
<template>
  <div class="body">
    <div class="sign-container" ref="signContainerRef">
      <div class="title">签到功能</div>
      <div class="sign" :style="{ gridTemplateColumns: gridColumns }">
        <div
          v-for="(item, index) in arrLength"
          :class="[
            'item',
            index + 1 == arrLength && arrLength % 2 == 1 && 'large'
          ]"
          :style="{
            width:
              arrLength == index + 1 &&
              arrLength % 2 == 1
                ? `${(signContainerWidth / 4 - 16) * 2 + 8}px`
                : `${signContainerWidth / 4 - 16}px`
          }"
        >
          <div class="day">第 {{ index + 1 }} 天</div>
        </div>
      </div>
    </div>
  </div>
</template>

<script setup lang="ts">
const signContainerRef = ref<DIVElement>(null);
const arrLength = ref(15);
const signContainerWidth = ref(0);
const gridColumns = ref("");

onMounted(async () => {
  // 设置一排分为多少列
  // Math.ceil([15/2]) = 8 结果,就是每列8个 repeat(8, 1fr)
  gridColumns.value = `repeat(${Math.ceil(arrLength.value / 2)}, 1fr)`;
  // 获取宽度
  signContainerWidth.value = signContainerRef.value
    ? signContainerRef.value.offsetWidth
    : 0;
});
</script>

<style lang="scss" scoped>
.body {
  background-size: 100% 100%;
  min-height: 100vh;
  background: #7c8ac3;
  position: relative;
  .title {
    font-weight: bold;
    font-size: 24px;
    text-align: center;
    margin: 10px auto;
  }
  .sign-container {
    width: 100vw;
    position: absolute;
    top: 50%;
    transform: translateY(-50%);
    padding: 12px;
    z-index: 2;
    .sign {
      margin-top: 12px;
      background: #191a1e;
      border-radius: 4px;
      padding: 8px;
      display: grid;
      grid-template-columns: repeat(4, 1fr);
      grid-gap: 8px;
      overflow-x: scroll;
      .item {
        height: 113px;
        background: #876868;
        border-radius: 5px;
        position: relative;

        .day {
          font-size: 12px;
          font-family: PingFang SC, PingFang SC-Regular;
          text-align: center;
          color: #fff;
          line-height: 113px;
          margin-top: 8px;
        }

        /* 最后一个占两行 */
        &.large {
          grid-column: span 2;
        }
      }
    }
  }
}
</style>
5. 总结
虽然这个功能看上去比较简单,但是着仅仅是一个简单的demo,还要很多细节处理判断,比如
- 当天已签到时,展示已签到图标
- 当天未签到时,金币添加光圈旋转并且左右晃动动画
- 签到天数为8天时候,进去后默认横向滚动到第8天动画实现
