目录
一、nextcoud简介
nextcloud功能:
获取Nextcloud:
二、安装步骤
第一步:编辑网页文件
添加域名管理信息
第二步:上传文件包
将nextcloud包移动到/nextcloud
解压:
也可以使用这个命令:
第三步:进入安装路径
第四步:安装php预处理器
第五步:安装数据库mariadb
启动数据库
第六步:数据库初始化
启动数据库:
初始化:
第七步:启动数据库
创建数据库:
重启httpd:
查看服务日志:
一、nextcoud简介
- 官方网站:https://nextcloud.com/
- github地址:https://github.com/nextcloud
- Nextcloud,所有数据的安全之家!根据您的需要,从任何设备访问和共享您的文件,日历,联系人,邮件等。
Nextcloud是灵活的开源文件同步和共享解决方案。Nextcloud包括在Linux上运行的Nextcloud服务器,用于Microsoft Windows,macOS和Linux的客户端应用程序,以及用于Android和Apple iOS操作系统的移动客户端。
nextcloud功能:
- 访问您的数据您可以将文件,联系人,日历等存储在您选择的服务器上。
- 同步您的数据您可以在设备之间保持文件,联系人,日历和更多内容的同步。
- 通过让其他人访问您希望他们查看或与之协作的内容来共享您的数据。
- 可扩展的数十个应用程序 …如日历,联系人,邮件以及您可以在我们的App Store中发现的所有应用程序
- 安全性与我们的加密机制,HackerOne赏金计划和双因素身份验证。
获取Nextcloud:
- 只需通过我们的网站(https://nextcloud.com/signup/)或直接通过应用程序注册即可,5G免费空间。
- 在您自己的硬件上或使用我们的一个即用型设备自行安装服务器。(下载地址:https://nextcloud.com/install/#instructions-server)
- 购买一款很棒的预装nextcloud的设备
- 查找为您或您的公司托管Nextcloud 的服务提供商
二、安装步骤
第一步:编辑网页文件
[root@localhost ~]# vim /etc/httpd/conf.d/nextcloud.conf<Virtualhost 192.168.17.171:80>
ServerName www.nextcloud.com
DocumentRoot /nextcloud/nextcloud
</Virtualhost>
<Directory /nextcloud>
AllowOverride none
Require all granted
</Directory>[root@localhost ~]# mkdir /nextcloud添加域名管理信息
[root@localhost ~]# vim /etc/hosts
第二步:上传文件包
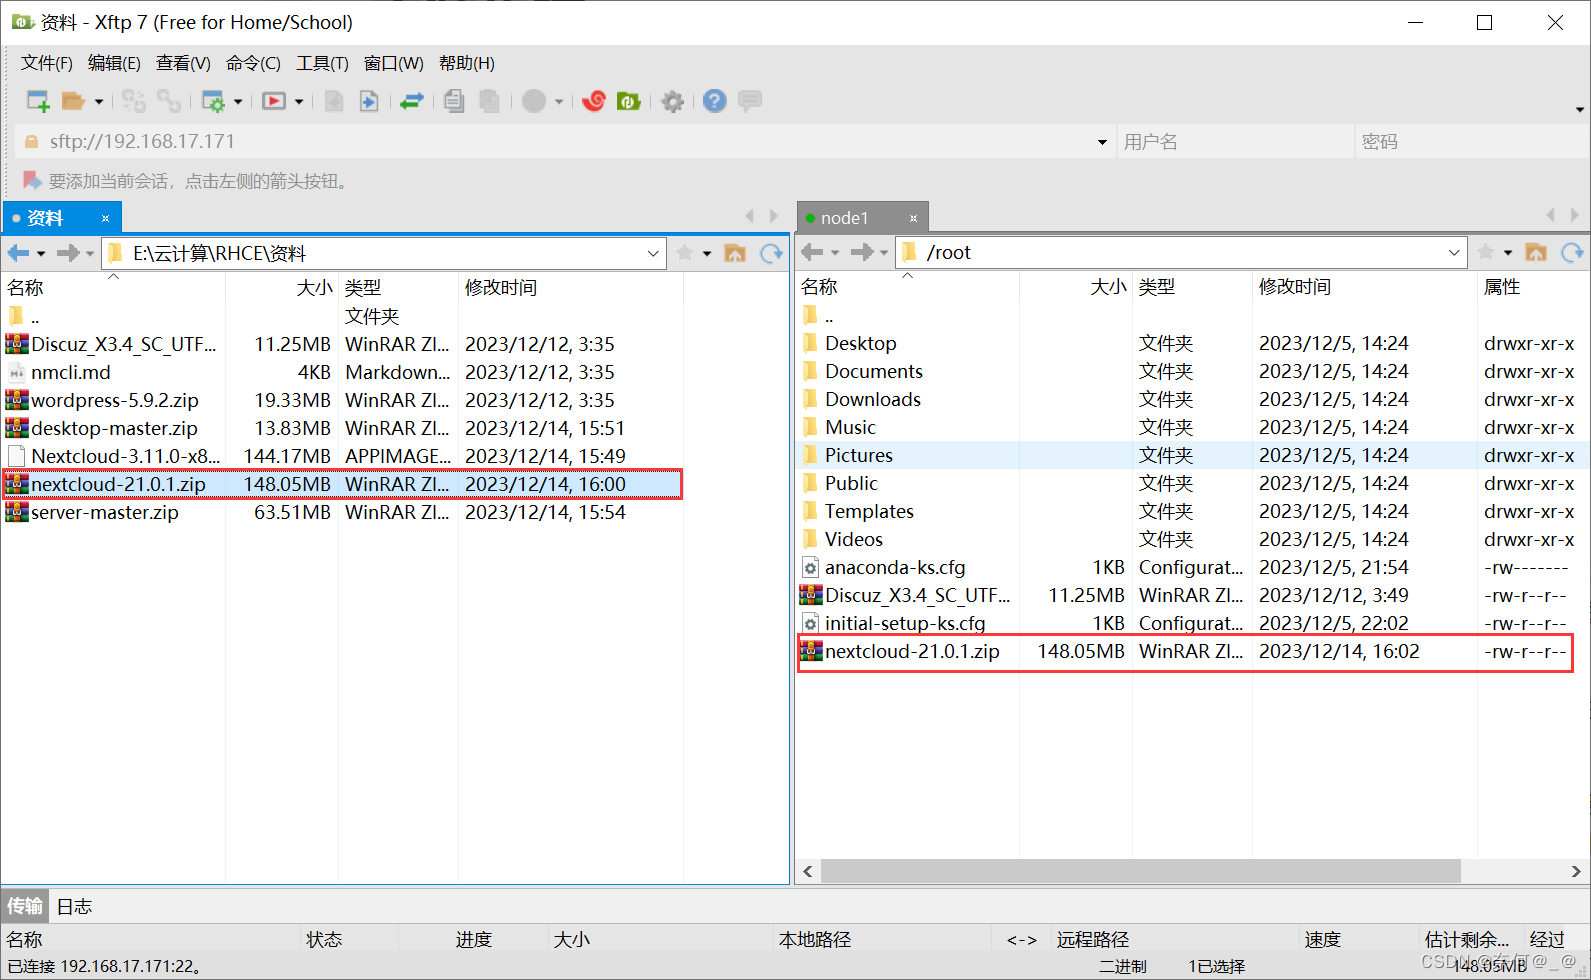
将nextcloud包移动到/nextcloud
[root@localhost node1]# cd /nextcloud
[root@localhost discuz]# cp /root/nextcloud-21.0.1.zip .
解压:
[root@localhost html]# unzip nextcloud-21.0.1.zip也可以使用这个命令:
[root@localhost node1]# unzip nextcloud-21.0.1.zip -d /nextcloud
第三步:进入安装路径
[root@localhost nextcloud]# cd nextcloud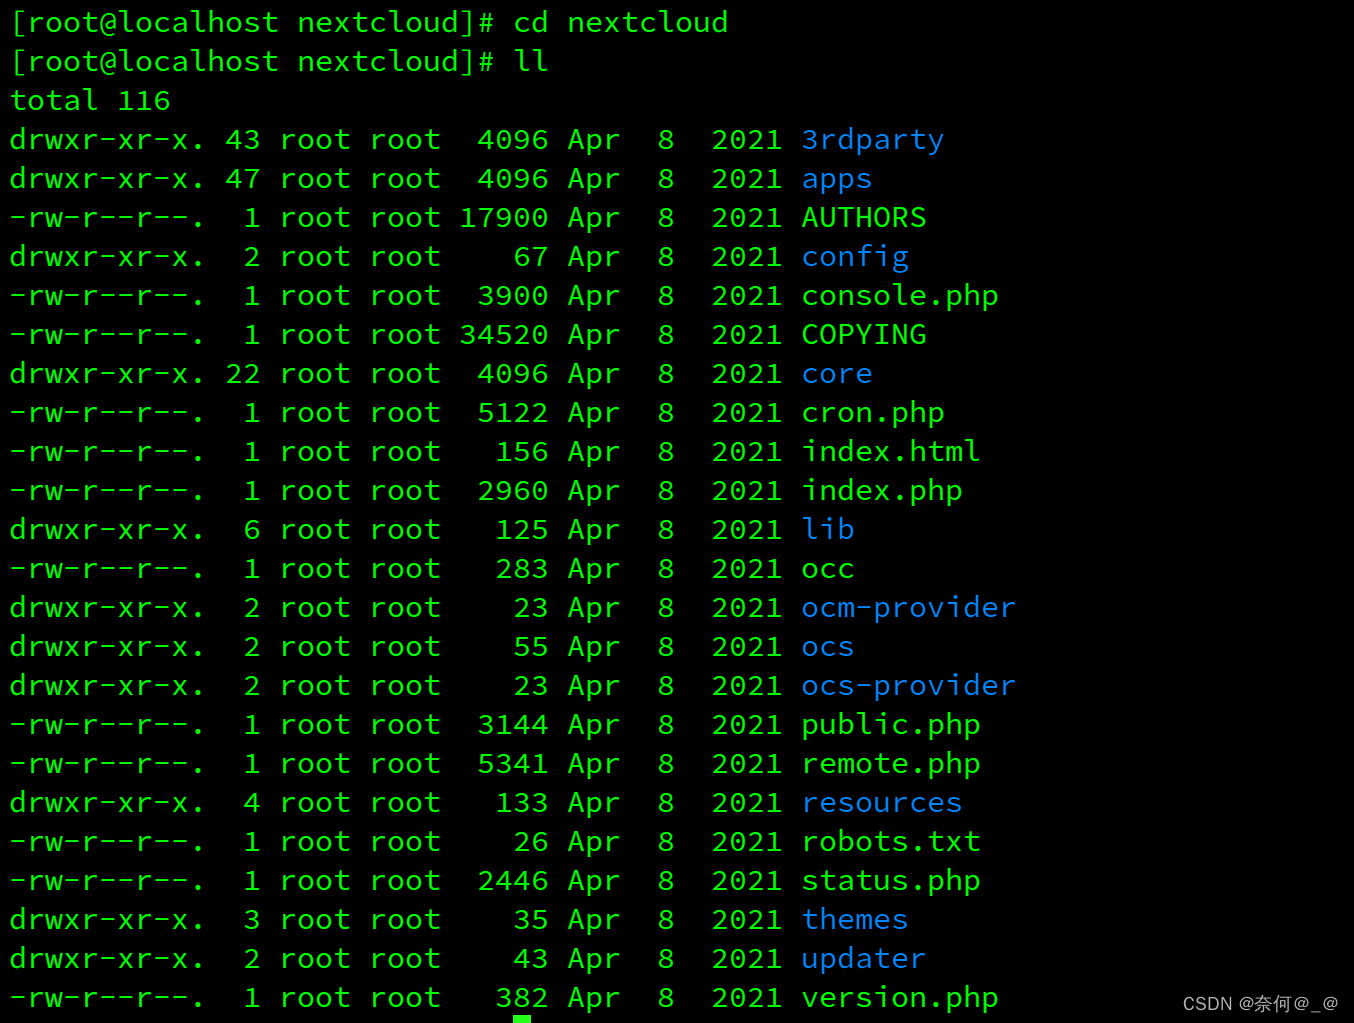
第四步:安装php预处理器
[root@localhost nextcloud]# yum install php* -y
第五步:安装数据库mariadb
[root@localhost nextcloud]# yum install mariadb-server -y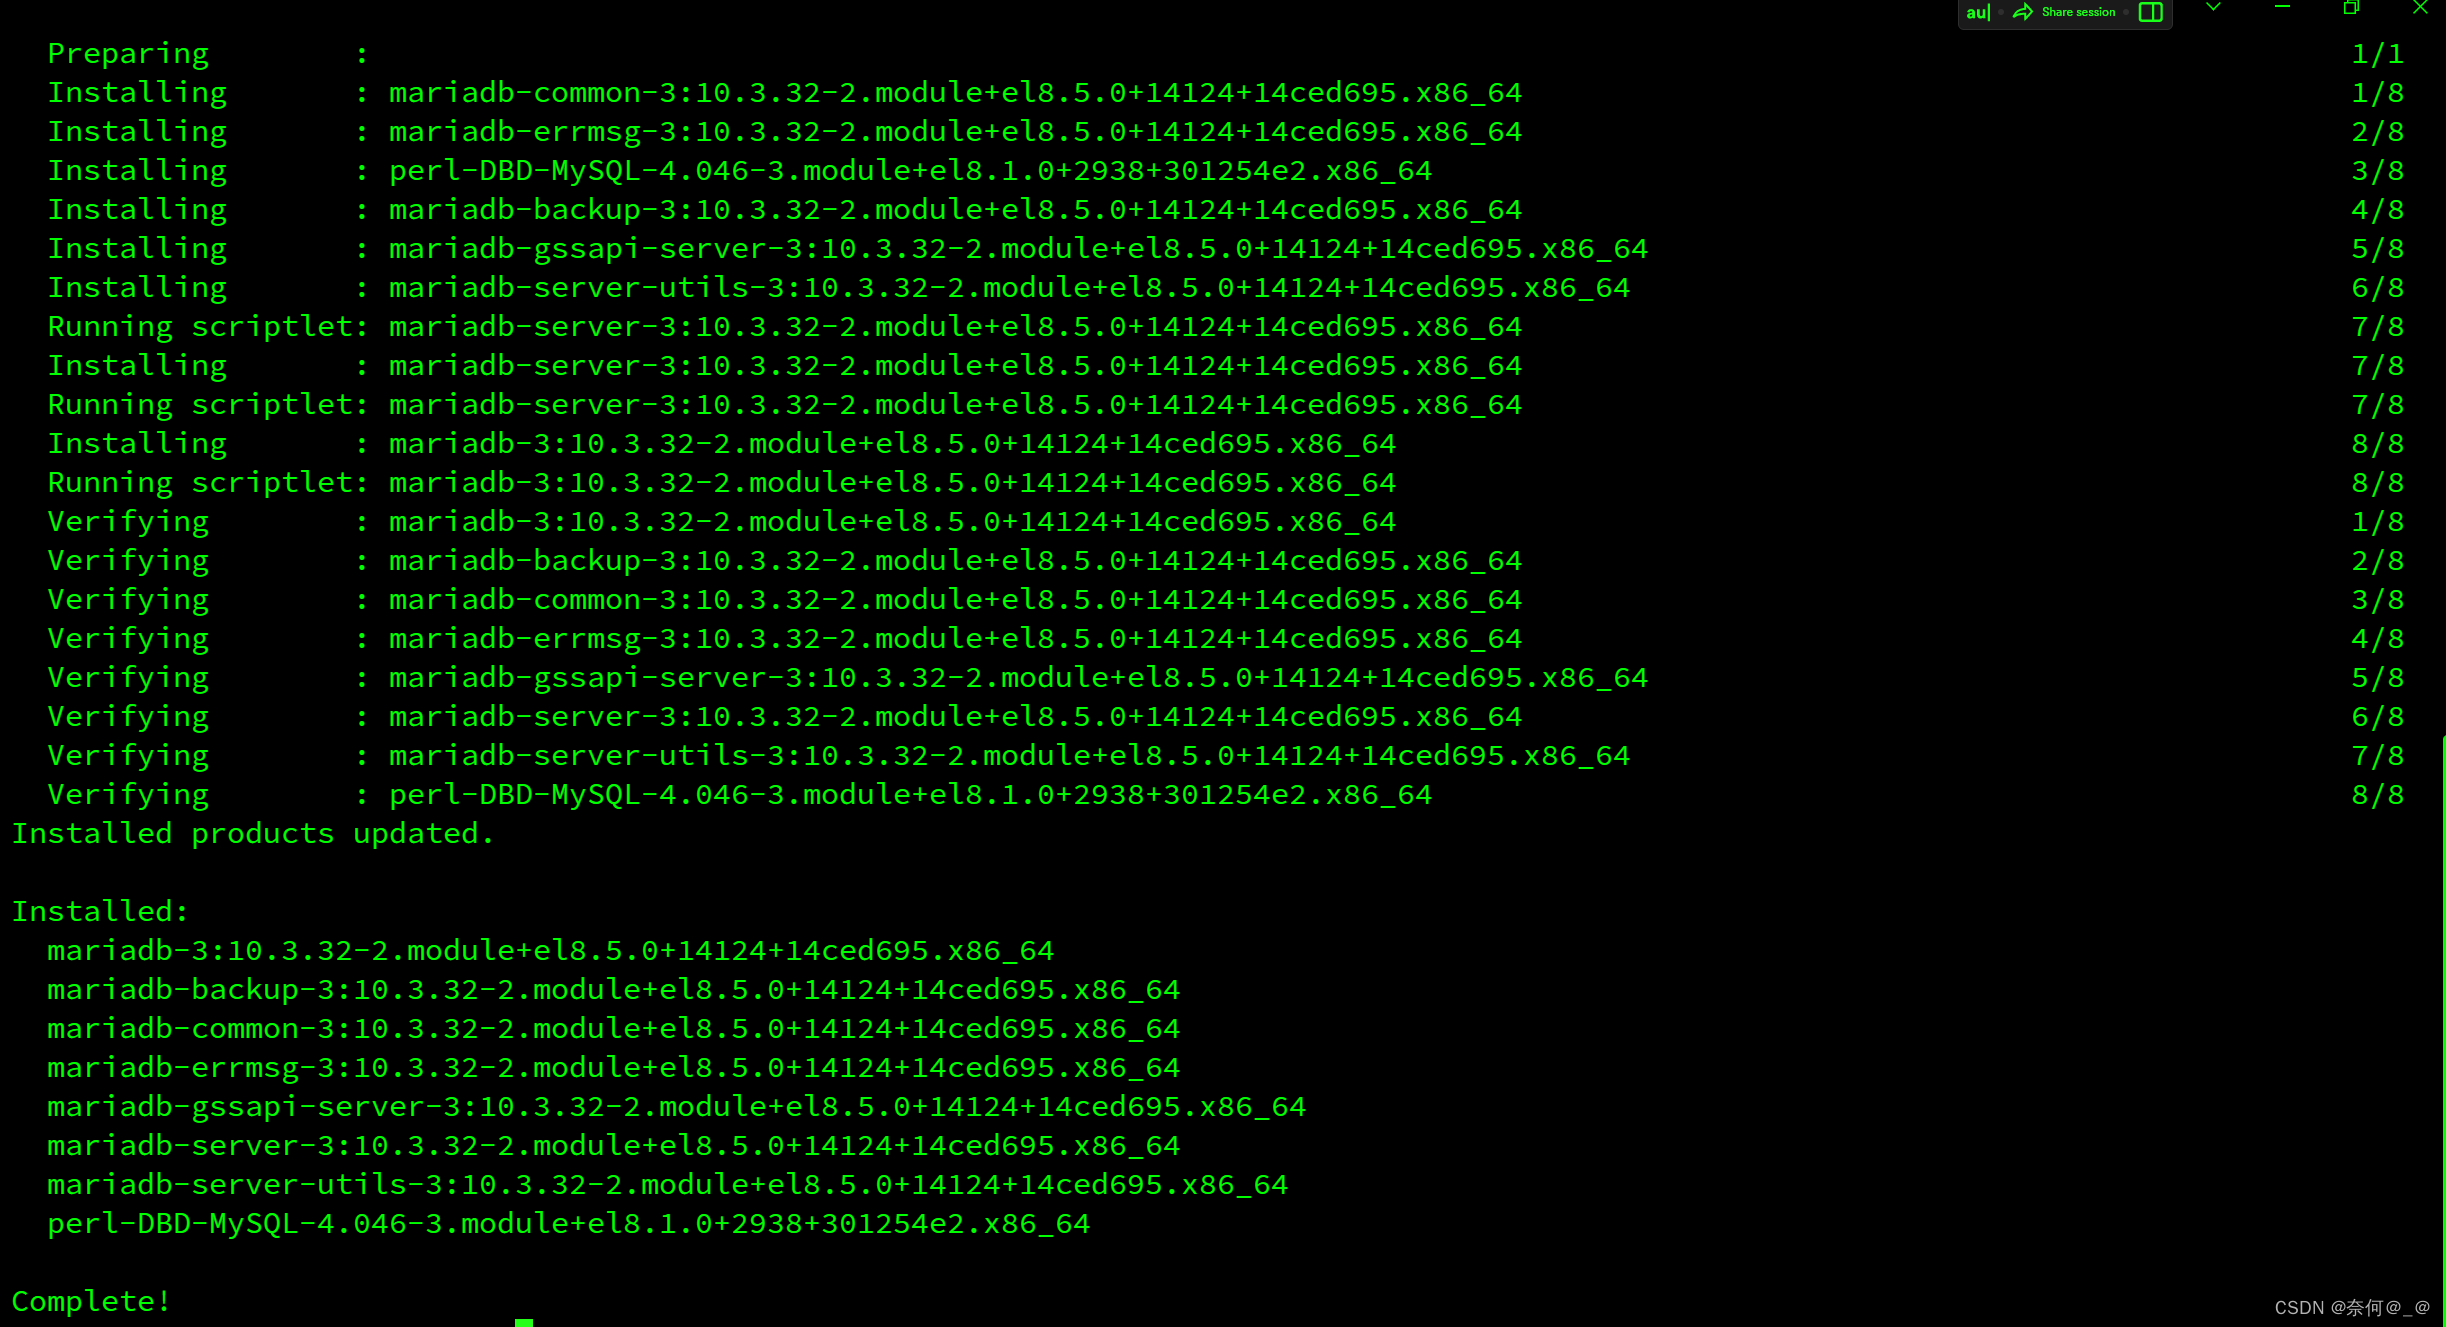
启动数据库
[root@localhost nextcloud]# systemctl start mariadb第六步:数据库初始化
启动数据库:
[root@localhost nextcloud]# systemctl restart mariadb.service初始化:
[root@localhost nextcloud]# mysql_secure_installationNOTE: RUNNING ALL PARTS OF THIS SCRIPT IS RECOMMENDED FOR ALL MariaDB
SERVERS IN PRODUCTION USE! PLEASE READ EACH STEP CAREFULLY!
In order to log into MariaDB to secure it, we'll need the current
password for the root user. If you've just installed MariaDB, and
you haven't set the root password yet, the password will be blank,
so you should just press enter here.
Enter current password for root (enter for none):
OK, successfully used password, moving on...
Setting the root password ensures that nobody can log into the MariaDB
root user without the proper authorisation.
Set root password? [Y/n] #设置密码
New password:
Re-enter new password:
Password updated successfully!
Reloading privilege tables..
... Success!
By default, a MariaDB installation has an anonymous user, allowing anyone
to log into MariaDB without having to have a user account created for
them. This is intended only for testing, and to make the installation
go a bit smoother. You should remove them before moving into a
production environment.
Remove anonymous users? [Y/n] y
... Success!
Normally, root should only be allowed to connect from 'localhost'. This
ensures that someone cannot guess at the root password from the network.
Disallow root login remotely? [Y/n] y
... Success!
By default, MariaDB comes with a database named 'test' that anyone can
access. This is also intended only for testing, and should be removed
before moving into a production environment.
Remove test database and access to it? [Y/n] y
- Dropping test database...
... Success!
- Removing privileges on test database...
... Success!
Reloading the privilege tables will ensure that all changes made so far
will take effect immediately.
Reload privilege tables now? [Y/n] y
... Success!
Cleaning up...
All done! If you've completed all of the above steps, your MariaDB
installation should now be secure.
Thanks for using MariaDB!第七步:启动数据库
[root@localhost nextcloud]# mysql -u root -p
创建数据库:
MariaDB [(none)]> create database nextcloud;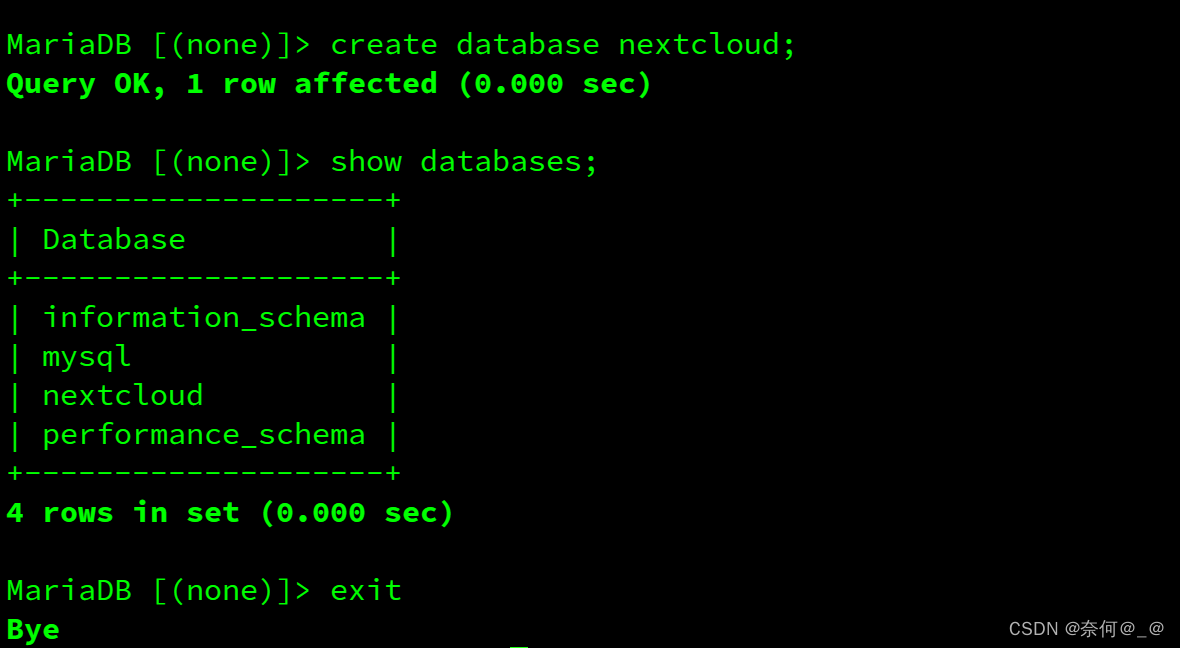
重启httpd:
[root@localhost config]# systemctl restart httpd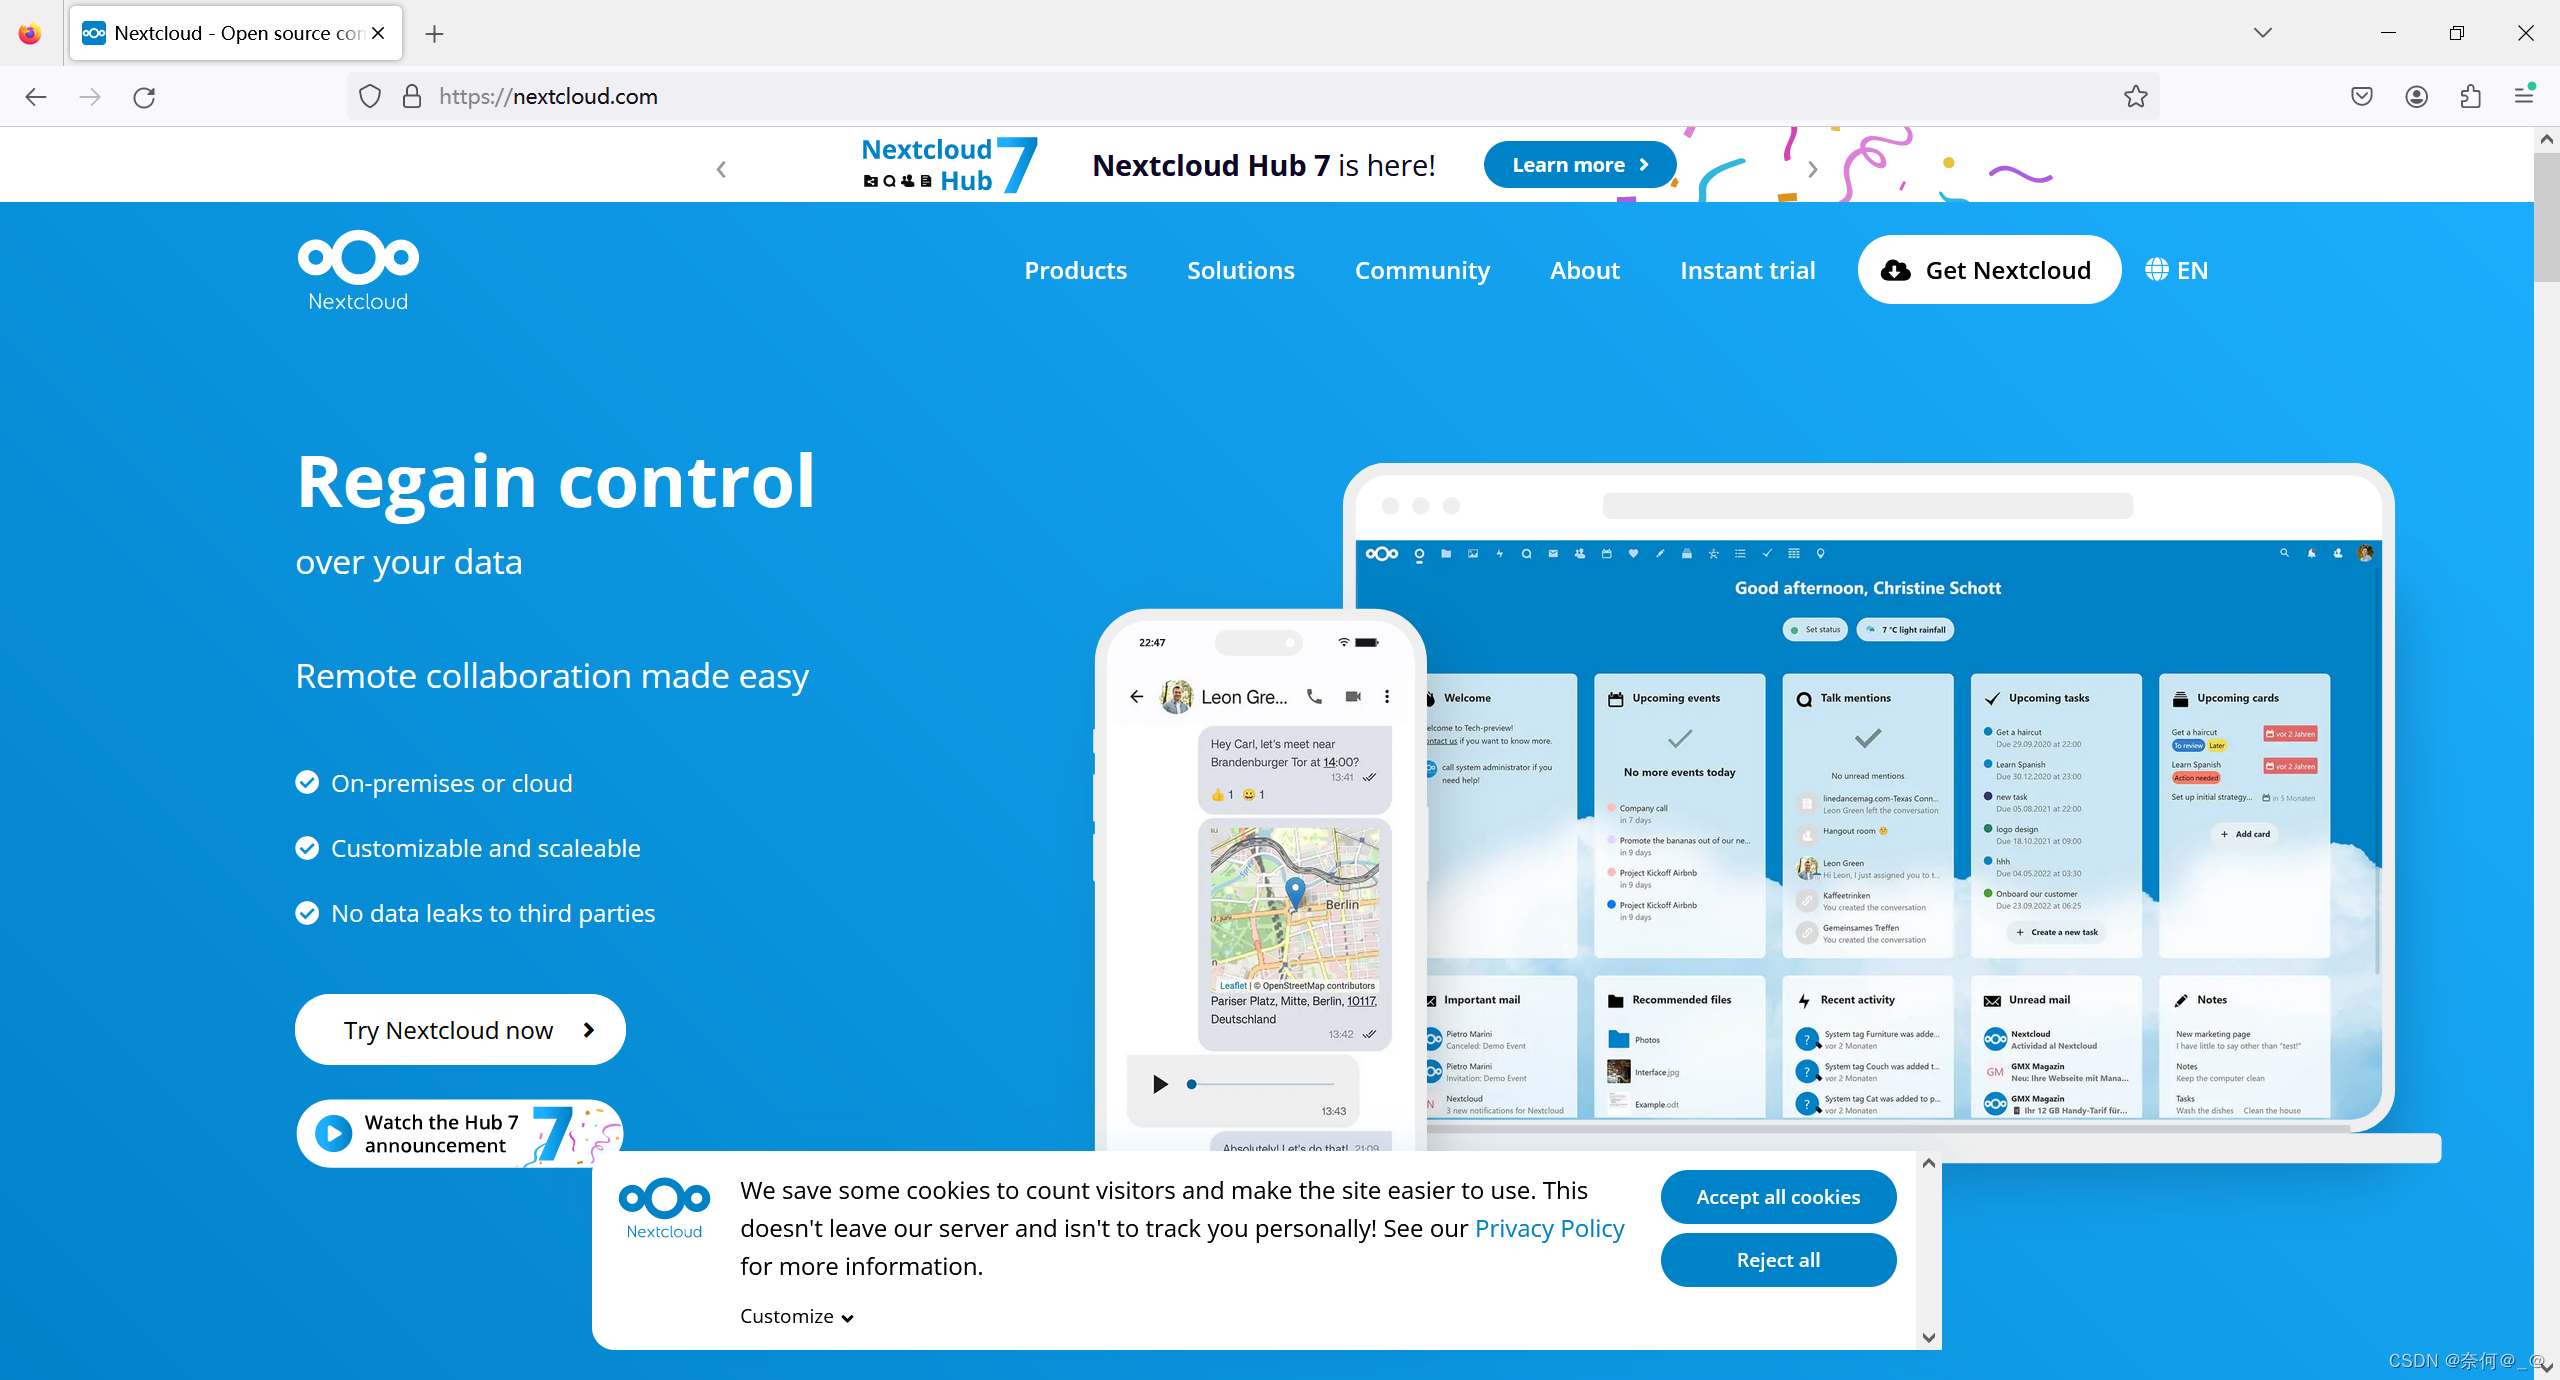
查看服务日志:
[root@localhost config]# vim /etc/httpd/logs/
[root@localhost config]# vim /etc/httpd/logs/access_log 

