书接上回,在第二集我们成功安装了mysql数据库,并通过nodejs服务器关联到数据库,并成功更改了数据库中的数据。这一集呢,主要是进行一个前端vue2项目的构建,后面如果大家想要看vue3的话可以后续更新,毕竟现在vue2还是主流。
一、如何快速搭建一个vue项目
本文主要适用于一些有一定的技术经验的同学学习,当然,如果有问题也可以随时留言提问,那我们就能简洁的就简洁。
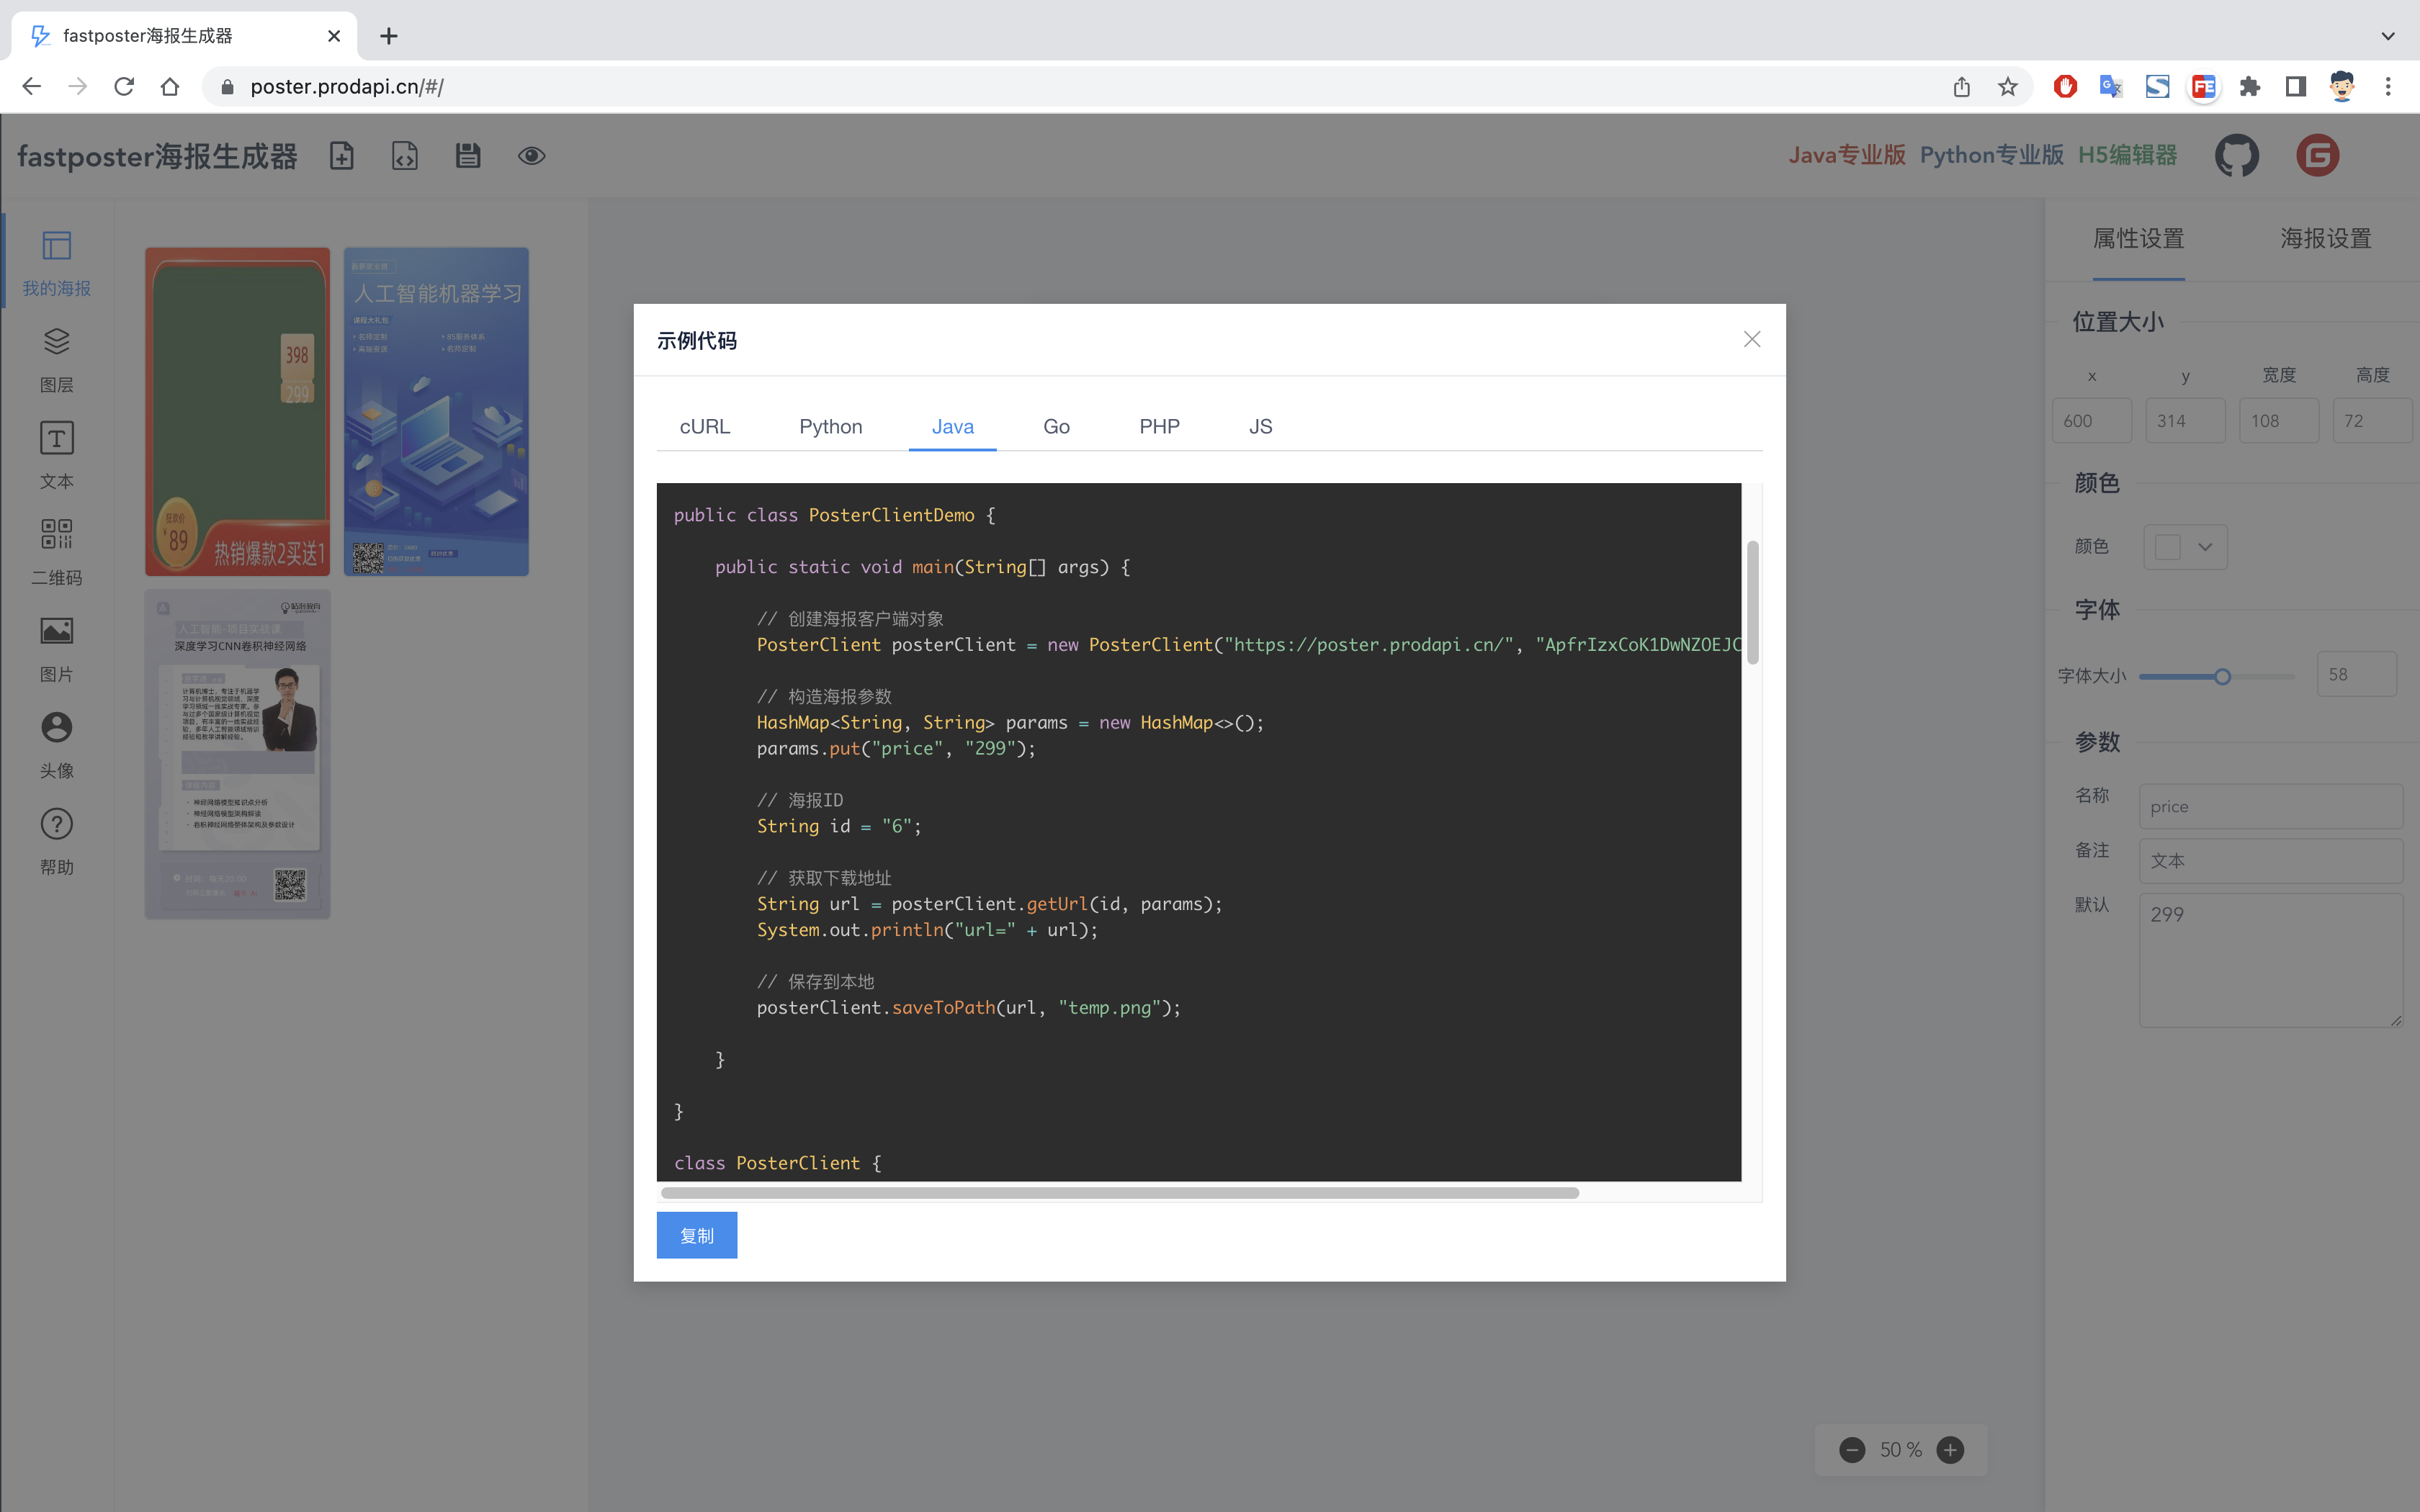
通过vue ui 快速搭建一个vue项目,在终端运行vue ui 指令(前提安装了vue-cli),然后会在本地启动一个服务器专门用于项目的配置,配置完就会自动生成一个vue项目了。
运行成功后会进入一下页面,然后开始新建项目就可以了。
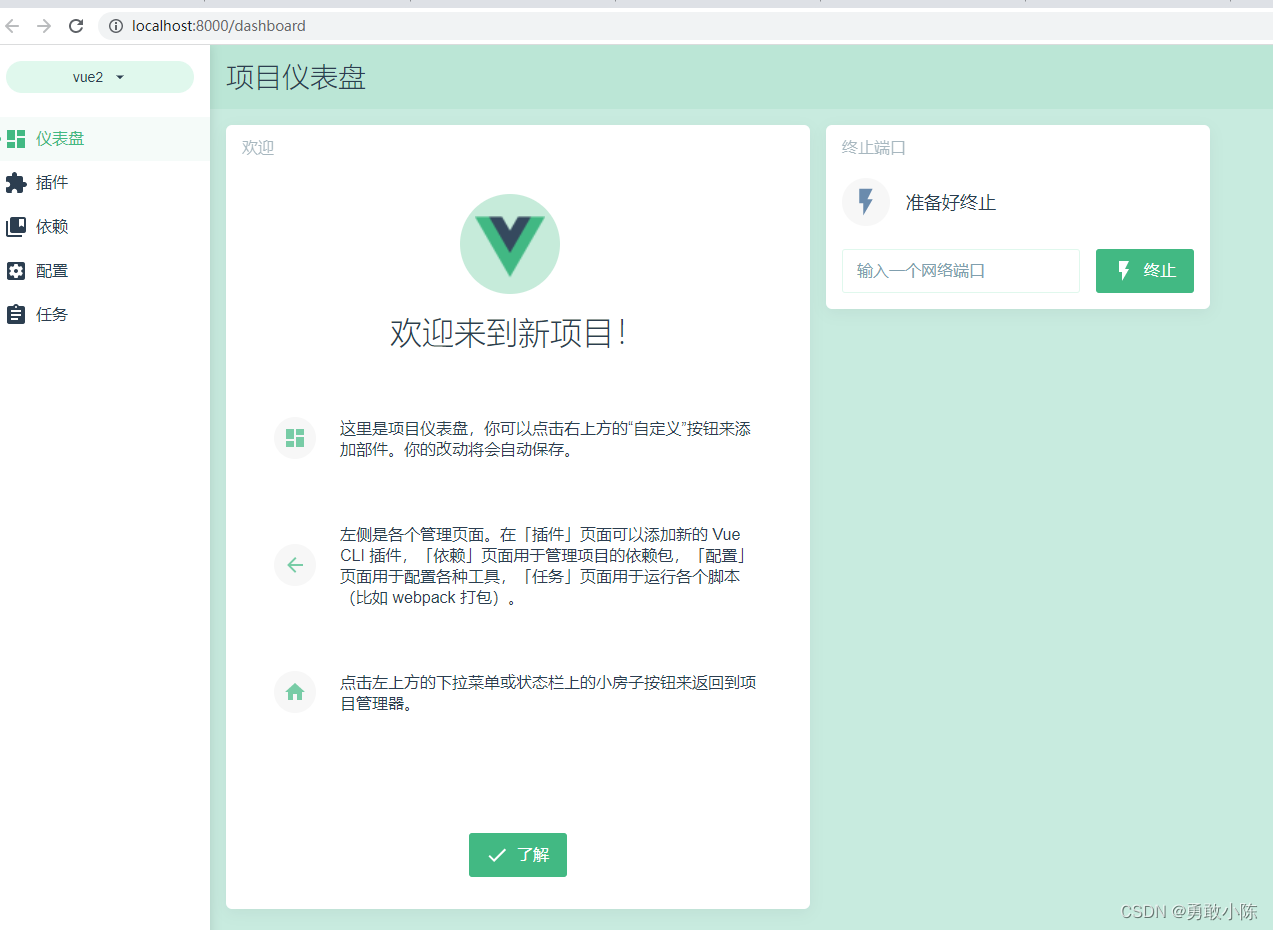
然后根据自己需要进行相关的配置,建议加上VueRouter Vuex lass后面开发会用到。
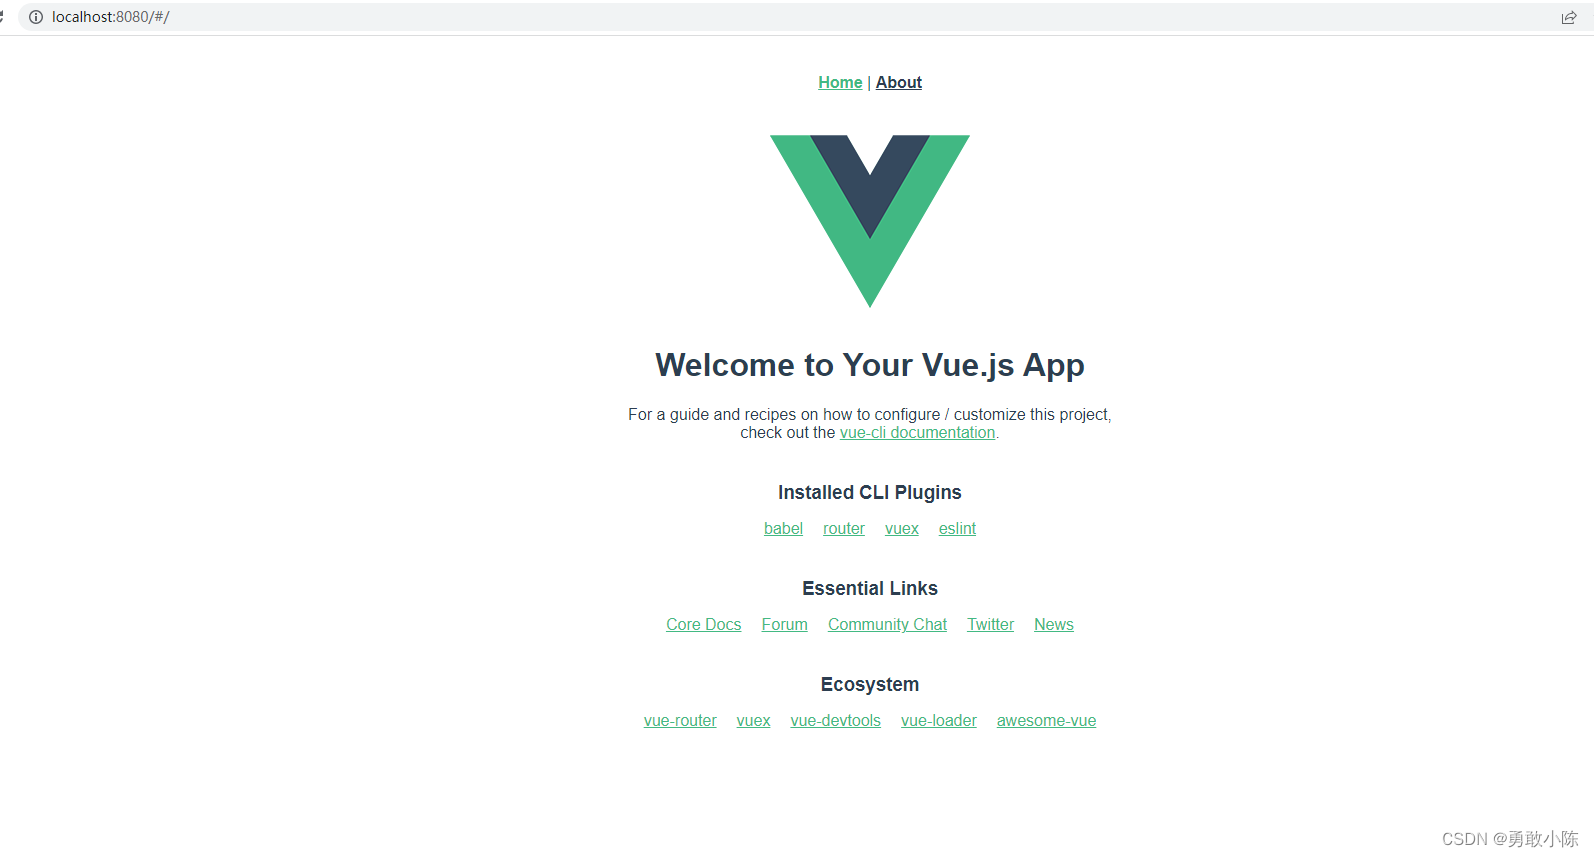
通过yarn serve 运行项目
二、关于项目的初始配置
关闭eslint语法检测
在vue.config.js文件中新增lintOnSave:false 用于关闭eslint语法检测
const { defineConfig } = require('@vue/cli-service')
module.exports = defineConfig({
  transpileDependencies: true,
  lintOnSave:false
})
取消浏览器默认样式
在assets中新建style文件夹,新建reset.css文件用于重置浏览器样式。
清除浏览器默认样式
/**
 * Eric Meyer's Reset CSS v2.0 (http://meyerweb.com/eric/tools/css/reset/)
 * http://cssreset.com
 */
 html, body, div, span, applet, object, iframe,
 h1, h2, h3, h4, h5, h6, p, blockquote, pre,
 a, abbr, acronym, address, big, cite, code,
 del, dfn, em, img, ins, kbd, q, s, samp,
 small, strike, strong, sub, sup, tt, var,
 b, u, i, center,
 dl, dt, dd, ol, ul, li,
 fieldset, form, label, legend,
 table, caption, tbody, tfoot, thead, tr, th, td,
 article, aside, canvas, details, embed,
 figure, figcaption, footer, header,
 menu, nav, output, ruby, section, summary,
 time, mark, audio, video, input {
     margin: 0;
     padding: 0;
     border: 0;
     font-size: 100%;
     font-weight: normal;
     vertical-align: baseline;
 }

 /* HTML5 display-role reset for older browsers */
 article, aside, details, figcaption, figure,
 footer, header, menu, nav, section {
     display: block;
 }

 body {
     line-height: 1;
 }

 blockquote, q {
     quotes: none;
 }

 blockquote:before, blockquote:after,
 q:before, q:after {
     content: none;
 }

 table {
     border-collapse: collapse;
     border-spacing: 0;
 }

 /* custom */
 a {
     color: #7e8c8d;
     text-decoration: none;
     -webkit-backface-visibility: hidden;
 }

 li {
     list-style: none;
 }

 ::-webkit-scrollbar {
     width: 5px;
     height: 5px;
 }

 ::-webkit-scrollbar-track-piece {
     background-color: rgba(0, 0, 0, 0.2);
     -webkit-border-radius: 6px;
 }

 ::-webkit-scrollbar-thumb:vertical {
     height: 5px;
     background-color: rgba(125, 125, 125, 0.7);
     -webkit-border-radius: 6px;
 }

 ::-webkit-scrollbar-thumb:horizontal {
     width: 5px;
     background-color: rgba(125, 125, 125, 0.7);
     -webkit-border-radius: 6px;
 }

 html, body {
     width: 100%;
 }

 body {
     -webkit-text-size-adjust: none;
     -webkit-tap-highlight-color: rgba(0, 0, 0, 0);
 }
 html{
     height: 100%;
     width: 100%;
     background: #f3f3f3;
 }
在app.vue文件中引入
<template>
  <div id="app">
    <router-view/>
  </div>
</template>

<style lang="less">

@import "../src/assets/style/reset.css";
</style>
然后我们发现这种相对路径的引入,太过于臃肿且不好维护,然后我们这边通过@符号引入的方式进行配置,简化组件以及文件的引入,提高项目的开发和维护。
安装path模块
npm install path --save
在vue.config.js文件中进行配置,我只配置的了src文件通过@对应,当然也可以配置其他文件,根据项目不同进行可选配置
const { defineConfig } = require('@vue/cli-service')
//配置@引入
const path = require("path");
function resolve(dir) {
  return path.join(__dirname, dir);
}

module.exports = defineConfig({
  transpileDependencies: true,
  lintOnSave:false,
  chainWebpack: config => {
    config.resolve.alias
      .set("@", resolve("src"))
  },

})
然后,我们就可以通过@符号进行文件的引入了
<template>
  <div id="app">
    <router-view/>
  </div>
</template>

<style lang="less">

@import "@/assets/style/reset.css";
</style>
三、总结
本集只进行了基础配置的讲解,关于router、vuex以及组件封装路由传参等知识,会随着项目的开发循序渐进的进行讲解。
下集预告:nodejs+vue+element+eachers构建开源项目大型连续剧(4)对nodejs服务器进行模块化的开发、编写注册接口。
