目录:
(1)医院详情-功能 实现
(2)医院排班-需求分析
(3)医院排班-科室接口开发
(4)医院排班-显示科室前端整合
(1)医院详情-功能 实现
在HospitalController:中添加方法:

//医院的详情信息
    @ApiOperation(value = "获取医院详情")
    @GetMapping("showHospDetail/{id}")
    public Result showHospDetail(
            @ApiParam(name = "id", value = "医院id", required = true)
            @PathVariable String id) {
        Map<String,Object> map = hospitalService.getHospById(id);
        return Result.ok(map);
    }
HospitalService接口:

package com.atguigu.yygh.hosp.service;

import com.atguigu.yygh.model.hosp.Hospital;
import com.atguigu.yygh.vo.hosp.HospitalQueryVo;
import org.springframework.data.domain.Page;

import java.util.Map;

public interface HospitalService {
    //上传医院接口的方法
    void save(Map<String, Object> paramMap);

    //根据医院编号进行查询
    Hospital getByHoscode(String hoscode);

    //医院列表(条件查询分页)
    Page<Hospital> selectHospPage(Integer page, Integer limit, HospitalQueryVo hospitalQueryVo);

    //更新医院的上线状态
    void updateStatus(String id, Integer status);

    //医院的详情信息
    Map<String, Object> getHospById(String id);

}
实现类:

 //封装医院等级方法
    private Hospital setHospitalHosType(Hospital hospital){
        //获取到医院等级的名称
        String hostypeString= dictFeignClient.getName("Hostype", hospital.getHostype());
        //给hospital里面的Map属性赋值
        hospital.getParam().put("hostypeString", hostypeString);

       //查询省市区
        String provinceString = dictFeignClient.getName(hospital.getProvinceCode());
        String cityString = dictFeignClient.getName(hospital.getCityCode());
        String districtString = dictFeignClient.getName(hospital.getDistrictCode());
        hospital.getParam().put("fullAddress", provinceString + cityString + districtString);
        return hospital;
    }


 //医院详情信息
    @Override
    public Map<String, Object> getHospById(String id) {
        Map<String, Object> result = new HashMap<>();

        //调用上面的方法封装医院等级
        Hospital hospital = this.setHospitalHosType(hospitalRepository.findById(id).get());
        result.put("hospital", hospital);

        //单独处理更直观
        result.put("bookingRule", hospital.getBookingRule());//医院的预约信息
        //不需要重复返回
        hospital.setBookingRule(null);
        return result;

    }
在前端:
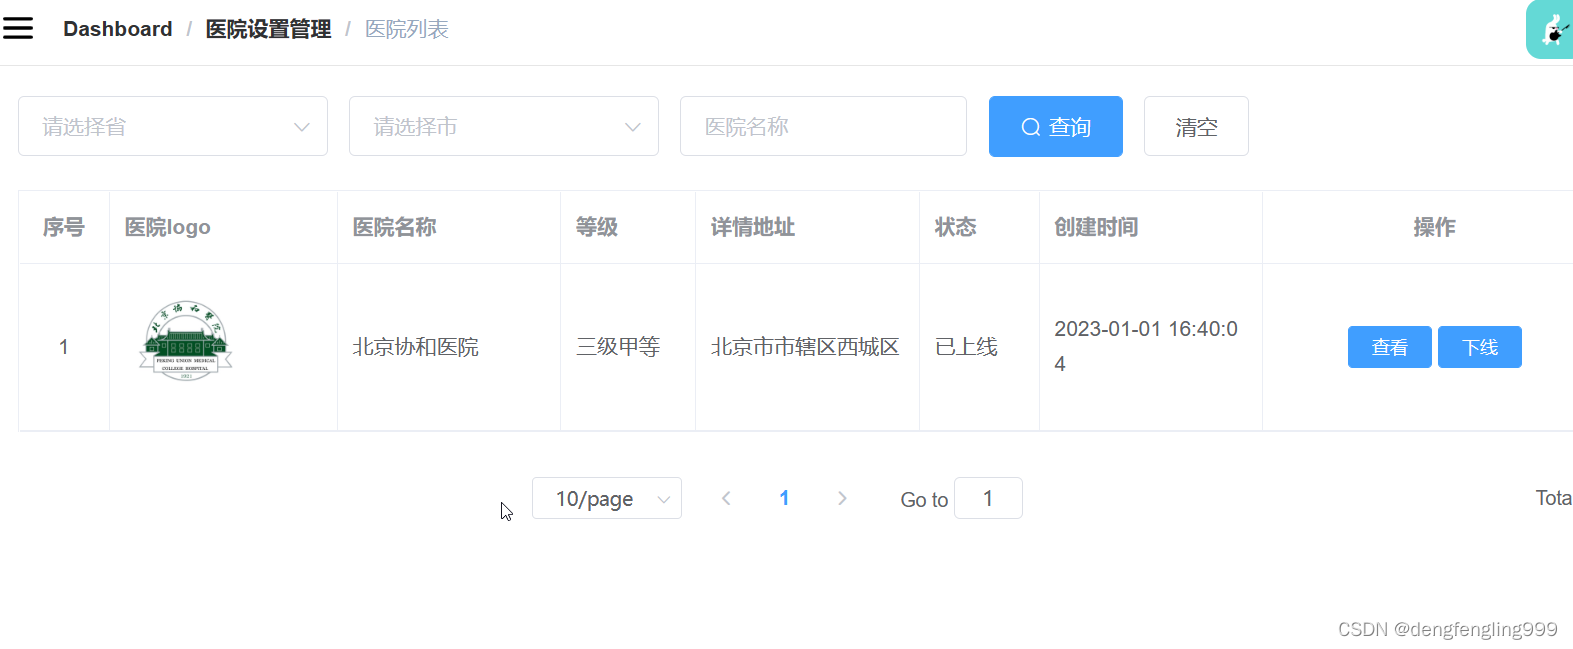
list.vue医院列表页面中添加查看按钮:

在router下添加路由:添加隐藏路由:

在api下的hosp.js中继续添加接口:

创建新的页面show.vue:
<template>
  <div class="app-container">
    <h4>基本信息</h4>
    <table
      class="table table-striped table-condenseda table-bordered"
      width="100%"
    >
      <tbody>
        <tr>
          <th width="15%">医院名称</th>
          <td width="35%">
            <b style="font-size: 14px">{{ hospital.hosname }}</b> |
            {{ hospital.param.hostypeString }}
          </td>
          <th width="15%">医院logo</th>
          <td width="35%">
            <img
              :src="'data:image/jpeg;base64,' + hospital.logoData"
              width="80"
            />
          </td>
        </tr>
        <tr>
          <th>医院编码</th>
          <td>{{ hospital.hoscode }}</td>
          <th>地址</th>
          <td>{{ hospital.param.fullAddress }}</td>
        </tr>
        <tr>
          <th>坐车路线</th>
          <td colspan="3">{{ hospital.route }}</td>
        </tr>
        <tr>
          <th>医院简介</th>
          <td colspan="3">{{ hospital.intro }}</td>
        </tr>
      </tbody>
    </table>

    <h4>预约规则信息</h4>
    <table
      class="table table-striped table-condenseda table-bordered"
      width="100%"
    >
      <tbody>
        <tr>
          <th width="15%">预约周期</th>
          <td width="35%">{{ bookingRule.cycle }}天</td>
          <th width="15%">放号时间</th>
          <td width="35%">{{ bookingRule.releaseTime }}</td>
        </tr>
        <tr>
          <th>停挂时间</th>
          <td>{{ bookingRule.stopTime }}</td>
          <th>退号时间</th>
          <td>
            {{ bookingRule.quitDay == -1 ? "就诊前一工作日" : "就诊当日"
            }}{{ bookingRule.quitTime }} 前取消
          </td>
        </tr>
        <tr>
          <th>预约规则</th>
          <td colspan="3">
            <ol>
              <li v-for="item in bookingRule.rule" :key="item">{{ item }}</li>
            </ol>
          </td>
        </tr>
        <br />
        <el-row>
          <el-button @click="back">返回</el-button>
        </el-row>
      </tbody>
    </table>
  </div>
</template>
<script>
//引入接口定义的js文件
import hospApi from "@/api/hosp";

export default {
  data() {
    return {
      //定义一些变量和初始值
      hospital: null, //医院信息
      bookingRule: null, //预约信息
    };
  },
  created() {
    //在页面渲染之前执行
    //获取传过来的路由id
    const id = this.$route.params.id;
    //调用方法,根据id查询医院详情
    this.fetachHospDetail(id);
  },
  methods: {
    //根据id查询医院详情
    fetachHospDetail(id) {
      hospApi.getHospById(id).then((response) => {
        //把返回的数据医院信息进行赋值上面定义的数据
        this.hospital = response.data.hospital;
        this.bookingRule = response.data.bookingRule;
      });
    },
    //返回医院列表
    back() {
      this.$router.push({ path: "/hospSet/hosp/list" });
    },
  }
}
</script>

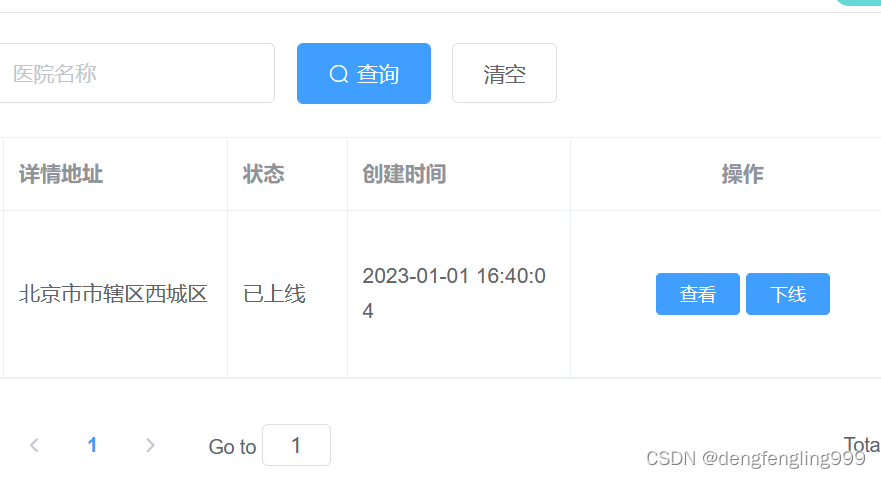
点击查看:


点击返回:跳转到医院列表页面
这个详情页面的样式不怎么好看,可以更改一下:
把提前准备好的css复制到style目录下:

然后再mian.js中引入:

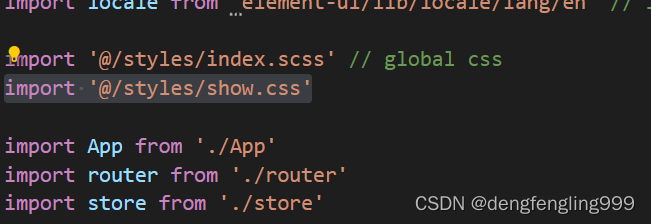
引入加了新的内容,需要重启服务:npm run dev

重新访问:发现多了一个表格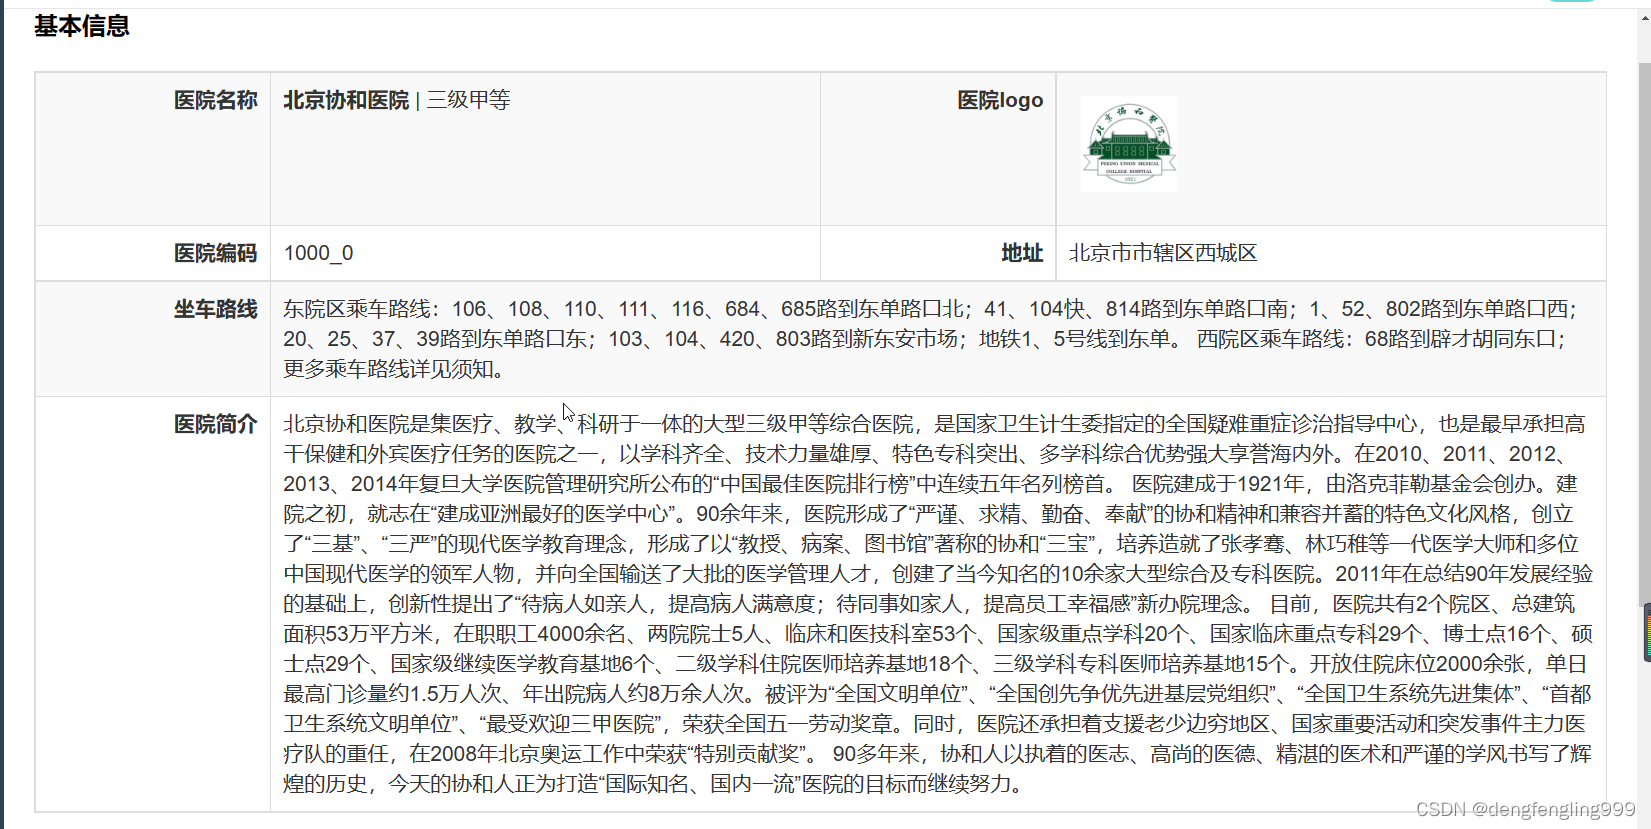

(2)医院排班-需求分析
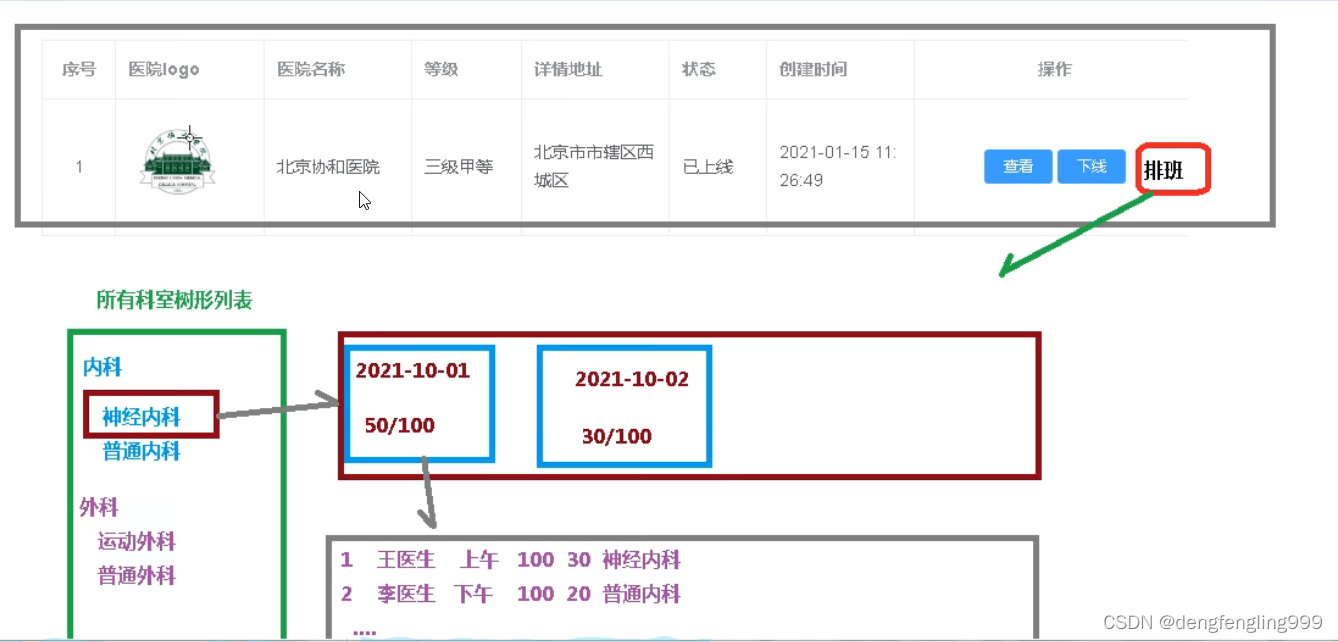

排班分成三部分显示:
1、科室信息(大科室与小科室树形展示)
2、排班日期,分页显示,根据上传排班数据聚合统计产生
3、排班日期对应的就诊医生信息
接口分析
- 科室数据使用Element-ui el-tree组件渲染展示,需要将医院上传的科室数据封装成两层父子级数据;
- 聚合所有排班数据,按日期分页展示,并统计号源数据展示;
- 根据排班日期获取排班详情数据
实现分析
虽然是一个页面展示所有内容,但是页面相对复杂,我们分步骤实现
- 先实现左侧科室树形展示;
- 其次排班日期分页展示
- 最后根据排班日期获取排班详情数据
(3)医院排班-显示科室接口开发
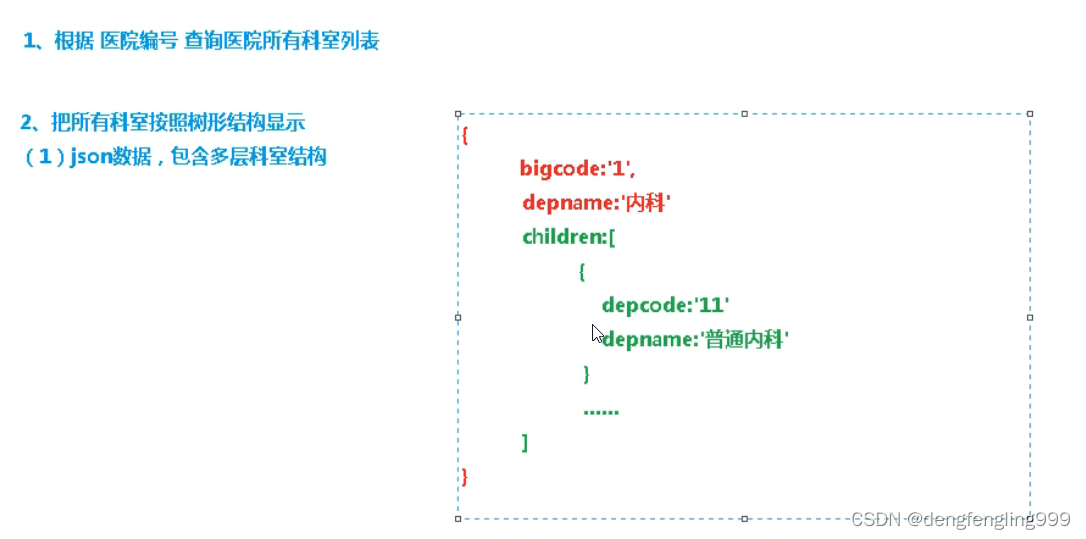
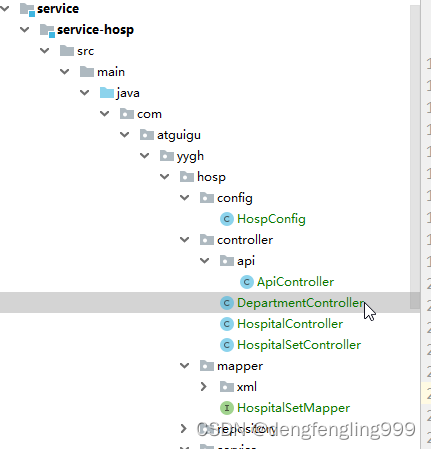
创建:DepartmentController:
创建方法:
package com.atguigu.yygh.hosp.controller;

import com.atguigu.yygh.common.result.Result;
import com.atguigu.yygh.hosp.service.DepartmentService;
import com.atguigu.yygh.vo.hosp.DepartmentVo;
import io.swagger.annotations.Api;
import io.swagger.annotations.ApiOperation;
import org.springframework.beans.factory.annotation.Autowired;
import org.springframework.web.bind.annotation.*;

import java.util.List;
@Api(tags = "科室管理")  //swagger中的提示注解
@RestController
@RequestMapping("/admin/hosp/department")
@CrossOrigin   //跨域注解
public class DepartmentController {

    //注入
    @Autowired
    private DepartmentService departmentService;

    //根据医院编号,查询医院所有科室列表
    @ApiOperation(value = "查询医院所有科室列表")
    @GetMapping("getDeptList/{hoscode}")
    public Result getDeptList(@PathVariable String hoscode) {
        List<DepartmentVo> list = departmentService.findDeptTree(hoscode);
        return Result.ok(list);
    }


}
DepartmentService :接口

package com.atguigu.yygh.hosp.service;

import com.atguigu.yygh.model.hosp.Department;
import com.atguigu.yygh.vo.hosp.DepartmentQueryVo;
import com.atguigu.yygh.vo.hosp.DepartmentVo;
import org.springframework.data.domain.Page;

import java.util.List;
import java.util.Map;

public interface DepartmentService {
    //上传科室的接口
    void save(Map<String, Object> paramMap);

    //查询科室的方法
    Page<Department> findPageDepartment(int page, int limit, DepartmentQueryVo departmentQueryVo);

    //删除科室的接口方法
    void remove(String hoscode, String depcode);

    //根据医院编号,查询医院所有科室列表
    List<DepartmentVo> findDeptTree(String hoscode);
}
DepartmentServiceImpl:实现类:
//根据医院编号,查询医院所有科室列表
    @Override
    public List<DepartmentVo> findDeptTree(String hoscode) {
        //创建list集合,用于最终的数据封装
        List<DepartmentVo> result = new ArrayList<>();

        //根据医院编号,查询医院所有科室信息
        Department departmentQuery = new Department();
        departmentQuery.setHoscode(hoscode);
        Example example = Example.of(departmentQuery);
        //所有科室列表 departmentList
        List<Department> departmentList = departmentRepository.findAll(example);

        //根据大科室编号  bigcode 分组,获取每个大科室里面下级子科室
        Map<String, List<Department>> deparmentMap =
                departmentList.stream().collect(Collectors.groupingBy(Department::getBigcode));
        //遍历map集合 deparmentMap
        for(Map.Entry<String,List<Department>> entry : deparmentMap.entrySet()) {
            //大科室编号
            String bigcode = entry.getKey();
            //大科室编号对应的全局数据
            List<Department> deparment1List = entry.getValue();
            //封装大科室
            DepartmentVo departmentVo1 = new DepartmentVo();
            departmentVo1.setDepcode(bigcode);
            departmentVo1.setDepname(deparment1List.get(0).getBigname());

            //封装小科室
            List<DepartmentVo> children = new ArrayList<>();
            for(Department department: deparment1List) {
                DepartmentVo departmentVo2 =  new DepartmentVo();
                departmentVo2.setDepcode(department.getDepcode());
                departmentVo2.setDepname(department.getDepname());
                //封装到list集合
                children.add(departmentVo2);
            }
            //把小科室list集合放到大科室children里面
            departmentVo1.setChildren(children);
            //放到最终result里面
            result.add(departmentVo1);
        }
        //返回
        return result;

    }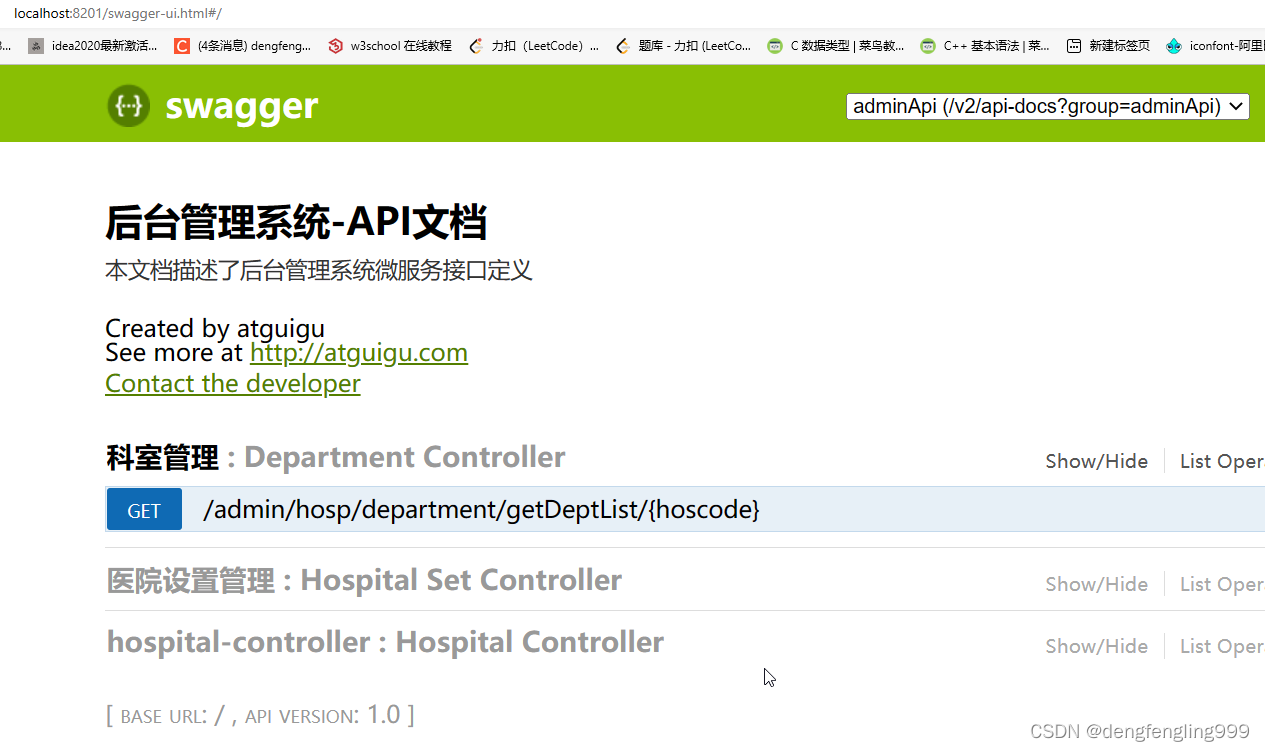
输入数据:
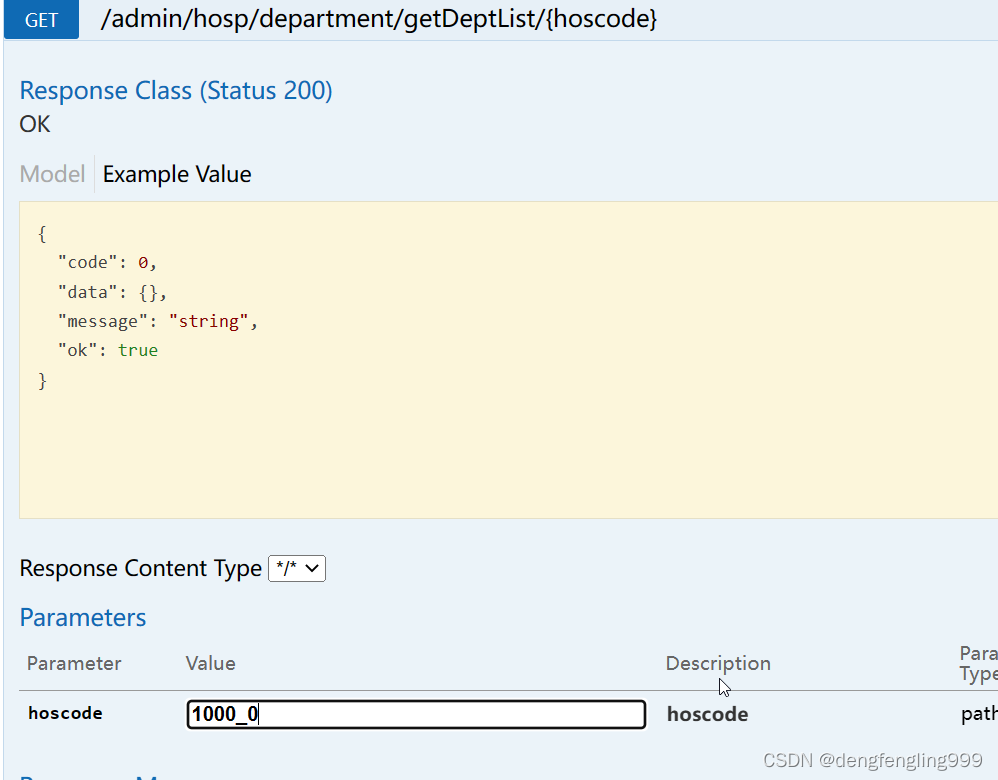
成功查询出来:

(4)医院排班-显示科室前端整合
添加路由
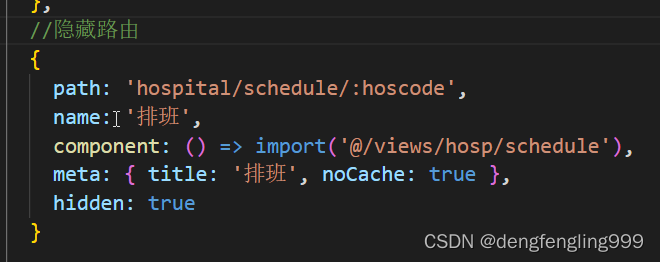
在 src/router/index.js 文件添加排班隐藏路由
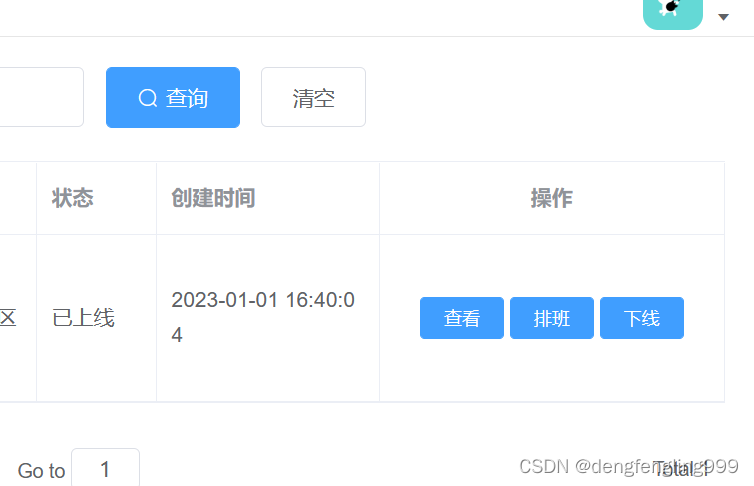
在医院列表页面,添加排班按钮

封装api请求:在hosp.js创建访问接口:

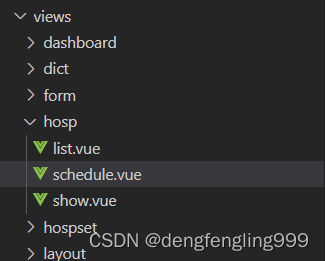
schedule.vue组件页面:
<template>
  <div class="app-container">
    <div style="margin-bottom: 10px; font-size: 10px">选择:</div>
    <el-container style="height: 100%">
      <el-aside width="200px" style="border: 1px silver solid">
        <!-- 科室 -->
        <el-tree
          :data="data"
          :props="defaultProps"
          :default-expand-all="true"
          @node-click="handleNodeClick"
        >
        </el-tree>
      </el-aside>

      <el-main style="padding: 0 0 0 20px">
        <el-row style="width: 100%">
          <!-- 排班日期 分页 -->
        </el-row>
        <el-row style="margin-top: 20px">
          <!-- 排班日期对应的排班医生 -->
        </el-row>
      </el-main>
    </el-container>
  </div>
</template>
<script>
//引入接口定义的js文件
import hospApi from "@/api/hosp";
export default {
  data() {
    return {
      //定义变量和初始值
      data: [],
      defaultProps: {
        //树形的显示
        children: "children",
        label: "depname",
      },
      hoscode: null,
    };
  },
  created() {
    //页面加载前执行 获取路由的hoscode
    this.hoscode = this.$route.params.hoscode;
    //调用方法
    this.fetchData();
  },
  methods: {
    //定义方法进行请求接口的调用
    fetchData() {
      hospApi.getDeptByHoscode(this.hoscode).then((response) => {
        //赋值,把返回的数据,赋值给上面定义的data
        this.data = response.data;
      });
    },
  },
};
</script>
<style>
.el-tree-node.is-current > .el-tree-node__content {
  background-color: #409eff !important;
  color: white;
}

.el-checkbox__input.is-checked + .el-checkbox__label {
  color: black;
}
</style>
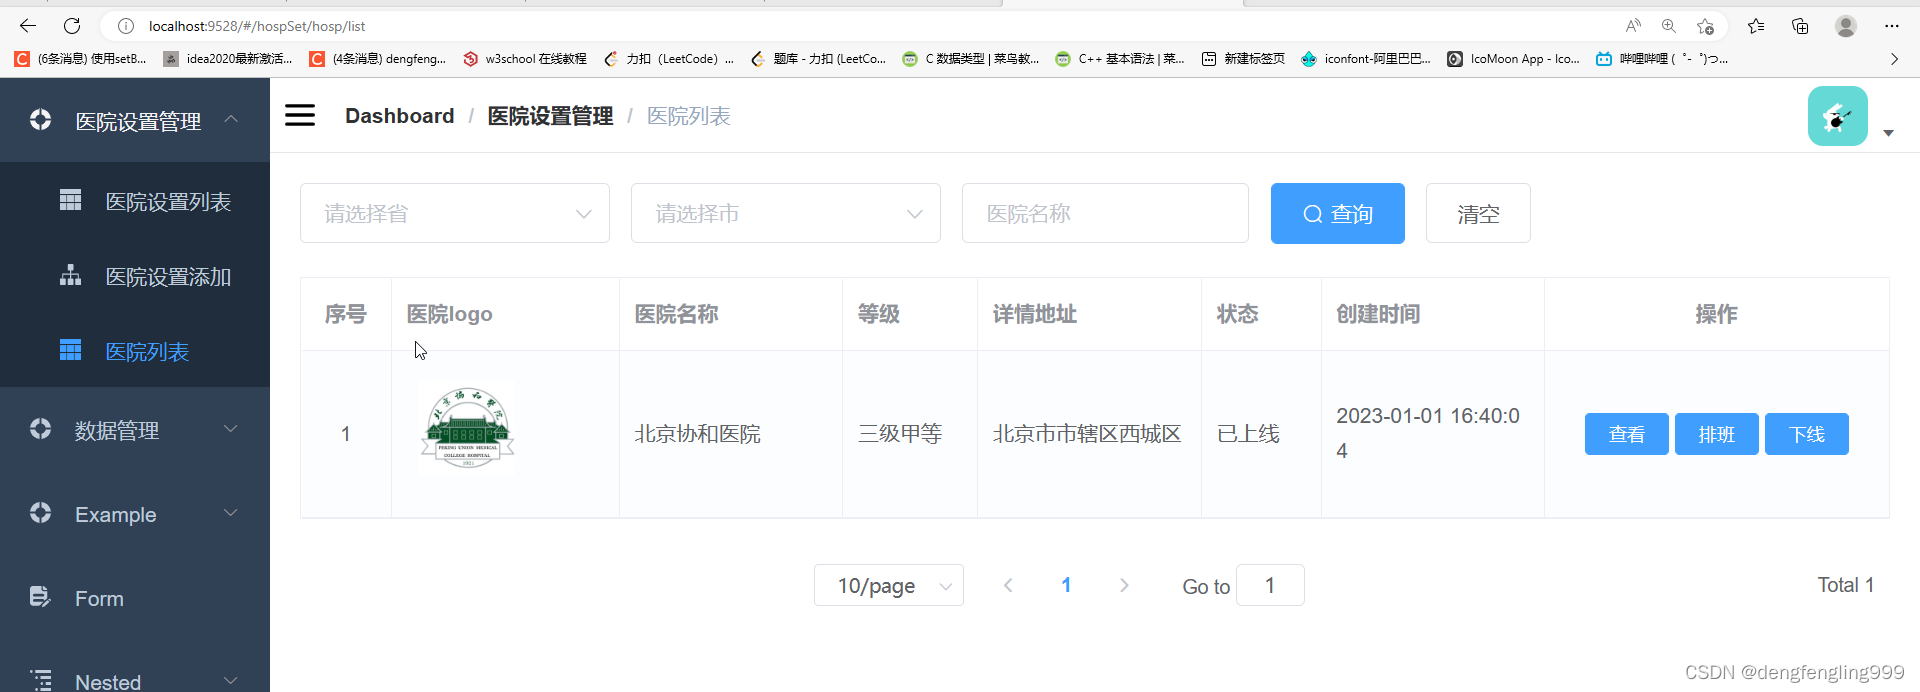
点击排班:查询出所有的科室列表

