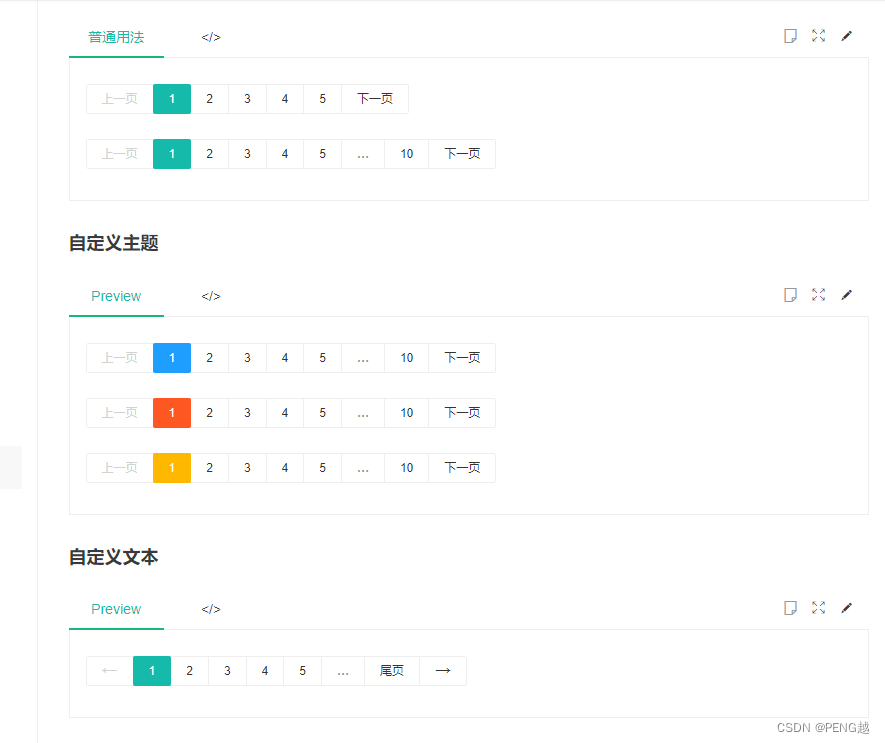
-
Layui2.0普通用法
<!DOCTYPE html>
<html>
<head>
  <meta charset="utf-8">
  <meta name="viewport" content="width=device-width, initial-scale=1">
  <title>Demo</title>
  <!-- 请勿在项目正式环境中引用该 layui.css 地址 -->
  <link href="//unpkg.com/layui@2.9.0/dist/css/layui.css" rel="stylesheet">
</head>
<body>
<div id="demo-laypage-normal-1"></div>
<div id="demo-laypage-normal-2"></div>

<!-- 请勿在项目正式环境中引用该 layui.js 地址 -->
<script src="//unpkg.com/layui@2.9.0/dist/layui.js"></script>
<script>
layui.use(function(){
  var laypage = layui.laypage;
  // 普通用法
  laypage.render({
    elem: 'demo-laypage-normal-1',
    count: 50 // 数据总数
  });
  laypage.render({
    elem: 'demo-laypage-normal-2',
    count: 100 // 数据总数
  });
});
</script>

</body>
</html>
仅需要laypage.render就可以实现分页UI+逻辑回调的实现,此时可以看到后面的属性部分发现一个和重要的回调jump

定义了这个回调后,可以发现点击上一页下一页就能拿到你点击最终当前页以及每页显示的条书。每个后端去实现的逻辑大同小异,如果用flask的话,如果要用url_for去做的话,这个obj.curr无法传进去,只能使用浏览器的方法进行路由跳转。
Flask+Jinja2实现laypage步骤:
1.渲染页码
例如我的Flask路由是这样定义的:
bp = Blueprint('blog', __name__, url_prefix='/blog', template_folder='templates', static_folder='static')

@bp.route('/index/<int:page>')
def index(page=1):
    post_pg = Post.query.paginate(page=page, per_page=5)
    count = post_pg.total
    return render_template('index.html', **locals())
那么我要访问此路由的URL应该是这种格式: http://127.0.0.1:8000/blog/index/1
首先第一点就是,后端返回模板的值中得带有 count,供laypage组件去进行具体页数的逻辑渲染
    <script>
        layui.use(function () {
            let $ = layui.jquery
            let laypage = layui.laypage;
            laypage.render({
                elem: 'demo-laypage-theme-1',
                count: '{{ count }}',
                theme: '#1E9FFF',
                limit: 5
            });
        });
    </script>
已知这几点后,我们可以去jump回调那块实现整体逻辑
JS中可以使用Flask返回给模板的count,组件根据返回的值进行赋值即可,效果如下

其他语言页面数据初始化的时候把count一起返回即可
2.定义回调
首先我的limit是定死的,你们可以根据自己需求做去进行修改。逻辑是点击了分页跳转的任意事件,例如具体某一页,上一页下一页等,都会触发jump方法,此时仅需要利用window.location.href配合obj.curr就能跳转到具体的某一页
<script>
    layui.use(function () {
        let $ = layui.jquery
        let laypage = layui.laypage;
        laypage.render({
            elem: 'demo-laypage-theme-1',
            curr: '{{ page }}',
            count: '{{ count }}',
            theme: '#1E9FFF',
            limit: 5,
            jump: (obj, first) => {
                // 首次不执行
                if (!first) {
                    window.location.href = `/blog/index/${obj.curr}`
                    console.log(obj.curr)
                    console.log(obj.limit)
                }
            }
        });
    });
</script>
此时点击事件触发后,可以发现URL进行了跳转
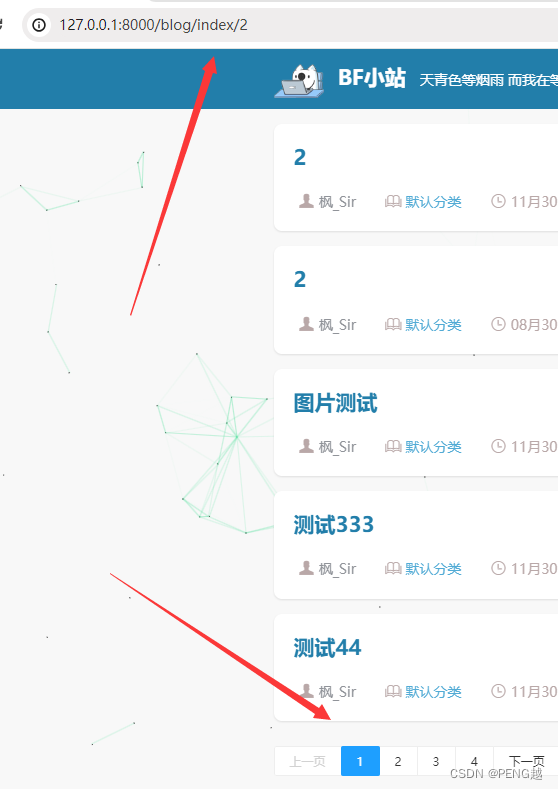
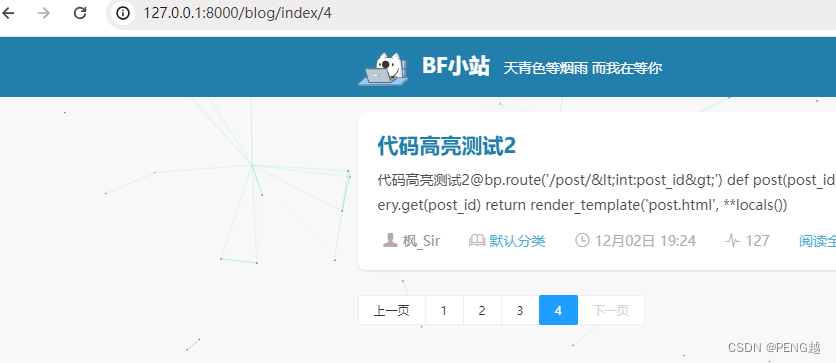
但是此时可以发现一个问题,URL虽然是变了,页面数据也拿到了,但是分页栏的当前页没有进行同步,此时去看文档可以发现一个关键参数 curr

如果你也是Flask+Jinja2的话你就可以和和我一样,继续使用插值渲染Flask提供的值,因为我的index路由是有一个page参数的,每次访问那个路由page就是我要获取的具体页,拿到具体页后渲染页面后,也需要同步进行分页组件的当前页更新,你只需要进行curr 的定义即可
<script>
     layui.use(function () {
         let $ = layui.jquery
         let laypage = layui.laypage;
         laypage.render({
             elem: 'demo-laypage-theme-1',
             curr: '{{ page }}',
             count: '{{ count }}',
             theme: '#1E9FFF',
             limit: 5,
             jump: (obj, first) => {
                 // 首次不执行
                 if (!first) {
                     window.location.href = `/blog/index/${obj.curr}`
                     console.log(obj.curr)
                     console.log(obj.limit)
                 }
             }
         });
     });
 </script>
最终效果:
PS:实现思路大致差不多,Layui提供的仅是部分回调介绍,以及他能用的属性以及方法,对照着租用自己去组装就好,觉得有用能实现的点个赞,有问题留言😉
