SpringMVC的简介
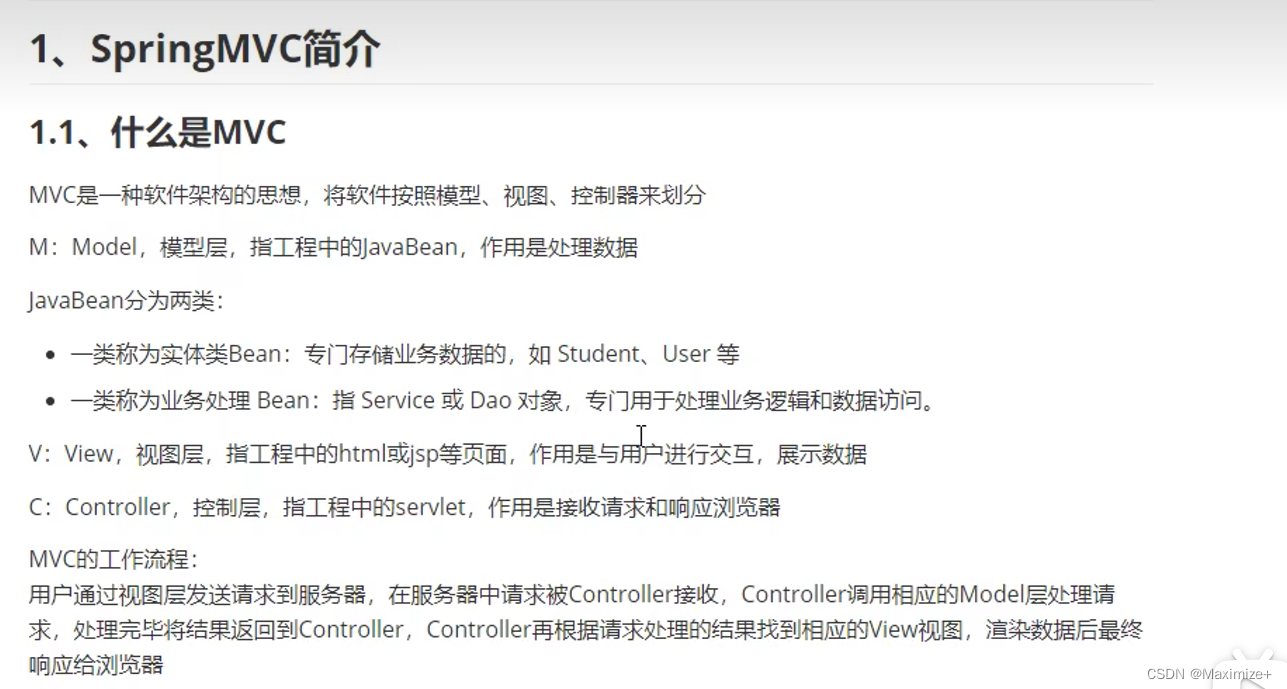


表述层=前端页面+Servlet
入门案例-创建SpringMVC
创建Maven工程
创建Maven工程后,pom文件的打工方式是war包,表示web应用打包方式。
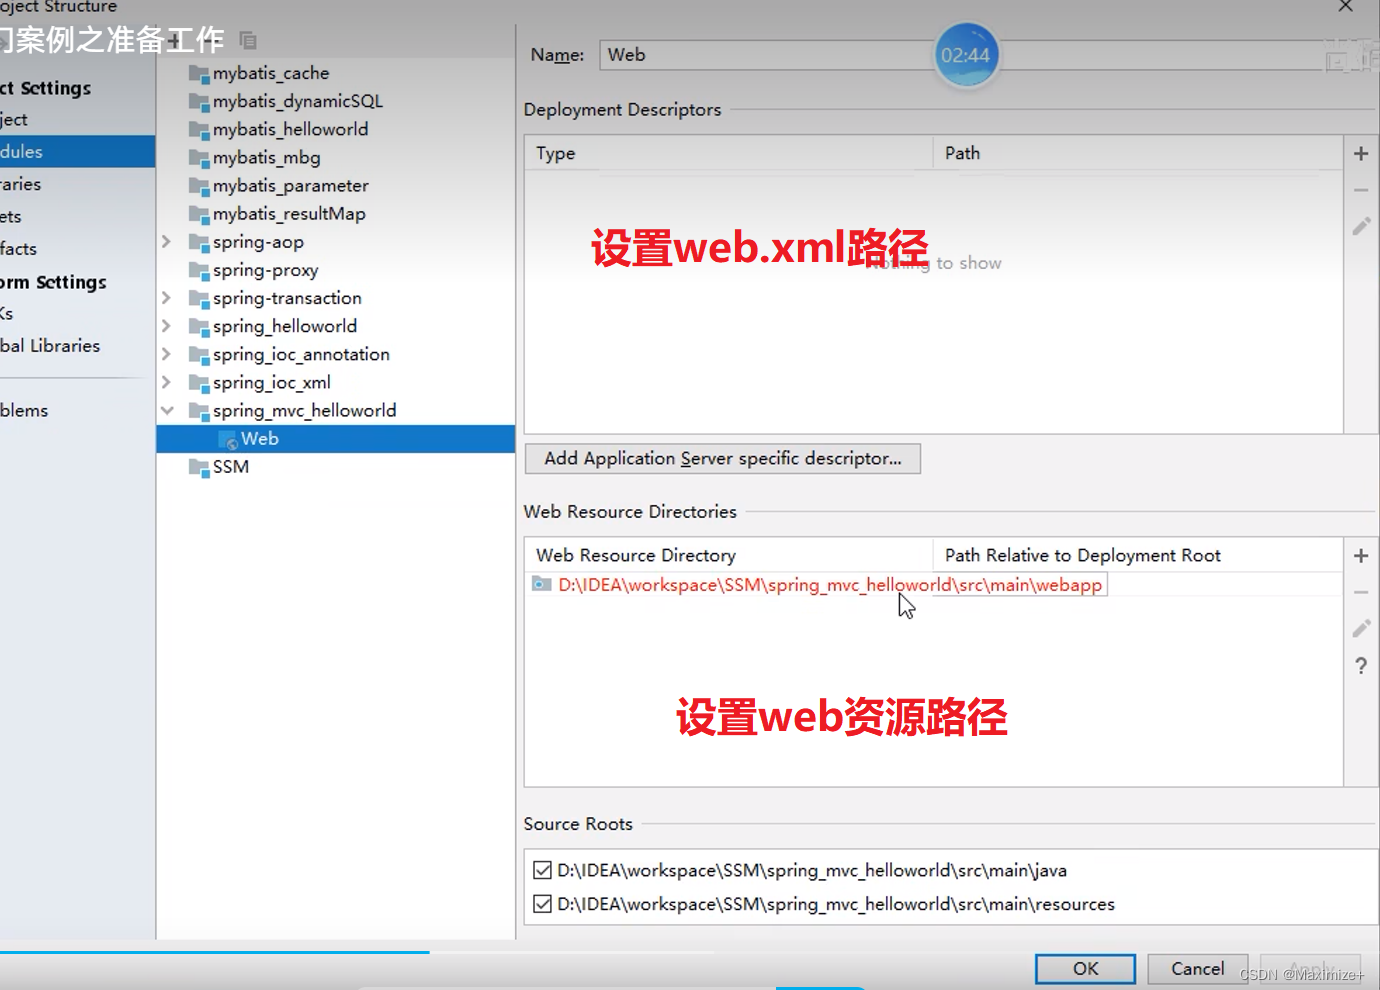
正确的web.xml文件创建路径
src\main\webapp\WEB-INF\web.xml
添加依赖
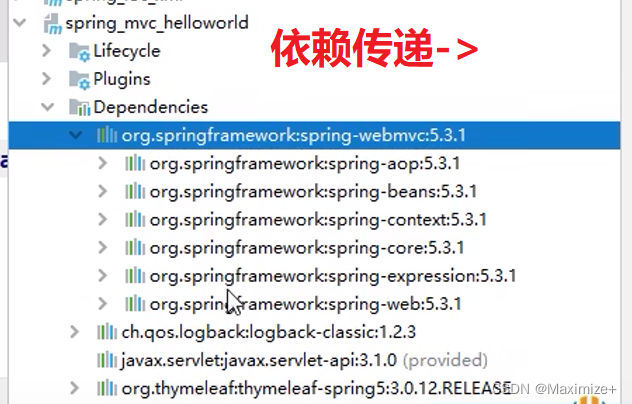
spring-web:5.3.1是SpringMVC的核心JAR包
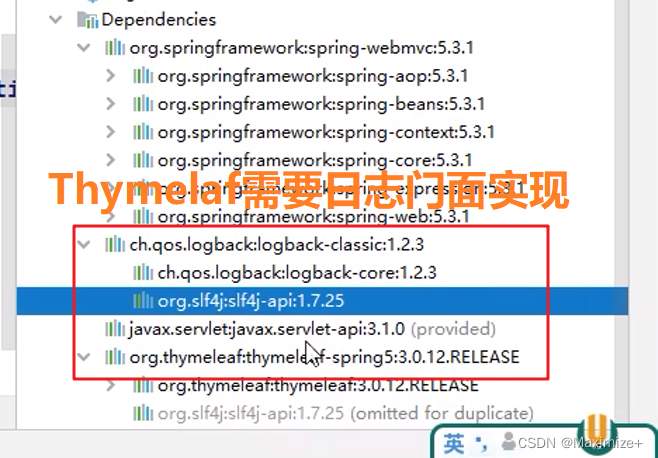
配置web.xml
注册SpringMVC的前端控制器DispatcherServlet

通过web.xml来注册SpringMVC封装的前端控制器Servlet

在Tomcat中有一个内置的Serlvet,专门处理JSP请求:
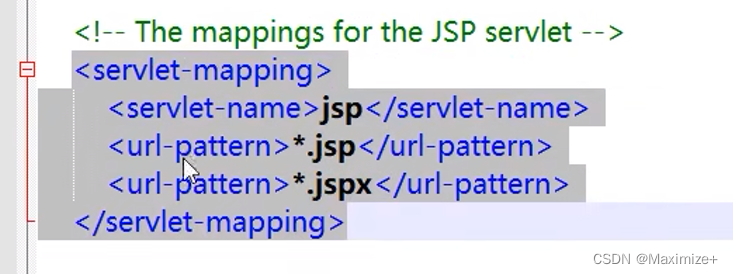
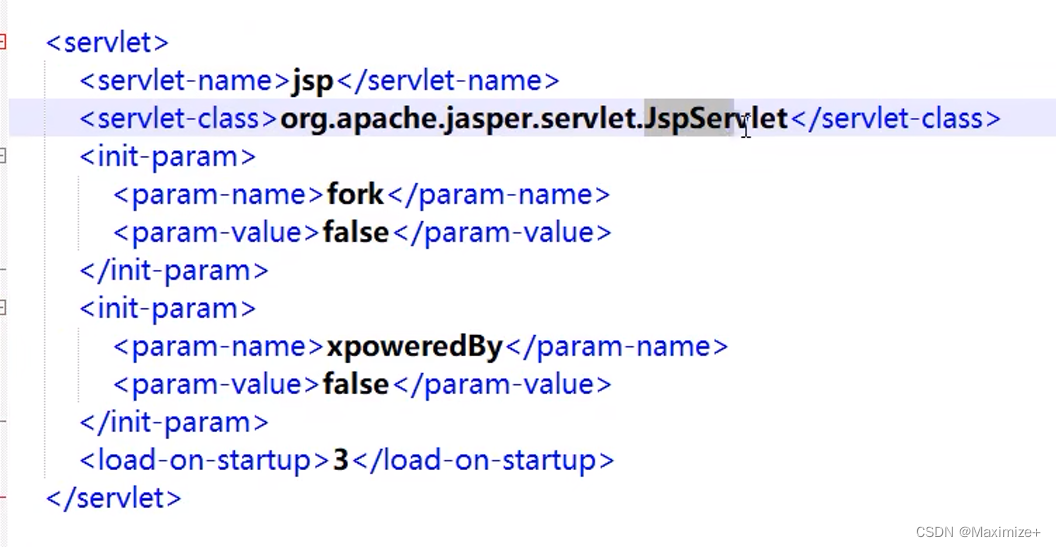

Thmeleaf都是以.html为后缀
<?xml version="1.0" encoding="UTF-8"?>
<web-app xmlns="http://xmlns.jcp.org/xml/ns/javaee"
         xmlns:xsi="http://www.w3.org/2001/XMLSchema-instance"
         xsi:schemaLocation="http://xmlns.jcp.org/xml/ns/javaee http://xmlns.jcp.org/xml/ns/javaee/web-app_4_0.xsd"
         version="4.0">
    <!-- 配置SpringMVC的前端控制器DispatcherServlet -->
    <servlet>
        <servlet-name>SpringMVC</servlet-name>
        <servlet-class>org.springframework.web.servlet.DispatcherServlet</servlet-class>
    </servlet>
    <servlet-mapping>
        <servlet-name>SpringMVC</servlet-name>
        <!-- /表示请求浏览器想服务器发送的全部请求,但是不能匹配.jsp结尾的请求 。/* 可以匹配任何请求
        /* 前端控制器是处理不了的,要交给Tomcat的Servlet处理
        -->
        <url-pattern>/</url-pattern><!-- 请求路径模型 -->
    </servlet-mapping>
</web-app>
创建请求控制器
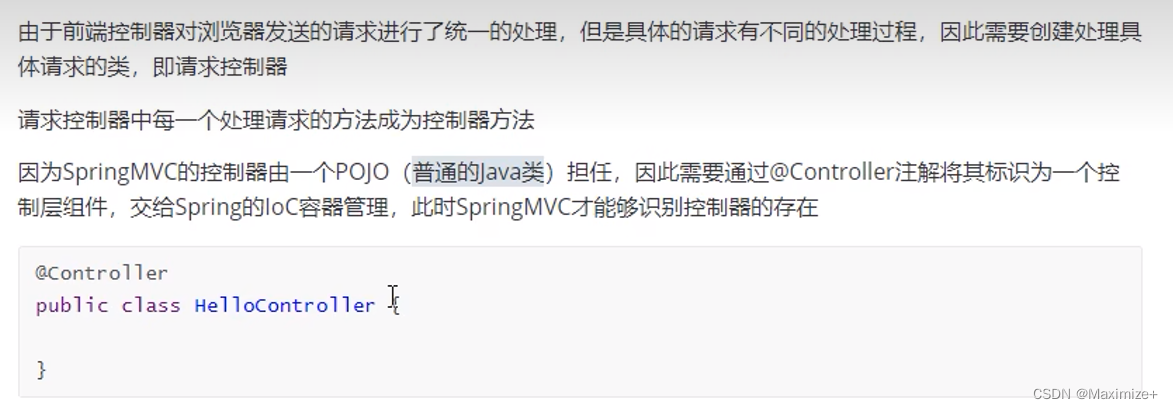
SpringMVC封装了Servlet我们不需要创建Servlet,请求都被DispatcherSerlvet统一处理和响应。
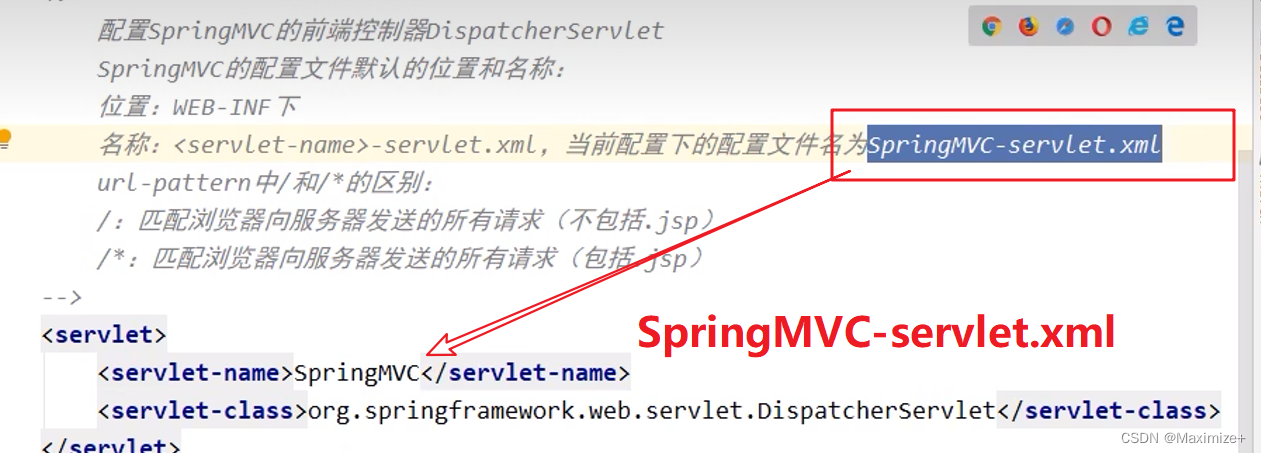
创建SpringMVC的配置文件
<?xml version="1.0" encoding="UTF-8"?>
<beans xmlns="http://www.springframework.org/schema/beans"
       xmlns:xsi="http://www.w3.org/2001/XMLSchema-instance"
       xmlns:context="http://www.springframework.org/schema/context"
       xsi:schemaLocation="http://www.springframework.org/schema/beans http://www.springframework.org/schema/beans/spring-beans.xsd http://www.springframework.org/schema/context https://www.springframework.org/schema/context/spring-context.xsd">
    <!-- 扫描控制层组件 -->
    <context:component-scan base-package="com.atguigu.controller"></context:component-scan>
    <!-- 配置Thymeleaf视图解析器 -->
    <bean id="viewResolver"
          class="org.thymeleaf.spring5.view.ThymeleafViewResolver">
        <property name="order" value="1"/>
        <property name="characterEncoding" value="UTF-8"/>
        <property name="templateEngine">
            <bean class="org.thymeleaf.spring5.SpringTemplateEngine">
                <property name="templateResolver">
                    <bean class="org.thymeleaf.spring5.templateresolver.SpringResourceTemplateResolver">
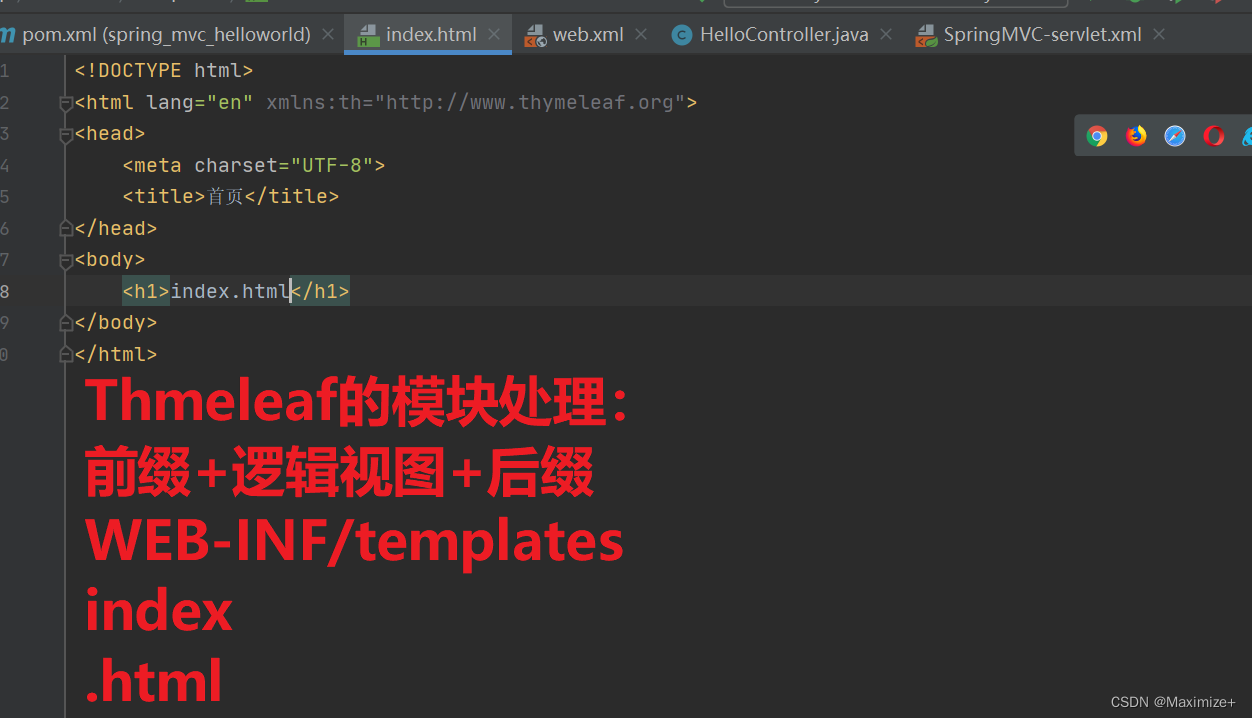
                        <!-- /WEB-INF/templates/index.html -->
                        <!-- index -->
                        <!-- 视图前缀 -->
                        <property name="prefix" value="/WEB-INF/templates/"/>
                        <!-- 视图后缀 -->
                        <property name="suffix" value=".html"/>
                        <property name="templateMode" value="HTML5"/>
                        <property name="characterEncoding" value="UTF-8" />
                    </bean>
                </property>
            </bean>
        </property>
    </bean>
</beans>
这个配置文件,在web.xml加载

时就会自动完成,不需要手动去创建等。

完整的物理视图如下:
功能测试
先配置Tomcat启动项
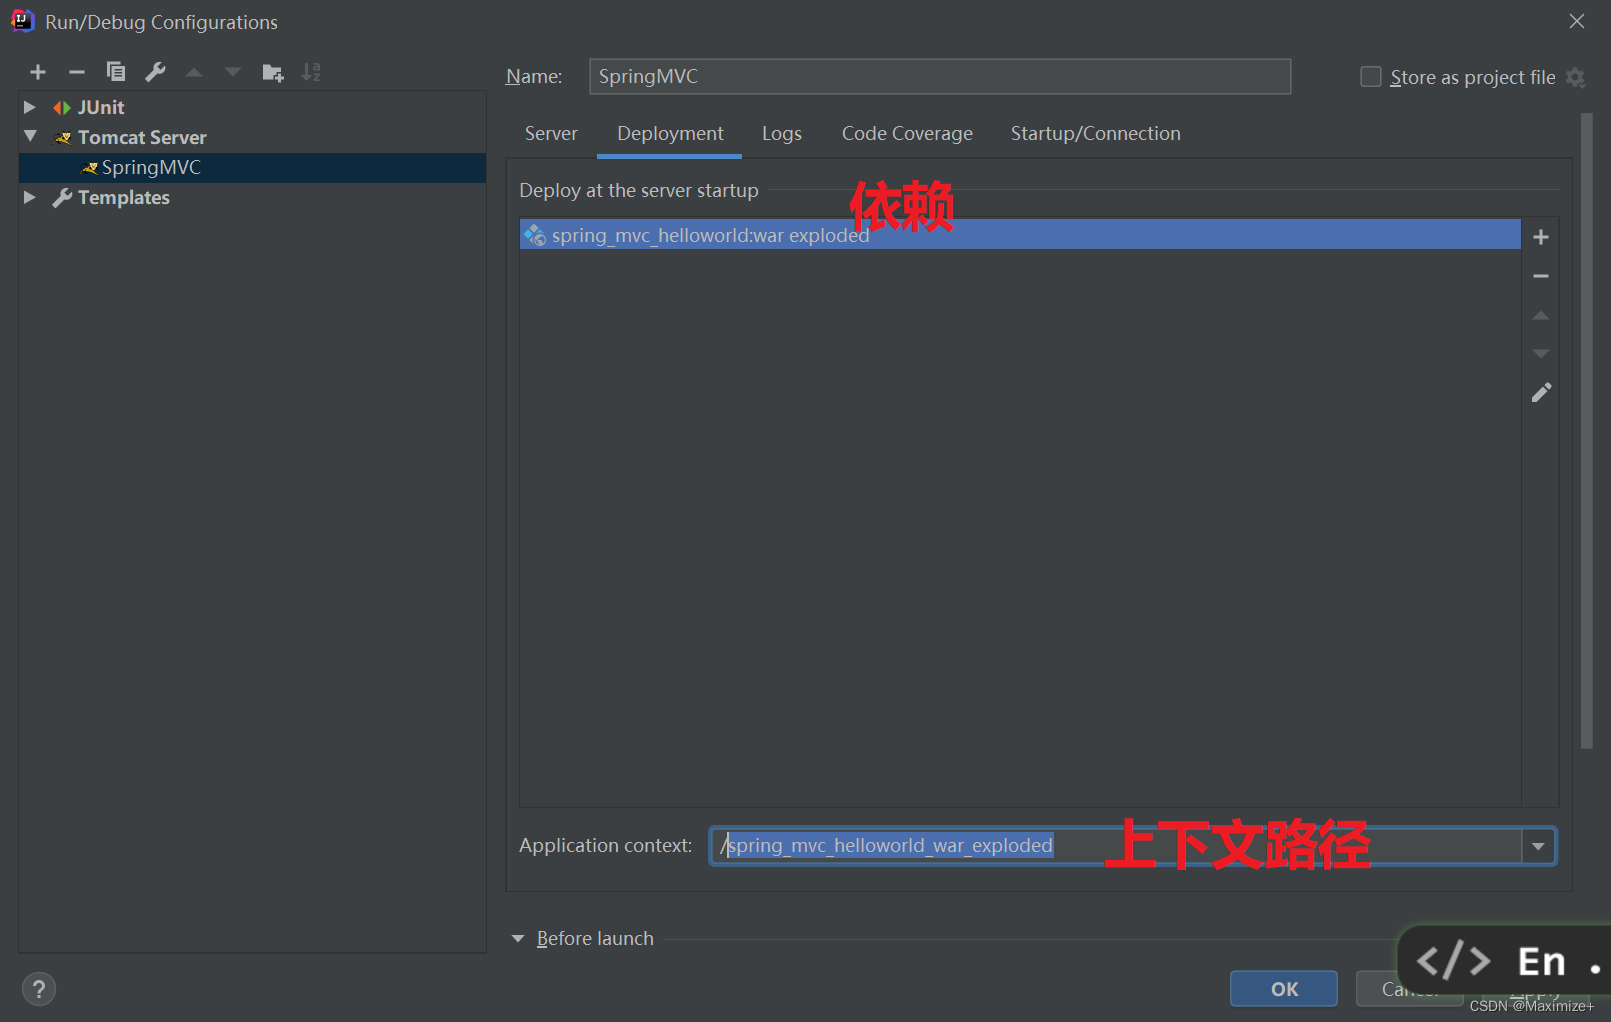
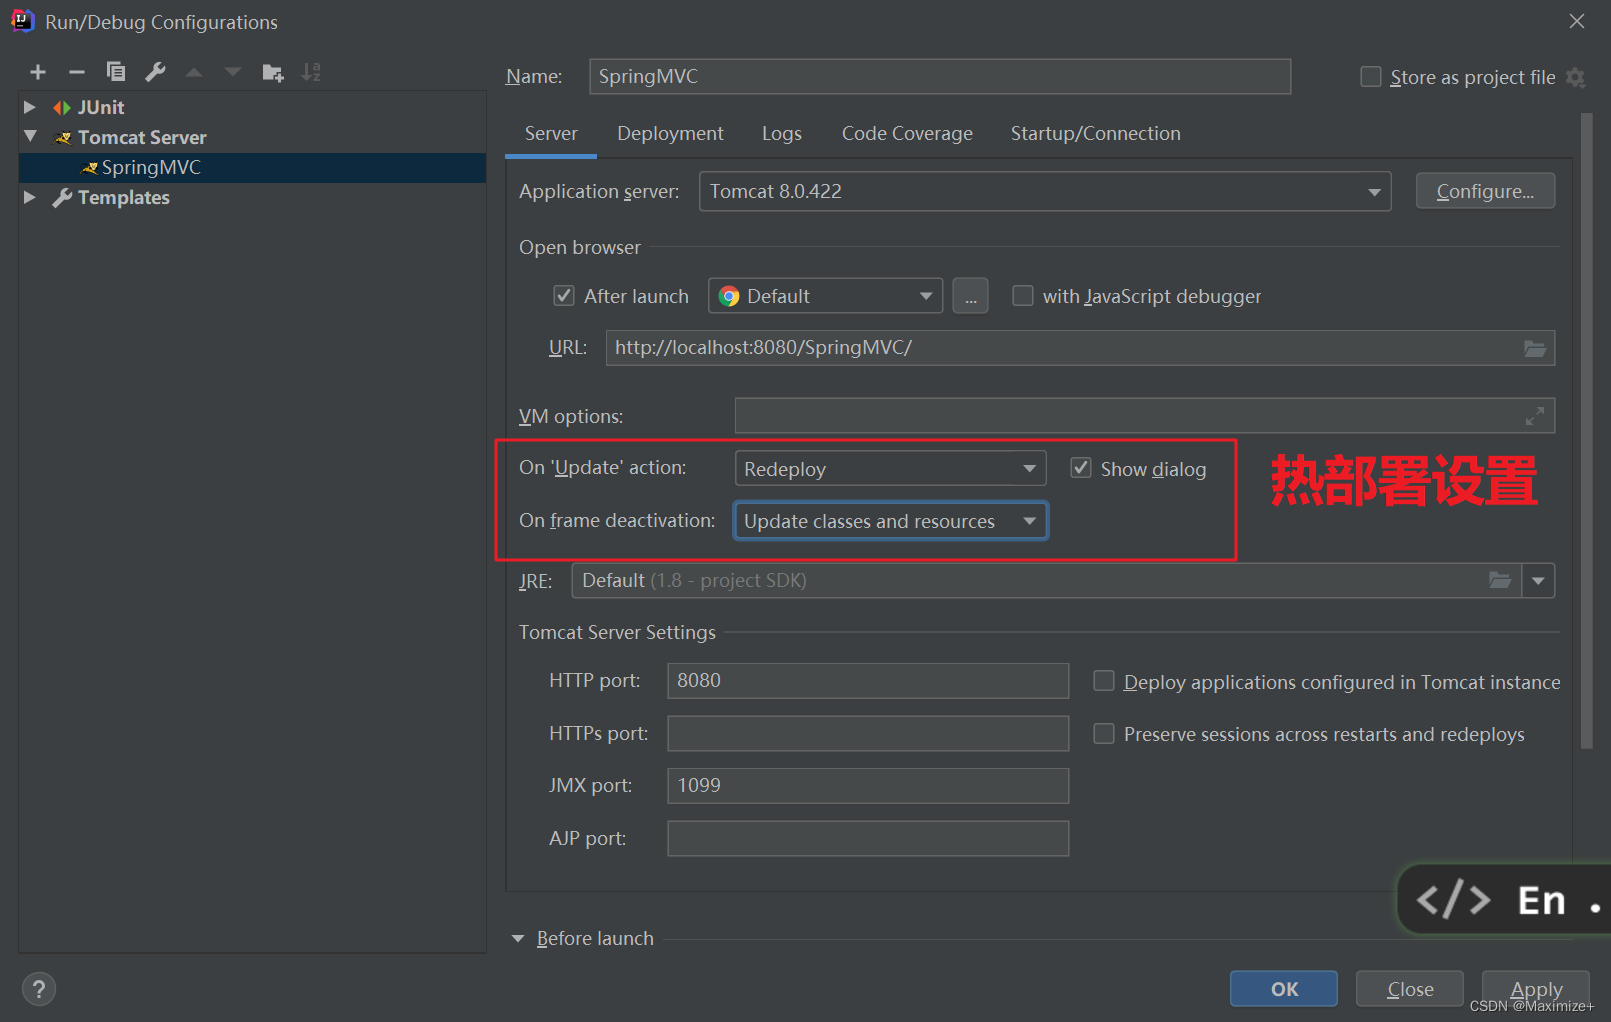


浏览器是无法直接访问WEB-INF下的资源的,我们需要通过服务器内部转发来访问。
现在直接启动一定是404,因为没有首页和首页的处理程序!
控制层请求处理添加
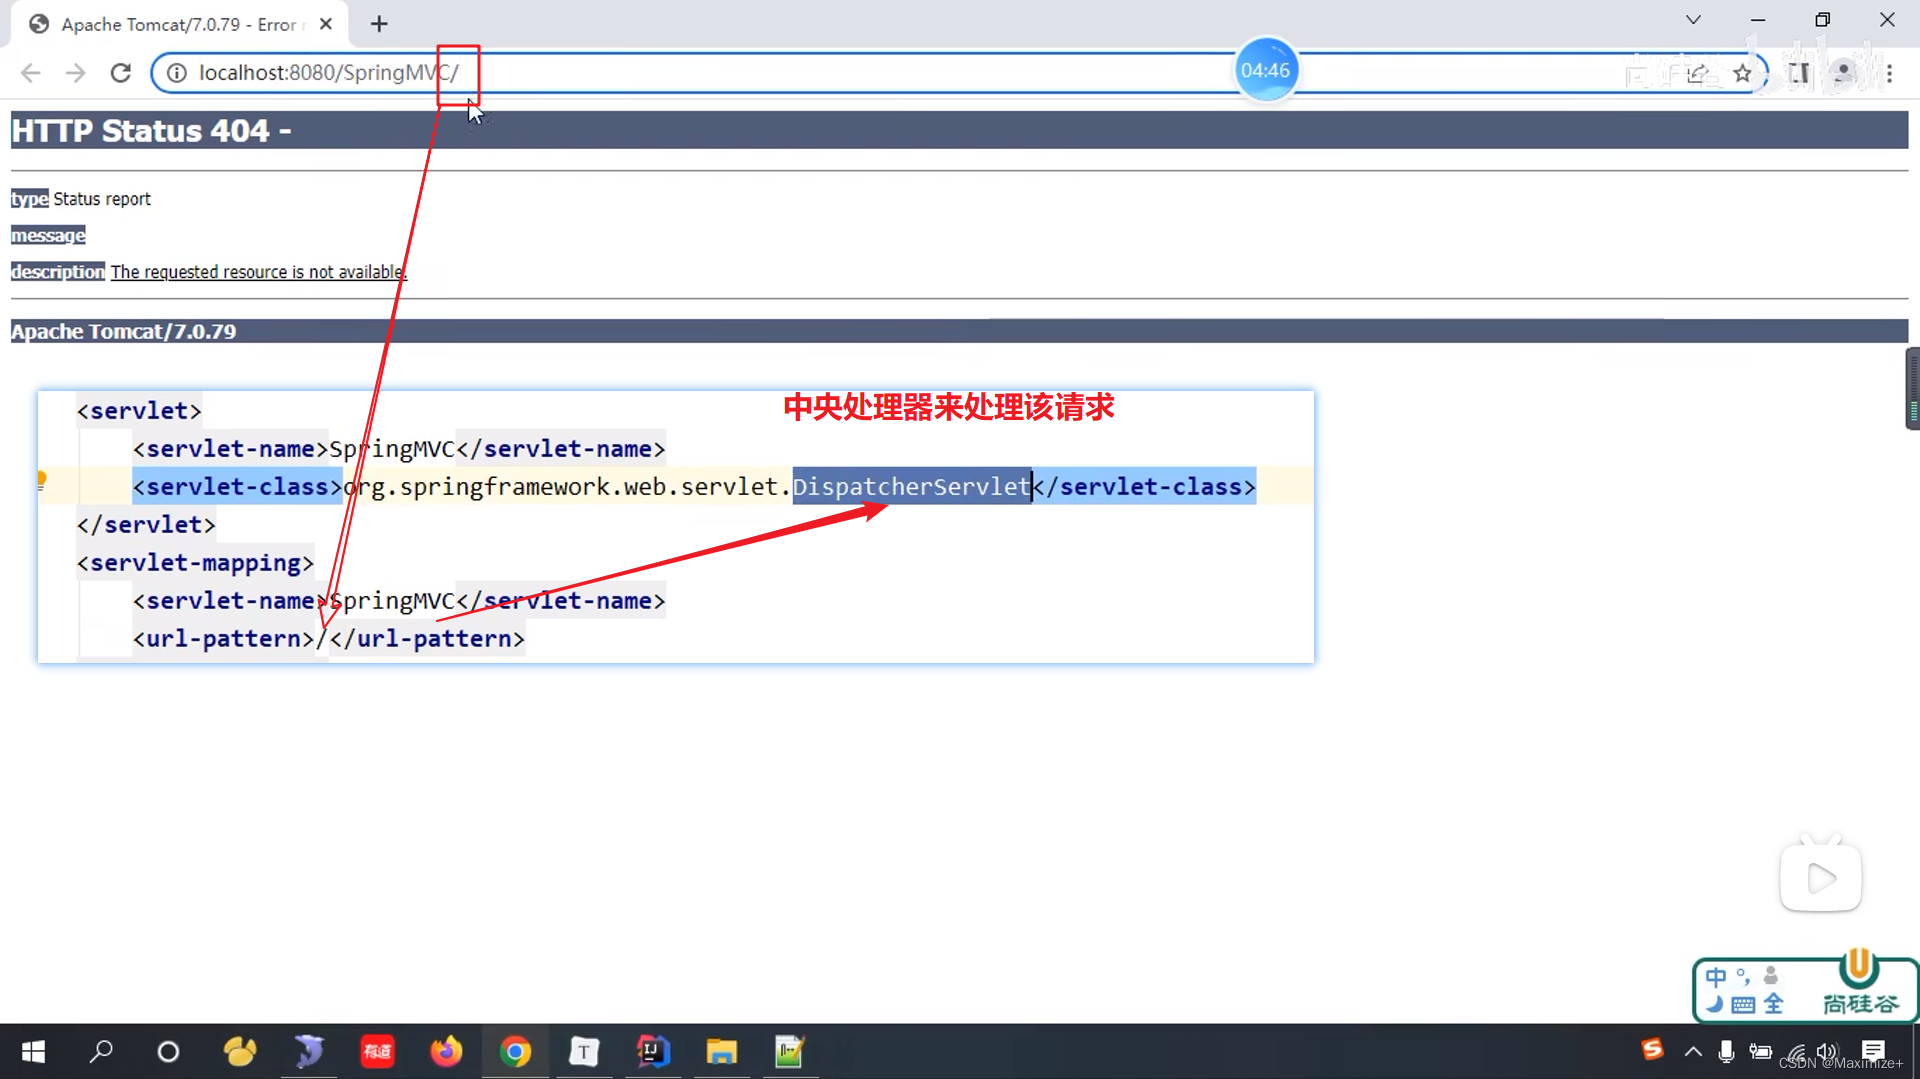
因为路径是WEB-INF里的资源所以访问不到,如果在web-app下则是可以访问到的,必须指定请求访问页面。
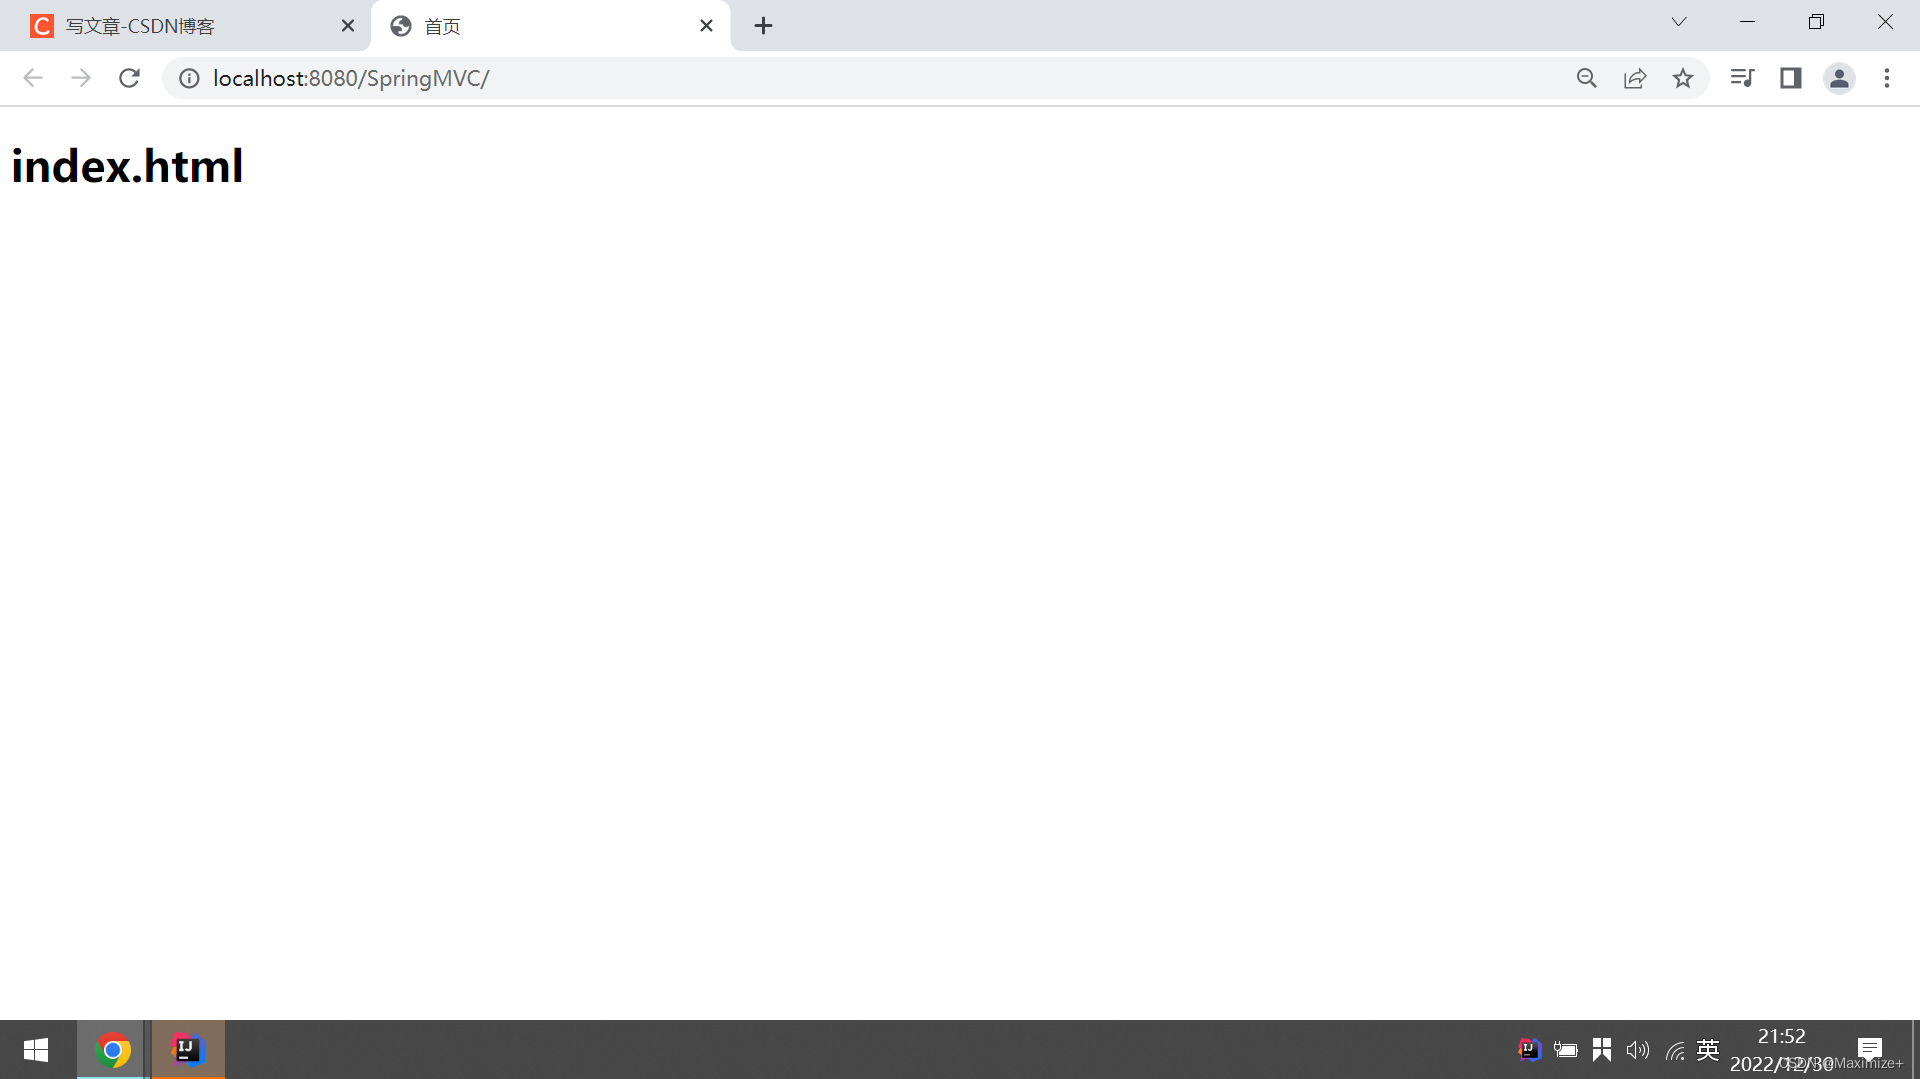
运行成功
下面使用一个超链接演示通过超链接发送请求跳转页面。


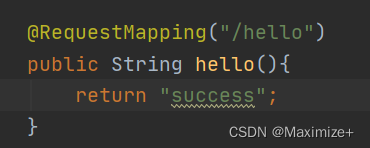

@RequestMapping(“”)注解来表名用控制层的什么方法来处理请求。
入门案例的总结和扩展
总结

扩展
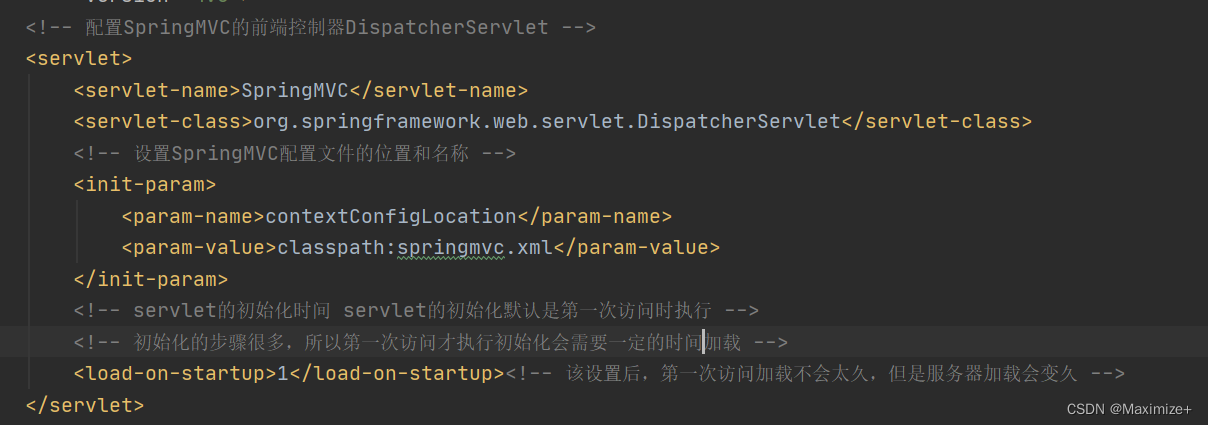
如果我们想将SpringMVC的配置文件放在resources目录下,则需要去web.xml里配置。

contextConfigLocation是上下文配置路径的意思,resources也是类路径,在classpath:中指定文件名。
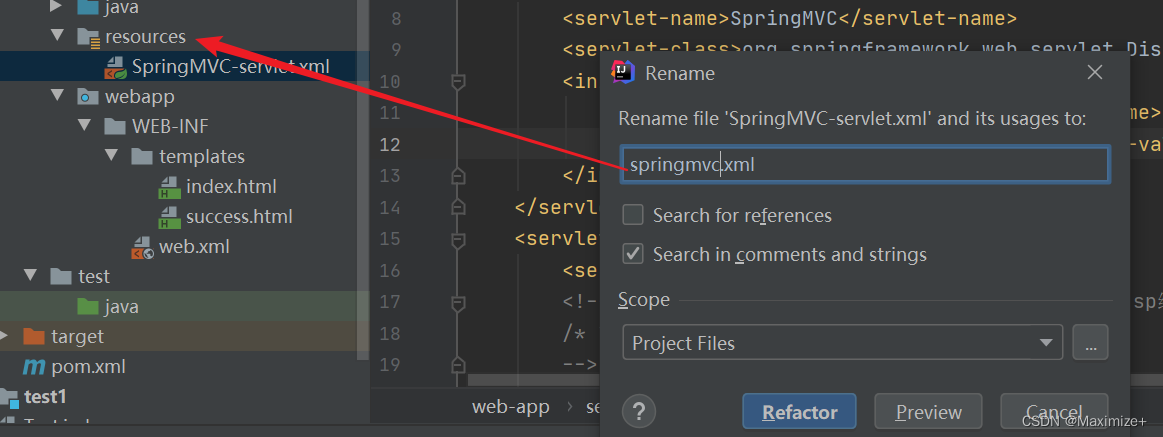

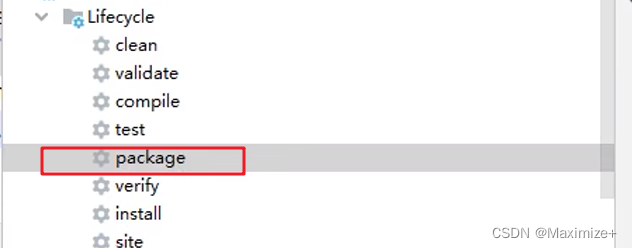
热部署容易造成文件加载延迟,在taget目录下可能没有刚刚更改的文件,这个情况我们需要去Maven设置里执行clean。

然后再从新打包即可。
@RequestMapping注解
P124
