一、Keycloak 简介
收先先來看一下Keycloak的基本資訊:
- 名稱: Keycloak
- 開發使用的程式語言: Java
- 公用: 單點登入驗證與授權工具
- 許可協議: Apache License 2.0
- 公開倉庫: https://github.com/keycloak/keycloak
- 官方網站: https://www.keycloak.org
- 撰寫當下最新版本: 15.0.2 (2021年8月20日)
Keycloak是拿來做什麼的?
首先,他是一個單點登入(Single Sign On, SSO)系統服務。換句話說如果「快速開始」所展示的,他可以協助你驗證身份與管理會話(Session)。
除此之外,他可以嫁接許多現有的驗證系統,支援LDAP、keyberos。
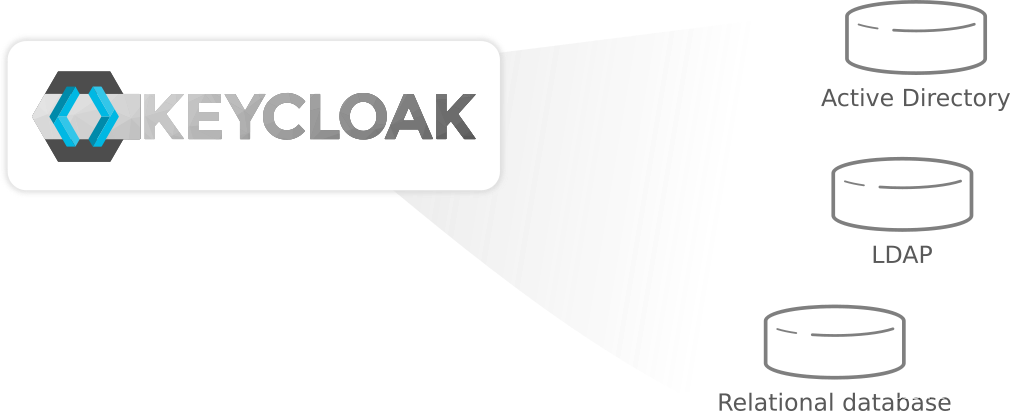
此外支援多種社交登入(Social Login)。
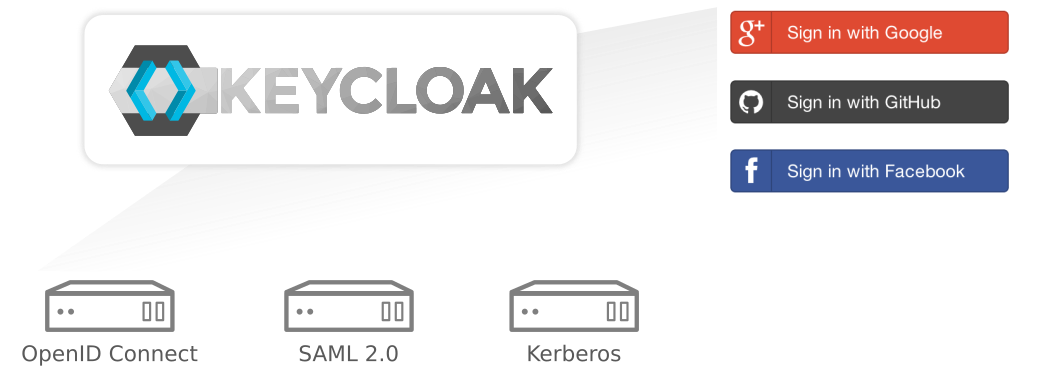
以及支援多個標準協議,包含 OAuth 2.0 、 OpenID 和 saml 。 且支援授權服務。

關於Keycloak
起初會看到 Keycloak 是因爲,當時在思考一個授權設計的相關軟體開發問題。然後授權又與驗證不是那麼容易分開來看。
找著找著就發現Keycloak這蠻有去的玩具。雖然文件上有些過時,但功能齊全、更新更讓我意外。
2020年底、2021年初,剛接觸時才12版,一部分OAuth的Flow也沒有實現。半年才過去一些,現在不但有了,主板號更是直接跳到15版。
- 2021年7月30 發佈 15.0.0 版
- 2021年8月7日 發佈 15.0.1 版
- 2021年8月20日 發佈 15.0.2 版
一、安装Docker
Docker Desktop 安装使用教程 点击查看
二、安装 KeyCloak
镜像地址: https://hub.docker.com/r/jboss/keycloak/
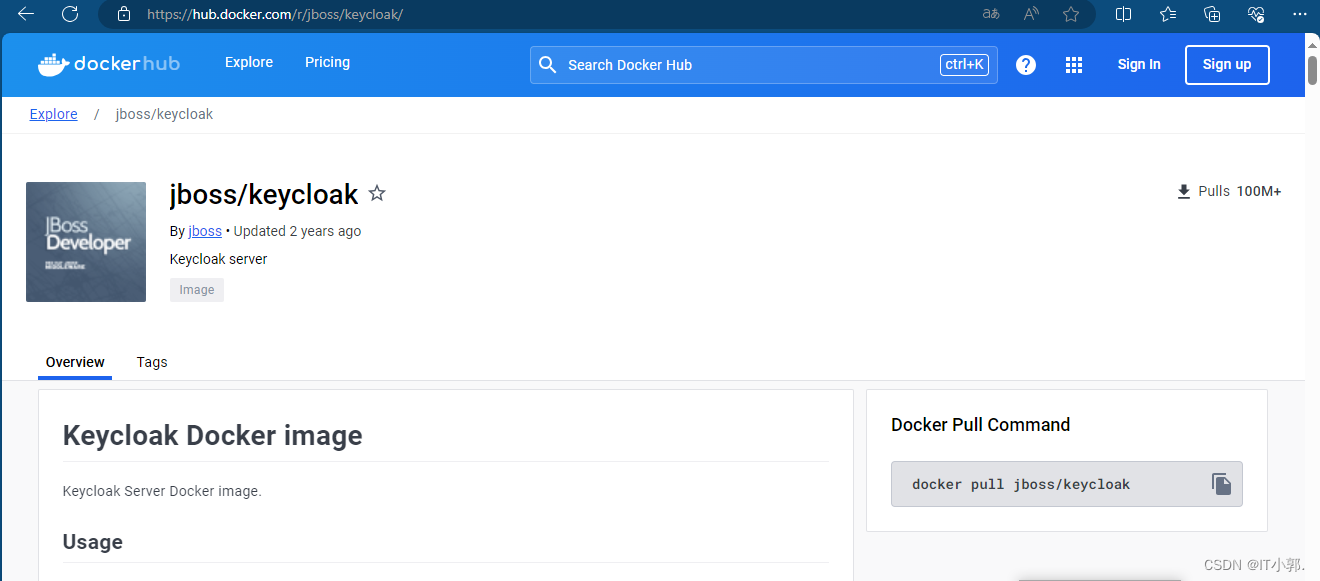
1、安装 jboss/keycloak 镜像
docker pull jboss/kaycloak

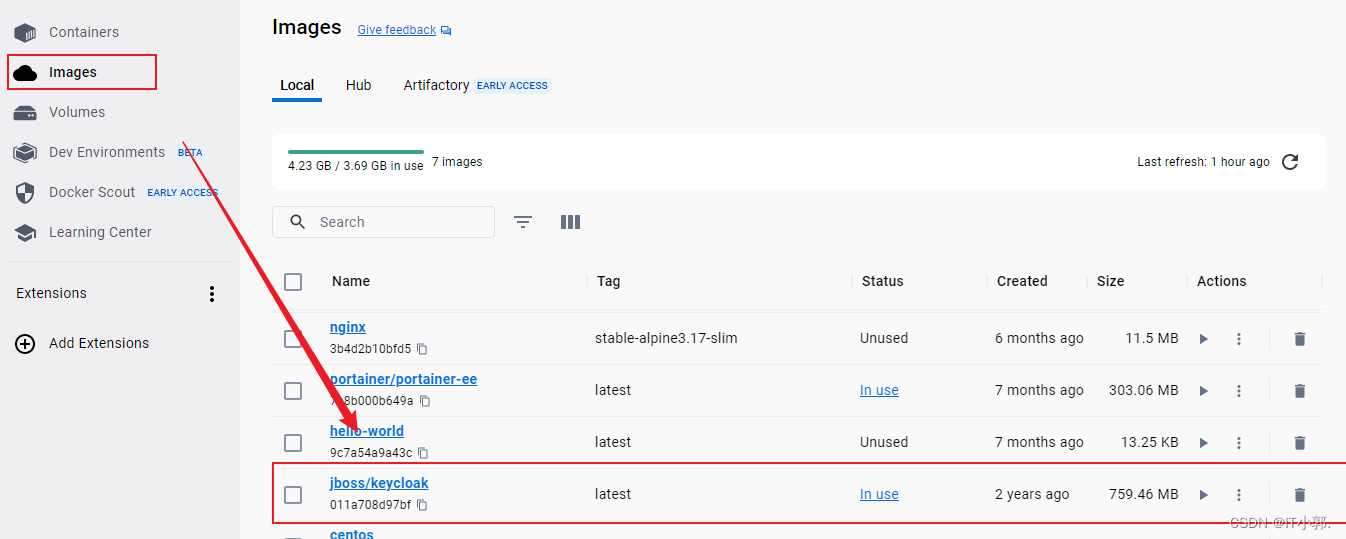
2、启动 jboss/keycloak 镜像
参考启动命令 如下命令将启动一个新的容器,需要启动已有的容器,请使用
docker start 《container_id》
# jboss/keycloak
docker run -p 8082:8080 -e KEYCLOAK_USER=admin -e KEYCLOAK_PASSWORD=admin jboss/keycloak
# quay.io/keycloak v19.0.1
docker run -p 9080:9080 -p 9443:9443 -e KEYCLOAK_ADMIN=admin -e KEYCLOAK_ADMIN_PASSWORD=admin -e KC_HTTP_PORT=9080 -e KC_HTTPS_PORT=9443 -d quay.io/keycloak/keycloak:19.0.1 start-dev


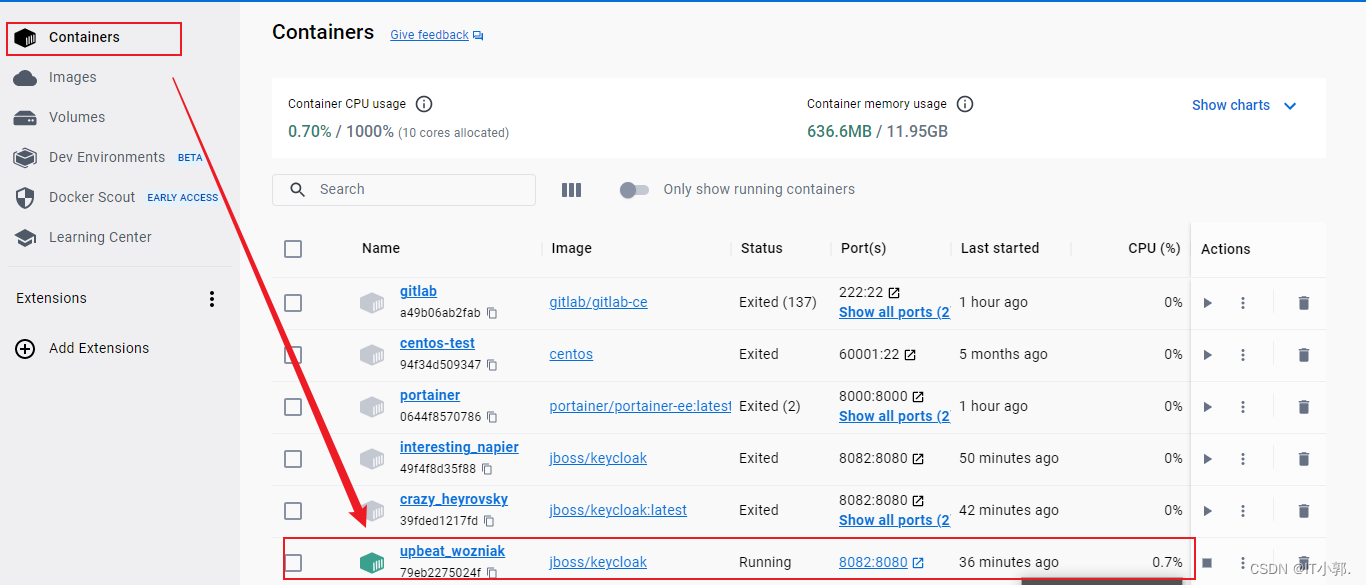
然后重新启动容器:
docker restart <CONTAINER>


三、使用 KeyCloak
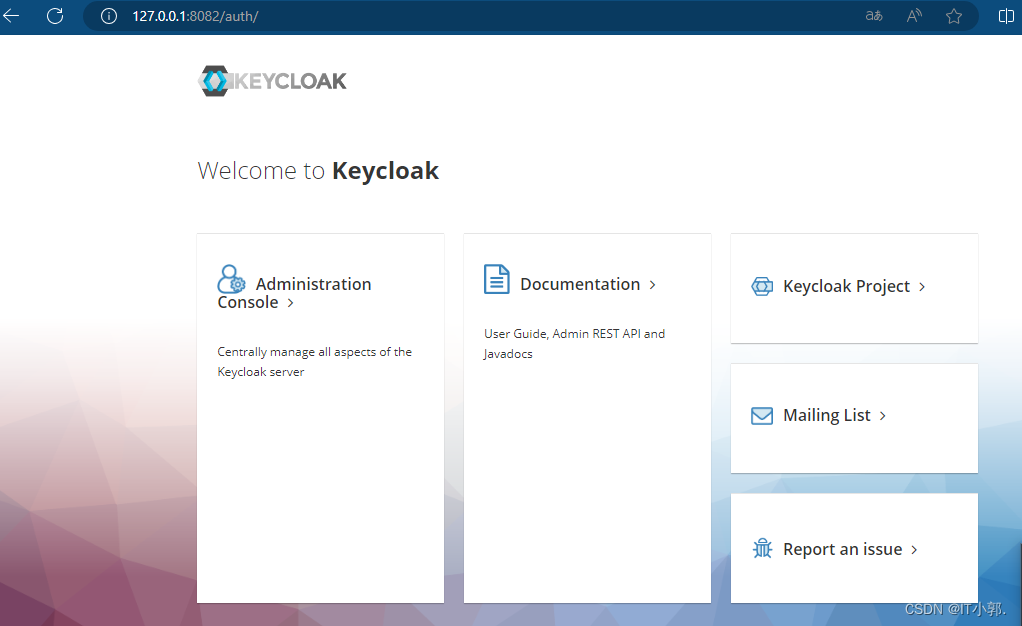
1、访问 jboss/keycloak
- 1、ping通server ip
- 2、browser访问: http://127.0.0.1:8082/
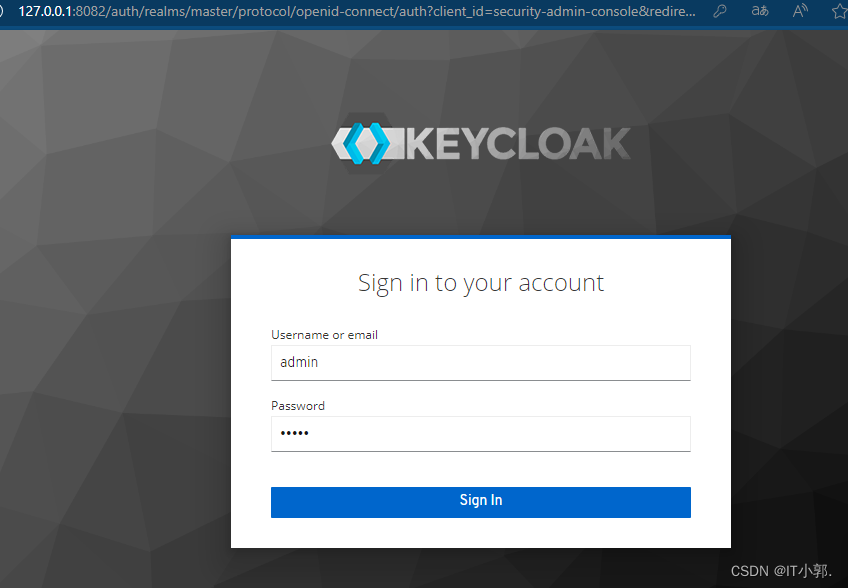
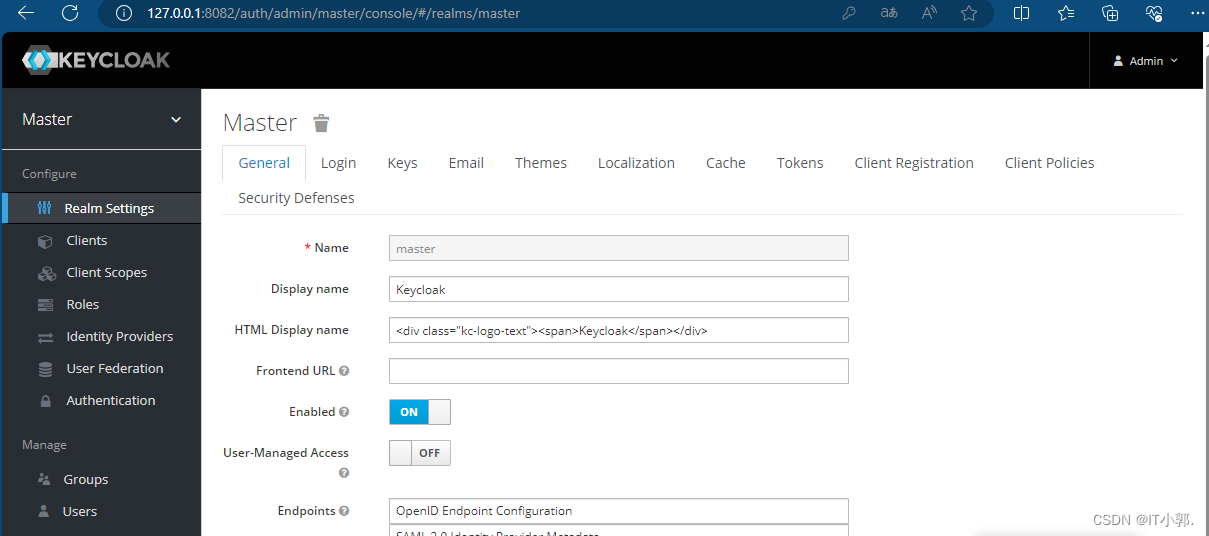
- 3、初始用户名和密码都是admin(启动时指定).

2、使用 jboss/keycloak
我们使用的时候需要创建一个realm,创建realm简单,设置一个名称即可。
点击左上角的 Master,在弹出下拉框中点击 Create Realm 按钮。
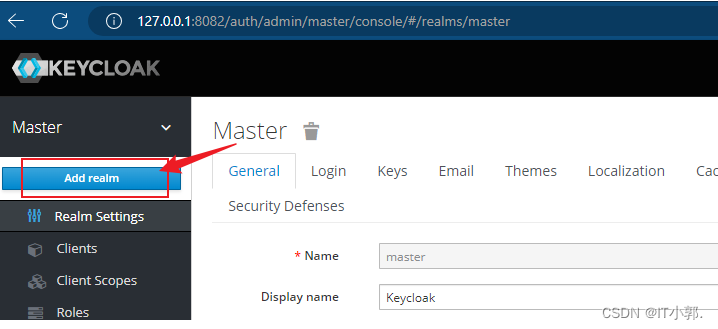
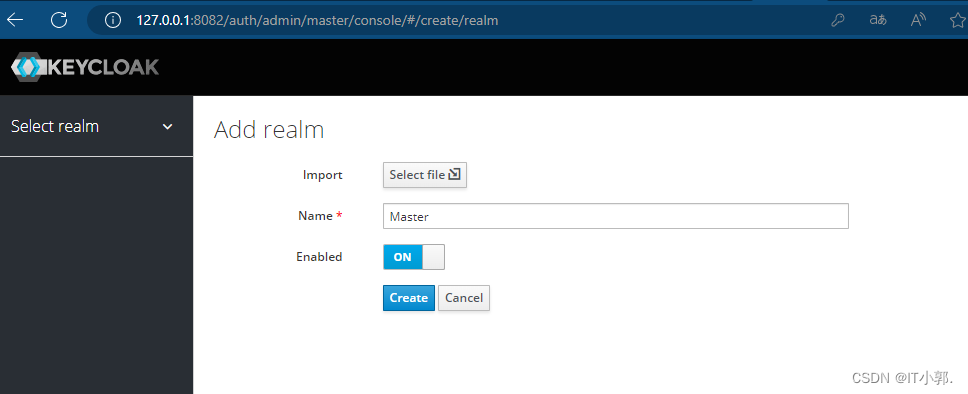
2.1、Realm公开配置
可以通过如下地址获取指定realm的openid配置
注意:keycloak:18.0.0之前的版本,url 需要添加 auth 路径
# kc 18.0.0
${KC_ADDR}/realms/${KC_REALM}/.well-known/openid-configuration

# before kc 18.0.0
${KC_ADDR}/auth/realms/${KC_REALM}/.well-known/openid-configuration
Example:http://127.0.0.1:8082/realms/MVNO/.well-known/openid-configuration
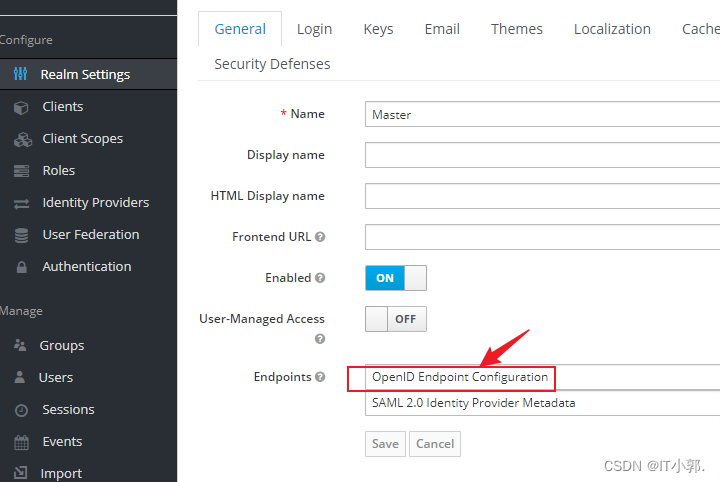
返回一个json数据,包括grant_types_supported等

2.2、Create Client
创建 Realm之后最重要的就是创建 Client ,不同类型的Client对 OAuth Grant Flow 支持有所差异。
主要配置和 Client Type 和 Client ID,前者决定授权方式,后者是后端程序配置连接地址时要配置。
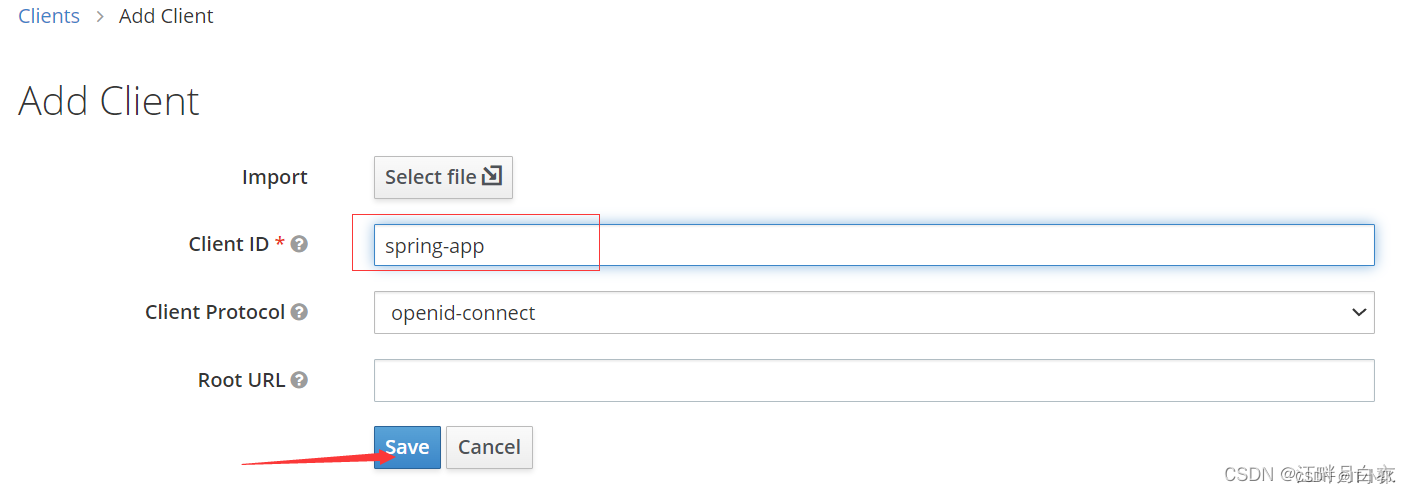
在左侧菜单栏中选择Clients 选项卡。然后点击右侧的添加按钮。
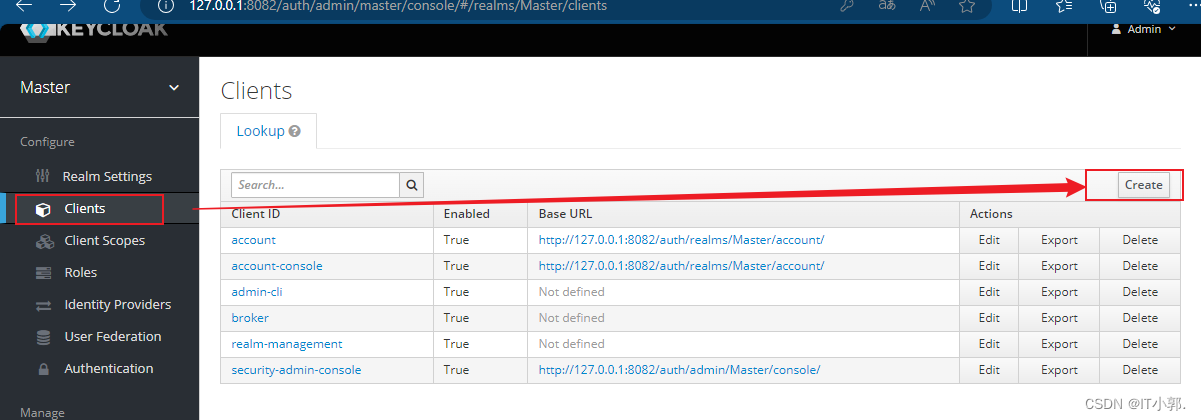
输入客户端名称,然后点击保存。
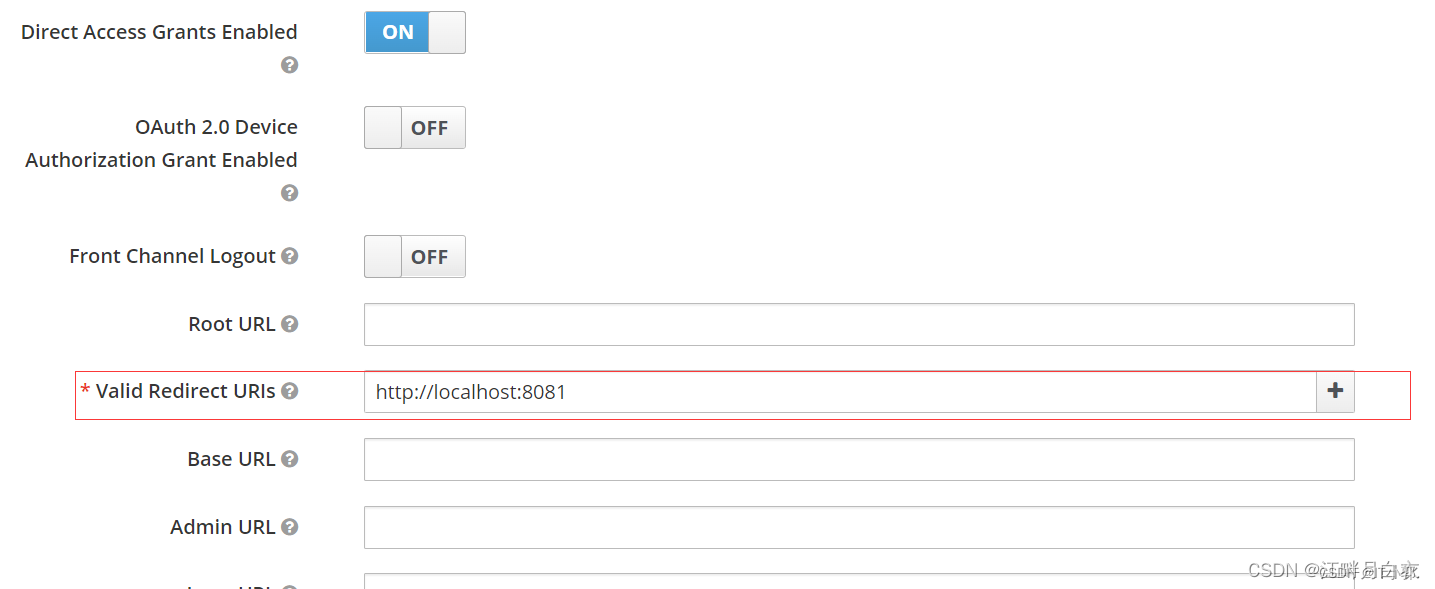
然后,在添加成功后的跳转到的页面找到Valid Redirect URIs ,在这里将配置我们的spring boot 应用的网址。在本示例中,spring boot应用将会跑在8081端口上。所以地址应设置为http://localhost:8081。随后保存。
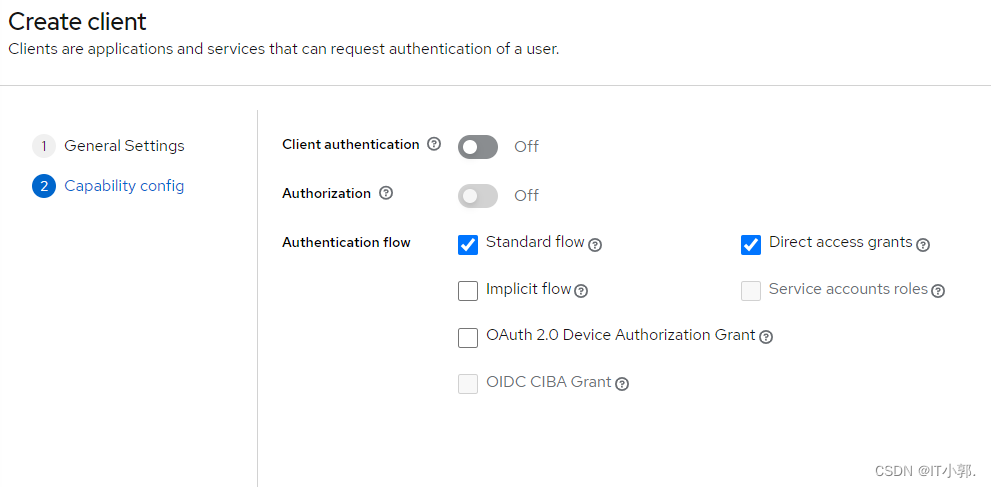
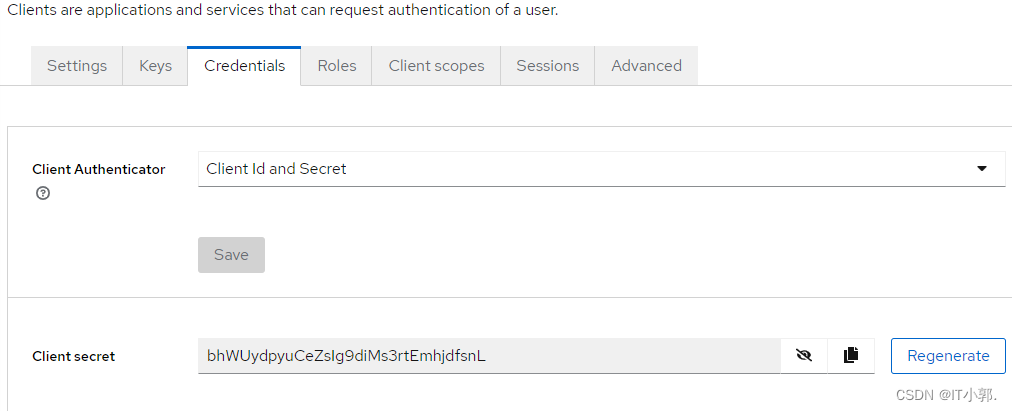
Client authentication: 如果打开,则client的access type为credentials,那么连接此client需要 client-secret参数;否则access type为public,不需要client-secret。
不同access type的client支持的Authentication flow有些差异。
Authentication flow:
- Standard flow: oauth2 的 Authorization Code Flow。
- Direct access grant: oauth2的 Password Flow。
- …
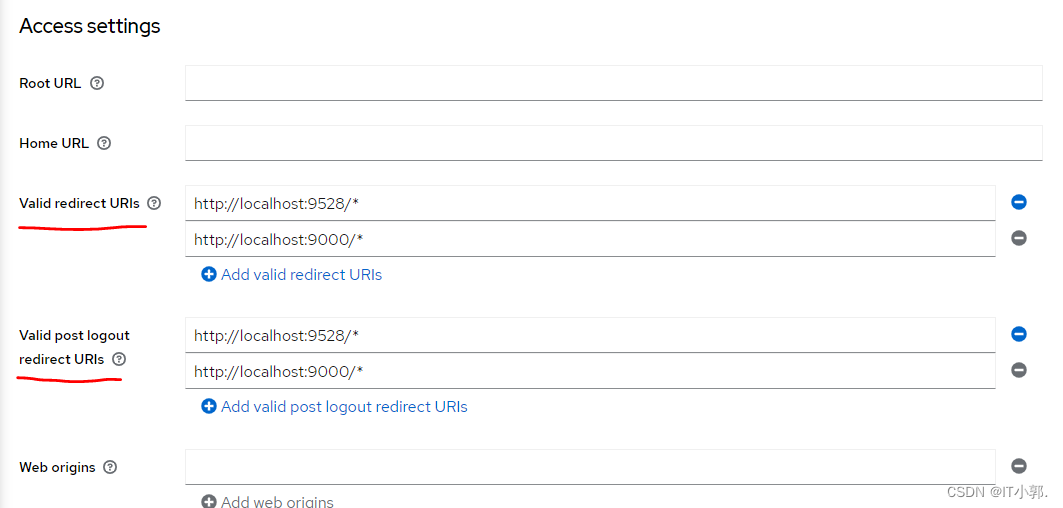
创建client之后,需要配置一些参数,如“Valid redirect URIs ”等参数。
如果使用基于重定向的 Authentication flow,keycloak接收到redirect_uri参数时,检测其是否与当前client配置的 Valid redirect_uri 一致。不符合则会提示
Client secret
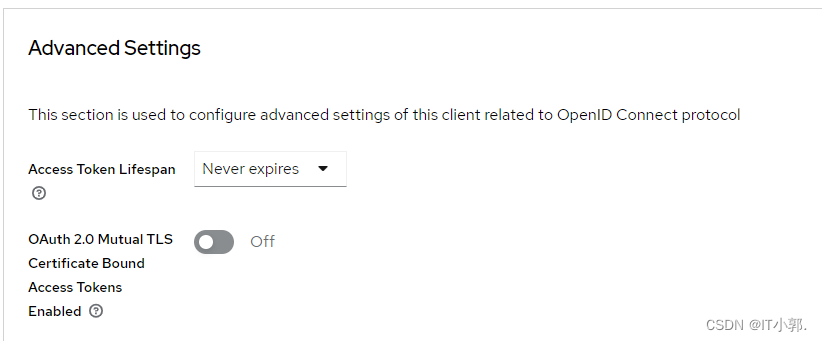
Advanced TAB
如配置access_token 存活时长等
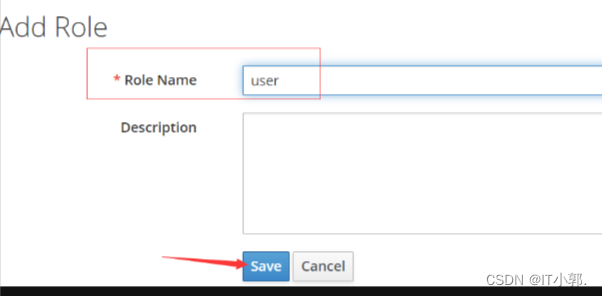
2.3、Create Roles
在左侧菜单栏中选择Roles 选项卡。然后点击右侧的添加按钮。
输入用户名,然后保存。
Create User
登录的用户来自这里;如果有额外的用户数据数据库,可以配置 User federation 。
注意:需要登录的用户需先在数据库中配置角色(前端无角色会报错)。
创建用户
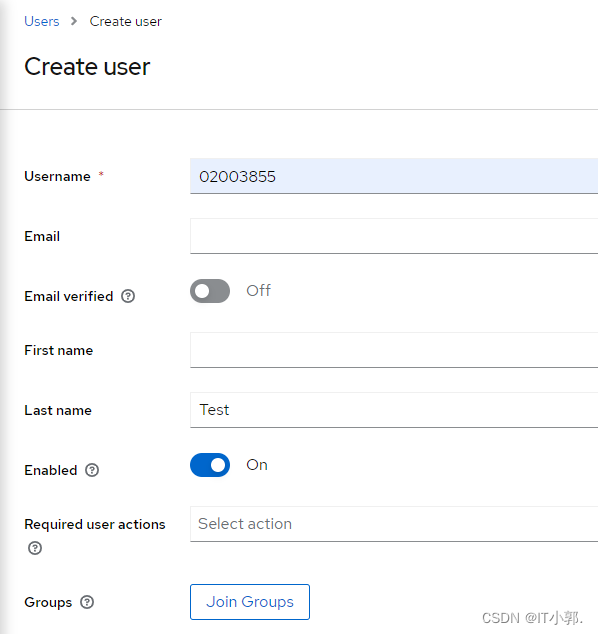
1、 在左侧菜单栏中选择Users 选项卡。然后点击右侧的添加按钮。
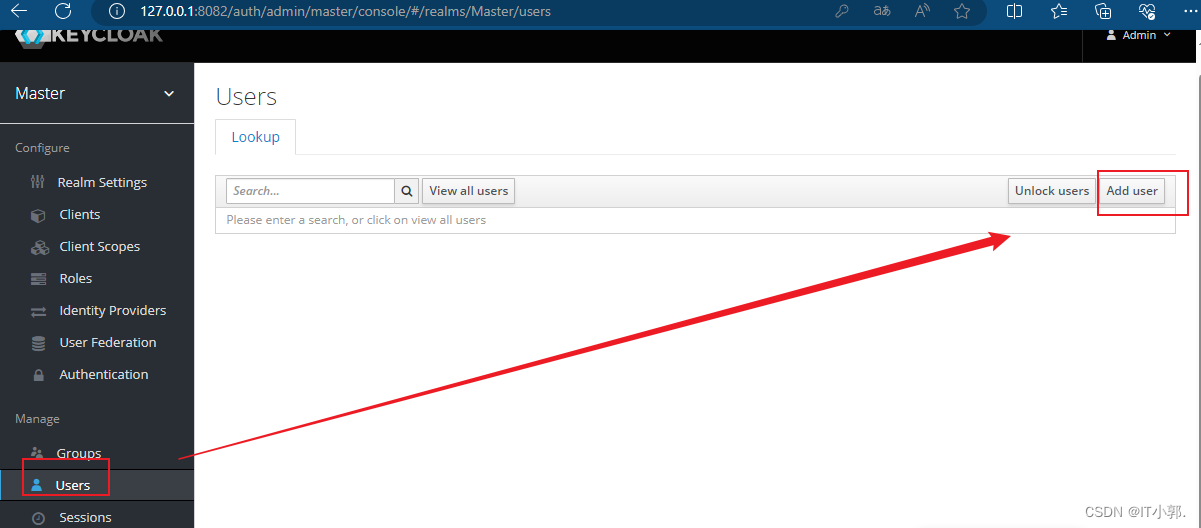
2、输入用户名添加用户
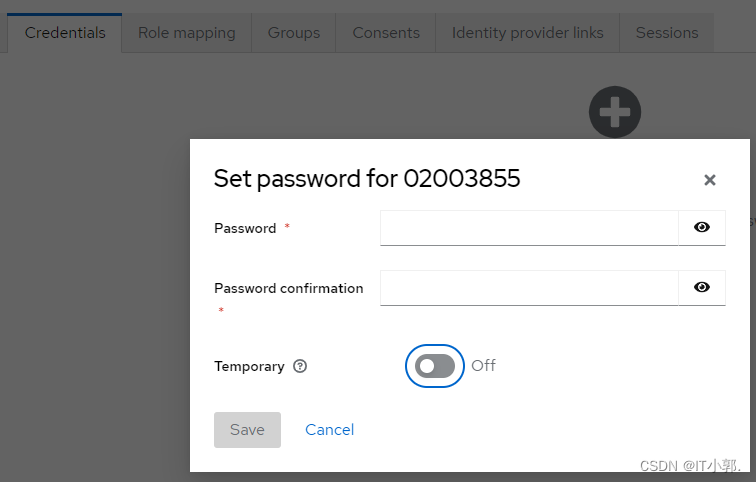
3、添加成功后,单击Credentials 选项卡,设置登录密码。
4、添加成功后,单击Role Mappings 选项卡,给用户设置角色。

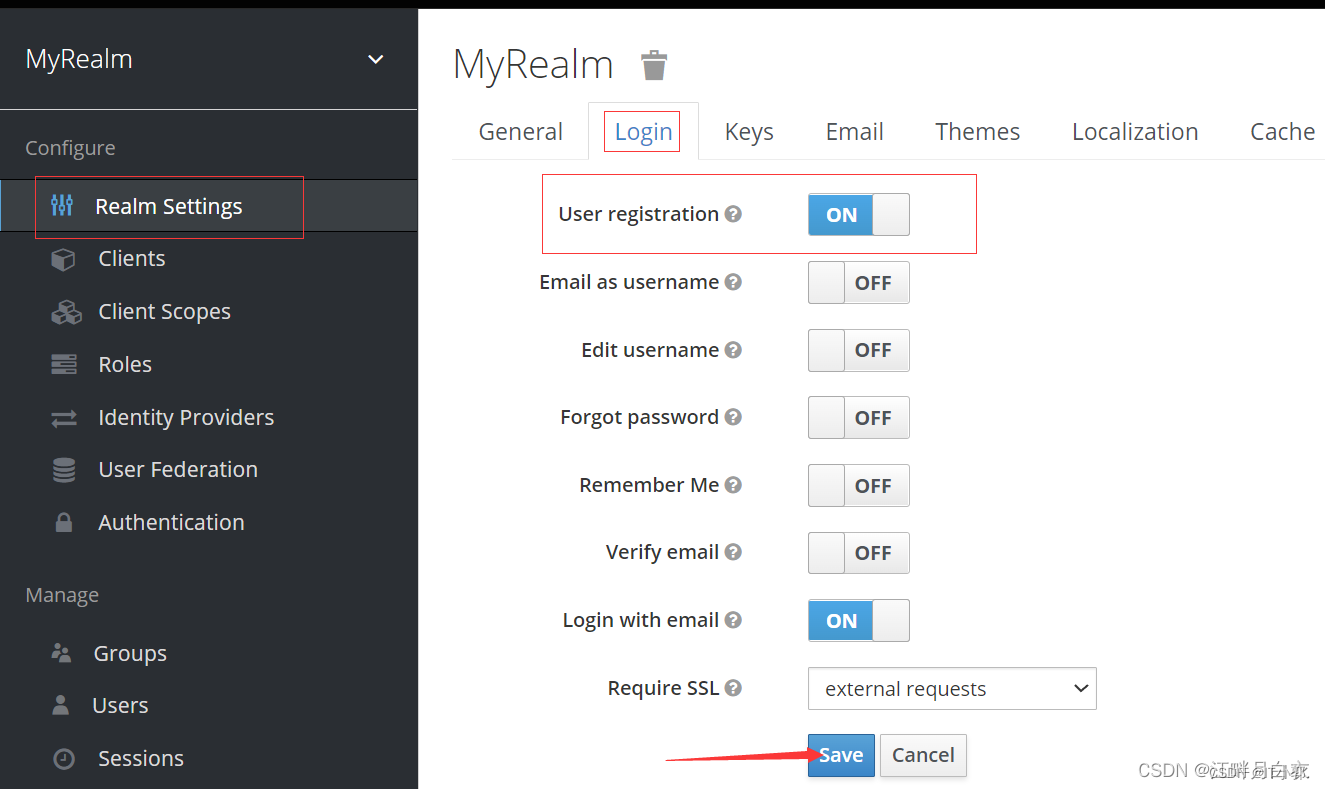
5、开启用户注册(可选)
在左侧菜单栏中选择Realm Settings 选项卡。然后按照如图所示进行操作。
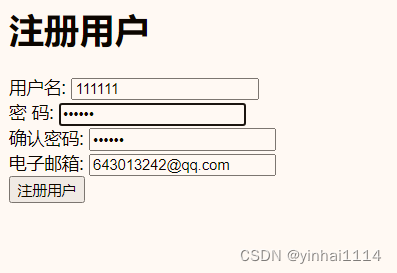
这样在KeyCloak的登录页面就会增加注册按钮。
四、Springboot 整合 KeyCloak
1、创建一个Spring Boot 应用
添加以下依赖
<dependencyManagement>
    <dependencies>
        <dependency>
            <groupId>org.keycloak.bom</groupId>
            <artifactId>keycloak-adapter-bom</artifactId>
            <version>17.0.1</version>
            <type>pom</type>
            <scope>import</scope>
        </dependency>
    </dependencies>
</dependencyManagement>

<dependencies>
    <dependency>
        <groupId>org.springframework.boot</groupId>
        <artifactId>spring-boot-starter-web</artifactId>
    </dependency>
    <dependency>
        <groupId>org.springframework.boot</groupId>
        <artifactId>spring-boot-starter-security</artifactId>
    </dependency>
    <dependency>
        <groupId>org.keycloak</groupId>
        <artifactId>keycloak-spring-boot-starter</artifactId>
        <version>17.0.1</version>
    </dependency>


    <dependency>
        <groupId>org.springframework.boot</groupId>
        <artifactId>spring-boot-starter-test</artifactId>
        <scope>test</scope>
    </dependency>
</dependencies>
2、Controller
@Controller
public class MyController {

    @GetMapping("/customers/he")
    @ResponseBody
    public Map he(Principal principal){
        Map<String, String> map = new HashMap<>();
        map.put("username",principal.getName());
        return map;
    }

}
3、SecurityConfig
@KeycloakConfiguration
public class SecurityConfig extends KeycloakWebSecurityConfigurerAdapter {
@Autowired
public void configureGlobal(
        AuthenticationManagerBuilder auth) throws Exception {

    KeycloakAuthenticationProvider keycloakAuthenticationProvider
            = keycloakAuthenticationProvider();
    keycloakAuthenticationProvider.setGrantedAuthoritiesMapper(
            new SimpleAuthorityMapper());
    auth.authenticationProvider(keycloakAuthenticationProvider);
}

@Bean
@Override
protected SessionAuthenticationStrategy sessionAuthenticationStrategy() {
    return new RegisterSessionAuthenticationStrategy(new SessionRegistryImpl());
}

@Override
protected void configure(HttpSecurity http) throws Exception {
    super.configure(http);
    http.authorizeRequests()
    //注意这句 这个user角色是我们在Keycloak中创建并分配给用户的, 只有用户拥有该role时,用户才能访问对应的资源
            .antMatchers("/customers/*").hasRole("user")
            .anyRequest()
            .permitAll();
}
4、KeycloakConfig
@Configuration
public class KeycloakConfig {
    @Bean
	public KeycloakSpringBootConfigResolver keycloakConfigResolver() {
    	return new KeycloakSpringBootConfigResolver();
	}
}
5、application.yml
server:
  port: 8081 #与keycloak中配置的一致

keycloak:
  auth-server-url: http://localhost:8080  #KeyCloak地址
  realm: MyRealm  #realm名称
  resource: spring-app #client名称
  public-client: true
  principal-attribute: preferred_username
  ssl-required: external
