Pycharm中使用matplotlib绘制动态图形
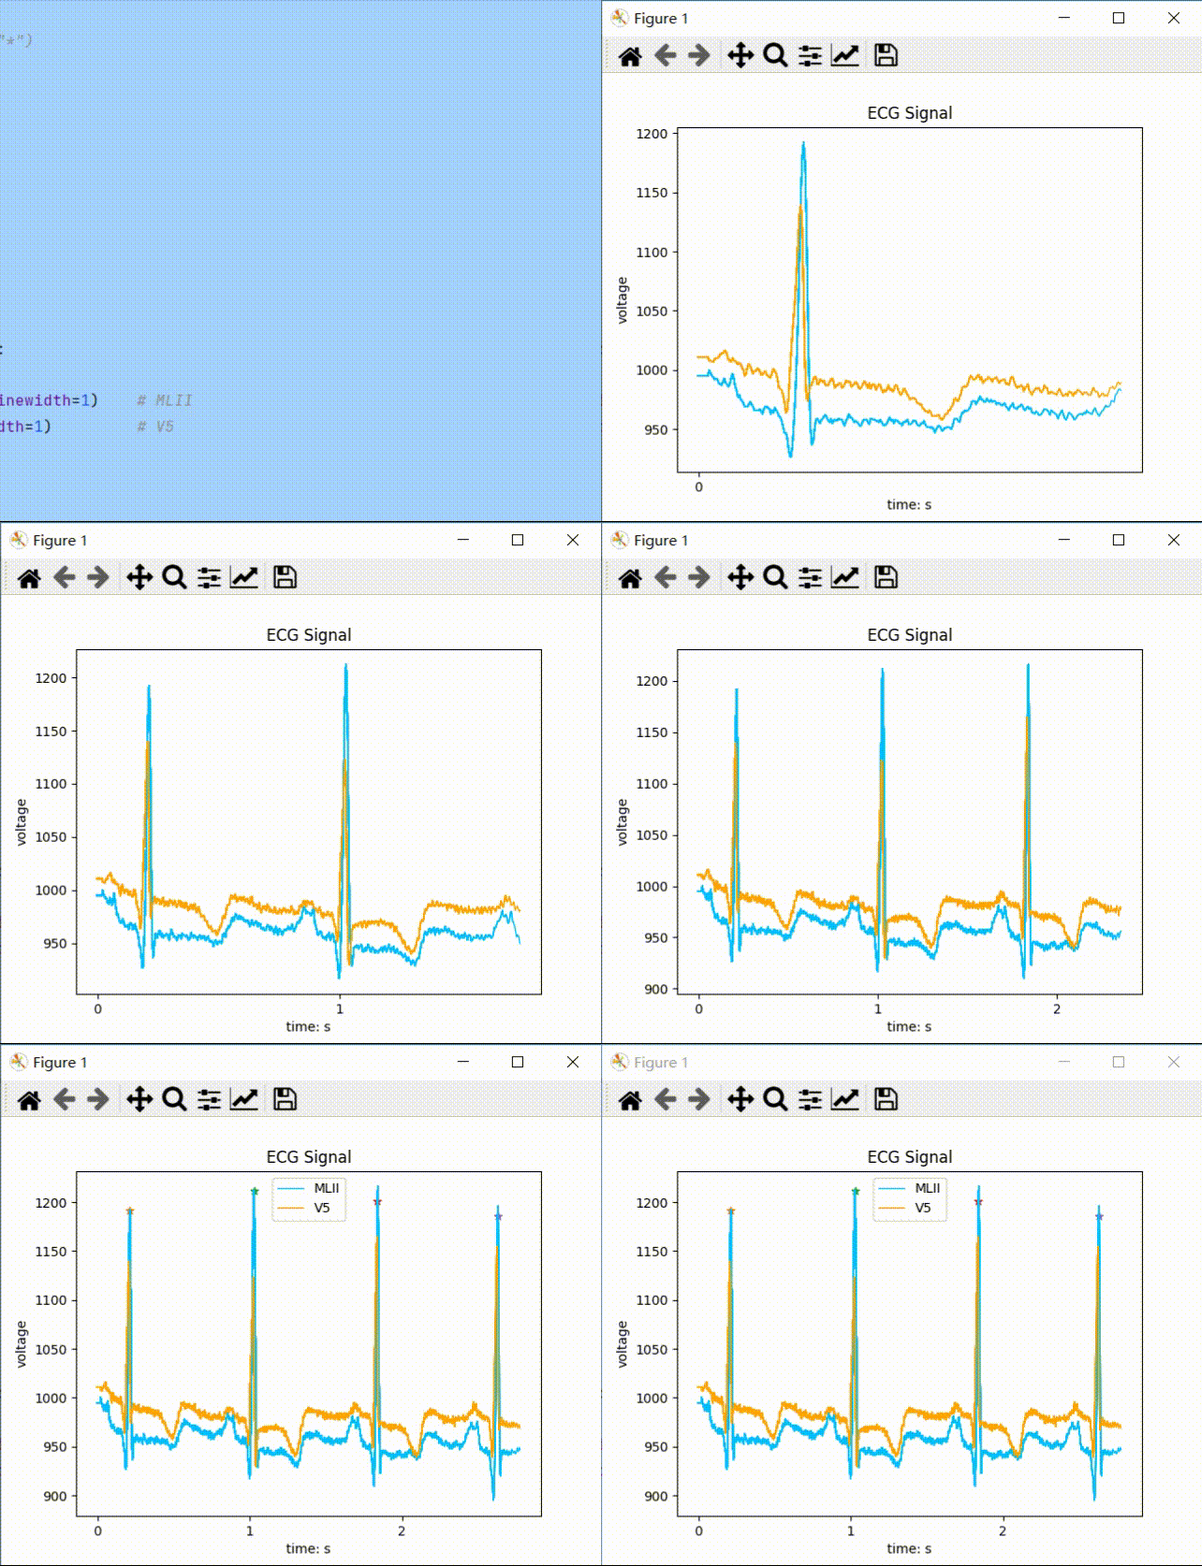
- 最终效果
最近用pycharm学习D2L时发现官方在jupyter notebook交互式环境中能动态绘制图形,但是在pycharm脚本环境中只会在最终 plt.show() 后输出一张静态图像。于是有了下面这段自己折腾了一下午的代码,用来在pycharm中模仿jupyter交互式环境的动态绘制图像:
import matplotlib
import matplotlib.pyplot as plt
from IPython.display import display, clear_output
import time

matplotlib.use('Qt5Agg')
plt.ion()
fig, ax = plt.subplots()
ax.set_title("ECG Signal")
plt.xlabel("time: s")
plt.ylabel("voltage")
#############################
# 1:直接绘制完整波形:
# ax.plot(signal)
# ax.legend(["MLII", "V5"])
# plt.show()
#############################
# 2:随时间动态输出波形:
y1 = []
y2 = []
t = []
sr = 360  # 采样率
plt.xticks(range(0, len(signal) // sr + 1))
for n in range(len(signal)):
    y1.append(signal[n, 0])
    y2.append(signal[n, 1])
    t.append(n / sr)
    if (n + 1) % 10 == 0 or (n + 1) == len(signal):
        time.sleep(0.01)
        ax.plot(t, y1, "-", color='deepskyblue', linewidth=1)
        clear_output(wait=True)
        display(fig)
        plt.pause(0.01)
ax.legend(["MLII", "V5"])
plt.show()
最终效果
