文章目录
- 前言
- 在MainWindow.xaml里面导入Halcon命名空间
- WPF简单调用Halcon
- 创建矩形
- 简单调用导出脚本函数
前言
本章会简单讲解如何调用Halcon组件和接口,因为我们是进行混合开发模式。即核心脚本在平台调试,辅助脚本C#直接调用。
在MainWindow.xaml里面导入Halcon命名空间

<Window x:Class="Hello_Halcon.MainWindow"
        xmlns="http://schemas.microsoft.com/winfx/2006/xaml/presentation"
        xmlns:x="http://schemas.microsoft.com/winfx/2006/xaml"
        xmlns:d="http://schemas.microsoft.com/expression/blend/2008"
        xmlns:mc="http://schemas.openxmlformats.org/markup-compatibility/2006"
        xmlns:local="clr-namespace:Hello_Halcon"
        xmlns:halcon="clr-namespace:HalconDotNet;assembly=halcondotnet"
        mc:Ignorable="d"
        Title="MainWindow" Height="450" Width="800">
    <Grid>
        <Grid.RowDefinitions>
            <RowDefinition Height="auto"/>
            <RowDefinition />
        </Grid.RowDefinitions>

        <!--添加Halcon图像导入事件-->
        <Button Click="Button_Click" Content="加载图像"/>
        <!--添加Halcon窗口-->
        <halcon:HSmartWindowControlWPF Grid.Row="1" x:Name="hSmart"/>
    </Grid>
</Window>
按钮事件
private void Button_Click(object sender, RoutedEventArgs e)
{
    //添加文件路径
    string fileName = "D:\\workspace\\program\\Halcon\\Images\\1.png\"";

    var image = new HImage(fileName);

    int width, height;
    image.GetImageSize(out width, out height);

    hSmart.HalconWindow.SetPart(0,0,width,height);
    hSmart.HalconWindow.DispObj(image);
    //自适应屏幕
	hSmart.SetFullImagePart();

}
如果编译报错

安装System.Drawing.Common

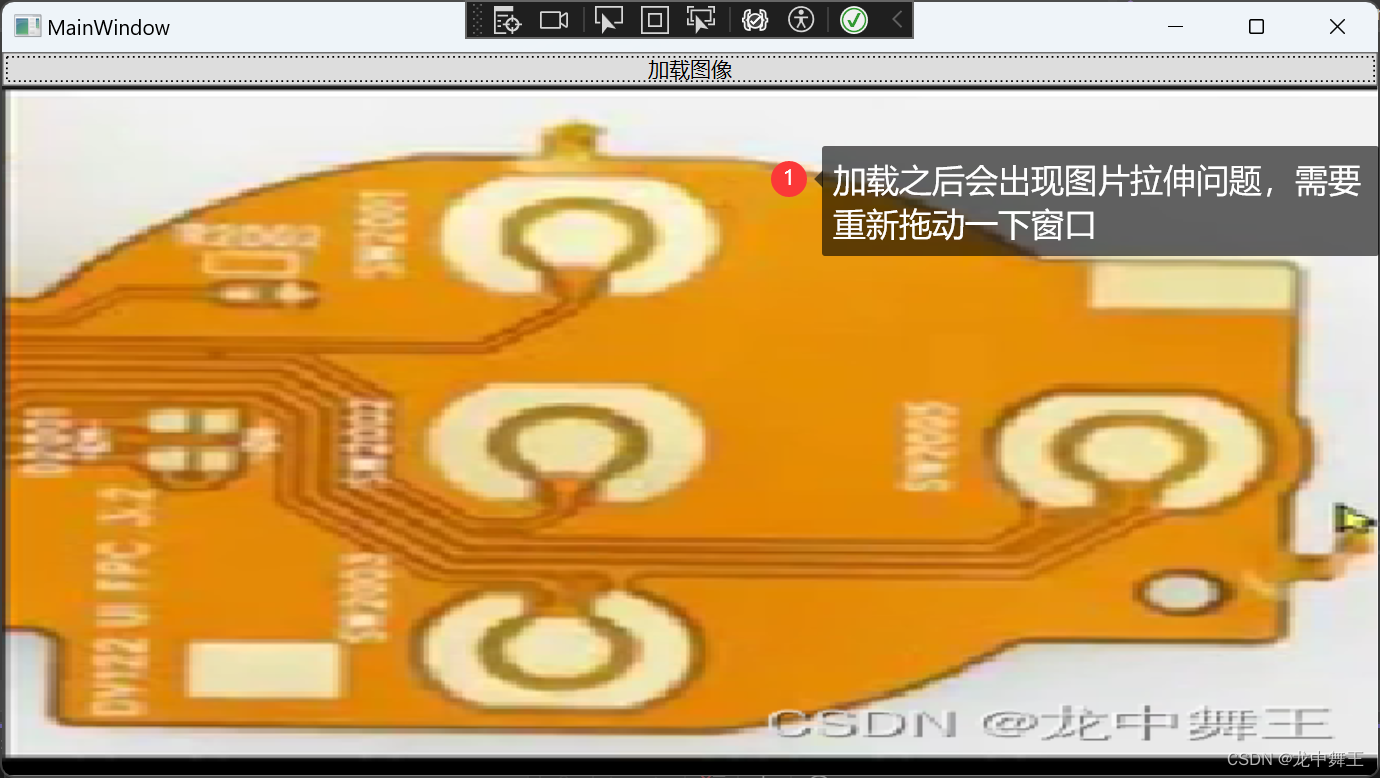
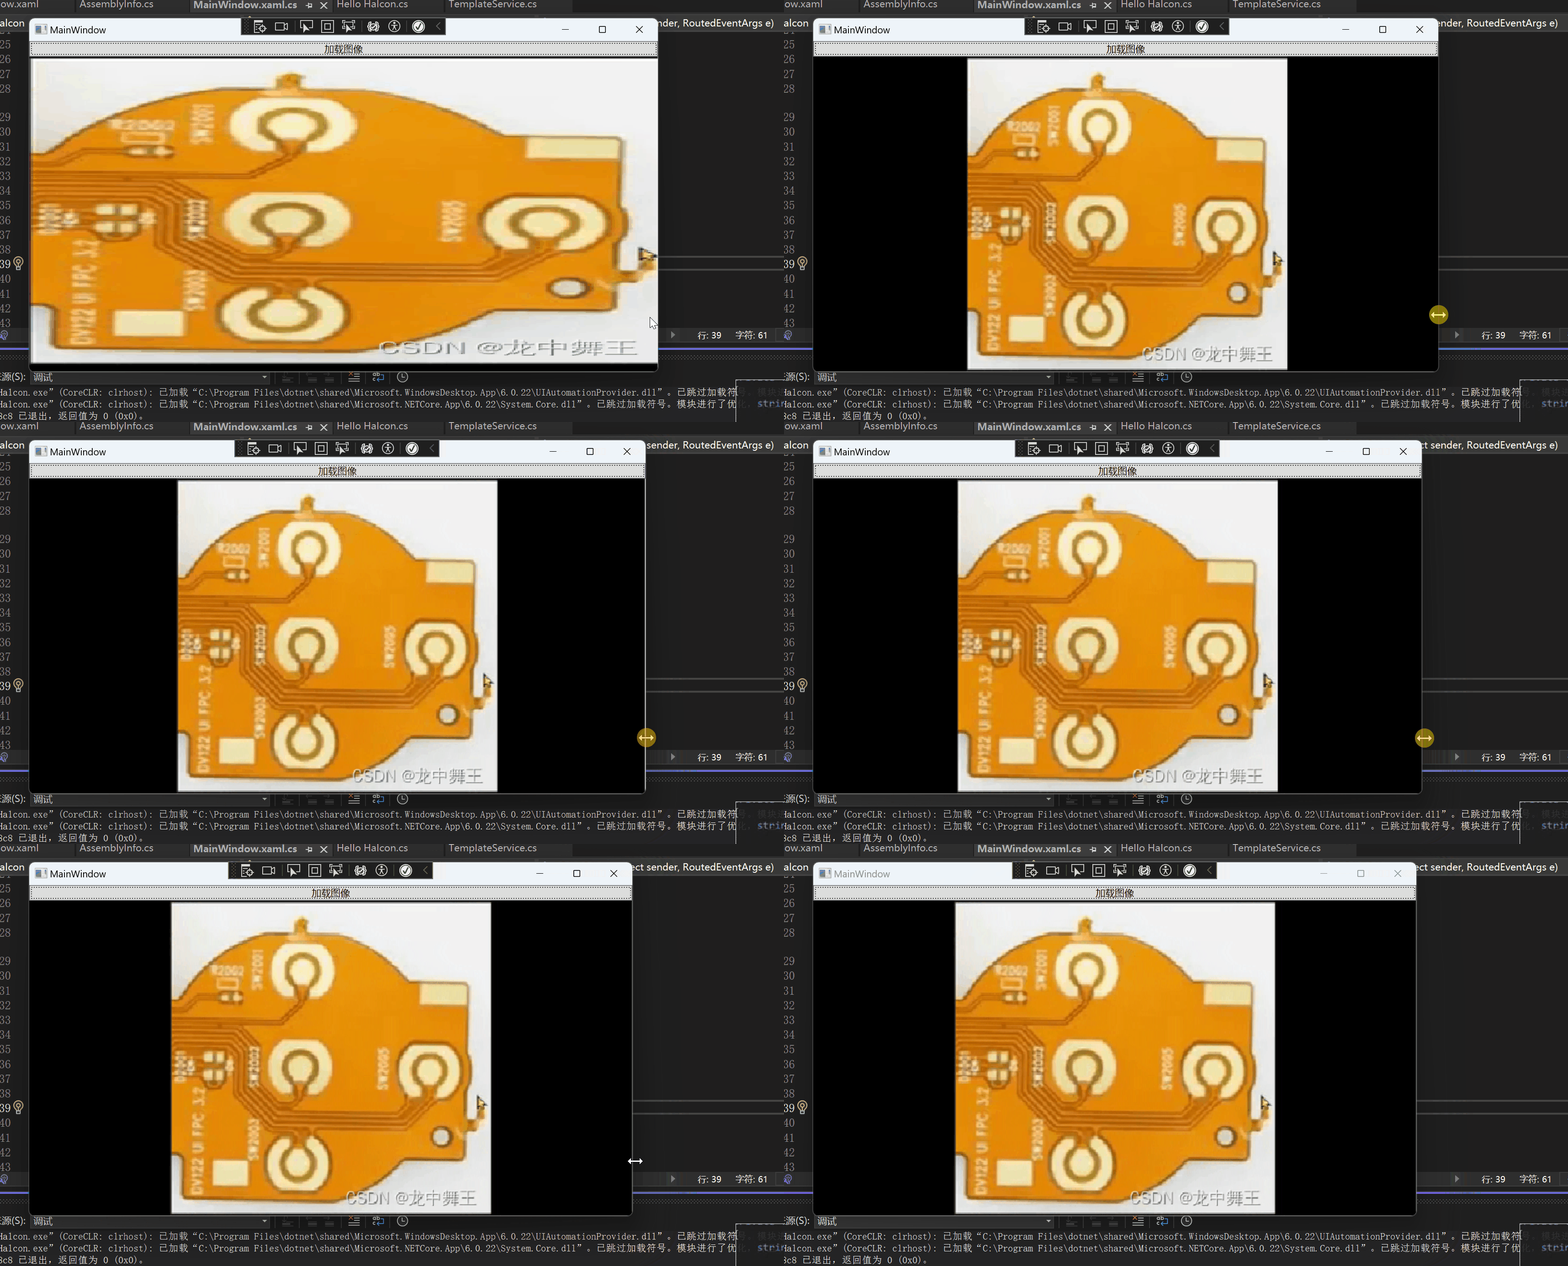
如果出现上面问题记得看看有没有写hSmart.SetFullImagePart();
完美解决在我这篇文章中
Halcon WPF 开发学习笔记:HSmartWindowControlWPF正常加载
WPF简单调用Halcon
添加两个按钮
<Window.Resources>
    <Style TargetType="Button" x:Key="MarginButton">
        <Setter Property="Margin" Value="3" />
    </Style>
</Window.Resources>
<Grid>
    <Grid.RowDefinitions>
        <RowDefinition Height="auto" />
        <RowDefinition />
    </Grid.RowDefinitions>

    <!--添加Halcon图像导入事件-->
    <StackPanel Orientation="Horizontal">
        <Button Click="Button_Click" Content="加载图像"
                Style="{StaticResource MarginButton}" />
        <Button Click="Button_Click_1" Content="创建圆形"
                Style="{StaticResource MarginButton}" />
        <Button Click="Button_Click_2" Content="创建矩形"
                Style="{StaticResource MarginButton}" />

    </StackPanel>
    <!--添加Halcon窗口-->
    <halcon:HSmartWindowControlWPF Grid.Row="1" x:Name="hSmart" />
</Grid>
添加按钮事件
 /// <summary>
 /// 画圆
 /// </summary>
 /// <param name="sender"></param>
 /// <param name="e"></param>
 private void Button_Click_1(object sender, RoutedEventArgs e)
 {
     //创建一个圆形,圆心为(100,100),半径为50
     var drawingObject = HDrawingObject.
         CreateDrawingObject(HDrawingObject.HDrawingObjectType.CIRCLE, new HTuple[] { 100, 100, 50 });
     //临时存放List
     drawingObjects.Add(drawingObject);

     //将圆画再hSmart画布上面
     hSmart.HalconWindow.AttachDrawingObjectToWindow(drawingObject);

 }
实现效果
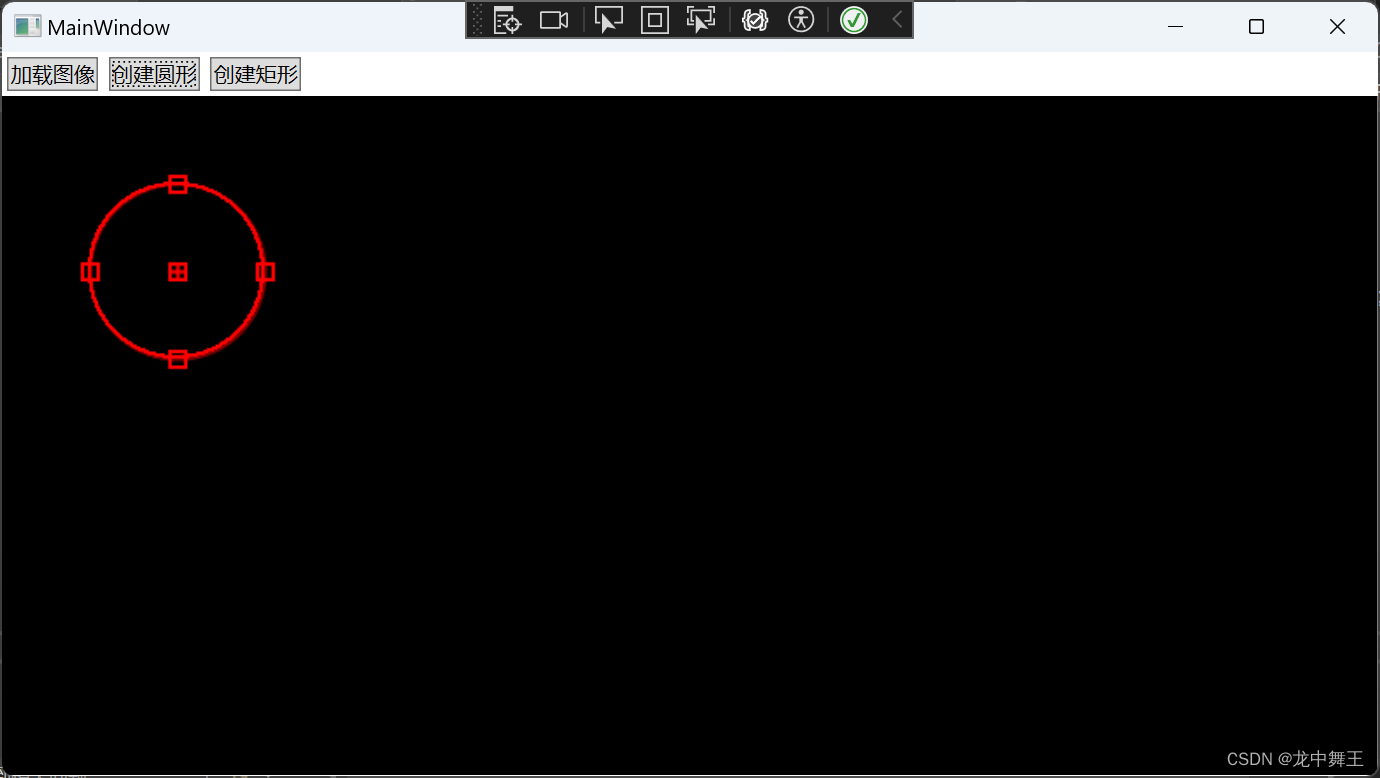
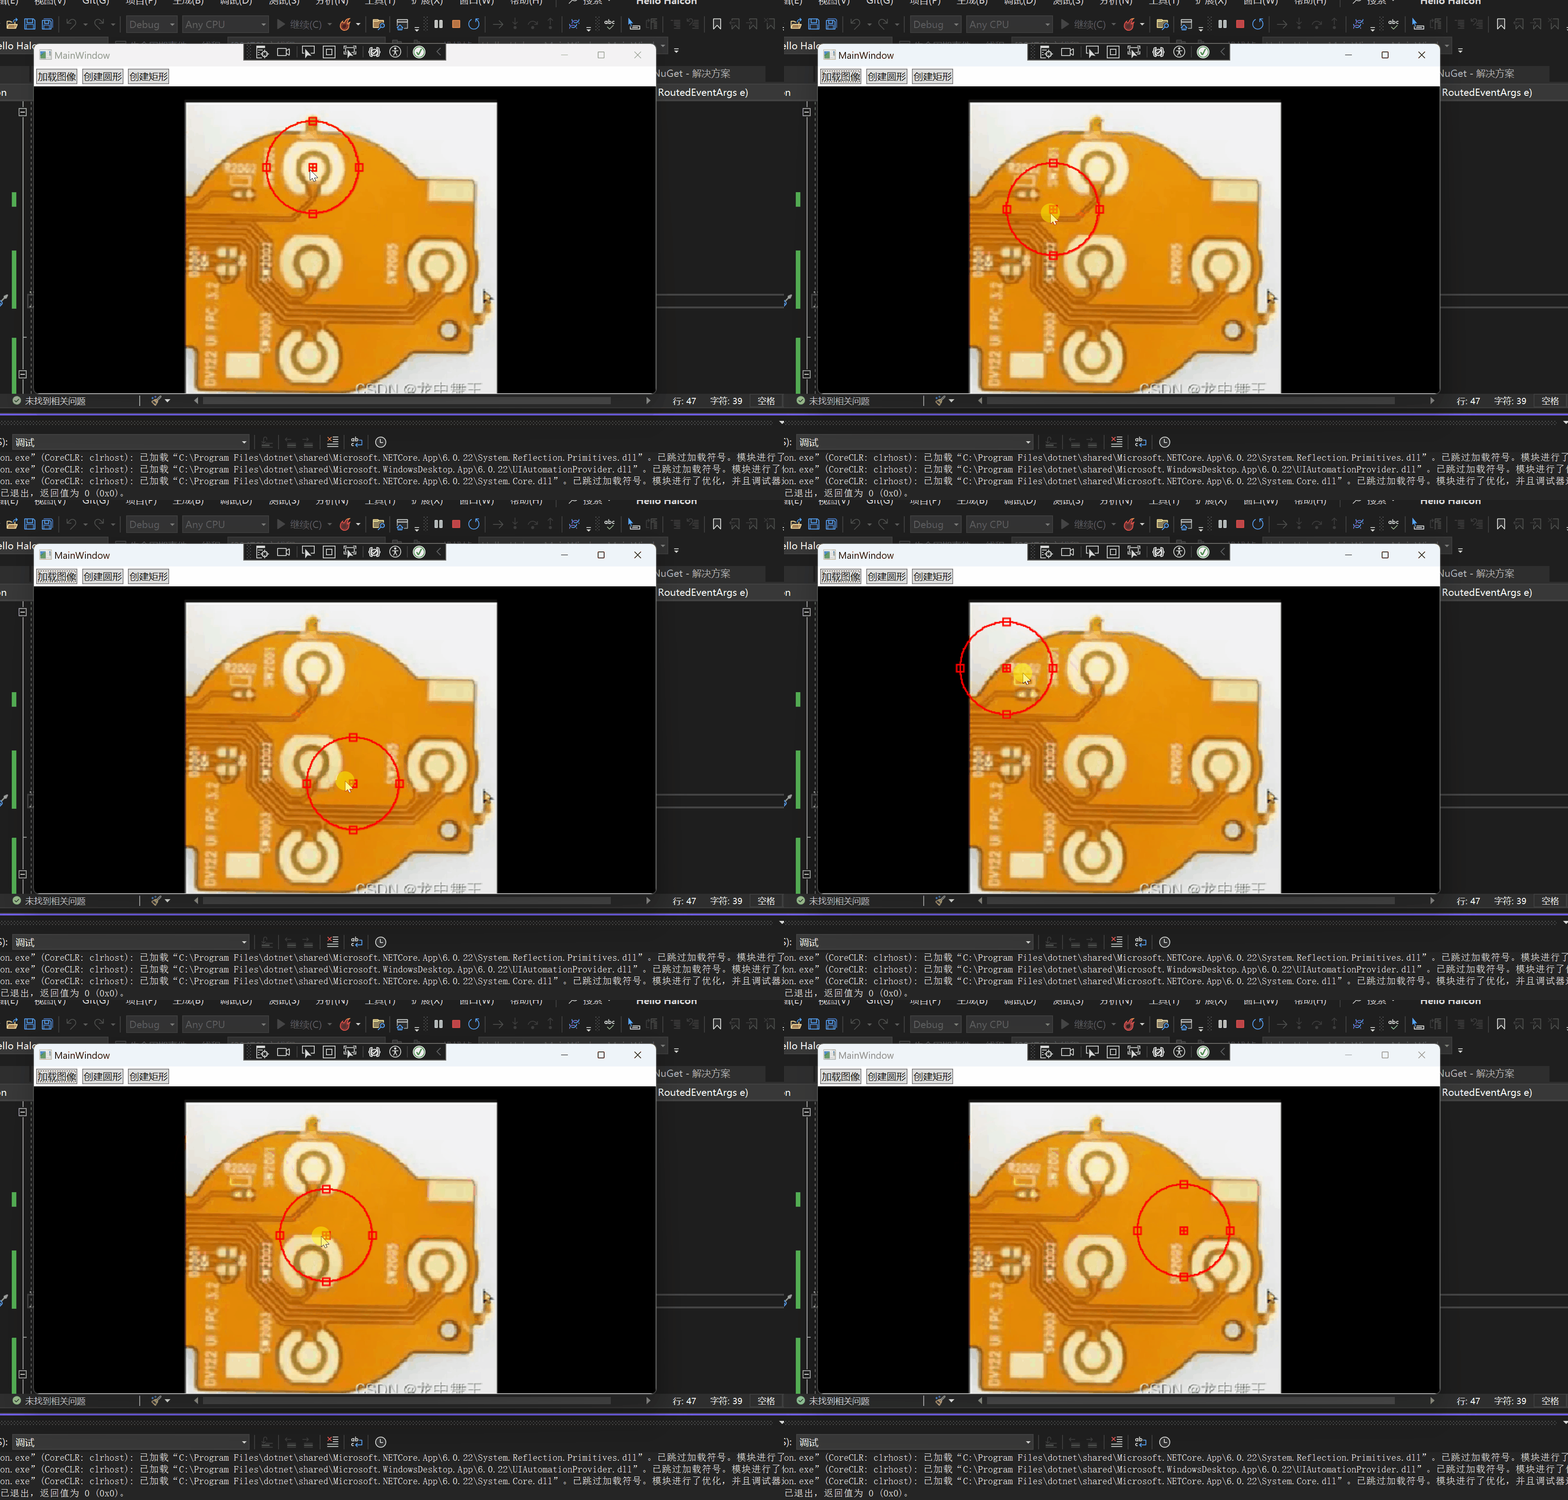
这个圆是可以拖动的
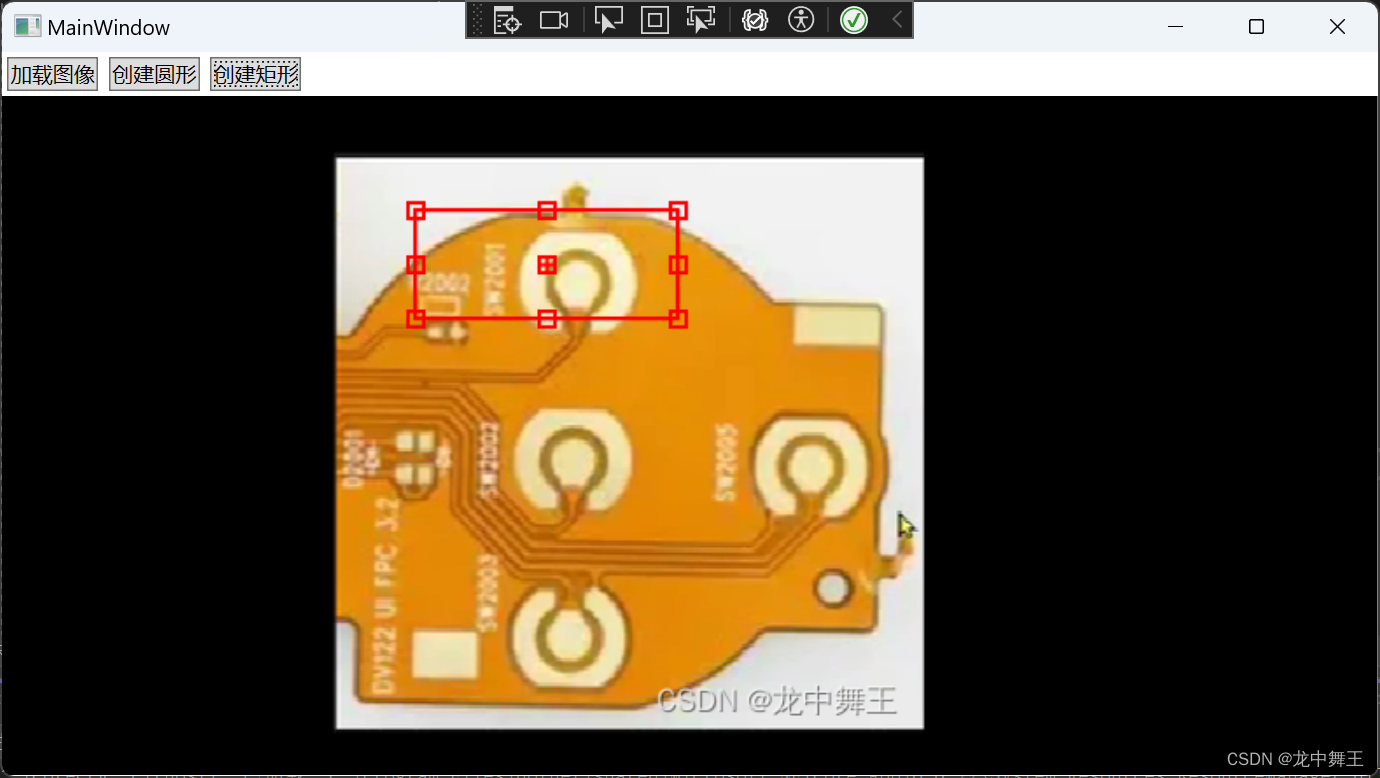
创建矩形
和创建圆形一致,不再说明
private void Button_Click_2(object sender, RoutedEventArgs e)
{
    //创建一个矩形
    var drawingObject = HDrawingObject.
        CreateDrawingObject(HDrawingObject.HDrawingObjectType.RECTANGLE1, new HTuple[] { 100, 100, 150,250 });
    //临时存放List
    drawingObjects.Add(drawingObject);

    //将矩形再hSmart画布上面
    hSmart.HalconWindow.AttachDrawingObjectToWindow(drawingObject);
}
简单调用导出脚本函数
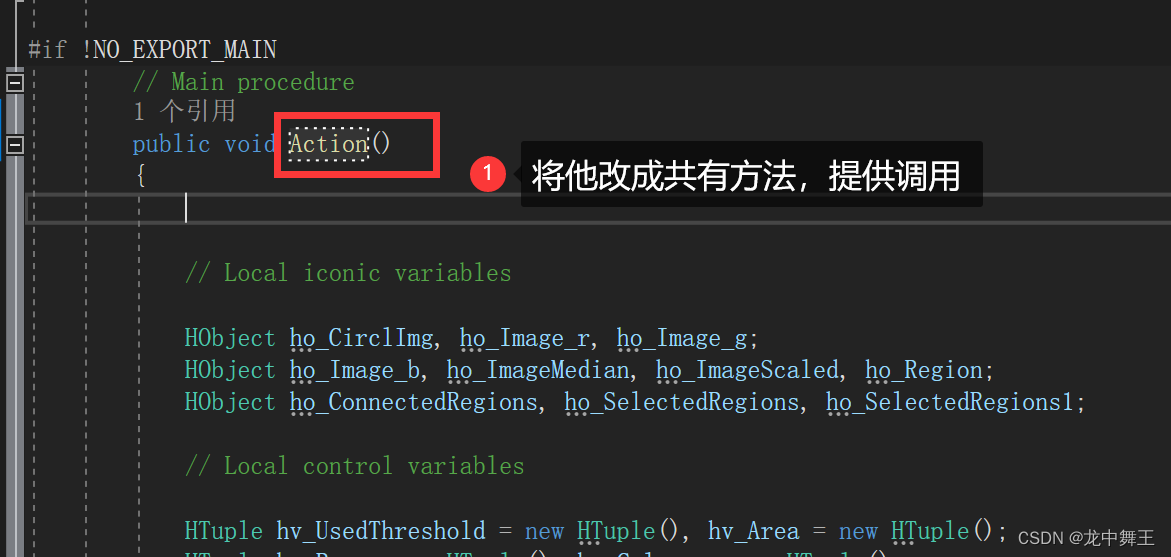

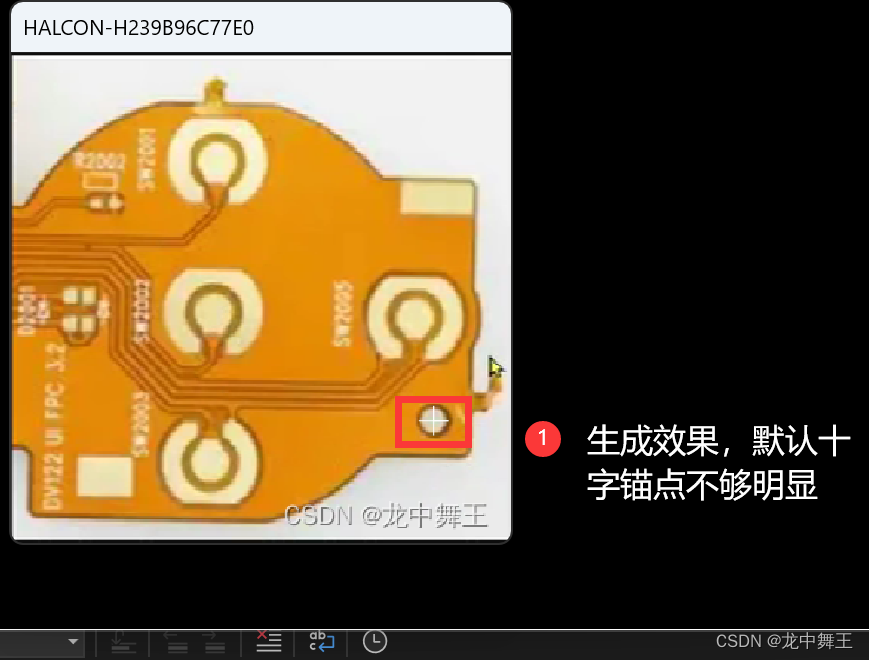

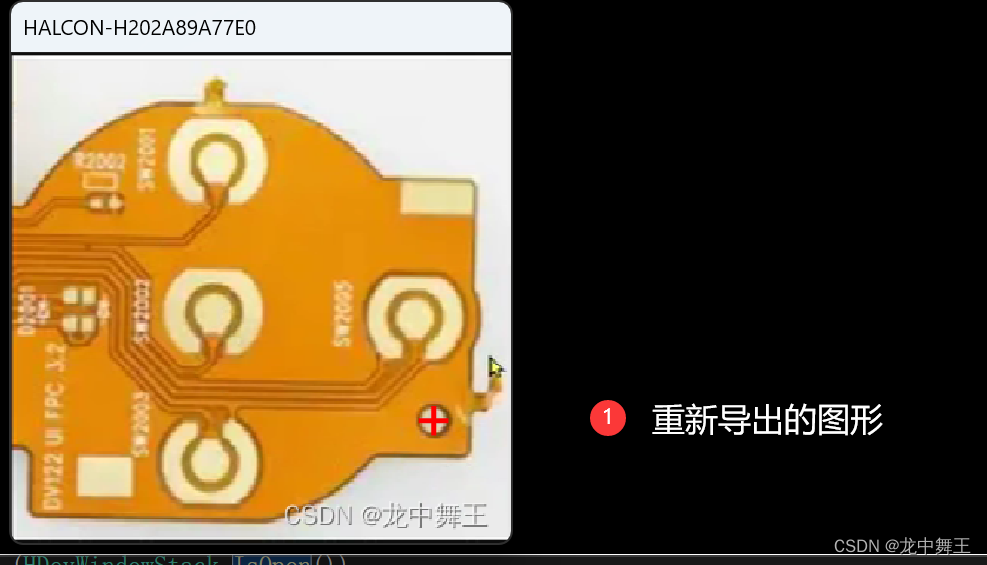
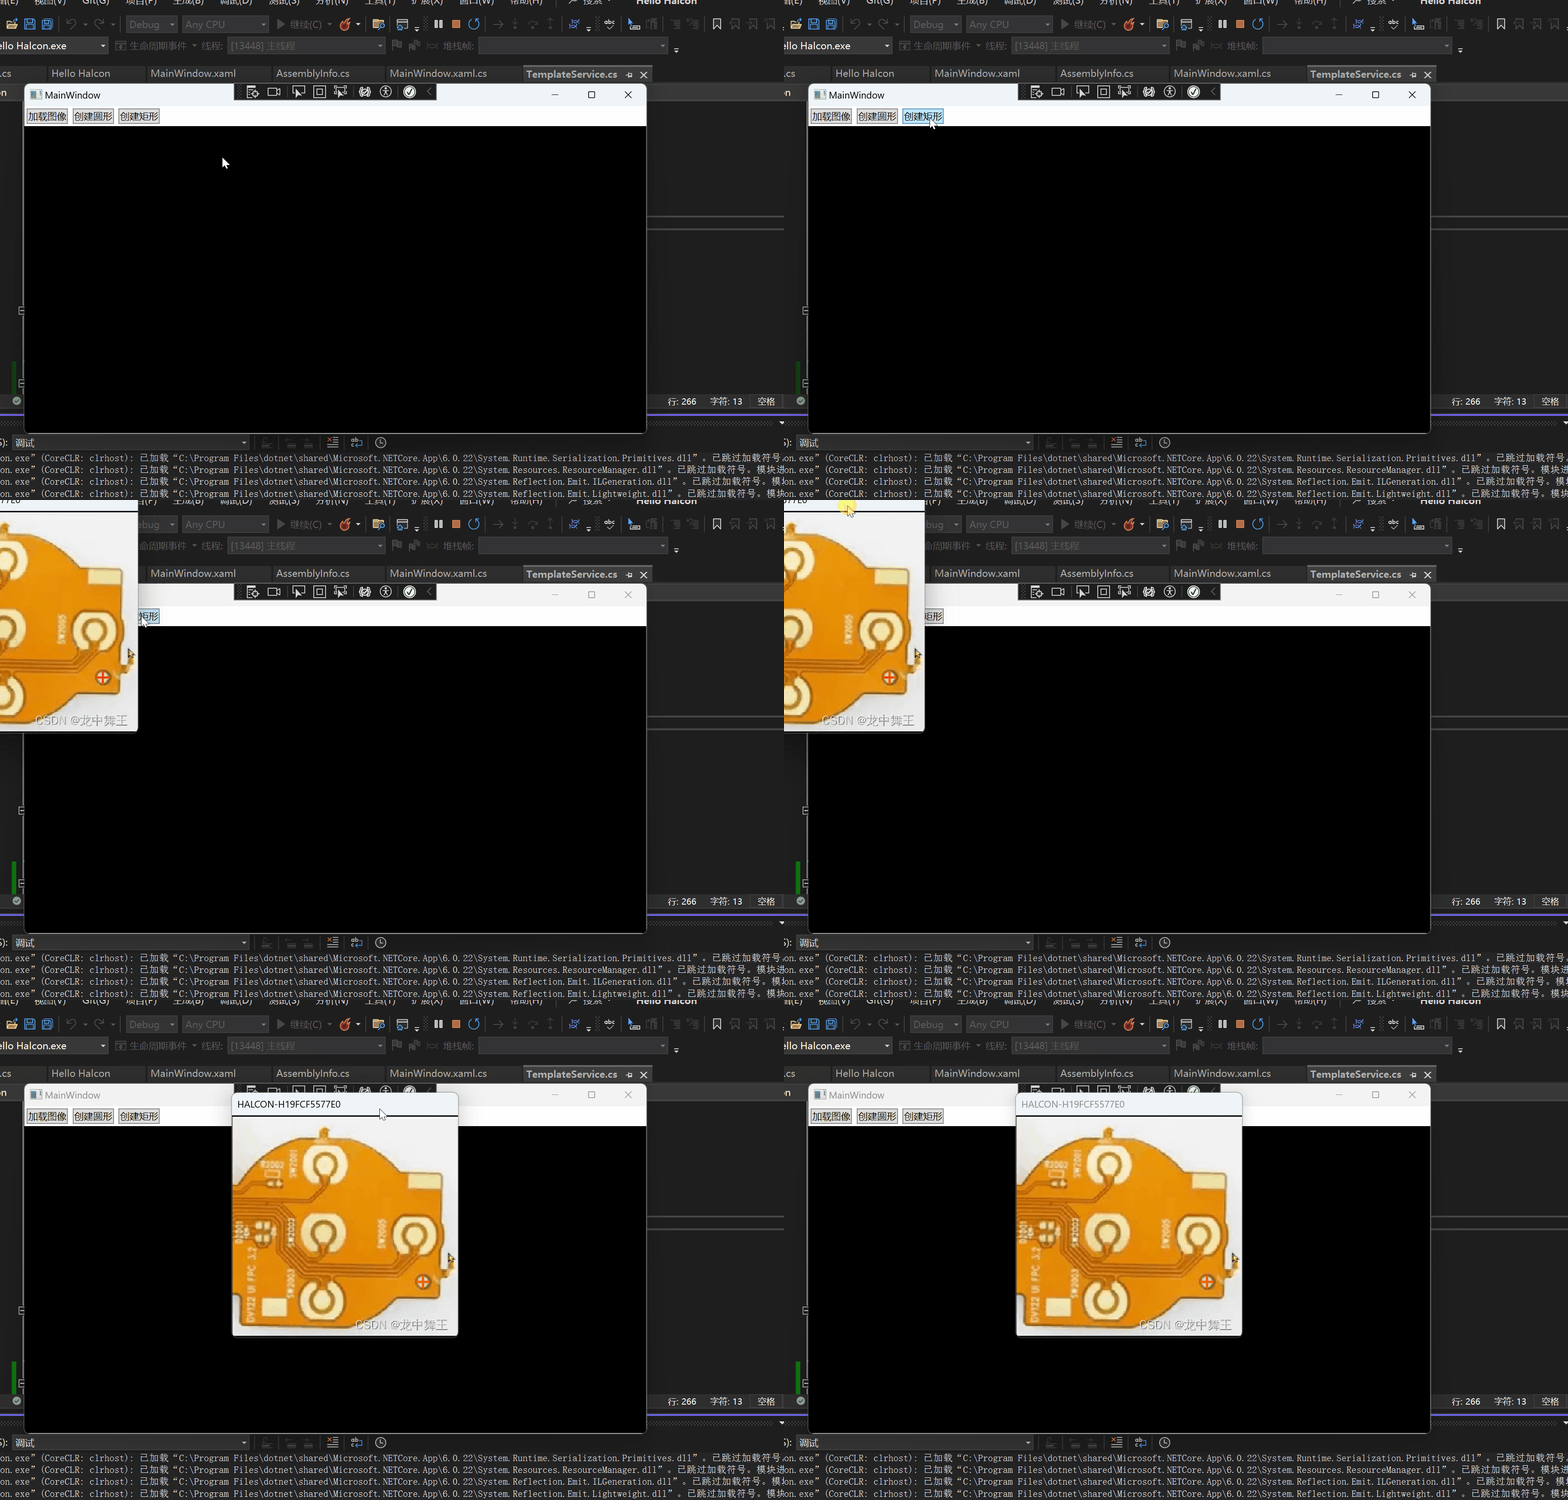
这个只是简单的导入脚本,不是二次开发。而且打开的窗体是无法关闭的。接下来我会讲解如何使用WPF进行二次开发。
