库下载
Simple DirectMedia Layer - Homepage
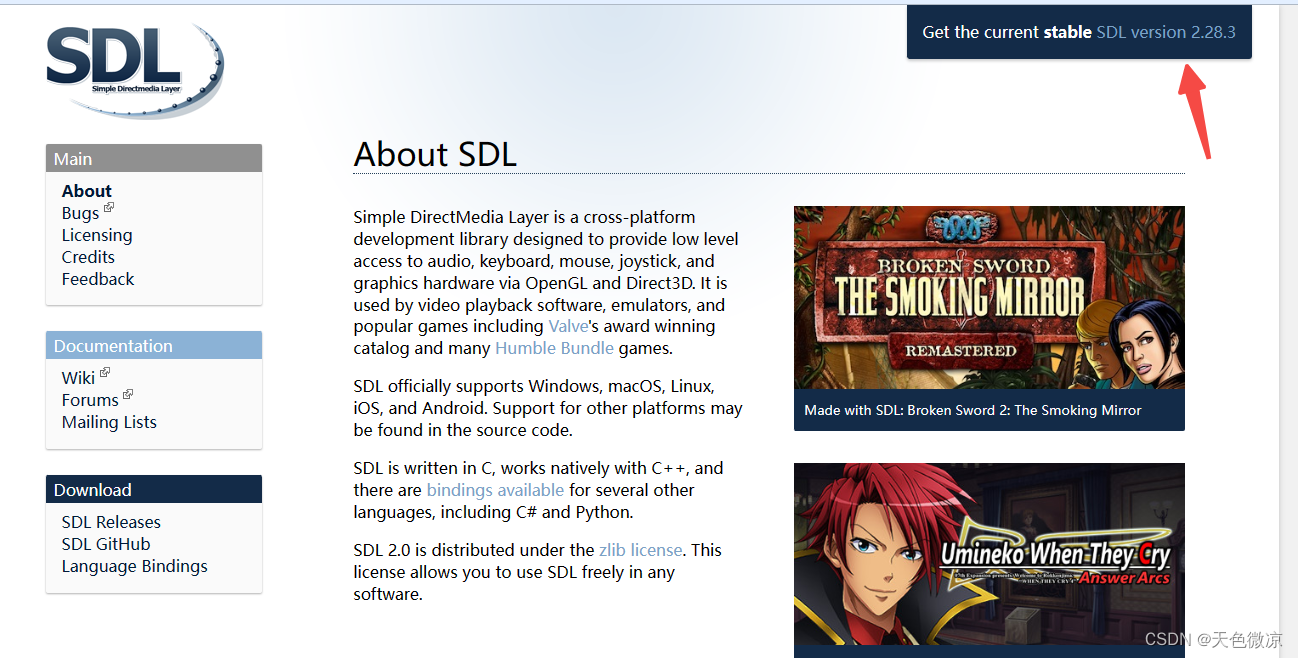
对于Windows下使用VS2019开发的选手,应该直接选VC后缀了。
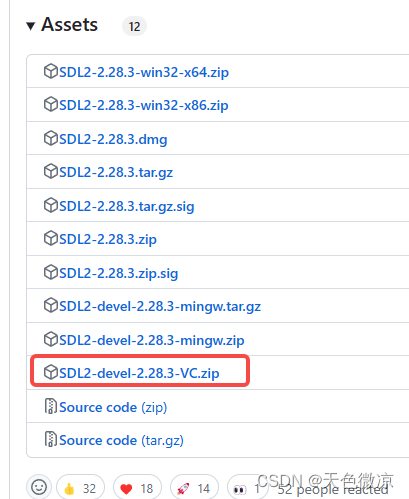
VS目录配置
首先VS2019创建一个空项目,新加入一个源文件,代码如下:
/*This source code copyrighted by Lazy Foo' Productions 2004-2023
and may not be redistributed without written permission.*/

//Using SDL and standard IO
#include <SDL.h>
#include <stdio.h>

//Screen dimension constants
const int SCREEN_WIDTH = 640;
const int SCREEN_HEIGHT = 480;

int main(int argc, char* args[])
{
	//The window we'll be rendering to
	SDL_Window* window = NULL;

	//The surface contained by the window
	SDL_Surface* screenSurface = NULL;

	//Initialize SDL
	if (SDL_Init(SDL_INIT_VIDEO) < 0)
	{
		printf("SDL could not initialize! SDL_Error: %s\n", SDL_GetError());
	}
	else
	{
		//Create window
		window = SDL_CreateWindow("SDL Tutorial", SDL_WINDOWPOS_UNDEFINED, SDL_WINDOWPOS_UNDEFINED, SCREEN_WIDTH, SCREEN_HEIGHT, SDL_WINDOW_SHOWN);
		if (window == NULL)
		{
			printf("Window could not be created! SDL_Error: %s\n", SDL_GetError());
		}
		else
		{
			//Get window surface
			screenSurface = SDL_GetWindowSurface(window);

			//Fill the surface white
			SDL_FillRect(screenSurface, NULL, SDL_MapRGB(screenSurface->format, 0x00, 0xFF, 0xFF));

			//Update the surface
			SDL_UpdateWindowSurface(window);

			//Hack to get window to stay up
			SDL_Event e; bool quit = false; while (quit == false) { while (SDL_PollEvent(&e)) { if (e.type == SDL_QUIT) quit = true; } }
		}
	}

	//Destroy window
	SDL_DestroyWindow(window);

	//Quit SDL subsystems
	SDL_Quit();

	return 0;
}
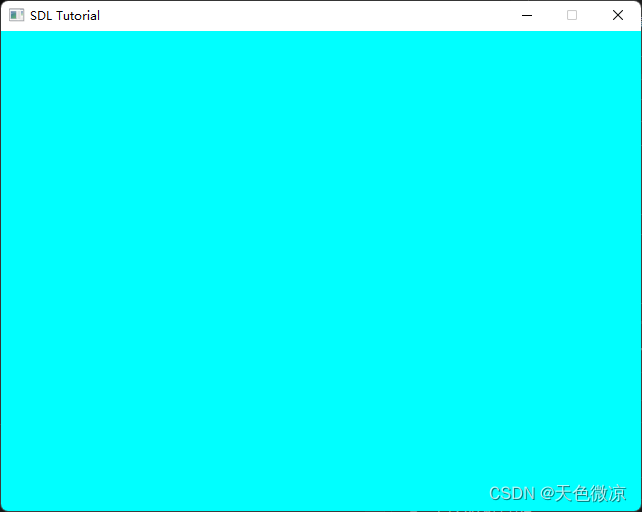
上述代码的作用是显示一个绿色的窗口,如下图
代码复制完毕后,开始一系列复杂的设置操作了:
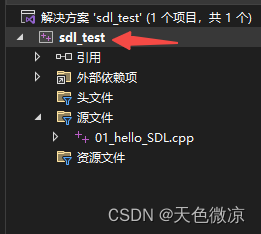
在这里右键,选择最下面的属性。
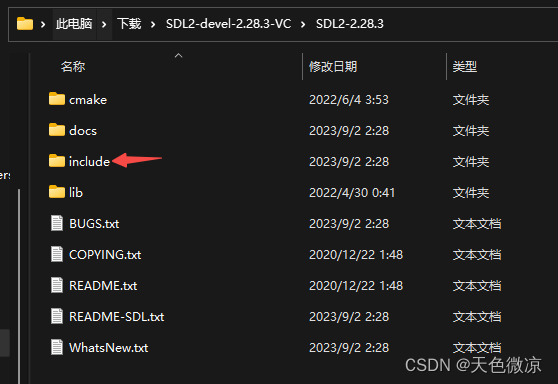
然后解压刚刚下载的SDL2-devel-2.28.3-VC.zip,解压后将头文件和静态库文件的路径设置到下面两个选项中,从而完成编译和链接的过程,能够进行示例程序的编译(仅仅是编译通过,并不是可以运行)。
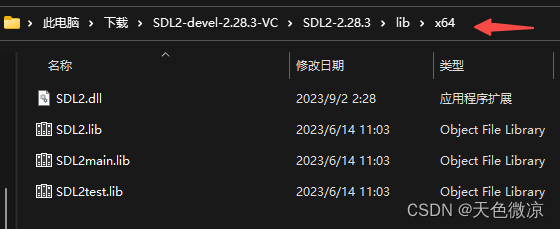
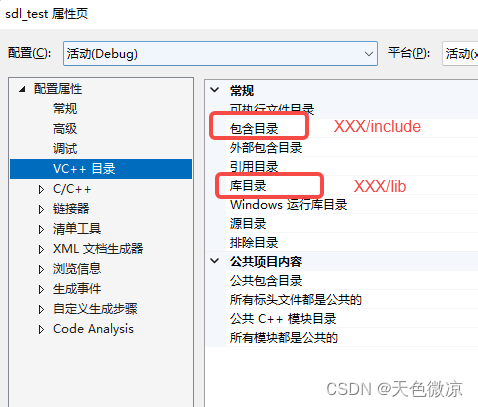
此时编译完成,链接的库指定如下:

可以尝试运行。

注意,这里运行时会提示“找不到SDL2.dll”,这是因为上面x64目录下的dll路径运行程序并不知道。

有两种解决方法,第一是手动将dll拷贝到运行路径里面,第二是设置一下运行路径,第三是设置环境变量。我们选择第二种,因为比较简单。

将这个目录设置为dll所在目录,再次运行,可以完成运行。
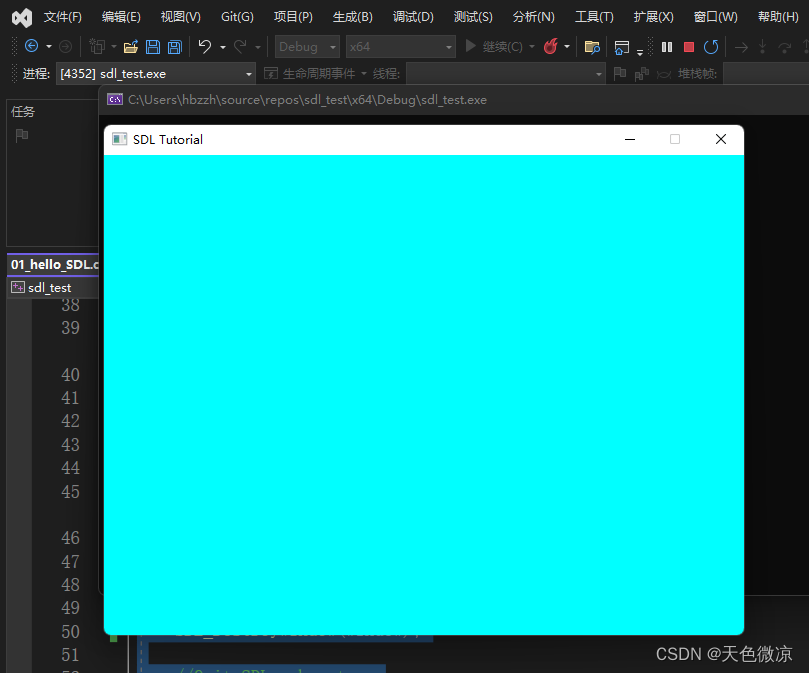
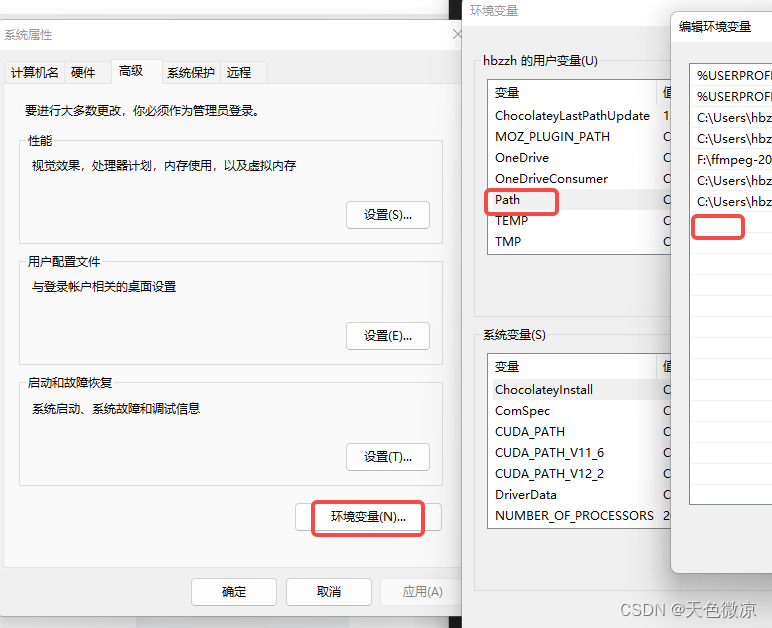
值得一提的是,上面调试的工作路径有的时候需要指向资源路径,如果dll和资源路径一起混放,会稍显混乱,因此也可以设置一下环境变量,设置完之后需要关闭并重新打开VS2019才会生效。
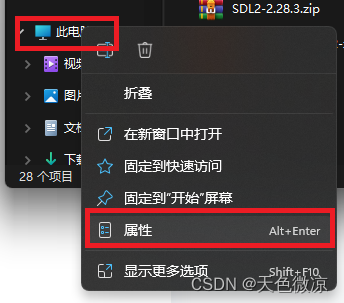

然后就是一路双击,把刚刚的路径粘贴到空白处,点击应用。
