人脸修复
- 1.下载项目和权重文件
- 2.部署环境
- 3.下载权重文件
- 4.运行代码
- 5.网页端体验
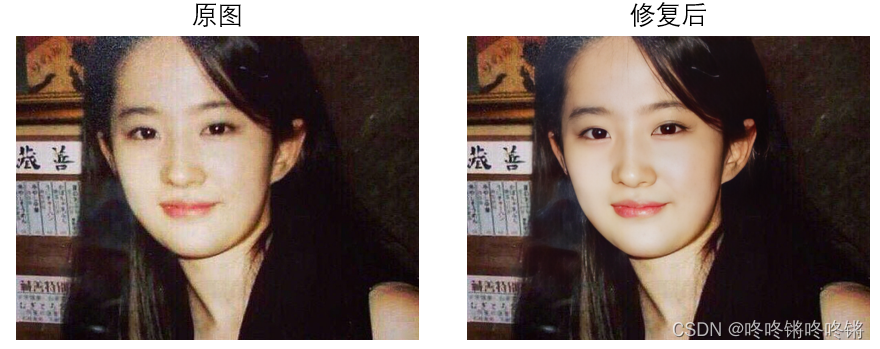
首先来看一下效果图

1.下载项目和权重文件
https://github.com/iptop/GFPGAN-for-Video.git
2.部署环境
根据README文件部署好环境,额外还需要:
cd GFPGAN-1.3.8
python setup.py develop
3.下载权重文件
可提前下载好权重文件(也可以等运行代码的时候,自动下载)权重文件的url:
https://ghproxy.com/https://github.com/TencentARC/GFPGAN/releases/download/v1.3.0/GFPGANv1.3.pth
https://github.com/xinntao/facexlib/releases/download/v0.1.0/detection_Resnet50_Final.pth
https://github.com/xinntao/facexlib/releases/download/v0.2.2/parsing_parsenet.pth
下载好的权重文件放在路径./GFPGAN-for-Video/gfpgan/weights下
安利一个github文件下载加速网站:https://ghproxy.com/
4.运行代码
原代码是用来修复视频,但是我用了后没发现有啥效果,所以暂时只是用来修复图片
在./GFPGAN-for-Video/src路径下创建脚本image_enhance.py
import argparse
import cv2
from utils.restorer import Restorer

def videoEnhance (image_path , output_image_path):
    restorer = Restorer()

    image = cv2.imread(image_path)
    frame = restorer.enhance(image)
    cv2.imwrite(output_image_path, frame)
    return True

def main():
    parser = argparse.ArgumentParser()
    parser.add_argument(
        '-i',
        '--input',
        type=str,
        required=True,
        metavar='请输入要处理的图片文件路径',
        help='请输入要处理的图片文件路径')

    parser.add_argument(
        '-o',
        '--output',
        type=str,
        required=True,
        metavar='请输入输出图片的路径',
        help='请输入输出图片的路径')

    args = parser.parse_args()
    videoEnhance(args.input, args.output)

if __name__ == '__main__':
    main()
运行脚本就可得到修复后的图片了
python src/image_enhance.py -i input.png -o output.png
5.网页端体验
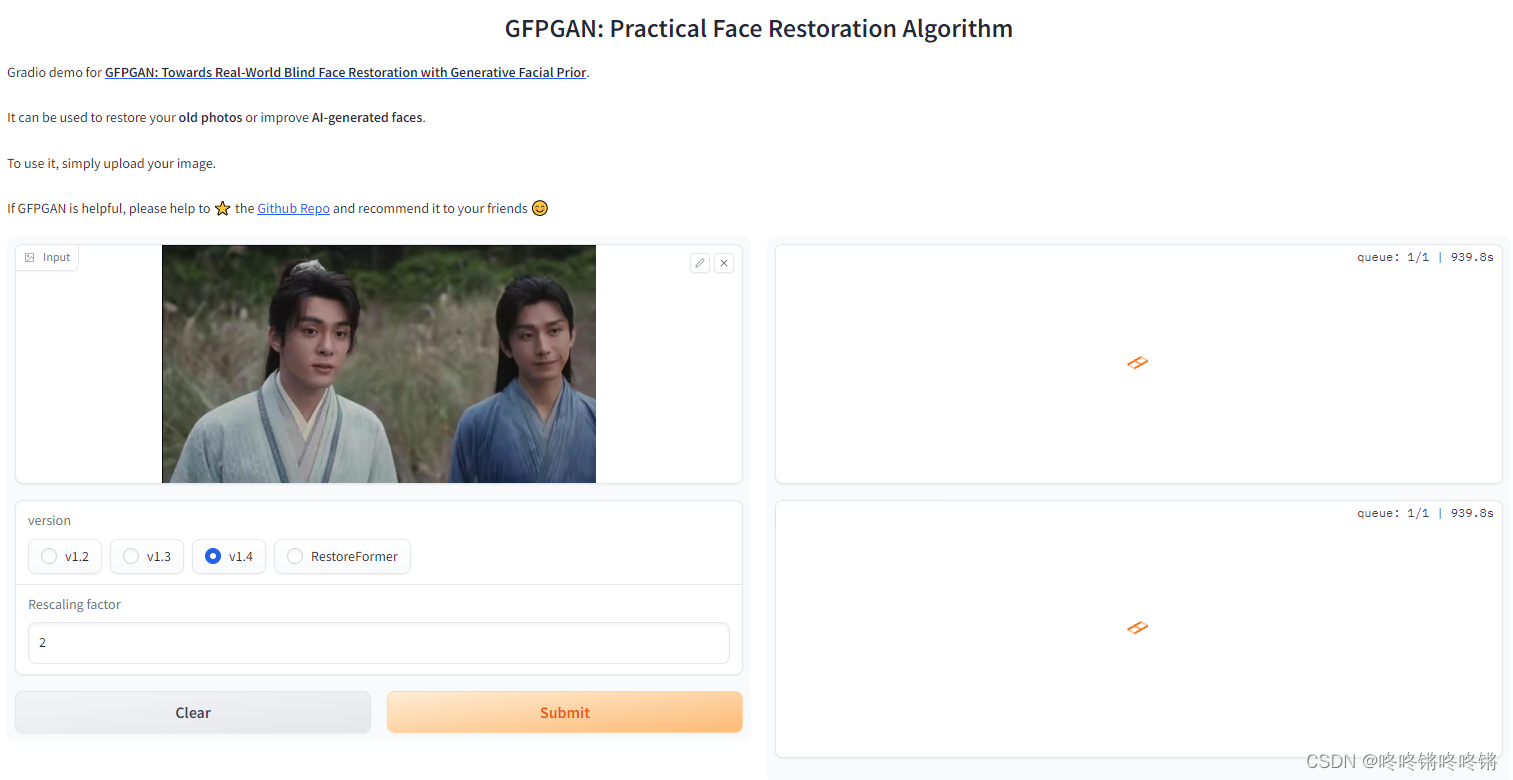
Hugging Face网页端:https://huggingface.co/spaces/Xintao/GFPGAN
我试了下速度很慢
