🍓 简介:java系列技术分享(👉持续更新中…🔥)
🍓 初衷:一起学习、一起进步、坚持不懈
🍓 如果文章内容有误与您的想法不一致,欢迎大家在评论区指正🙏
🍓 希望这篇文章对你有所帮助,欢迎点赞 👍 收藏 ⭐留言 📝🍓 更多文章请点击
简介及安装请查看这篇:Elasticsearch中倒排索引、分词器、DSL语法使用介绍
文章目录
- 一、RestClient操作索引库
- 二、初始化JavaRestClient
- 2.1 引入依赖
- 2.2 初始化RestHighLevelClient
- 三、索引库操作
- 3.1 创建
- 3.2 删除
- 3.3 判断索引库是否存在
- 四、文档操作
- 4.1 新增文档
- 4.2 根据id查询数据
- 4.3 根据id修改数据
- 4.4 删除数据
- 4.5 批量新增
- 五、DSL语法
- 六、拼音分词
- 6.1 安装
一、RestClient操作索引库
这些客户端的本质就是组装DSL语句,通过Http请求发送给ES,官方地址:https://www.elastic.co/guide/en/elasticsearch/client/index.html
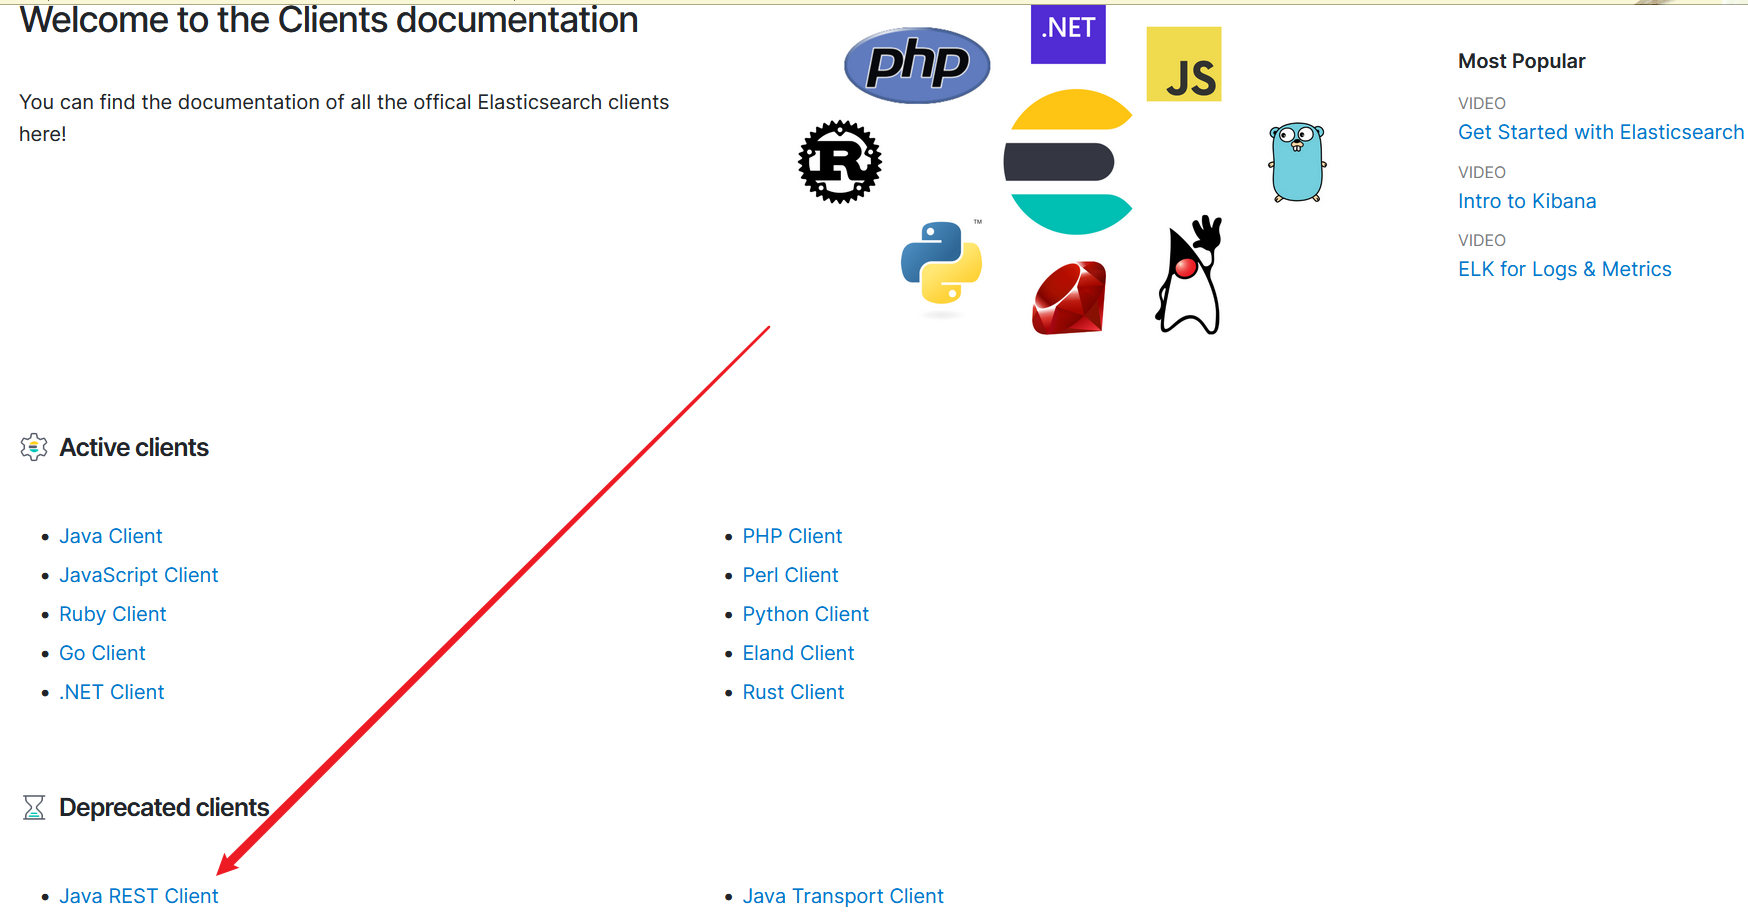
各种操作查看下方文档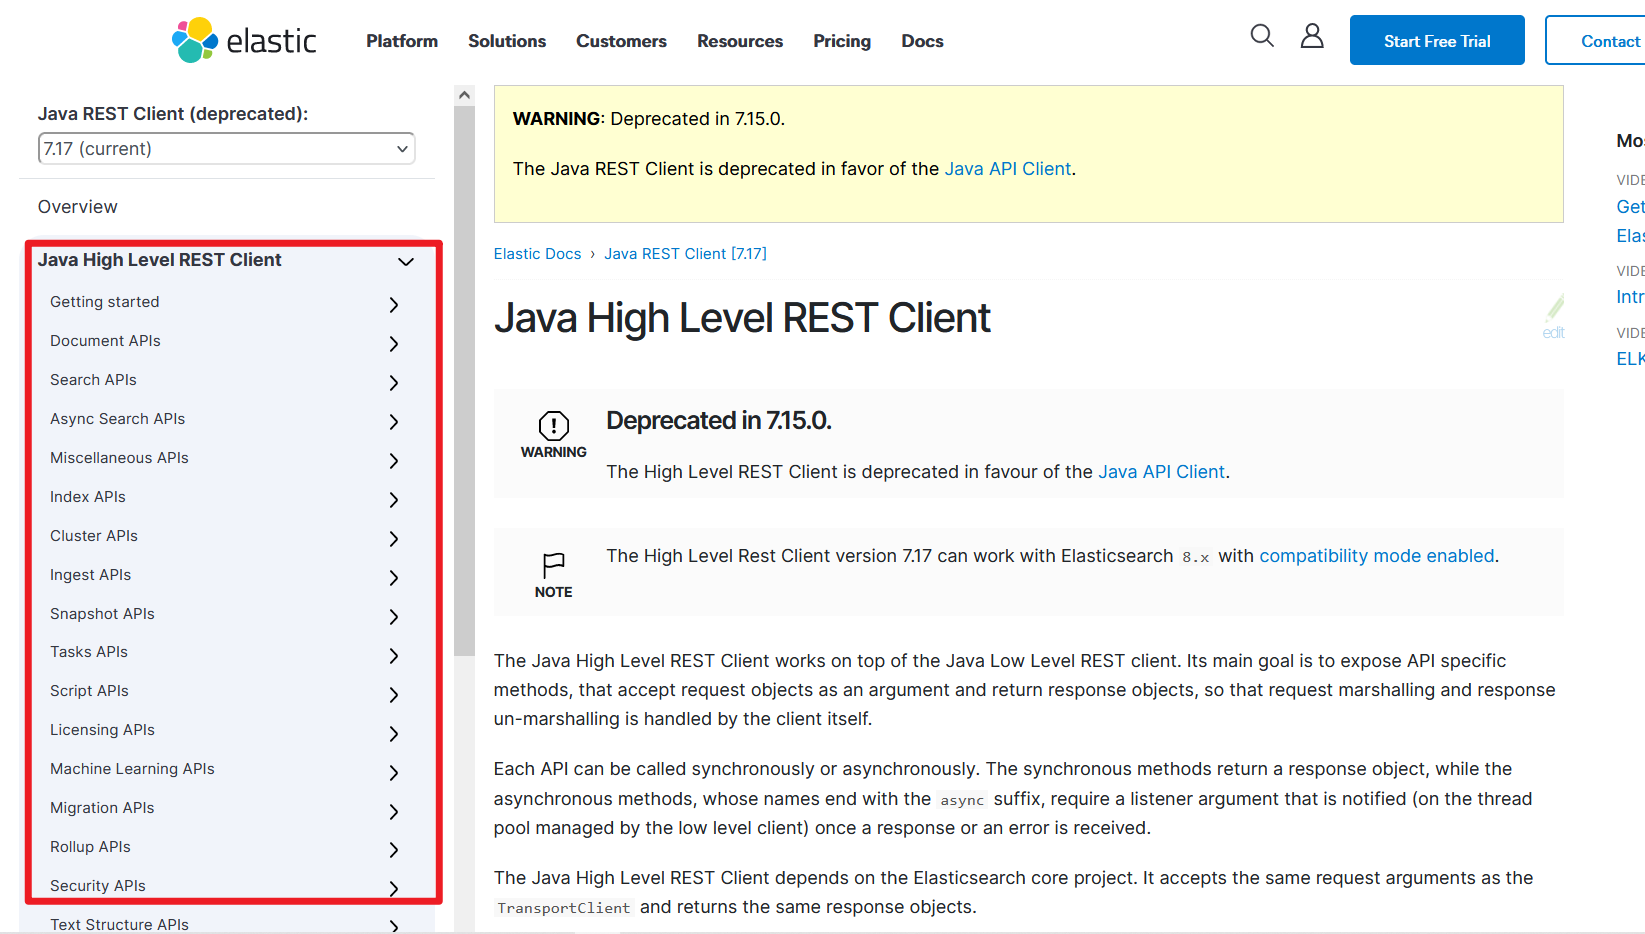
二、初始化JavaRestClient
具体使用还需查看对应文档,这里简单使用介绍,可能不全
2.1 引入依赖
        <dependency>
            <groupId>org.elasticsearch.client</groupId>
            <artifactId>elasticsearch-rest-high-level-client</artifactId>
            <version>7.12.1</version>
        </dependency>
2.2 初始化RestHighLevelClient
第一种
   @Bean
   public RestHighLevelClient restHighLevelClient(){
       return new RestHighLevelClient(RestClient.builder(HttpHost.create("http://localhost:9200")));
   }
第二种
spring:
  elasticsearch:
    rest:
      uris: localhost:9200
三、索引库操作
建议对应上篇中的DSL语句进行操作
3.1 创建
	@Autowired
	private RestHighLevelClient client;

	//创建索引库
	@Test
	public void testCreateHotelIndex() throws IOException {
	    //1.创建Request对象
	    CreateIndexRequest request=new CreateIndexRequest("hotel");
	    //2.请求参数,MAPPING_TEMPLATE是静态常量字符串,内容是创建索引库的DSL语句
	    request.source(HotelConstants.MAPPING_TEMPLATE, XContentType.JSON);
	    //3.发送请求
	   client.indices().create(request,RequestOptions.DEFAULT);
	}
3.2 删除
    //删除索引库
    @Test
    public void testDeleteHotelIndex() throws IOException {
        //创建Request对象
        DeleteIndexRequest request= new DeleteIndexRequest("hotel");
        //发送请求
        client.indices().delete(request,RequestOptions.DEFAULT);
    }
3.3 判断索引库是否存在
    @Test
    public void  testExistsHotelIndex() throws IOException {
        //创建request对象
        GetIndexRequest request= new GetIndexRequest("hotel");
        //发送请求
        boolean exists = client.indices().exists(request, RequestOptions.DEFAULT);
        //输出
        System.out.println(exists ? "索引库已经存在":"索引库不存在");
    }
四、文档操作
4.1 新增文档
@Autowired
private RestHighLevelClient client;

@Test
public void testAddDocument() throws IOException {
    //1.根据id查询酒店数据
    Hotel hotel = service.getById(61073l);
    //2.转换为文档类型
    HotelDoc hotelDoc = new HotelDoc(hotel);
    //3.将HotelDoc转为json
    String json = JSON.toJSONString(hotelDoc);
    //4.准备request对象
    IndexRequest request = new IndexRequest("hotel").id(hotelDoc.getId().toString());

    //5.准备json文档
    request.source(json, XContentType.JSON);
    //6.发送请求
    client.index(request, RequestOptions.DEFAULT);
}
4.2 根据id查询数据
@Autowired
private RestHighLevelClient client;


@Test
public void testGetDocumentById() throws IOException {
    //1.准备request对象
    GetRequest request = new GetRequest("hotel" ,"61083");
    //2.发送请求,得到响应
    GetResponse response = client.get(request, RequestOptions.DEFAULT);
    //3.解析响应结果
    String json = response.getSourceAsString();
    HotelDoc hotelDoc = JSON.parseObject(json, HotelDoc.class);
    System.out.println(hotelDoc);

}
4.3 根据id修改数据
@Autowired
private RestHighLevelClient client;


@Test
public void testUpdateDocument() throws IOException {
    //1.准备request
    UpdateRequest request=new UpdateRequest("hotel","61083");
    //2.准备请求参数
    request.doc(
            "price","987",
            "starName","四钻"
    );
    //3.发送请求
4.4 删除数据
@Autowired
private RestHighLevelClient client;


@Test
public void testDeleteDocument() throws IOException {
    //1.准备Request
    DeleteRequest request=new DeleteRequest("hotel","61083");
    //2.发送请求
    client.delete(request,RequestOptions.DEFAULT);
}
4.5 批量新增
@Autowired
private RestHighLevelClient client;


@Test
public void testBulkRequest() throws IOException {
    //批量查询酒店数据
    List<Hotel> hotels = service.list();

    //1.创建request对象
    BulkRequest request = new BulkRequest();
    //2.准备参数
    for (Hotel hotel : hotels) {
        //.转换文档类型
        HotelDoc doc = new HotelDoc(hotel);
        //.创建新增文档的request对象
        request.add(new IndexRequest("hotel")
                .id(hotel.getId().toString())
                .source(JSON.toJSONString(doc), XContentType.JSON));
    }
    //3.发送请求
    client.bulk(request,RequestOptions.DEFAULT);
}
五、DSL语法
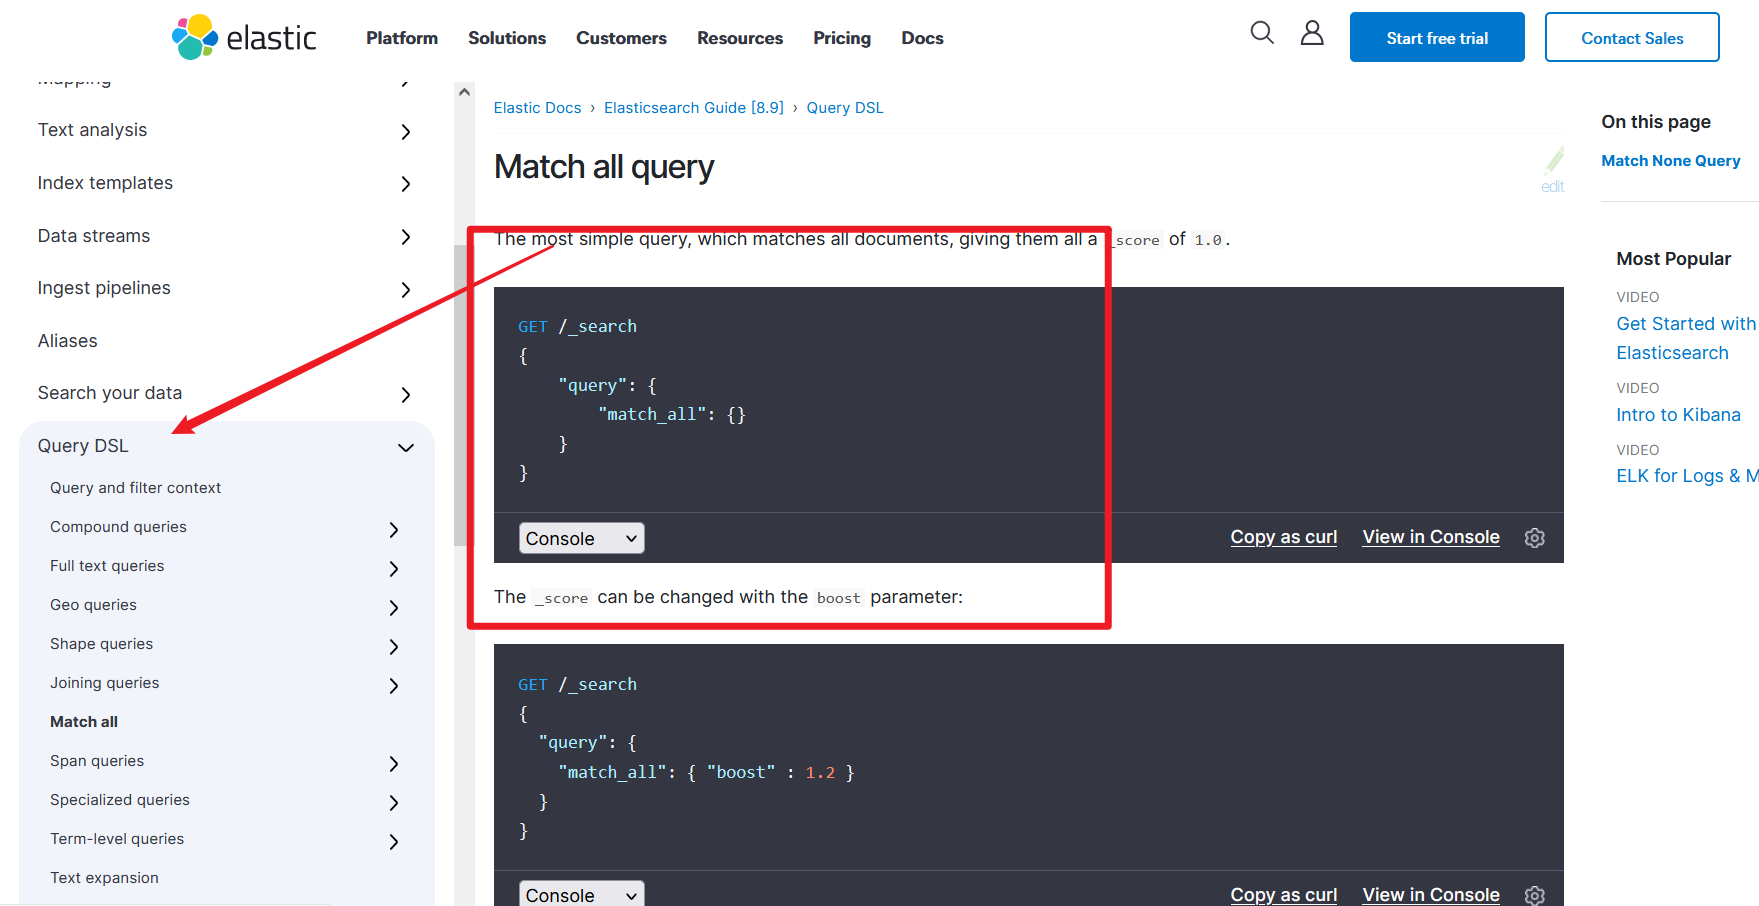
个人介绍可能不太详细,查询及结果解析具体使用请查看下方文档
官方文档:https://www.elastic.co/guide/en/elasticsearch/reference/current/query-dsl.html
六、拼音分词
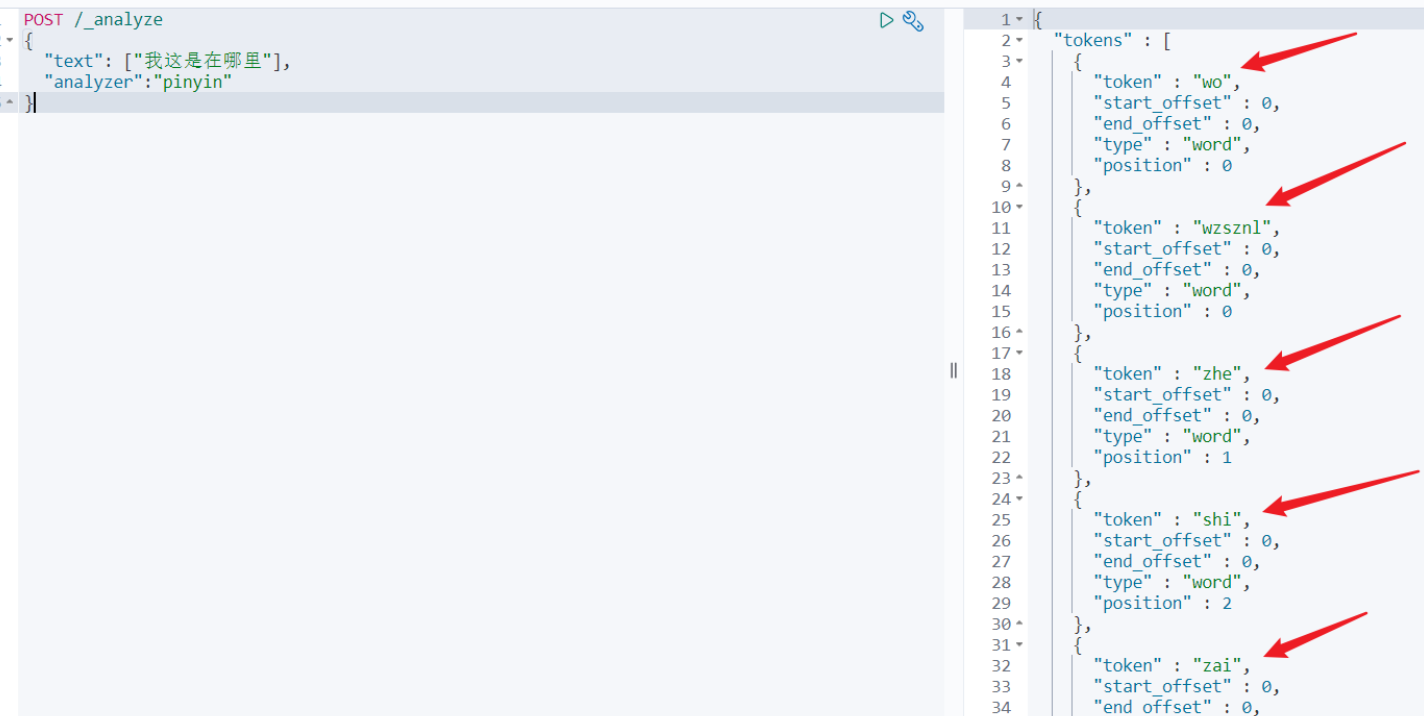
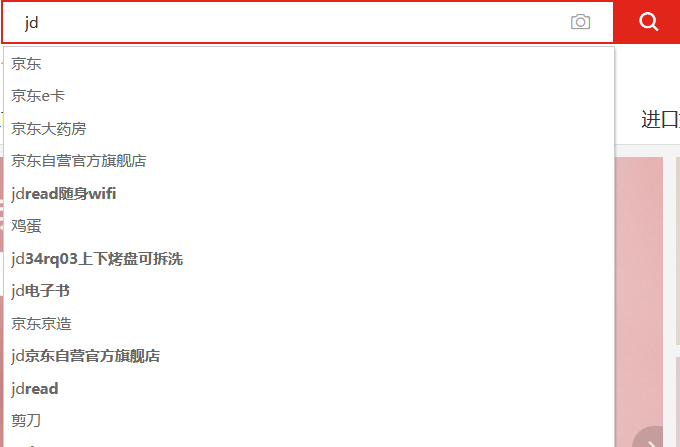
想要实现如下,根据拼音也能查到对应数据 那么需要安装拼音分词器
6.1 安装
可以在该文档下载拼音分词器或者在我的资源库进行下载
-
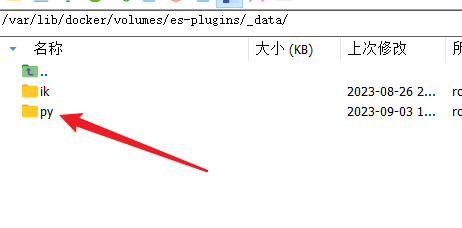
根据第一篇的Elasticsearch简介及安装安装我们知道,我是通过docker安装,挂载有数据卷,那么首先查看安装位置
docker volume inspect es-plugins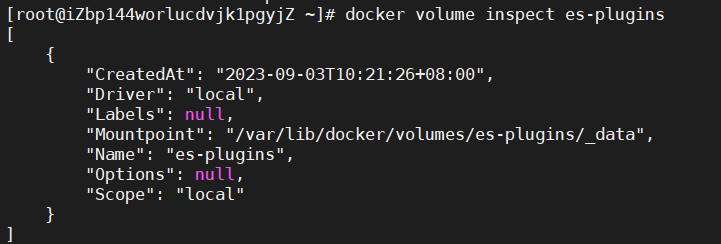 找到对应位置进行安装
-
重启容器
# 4、重启容器 docker restart es -
测试
