背景
想美化下windows terminal ,选择了oh-my-posh。网上的文章有点多,加上官方的教程对初次使用着并不是太友好,所以自己快速摸索了。记录下过程。
步骤
1,安装oh-my-posh
打开以下链接,安装oh-my-posh
Windows | Oh My Posh
2,字体--下载和安装
从以下链接,选择合适的字体并下载。
Nerd Fonts - Iconic font aggregator, glyphs/icons collection, & fonts patcher
这里的问题是,对初次使用者而言,字体太多反而不知道选择哪个好。自己采用的做法有2种,1是查看该截图,选择比较热门的;2是看oh-my-posh官方推荐。推荐的是meslo(本文选它)
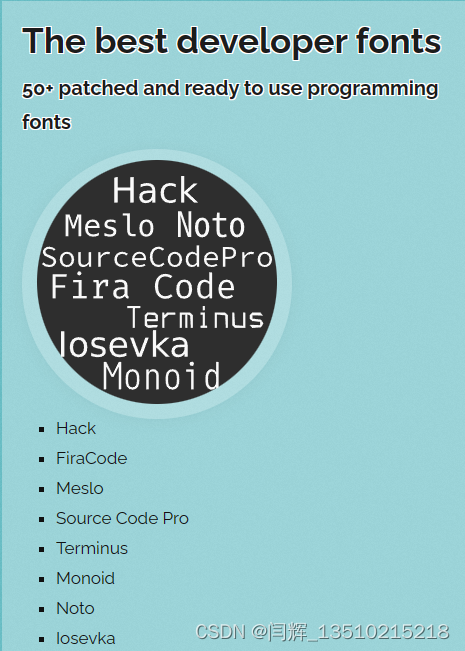
Nerd Fonts - Iconic font aggregator, glyphs/icons collection, & fonts patcher
在字体下载页面,找到Meslo Nerd Font, 然后下载到本地(文件名为Meslo.zip)。
将Meslo.zip解压缩,选中ttf文件后,鼠标右键-->为所有用户安装。
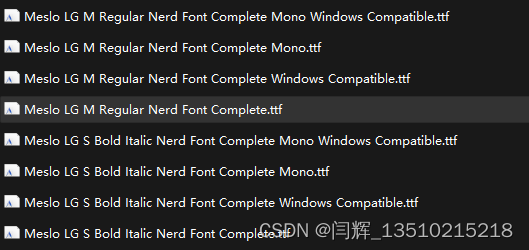
完成安装后,查看其中某款字体的名称。以Meslo LG M Regular Nerd Font Complete.ttf文件,双击该文件,可查看到字体名称为MesloLGM Nerd Font

3,字体--配置windows terminal
在oh-my-posh官方文档页 Fonts | Oh My Posh
按其提示,将windows terminal 默认字体配置为MesloLGM Nerd Font,具体操作步骤:
打开windows terminal -> 按快捷键 ctrl+shift+, 然后在settings.json中,添加:
"profiles":
    {
        "defaults":
        {
            "font":
            {
                "face": "MesloLGM Nerd Font"
            }
        },
4,配置cmd的prompt
打开以下链接,点击其中的cmd页签,可查看配置方法
Change your prompt | Oh My Posh
具体操作步骤为:
1,先下载Clink ,然后安装它
2,然后打开windows terminal,运行 clink info 命令,可以查看到 Clink scripts directory
![]()
3,新建oh-my-posh.lua文件,内容为:
load(io.popen('oh-my-posh init cmd'):read("*a"))()把新建的文档复制到Clink scripts的脚本目录,重开windows terminal,效果出来了。
5,配置powershell的prompt
类似上步骤,在以下链接中,点击powershell页签,可查看配置方法
Change your prompt | Oh My Posh
1,新建文件:打开windows powershell,执行
New-Item -Path $PROFILE -Type File -Force2,编辑该文件,
notepad $PROFILE3,输入内容,并保存
oh-my-posh init pwsh | Invoke-Expression4,重新加载
. $PROFILE