前言
打造 flask + gunicron + nginx + Mysql 环境
nginx + Mysql 使用docker 快速部署
使用 supervisor 对 gunicron 做监控
环境:centos7 ,python3.7
flask 篇
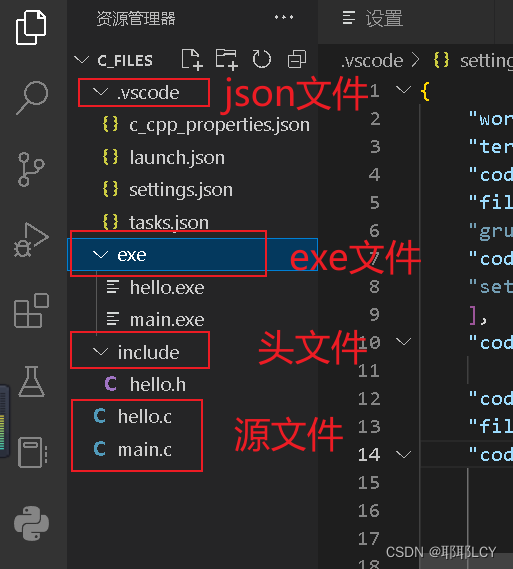
flask 项目就不多赘述了。这里贴一下项目的目录,便于解释下面的命令参数。
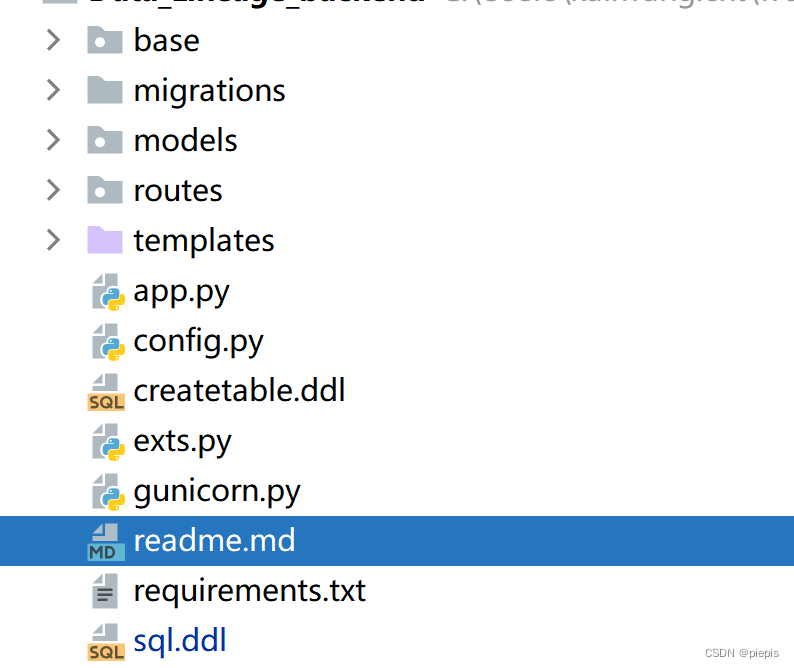
运行python app.py脚本,即可 web 访问,但无法并发访问,如果需要多线程开启 web 服务,实现并发访问,则需要额外一个工具进行封装,如gunicorn
这里安装 gunicron
gunicron 是用来 解析HTTP请求的网关服务
安装命令
pip install gunicron
# start gunicorn server  命令:
# gunicorn  命令要在 flask 项目所在的文件夹下运行
gunicorn  app:app -c gunicorn.py
# gunicorn.py 内容
# 并行进程数量
workers = 3
# 每个进程的线程数
thread = 5
# #gunicorn监控的接口
bind = '0.0.0.0:5000'
# 进程pid文件
pidfile = 'gunicorn.pid' #gunicorn进程id,kill掉该文件的id,gunicorn就停止

logfile = './debug.log' #debug日志
errorlog = './error.log' #错误信息日志

loglevel = 'debug'
logfile = './debug.log' #debug日志
errorlog = './error.log' #错误信息日志
timeout = 90

#https://github.com/benoitc/gunicorn/issues/1194
keepalive = 75 # needs to be longer than the ELB idle timeout
worker_class = 'gevent'
docker 篇
docker 安装 mysql
docker pull mysql
docker run -p 3306:3306 --name test-mysql -e MYSQL_ROOT_PASSWORD=123456 -d mysql:latest
进入mysql容器
docker exec -it test-mysql /bin/bash
# 进入mysql容器
docker exec -it test-mysql /bin/bash

# 查看mysql配置文件
cat /etc/mysql/my.cnf
# 进入mysql命令行
mysql -u root -p123456
# 修改数据库的权限
grant all on *.* to 'root'@'%';
# 刷新权限
flush privileges
docker 安装 nginx
nginx是一个功能强大的反向代理服务器, 使用nginx来转发gunicorn服务。
为什么要在gunicorn之上再加层nginx呢?一方面nginx可以补充gunicorn在某些方面的不足,如SSL支持、高并发处理、负载均衡处理等
编辑配置文件/etc/nginx/sites-available/default,修改location /如下
#拉取最新的nginx 镜像
docker pull nginx
sudo mkdir /opt/nginx
# 启动nginx容器
docker run -d -p 80:80 -p 443:443 --name nginx01  -v /opt/nginx:/etc/nginx  nginx
-p 80:80 -p 443:443 暴露80 , 443 端口
-v /opt/nginx:/etc/nginx nginx 挂载目录
进入容器
docker exec -it nginx01 /bin/bash
编辑配置文件/etc/nginx/conf.d/default.conf 修改location /如下
location / {
    # First attempt to serve request as file, then
    # as directory, then fall back to displaying a 404.
    try_files $uri $uri/ =404;
    proxy_pass http://localhost:5000/;
    proxy_redirect off;

    proxy_set_header Host $http_post;
    proxy_set_header X-Real-IP $remote_addr;
    proxy_set_header X-Forwarded-For $proxy_add_x_forwarded_for;
}
重启nginx服务
docker restart nginx01
此时flask已经可以并发访问了,但存在一个问题,就是gunicron不支持重启,如果脚本需更新、服务异常关闭等,如何自动启动?
这里就要用到supervisor。
supervisor是一个用python语言编写的进程管理工具,它可以很方便的监听、启动、停止、重启一个或多个进程。当一个进程意外被杀死,supervisor监听到进程死后,可以很方便的让进程自动恢复,不再需要程序员或系统管理员自己编写代码来控制.
Supervisor 安装配置
1、安装
方法一 (yum安装)
yum install epel-release
yum install supervisor
方法二 (推荐第二种: 本人环境python 3.7)
pip install supervisor
生成配置文件
sudo root
mkdir -p /etc/supervisor/conf.d # 这个目录是配置文件所存放的目录
echo_supervisord_conf > /etc/supervisord.conf
需要注意的地方
supervisor安装后/etc下有时默认没有配置文件,运行echo_supervisord_conf程序生成supervisor的初始化配置文件
-bash: /etc/supervisord.conf: Permission denied
sudo chmod -R 777 /etc
sudo  echo_supervisord_conf > /etc/supervisord.conf
创建 gunicorn服务的配置文件
创建/etc/supervisor/conf.d/gunicorn.conf文件
gunicorn服务的配置文件:
[program:gunicorn]
command=/home/cloud/anaconda3/bin/gunicorn -b 0.0.0.0:5000 app:app -c gunicorn.py
directory=/home/cloud/git/Data_Lineage/Data_Lineage_backend
autostart=true
autorestart=true
user=cloud
redirect_stderr=true
stdout_logfile=/home/cloud/superErr.log
program: 为你的进程取个别名
command:执行进程的命令
dirrectory:你的文件所在地址
redirect_stderr:将错误输出到日志
stdout_logfile:设置日志文件所在
path autostart=true supervisord守护程序启动时自动启动tornado
autorestart=true ;supervisord守护程序重启时自动重启tornado
redirect_stderr=true ;将stderr重定向到stdout
修改配置文件 /etc/supervisord.conf添加:
[include]
;files = relative/directory/*.ini
files = /etc/supervisor/conf.d/*.conf
特别注意:
初始化的 /etc/supervisord.conf 文件中
;[include]
;files = relative/directory/*.ini
记得要将前面的;去掉,否则不生效
Error 内容
supervisord -c /etc/supervisord.conf 运行失败
[cloud@web conf.d]$ supervisord -c /etc/supervisord.conf
[cloud@web conf.d]$ supervisorctl status
gunicorn                         FATAL     Exited too quickly (process log may have details)
查看错误日志
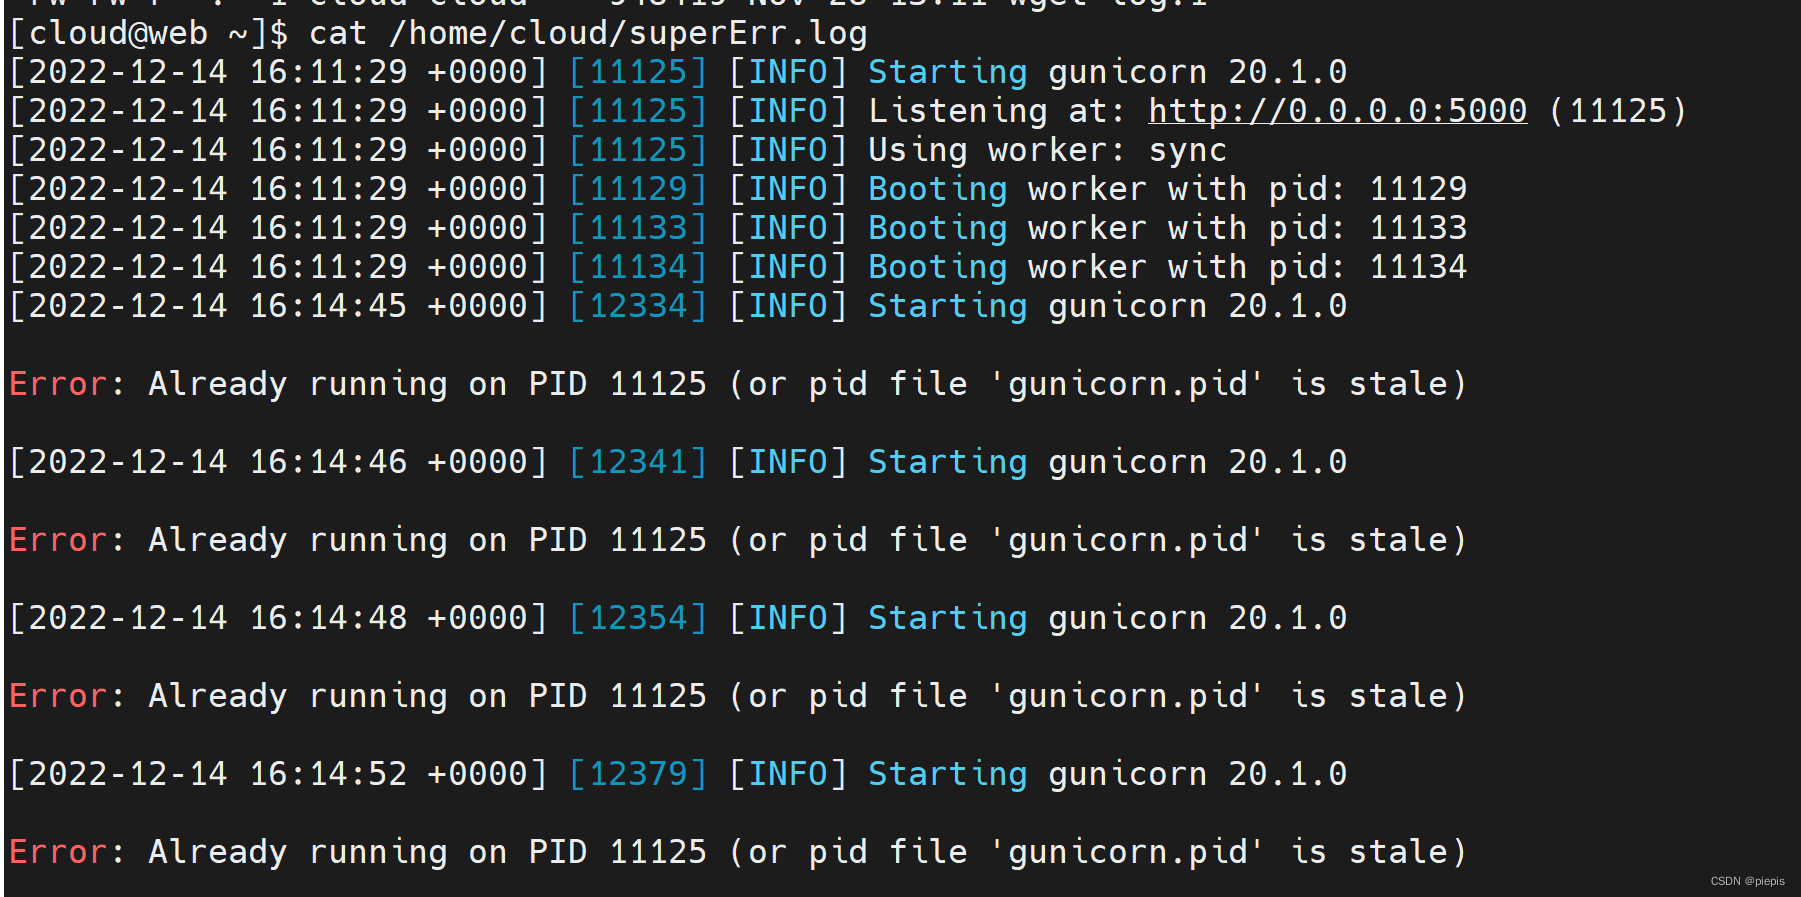
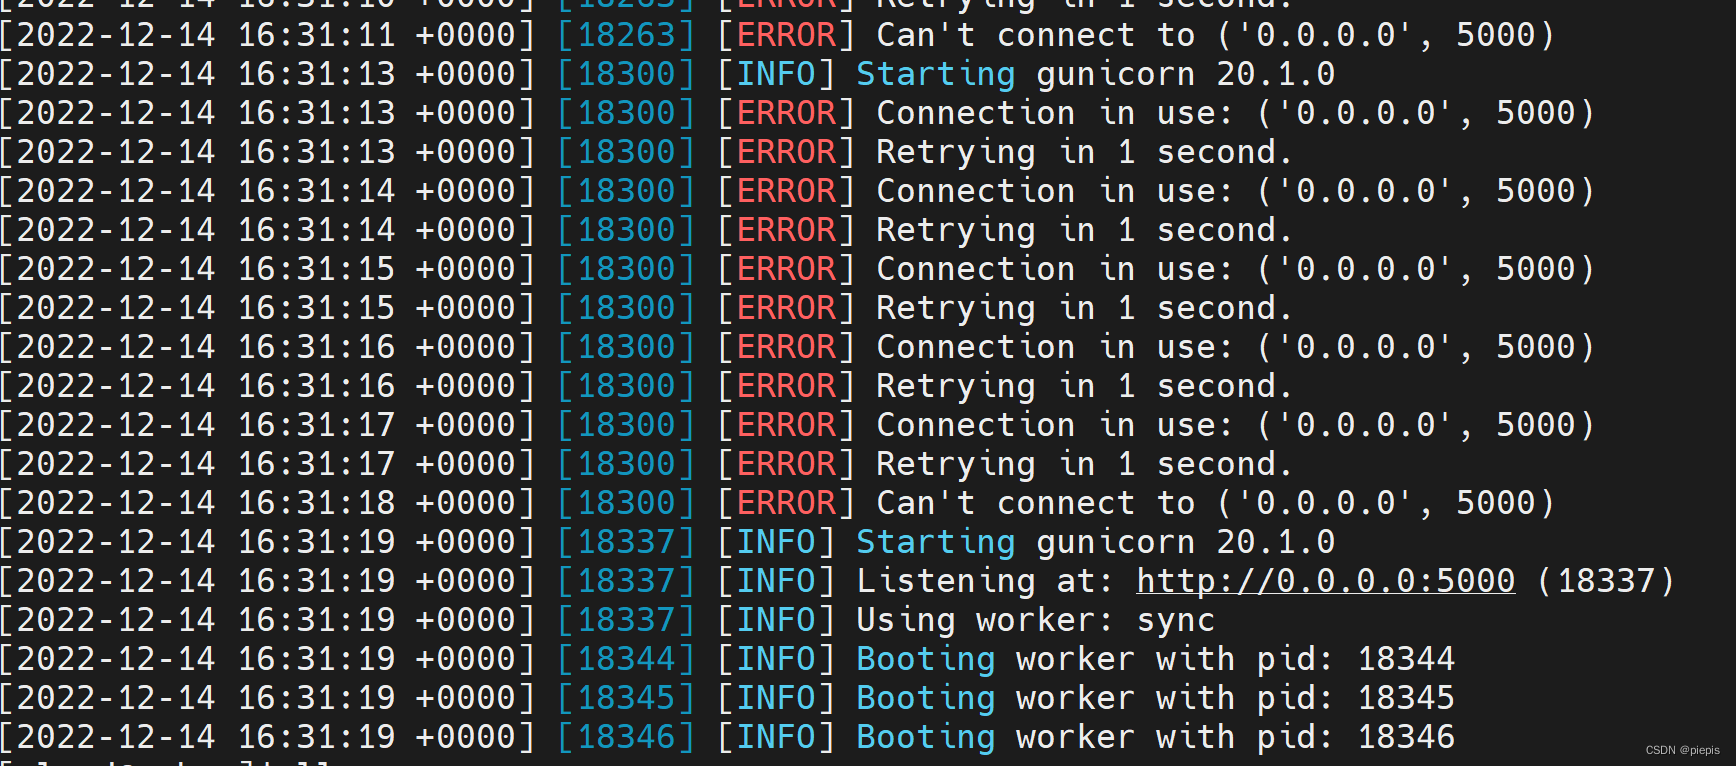
查看端口被占用情况
netstat -tunpl |grep 5000
lsof -i:5000
kill -9 pid

[2022-12-14 16:19:57 +0000] [14203] [INFO] Starting gunicorn 20.1.0

Error: Already running on PID 14202 (or pid file 'gunicorn.pid' is stale)

[cloud@web Data_Lineage_backend]$ cat gunicorn.pid
14202
[cloud@web Data_Lineage_backend]$ rm gunicorn.pid
[cloud@web Data_Lineage_backend]$ kill -9 14202
[cloud@web Data_Lineage_backend]$ gunicorn  app:app -c gunicorn.py
[2022-12-14 16:20:55 +0000] [14562] [INFO] Starting gunicorn 20.1.0

Error: Already running on PID 14536 (or pid file 'gunicorn.pid' is stale)








![[附源码]Python计算机毕业设计高校宿舍管理系统Django(程序+LW)](https://img-blog.csdnimg.cn/2613d06b2a63499bb791a65a175c4477.png)
