时间轴效果介绍
在前端开发中,我们会遇到一些场景特别适合用时间轴来展示,例如下面按照日期时间来记录发生的事件:
还可以做成下面这种比较流行的左右对称卡片风格的时间轴:
如果再稍加装饰,还能有更加高大上的效果:
时间轴效果本质
从上面的图中,我们可以看出来,其实时间轴效果的本质无非就是下面两点:
- 用一条自上而下的分隔线把可视区域划分为左右两块
- 分隔线中间有一些圆点代表时间节点,并在其左右展示相关信息
只要掌握了如何画分隔线,并在分隔线上面画小圆点,其实就能够做出来各种各样的时间轴效果了。今天就带领大家实现下面这种可以滚动的时间轴,在项目中非常实用,学会了之后,再也不怕产品提类似的视觉需求了。
从零开始写时间轴
初始状态
为了方便教学,我们先定义下面的空白模板:
其中 HTML 结构如下:
<body><div class="container"><div class="debug-area"><button onclick="add()">添加活动</button></div><div class="timeline-area"><div class="timeline-wrapper"><div class="timeline"></div></div></div></div>
</body>
初始 CSS 样式为:
.container {margin: auto;width: 350px;height: 350px;overflow: hidden;display: flex;flex-direction: column;padding: 0;--left: 62px;--color: #0d5dff;
}

.debug-area {margin: 30px 0;
}

.timeline-area {flex: 1;position: relative;display: flex;flex-direction: column;overflow-y: auto;padding-bottom: 10px;padding-right: 5px;border: 1px solid #ccc;
}
布局结构其实没什么好说的,就是一个固定宽高的 div,用 flex 布局分成上下两部分,上面的区域放了一个 button 用于调试,下面的区域就是用于展示时间轴内容的 div,并加了一个 border 方便大家查看。
你可能注意到上面定义了两个变量 --left和 --color,这是用来作什么的呢?接下来就知道了,请继续往下看。
添加分隔线
分隔线非常关键,应该怎么实现呢?我们先不着急写 CSS 代码,先看 HTML 结构:
<div class="timeline-wrapper"><div class="timeline"></div>
</div>
timeline-wrapper 是包裹容器,它的宽高是固定的,timeline 是真正的时间轴,当时间轴内容超出容器高度的时候可以上下自由滚动。所以添加下面的 CSS 代码:
.timeline-wrapper {flex: 1;overflow-y: auto;padding: 15px 5px 0 0;
}

.timeline {position: relative;
}
最关键的地方来了,用伪元素 before来实现分隔线:
.timeline::before {content: "";position: absolute;left: var(--left);width: 1px;top: 20px;bottom: 0;background-image: linear-gradient(to bottom,rgba(144, 156, 173, 0.6) 60%,rgba(255, 255, 255, 0) 0%);background-position: left;background-size: 1px 5px;background-repeat: repeat-y;
}
设置了一个绝对定位,然后距离左边的宽度就是上面用 CSS 变量 --left定义的距离,将其宽度设置为 1px,然后我们给 timeline 加上样式:
.timeline {height: 500px;width: 100%;
}
可以看到,中间的分隔线已经出来了:
可能很多人不知道怎么就出来线了呢?实现虚线的效果有两种,第一种利用 border 设置 dotted 或 dashed 属性:
border-left: 1px dashed rgba(144, 156, 173, 0.6);
另外一种就是利用 background-image 来模拟:
background-image: linear-gradient(to bottom,rgba(144, 156, 173, 0.6) 60%,rgba(255, 255, 255, 0) 0%
);
background-position: left;
background-size: 1px 5px;
background-repeat: repeat-y;
后者的可定性更强,可以非常方便的控制虚线的间距。
添加小圆点
线出来之后,怎么加小圆点呢?这个时候就需要补充 HTML 结构了,我们得布局时间轴分隔线两侧的内容,为了方便用 JS 动态的插入内容,我们用 template 来定义时间轴每个项目的 HTML 结构:
<template><div class="timeline-item"><div class="timeline-left"></div><div class="timeline-dot"></div><div class="timeline-right"></div></div>
</template>
然后在 head 中增加 add 函数:
<script> const nodes = []function add() {const tpl = document.querySelector('template')const item = tpl.content.children[0]const timeline = document.querySelector('.timeline')nodes.forEach(it => it.classList.remove('current'))const node = item.cloneNode(true)node.classList.add('current')nodes.push(node)timeline.appendChild(node)node.scrollIntoView({ behavior: 'smooth', block: 'nearest', inline: 'center' })} </script>
这个时候,每当我们点击上面的添加活动按钮,就可以动态的复制并插入上面的 DOM 啦!
可以看到 timeline-item 内容区被分为了 timeline-left、timeline-dot 和 timeline-right 三块内容,顾名思义,分别是时间轴内容的左边、圆点和右边,我们先来写圆点的样式:
.timeline-dot {left: var(--left);width: 7px;height: 7px;position: absolute;border-radius: 50%;box-shadow: 0 0 0 1px #d8d8d8;background: white;text-align: center;top: 0;line-height: 40px;margin-left: -3.5px;
}
然后对当前处于活动状态的小圆点增加高亮样式:
.timeline-item.current .timeline-dot {width: 10px;height: 10px;background-color: var(--color);box-shadow: 0 0 4px var(--color);border: 1px solid white;margin-left: -5px;
}
这个时候 --color变量的作用就清楚了:用于控制主题色。我们反复点击添加活动按钮,可以看到小圆点的效果已经出来了!
设置左右容器
其实到这里,时间轴的雏形已经完成了,剩下的就是根据业务来定义左右两侧的内容。左侧区域我们需要定义其宽度小于 left 的值,否则会超过分隔线:
.timeline-left {display: block;width: calc(var(--left) - 7px);position: absolute;margin-top: -5px;text-align: right;color: #8492a5;
}
右侧区域我们要定义 margin-left 的值大于 left 的值,否则也会超过分隔线:
.timeline-right {position: relative;margin: -3px 0 10px calc(var(--left) + 15px);
}
为了能让大家看到效果,这里临时给左右两侧都设置了背景色和高度:
.timeline-left {background: yellowgreen;height: 50px;
}
.timeline-right {background: greenyellow;height: 50px;
}
可以看到效果已经出来了:
填充左右内容
为了做到最开始动图里面的效果,我们丰富一下 template 里面的内容:
<template><div class="timeline-item"><div class="timeline-left"><div class="start-time">14:00</div><div class="duration">1h</div></div><div class="timeline-dot"></div><div class="timeline-right"><div class="title">和詹姆斯打羽毛球</div><div class="content"><div class="info"><div class="info-no"><img src="clock.svg" /><span class="info-content">14:00 ~ 15:00</span></div><div class="info-location"><img src="location.svg" /><span class="info-content">市中心羽毛球场</span></div></div><div class="join"><button>报名</button></div></div></div></div>
</template>
然后补充一些样式:
.timeline-left {.start-time {font-size: 16px;}.duration {font-size: 14px;display: flex;align-items: center;justify-content: flex-end;}
}

.timeline-right {.title {font-size: 15px;font-weight: bold;@extend .ellipsis2;}.content {display: flex;flex-direction: row;padding: 5px 0;.info {font-size: 15px;color: rgba($color: #1f3858, $alpha: 0.6);flex: 1;img {margin-right: 5px;margin-top: -2px;height: 15px;}.info-no,.info-location {display: flex;align-items: center;margin: 5px 0;.info-icon {margin-right: 5px;}.info-content {flex: 1;@extend .ellipsis2;}&.hidden {display: none;}}}.join {display: flex;justify-content: flex-end;align-items: flex-start;&.hidden {display: none;}}}
}
注意上面的代码是 SCSS ,这是为了方便使用嵌套语法书写,如果想看转换后的 CSS 源码的话可以用下面的命令全局安装 sass 预处理器,然后将上面的 SCSS 代码生成为 CSS:
$ yarn global add sass
$ sass timeline.scss > timeline.css
再加以修饰,最终就能实现最开始的效果啦!
完整代码
HTML 代码:
<!DOCTYPE html>
<html lang="en">

<head><meta charset="UTF-8"><meta http-equiv="X-UA-Compatible" content="IE=edge"><meta name="viewport" content="width=device-width, initial-scale=1.0"><title>Timeline</title><link rel="stylesheet" href="./timeline.css"><script> const nodes = []function add() {const tpl = document.querySelector('template')const item = tpl.content.children[0]const timeline = document.querySelector('.timeline')nodes.forEach(it => it.classList.remove('current'))const node = item.cloneNode(true)node.classList.add('current')nodes.push(node)console.log(node, node.classList)timeline.appendChild(node)node.scrollIntoView({ behavior: 'smooth', block: 'nearest', inline: 'center' })} </script>
</head>

<body><div class="container"><div class="debug-area"><button onclick="add()">添加活动</button></div><div class="timeline-area"><div class="timeline-wrapper"><div class="timeline"></div></div></div></div>
</body>

<template><div class="timeline-item"><div class="timeline-left"><div class="start-time">14:00</div><div class="duration">1h</div></div><div class="timeline-dot"></div><div class="timeline-right"><div class="title">和詹姆斯打羽毛球</div><div class="content"><div class="info"><div class="info-no"><img src="clock.svg" /><span class="info-content">14:00 ~ 15:00</span></div><div class="info-location"><img src="location.svg" /><span class="info-content">市中心羽毛球场</span></div></div><div class="join"><button>报名</button></div></div></div></div>
</template>

</html>
SCSS 代码:
.ellipsis {overflow: hidden;text-overflow: ellipsis;white-space: nowrap;
}
.ellipsis2 {overflow: hidden;white-space: nowrap;text-overflow: ellipsis;@supports (-webkit-line-clamp: 2) {white-space: initial;display: -webkit-box;-webkit-line-clamp: 2;-webkit-box-orient: vertical;}
}

button {display: flex;justify-content: center;align-items: center;padding: 0 12px;font-size: 14px;font-weight: bold;height: 30px;border-style: solid;background: #0d5dff;border-color: transparent;color: white;cursor: pointer;
}

.container {margin: auto;width: 350px;height: 350px;overflow: hidden;display: flex;flex-direction: column;padding: 0;--left: 60px;--color: #0d5dff;
}

.debug-area {margin: 30px 0;
}

.timeline-area {flex: 1;position: relative;display: flex;flex-direction: column;overflow-y: auto;padding-bottom: 10px;padding-right: 5px;border: 1px solid #ccc;
}

.timeline-area::before {content: "";display: block;position: absolute;z-index: 2;left: 0;right: 12px;top: 0;height: 25px;background: linear-gradient(to bottom,rgba(255, 255, 255, 1),rgba(255, 255, 255, 0));
}

.timeline-area::after {content: "";display: block;position: absolute;z-index: 2;left: 0;right: 12px;bottom: 10px;height: 25px;background: linear-gradient(to top,rgba(255, 255, 255, 1),rgba(255, 255, 255, 0));
}

.timeline-wrapper {flex: 1;overflow-y: auto;padding: 15px 5px 0 0;
}

.timeline-wrapper::-webkit-scrollbar {width: 6px;background-color: transparent;
}

.timeline-wrapper::-webkit-scrollbar-track-piece {margin: 20px;
}

.timeline-wrapper::-webkit-scrollbar-thumb {background-color: rgba($color: #000000, $alpha: 0.08);
}

.timeline {position: relative;
}

.timeline::before {content: "";position: absolute;left: var(--left);width: 1px;top: 20px;bottom: 0;background-image: linear-gradient(to bottom,rgba(144, 156, 173, 0.6) 60%,rgba(255, 255, 255, 0) 0%);background-position: left;background-size: 1px 5px;background-repeat: repeat-y;
}

.timeline-item {position: relative;display: inline-block;width: 100%;margin-top: 15px;
}

.timeline-dot {left: var(--left);width: 7px;height: 7px;position: absolute;border-radius: 50%;box-shadow: 0 0 0 1px #d8d8d8;background: white;text-align: center;top: 0;line-height: 40px;margin-left: -3.5px;
}

.timeline-item.current .timeline-dot {width: 10px;height: 10px;background-color: var(--color);box-shadow: 0 0 4px var(--color);border: 1px solid white;margin-left: -5px;
}

.timeline-left {display: block;width: calc(var(--left) - 7px);position: absolute;margin-top: -5px;text-align: right;color: #8492a5;
}

.timeline-right {position: relative;margin: -3px 0 10px calc(var(--left) + 15px);
}

.timeline-item.current .title {color: var(--color);
}

.timeline-left {.start-time {font-size: 16px;}.duration {font-size: 14px;display: flex;align-items: center;justify-content: flex-end;}
}

.timeline-right {.title {font-size: 15px;font-weight: bold;@extend .ellipsis2;}.content {display: flex;flex-direction: row;padding: 5px 0;.info {font-size: 15px;color: rgba($color: #1f3858, $alpha: 0.6);flex: 1;img {margin-right: 5px;margin-top: -2px;height: 15px;}.info-no,.info-location {display: flex;align-items: center;margin: 5px 0;.info-icon {margin-right: 5px;}.info-content {flex: 1;@extend .ellipsis2;}&.hidden {display: none;}}}.join {display: flex;justify-content: flex-end;align-items: flex-start;&.hidden {display: none;}}}
}
这里面有很多细节跟时间轴无关,我就没在文章中讲解,但其实也非常实用,例如 ellipsis 和 ellipsis2 用于设置当内容超出1行或2行之后的溢出效果,-webkit-scrollbar、-webkit-scrollbar-track-piece 和 -webkit-scrollbar-thumb 用于自定义滚动条
最后
整理了75个JS高频面试题,并给出了答案和解析,基本上可以保证你能应付面试官关于JS的提问。
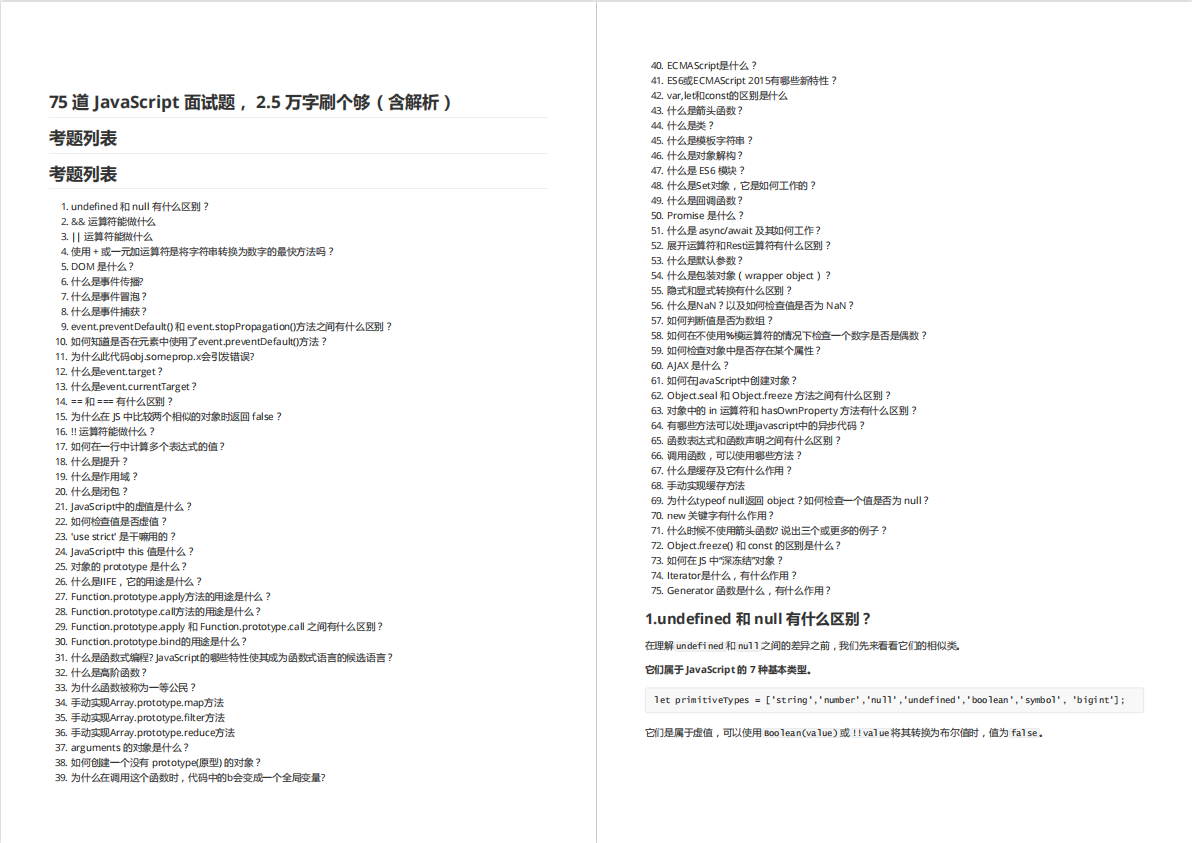

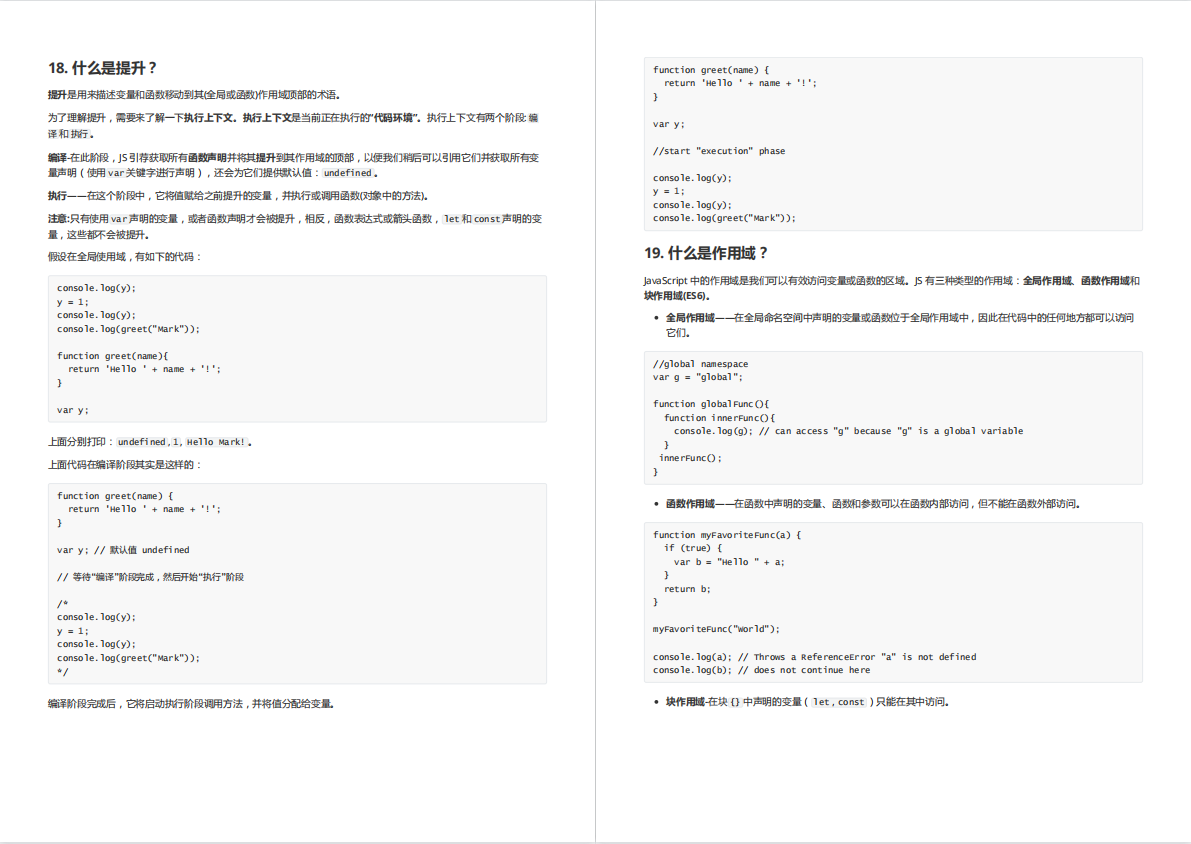
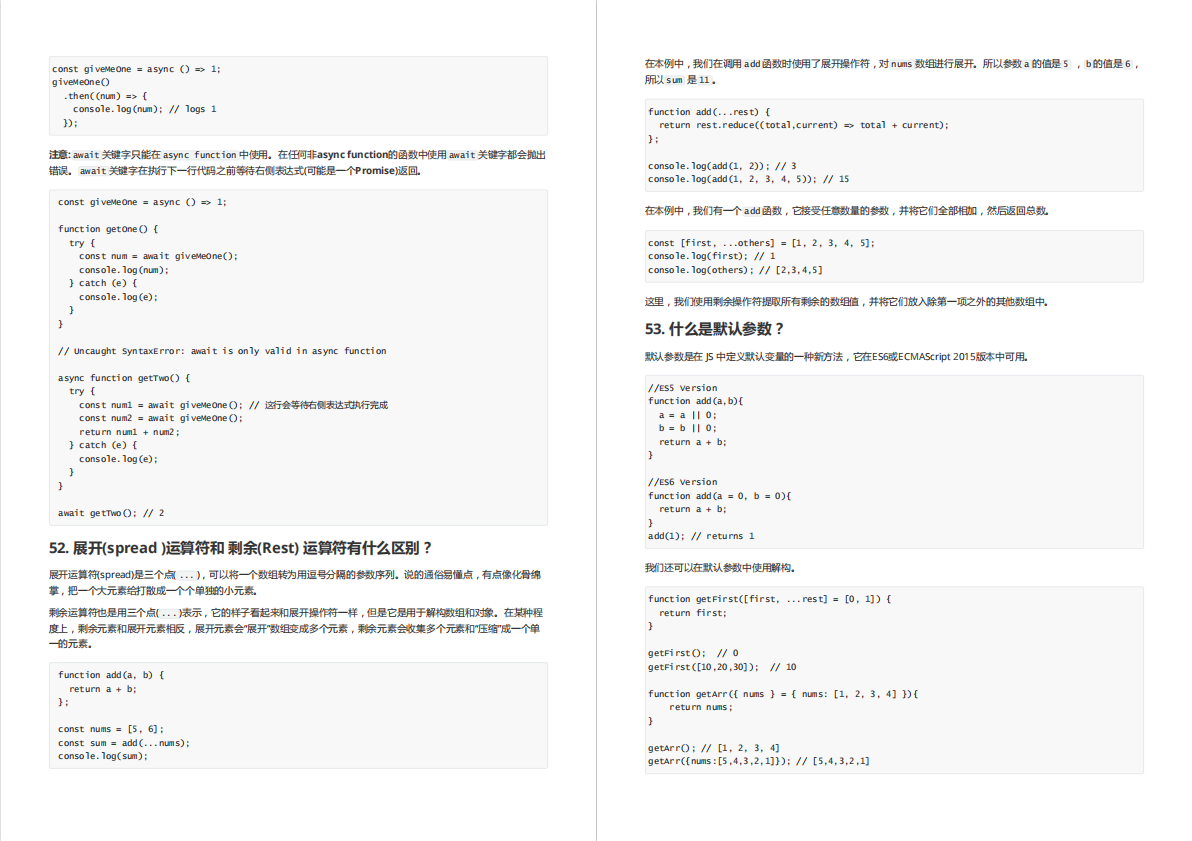
有需要的小伙伴,可以点击下方卡片领取,无偿分享




![[阶段4 企业开发进阶] 6. Dubbo](https://img-blog.csdnimg.cn/a1d2fefb1b4441e1b3534078b21a604e.jpeg#pic_center)


![[附源码]计算机毕业设计第三方游戏零售平台Springboot程序](https://img-blog.csdnimg.cn/afa34da8270f4f0ca8dabf1ead4291d6.png)
